How to Make a Shaker Box
Master the basics, and you’ll be building these iconic boxes in bunches.
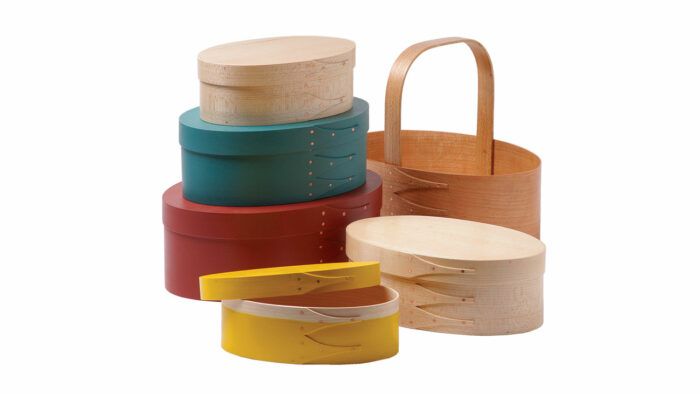
Synopsis: Simple, practical, and elegant, the Shaker box was used to hold everything from sewing notions to seeds. It’s not difficult to make, using straight-grain hardwood bands soaked in hot water and bent around a form. Once the band is cut and bent, the ends are tacked together and a drying form is used to help the box keep its iconic oval shape. Pete Baxter explains the process and the supplies needed to make an oval box and lid. Once you’ve made one, you’ll be turning them out in bunches.
At its best, Shaker design is a harmonious marriage of functionality, simplicity, and elegance. There may be no better embodiment of that harmony than the oval boxes the Shakers made to hold everything from sewing notions to seeds. Thankfully, Shaker craftsmen also had a good eye for simplifying construction, so the box is not difficult to make. The sides and top are made from thin pieces of straight-grain hardwood, called bands, soaked in hot water and then bent around a form. After tacking the box band together, drying forms are pressed into it. The lid band is bent around the box band and dried in place, too. Panels are fitted to the top and bottom after the bands have dried. You need a few specialized tools—a water tray for soaking the bands and an anvil for peening over the tacks that hold the bands together—but I’ll tell you where you can get them. Once you have these tools, you’ll be making boxes in bunches.
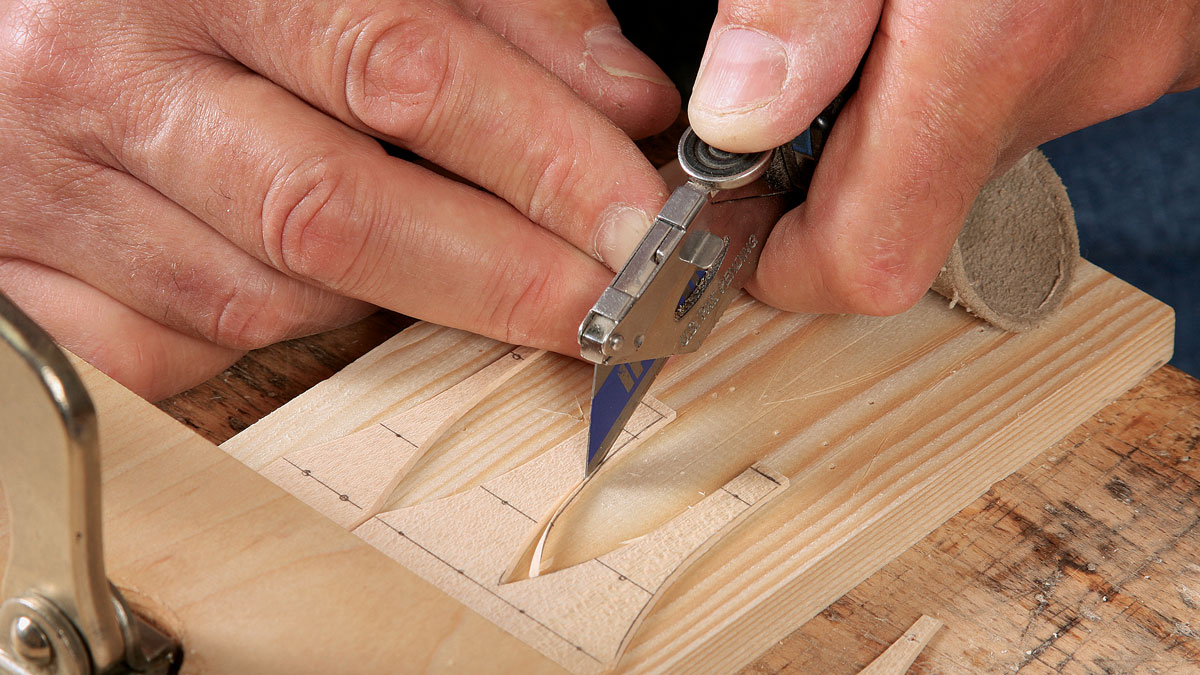
Heated plies are easy to bend
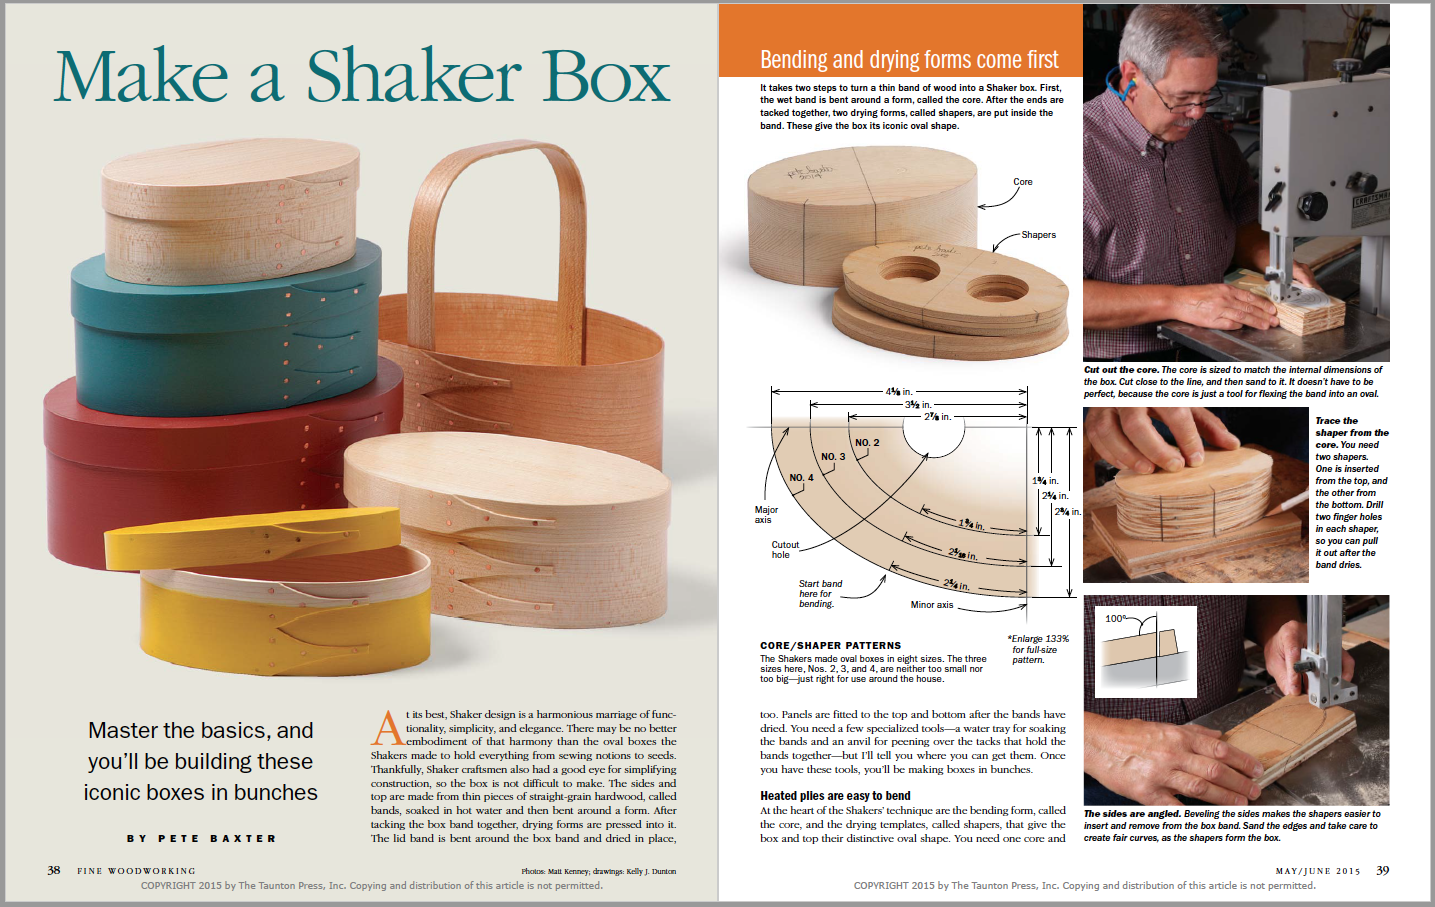
At the heart of the Shakers’ technique are the bending form, called the core, and the drying templates, called shapers, that give the box and top their distinctive oval shape. You need one core and two shapers for each box size. If you are making more than one box of the same size (it’s really no harder to make several than it is to make one), you’ll need one additional pair of shapers for each box you plan to make. You can use the same core for all of them. Finally, you’ll need to make templates for the swallowtail patterns.
Now make the lid and bottom box bands. I start with the bottom band (you’ll see why later). Cherry and maple are the traditional woods for the bands. Use straight-grain stock, which bends the best, and mill it to 1⁄16 in. thick. I choose stock that is wide enough for both bands so there is a nice grain match between them. Use a template to trace the swallowtail pattern on the end of the band. Taper the ends of the band on the inside face from the main tack line to the end, then cut the swallowtails and drill pilot holes for the tacks. Then put the band into the hot water for a 5- to 10-minute soak. When you pull out the band, quickly bend it around the core. Put a witness mark where the two ends overlap (be sure to mark both ends of the band), then take the band off the core. Realign the witness mark and tack the ends together on an anvil. Now press one shaper in from the top and one from the bottom. The lid band is made the same way, but instead of bending it around the core, bend it around the box band. After tacking it together, put it back on the bottom band and let it dry in place.
Video: How to Bend Wood for Shaker Boxes
From Fine Woodworking #247
For the full article, download the PDF below:
Fine Woodworking Recommended Products

Dividers

Blackwing Pencils

Stanley Powerlock 16-ft. tape measure



Log in or create an account to post a comment.
Sign up Log in