Tapered Sliding Dovetails Are Easier than You Think
This wonder joint simplifies assembly and makes cabinets bombproof
Synopsis: Sliding dovetails are clean, strong joinery options for cabinets, chests, tables, and more. They are quick and easy to cut with a router. Tapering these joints solves the problem of the joint swelling and sticking during glue-up. The tapered joint doesn’t tighten up until it’s slid all the way home, making it ideal for solid-wood applications such as joining a top directly to the case sides, or installing a solid shelf at the mid-span to stabilize the case. The key is to get perfectly matching tapers, and Timothy Rousseau shares his tips for that, plus how to cut both through and stopped versions of the joint.
Sliding dovetails are clean-looking and strong, and I use them in cabinets, chests, tables, and more. They allow unique construction, letting me join case sides directly into a top that overhangs them or make a drawer with an overhanging front. Best of all, sliding dovetails are fast and easy to cut with a router.
But there’s a problem. When glue hits these joints, they tend to swell, which can leave you permanently stuck mid-glue-up, especially on wide pieces. You can prevent this by leaving the fit a little loose, but that weakens the joint and can look sloppy.
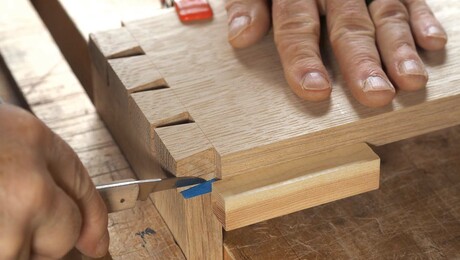
The solution is to taper one edge of the dovetail and the corresponding edge of the slot. The beauty of a sliding dovetail is that it doesn’t tighten up until it is slid all the way home. Though it might seem hard to get perfectly matching tapers, the whole process is easier than you think.
I use this joint most often on solid-wood cases that are deeper than 10 in. or 12 in. On chests of drawers, I use it to join the sides directly into the top, and for installing a solid shelf (instead of a web frame) at the midspan to help keep the case sides from cupping. And on cases where the sides extend down to the floor, the tapered sliding dovetail is the best way to insert a solid bottom.
The payoff is huge: new design and construction options, stress-free assembly, and unmatched strength.
Two options: seen or unseen
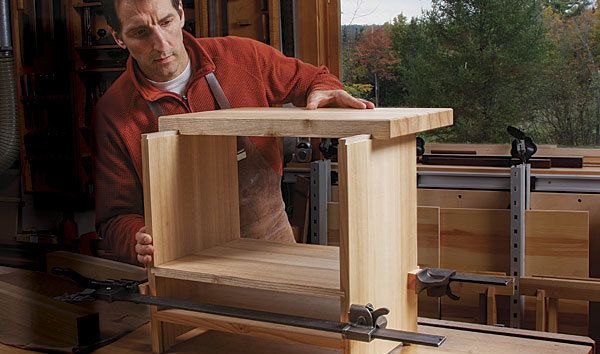
There are two variations of the joint— through and stopped. I designed this small stand to show how to cut each version, and to illustrate that this valuable joint is good for more than just big dressers. Tapered sliding dovetails let me use solid panels for every part of this piece, keeping construction clean and simple.
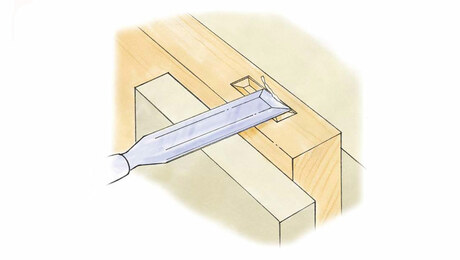
In practice I prefer the stopped version of the joint. The slot stops before it reaches the front edge and the dovetailed panel gets inserted from the back. The dovetail is notched in front to fit the stopped slot, which hides the joinery and means you don’t need a perfect fit. In fact I sometime leave the dovetail a little short of bottoming out in the slot, so it is sure to pull the shoulders tight, which is the part of the joint that you do see.
For the full article, download the PDF below:
Fine Woodworking Recommended Products

Starrett 4" Double Square

Suizan Japanese Pull Saw

Veritas Standard Wheel Marking Gauge


Comments
More of a question than a comment: if used to attach a solid top does this technique risk splitting the top due to wood movement , swelling and shrinking in the solid top, that is constrained by the parallel full width glue joints. Would a solution be, traditional carpenters buttons rather than glue to fix the solid wood slab top to the tailed sides?
I think as the grain orientation is the same all the pieces would expand and contract together.
If it is a cross grain situation (think batten on a chest top), then glue only the front edge (about an inch) to keep the batten in alignment with the top.
Log in or create an account to post a comment.
Sign up Log in