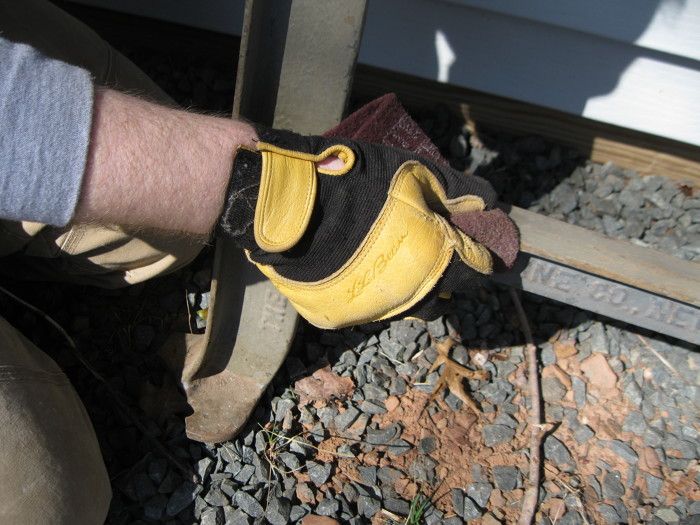
I also lightly sanded the entire surface to get it ready for a new coat of paint.
When the previous owner of my house left behind an old, beat up workbench that sat on a vintage set of cast iron legs, I knew I had the foundation for a great woodworking bench someday. But I had to set them aside until the time was right.
Five years later, I have a new shop in the backyard (which you can read about in this article) with plenty of space for an extra workbench. So I pulled the legs out and got started as soon as I had the time.
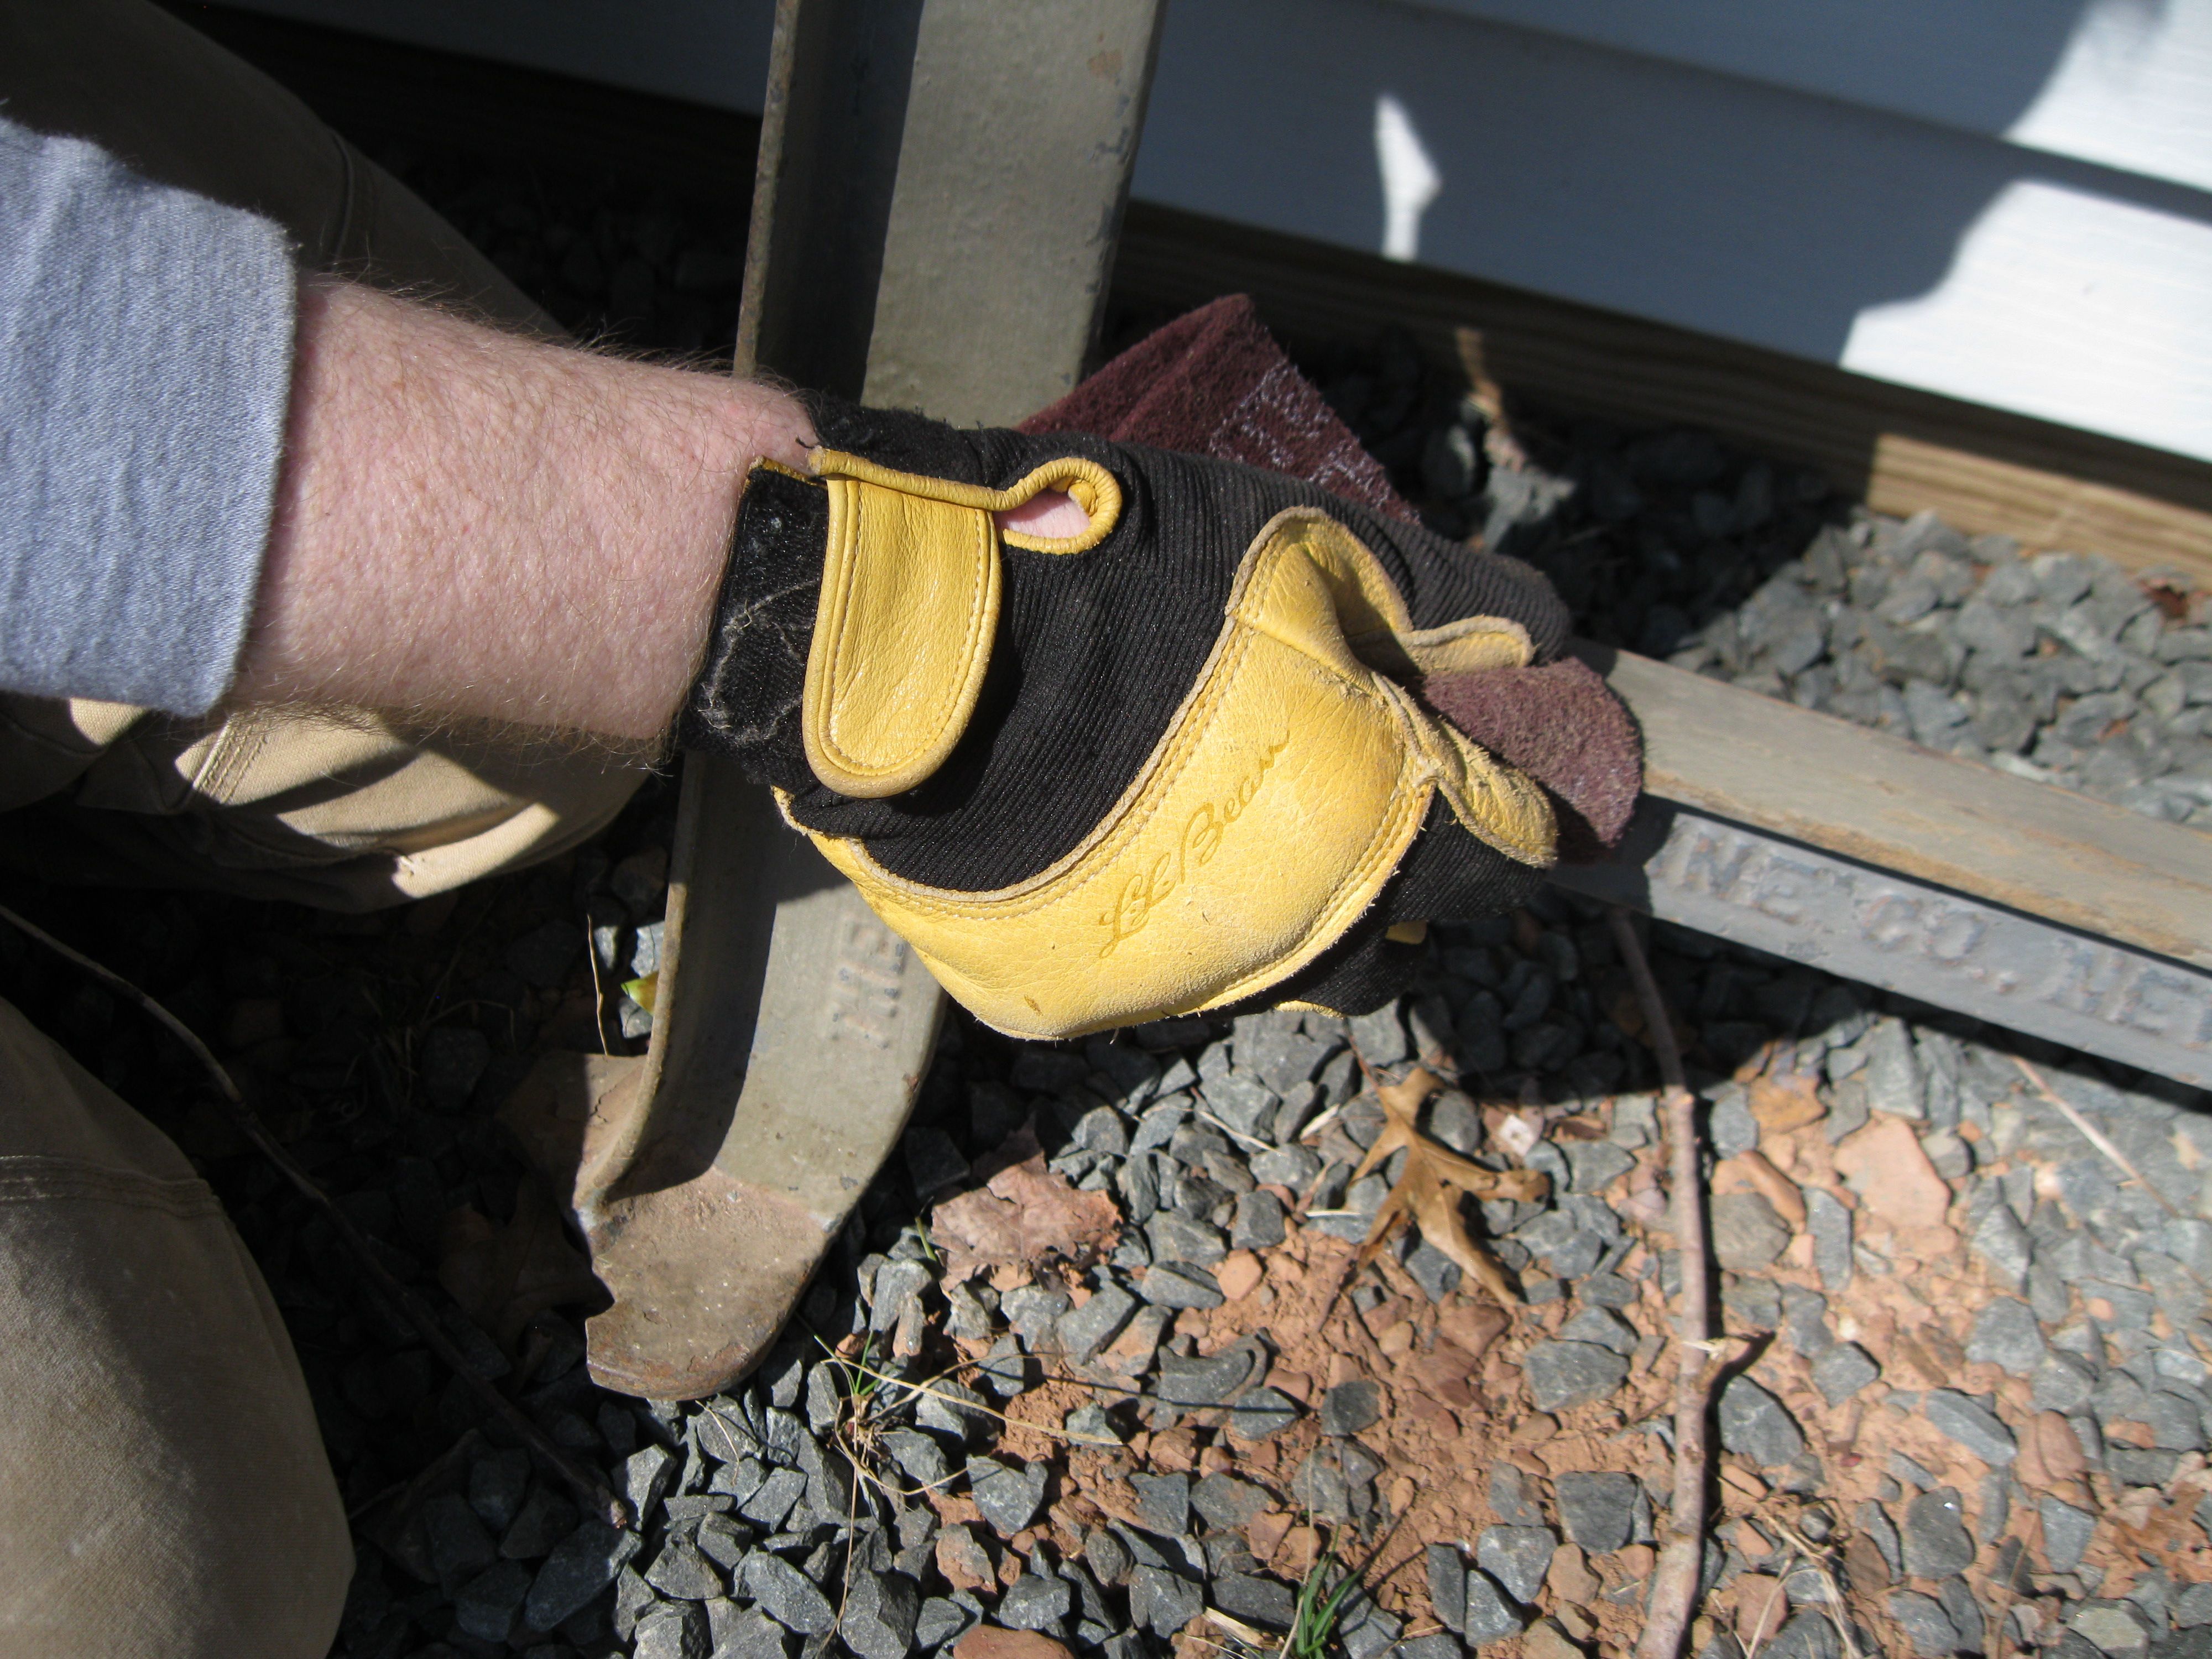
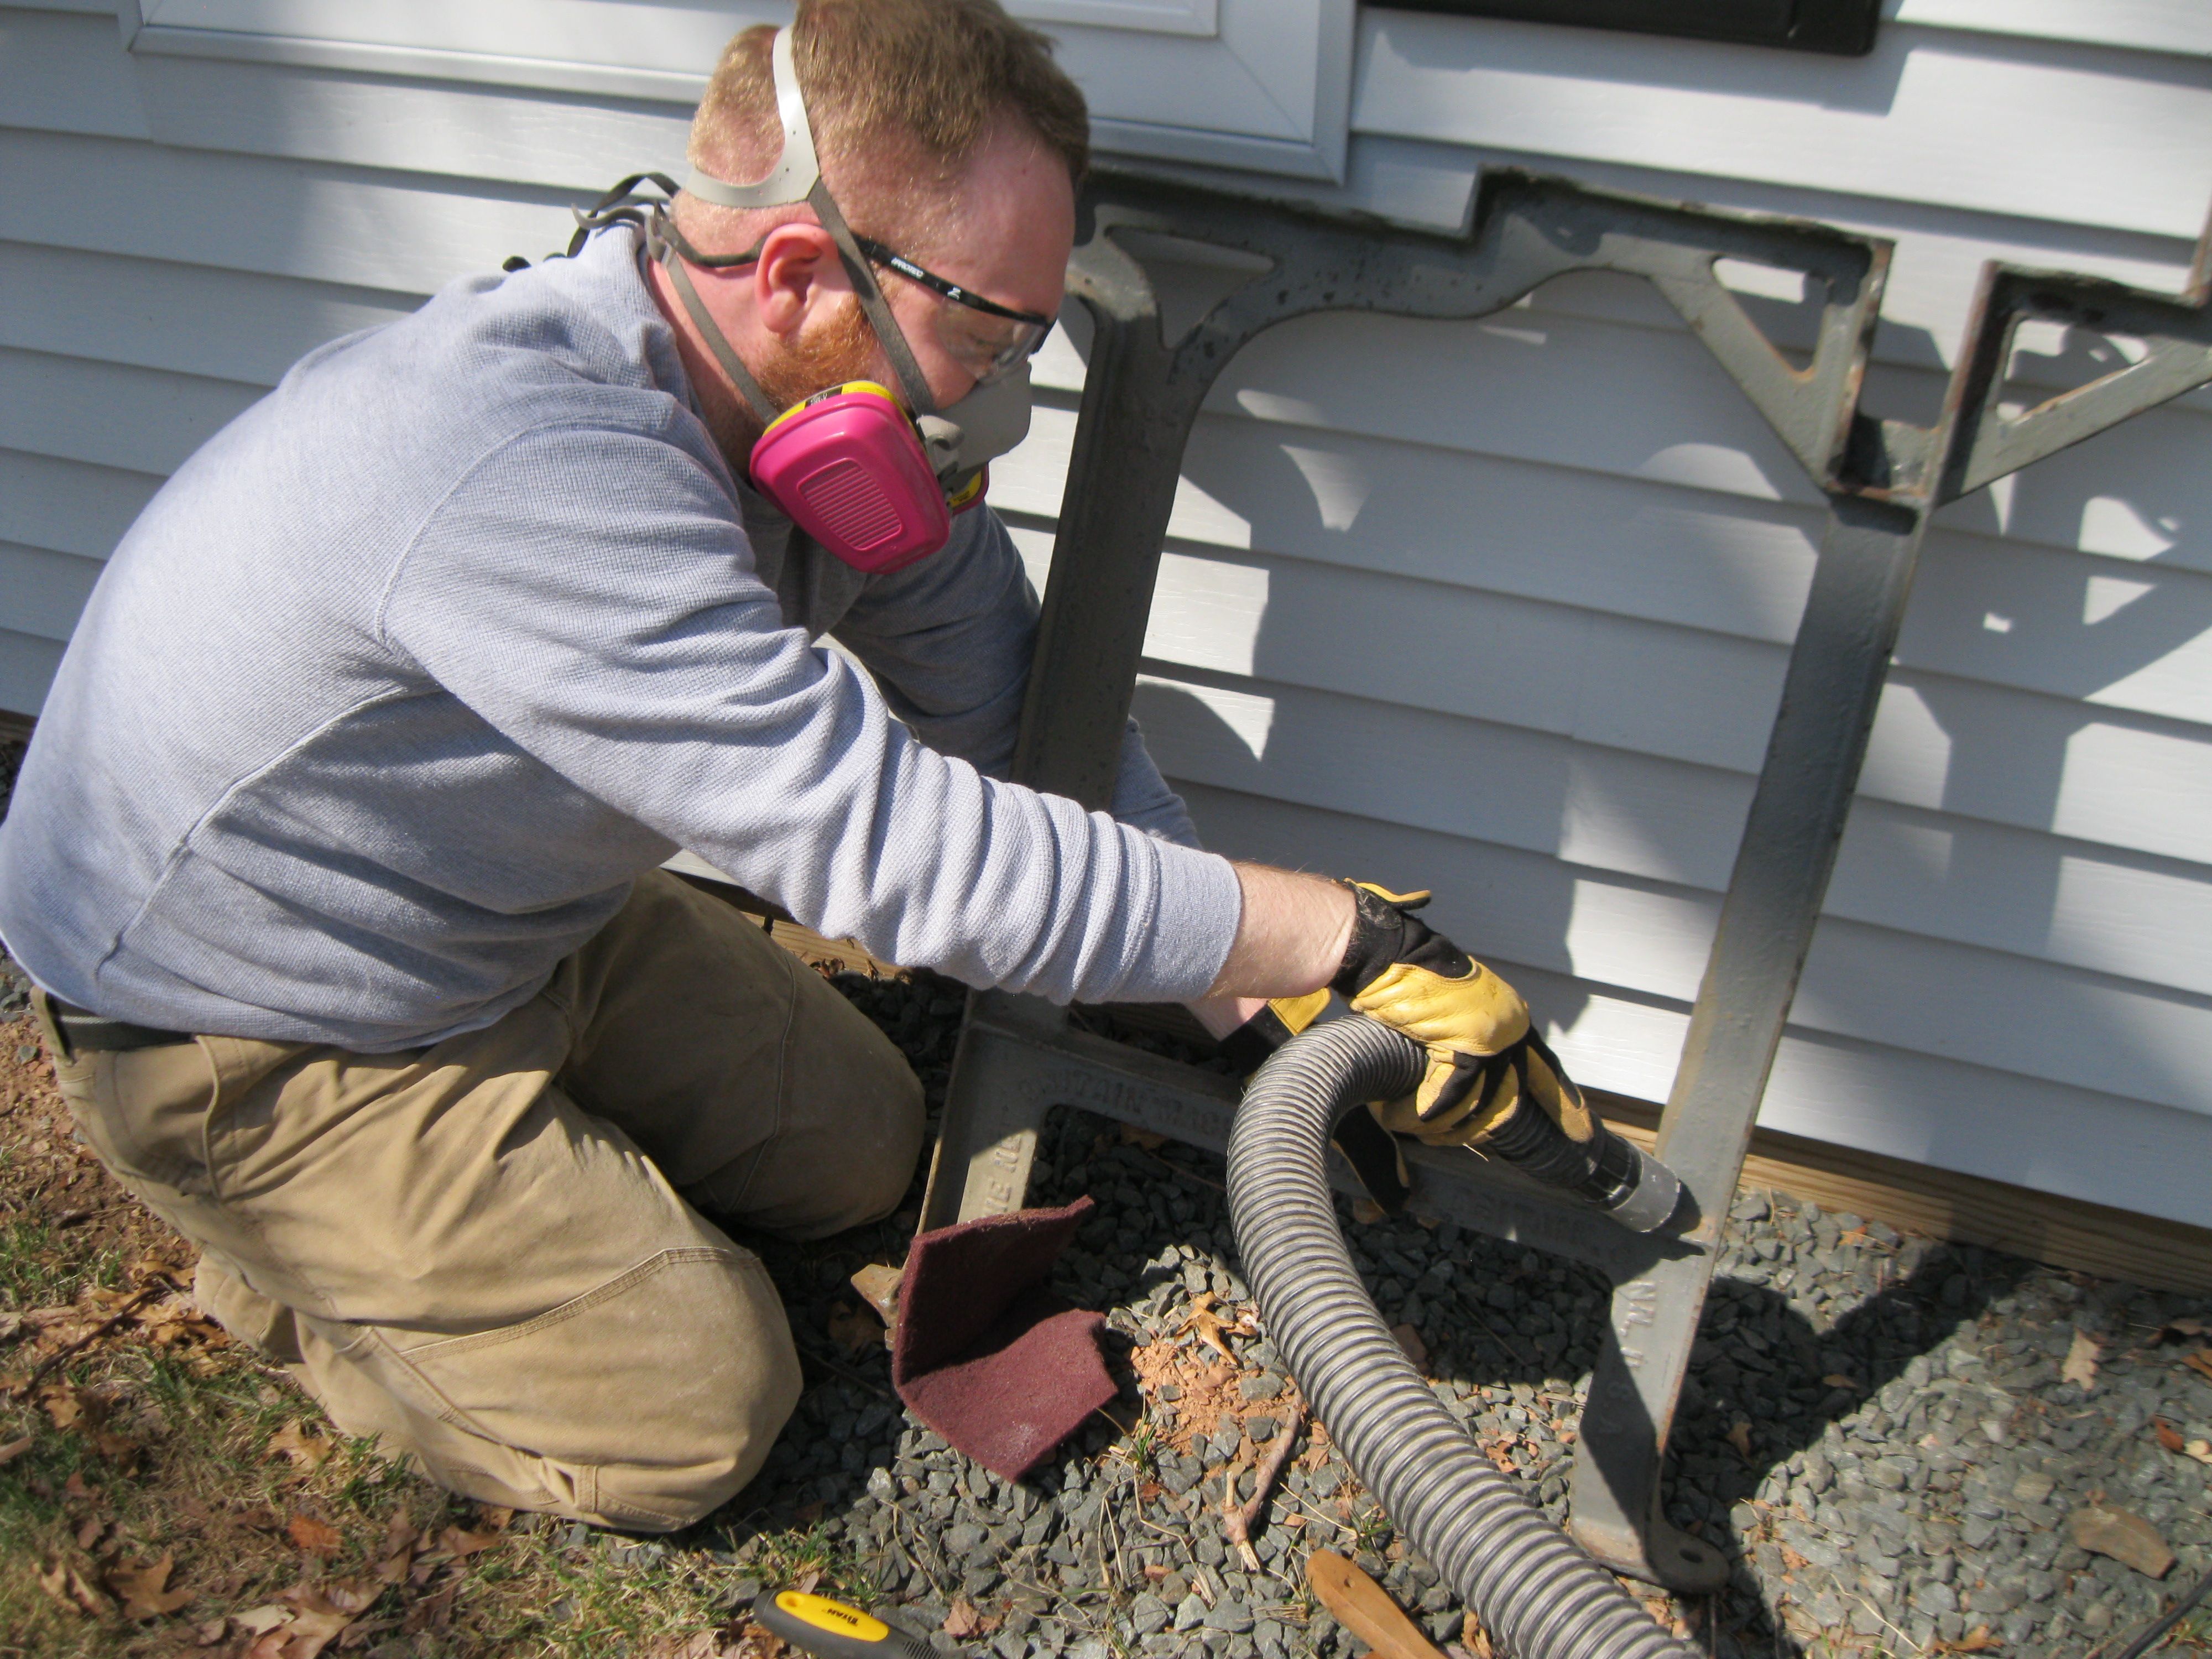
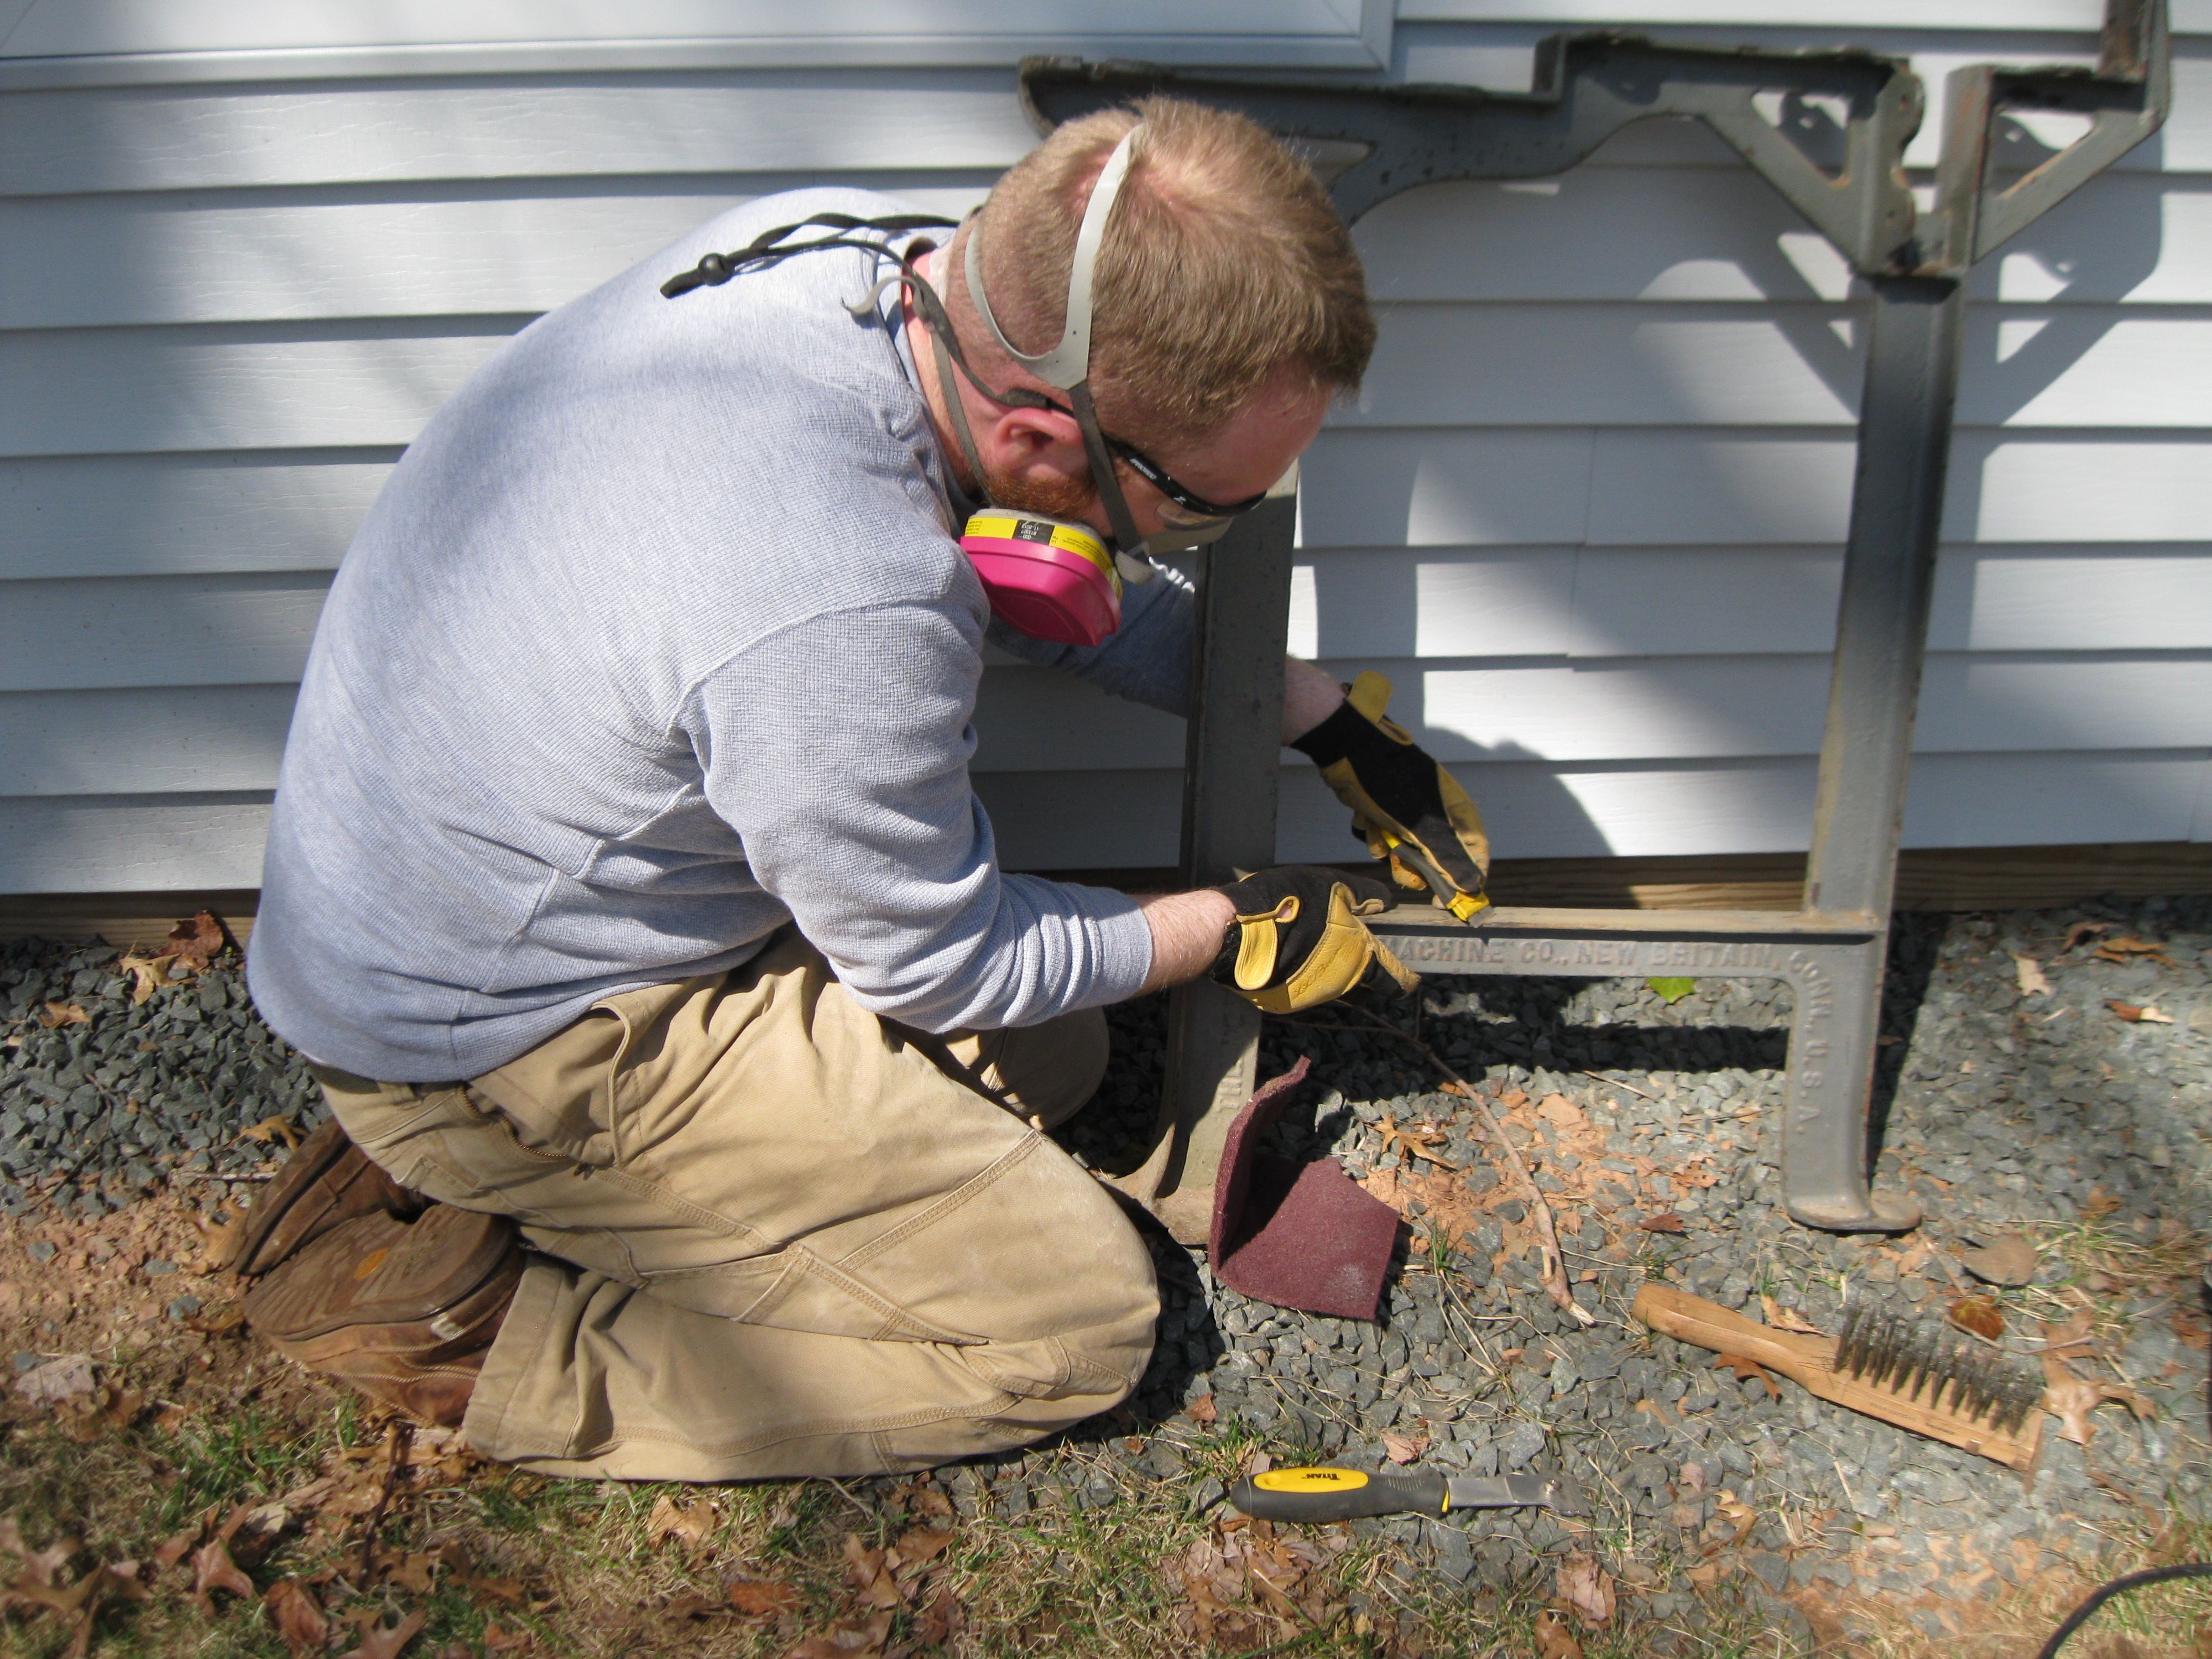
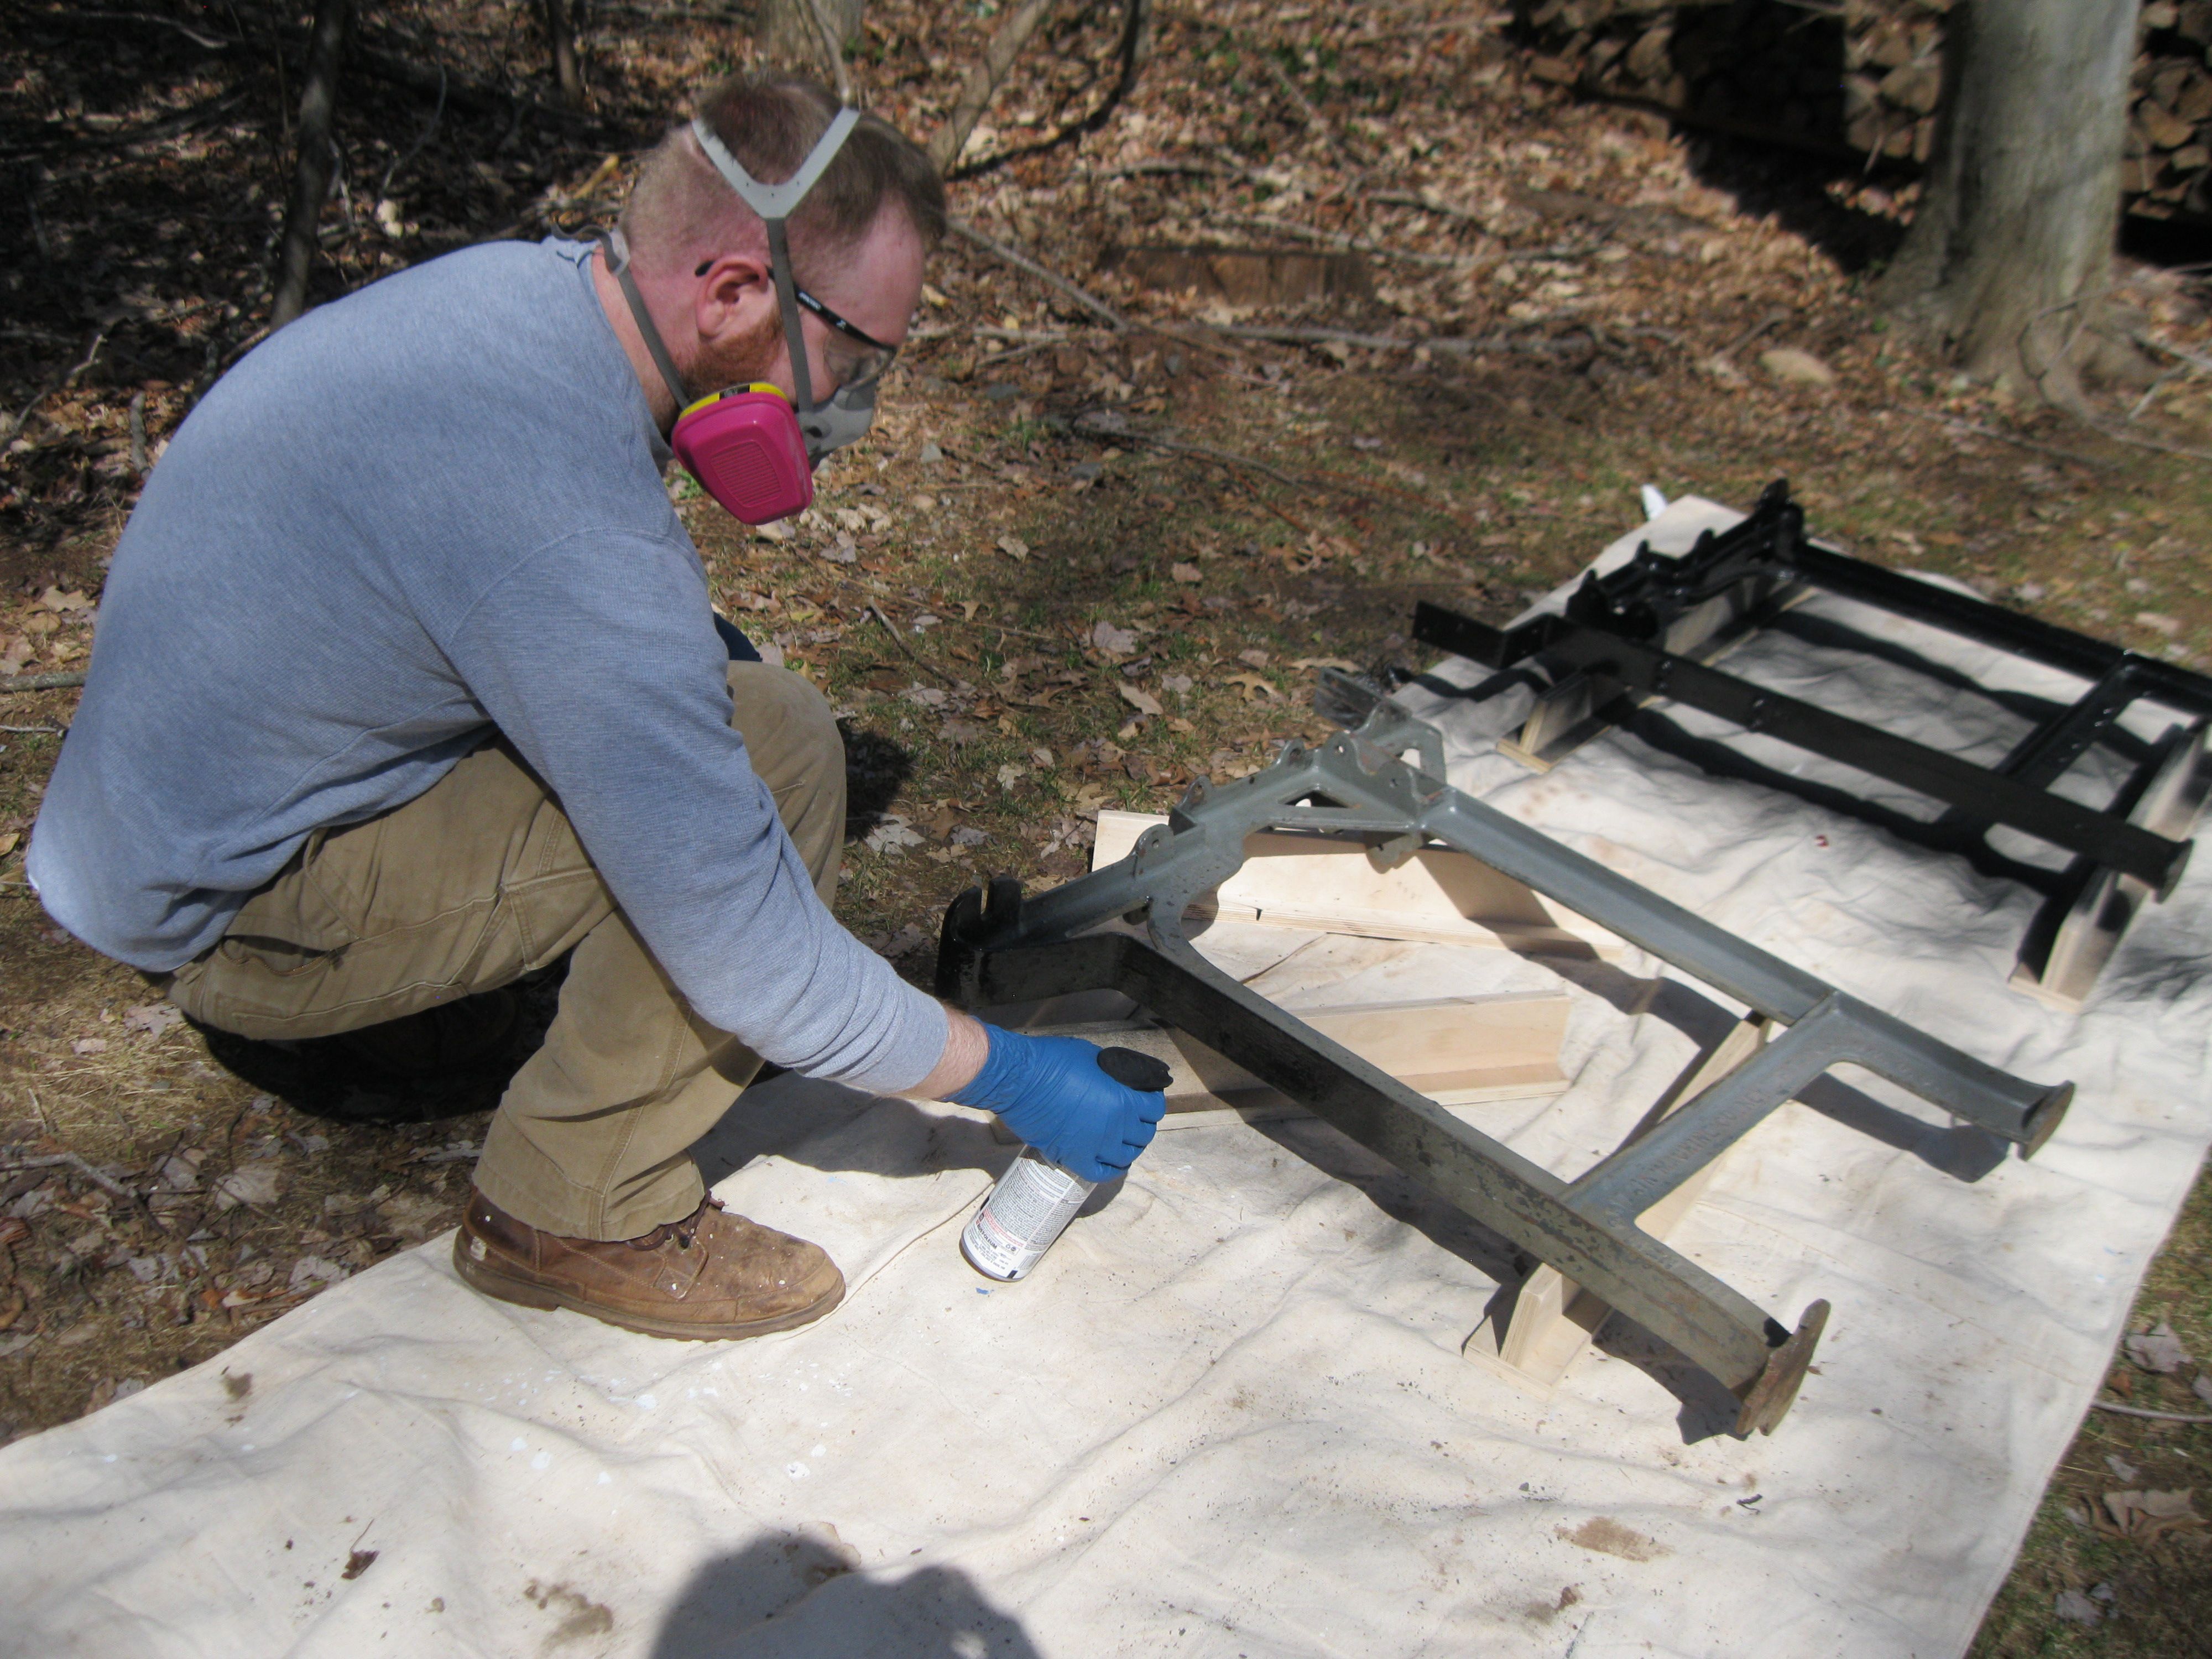
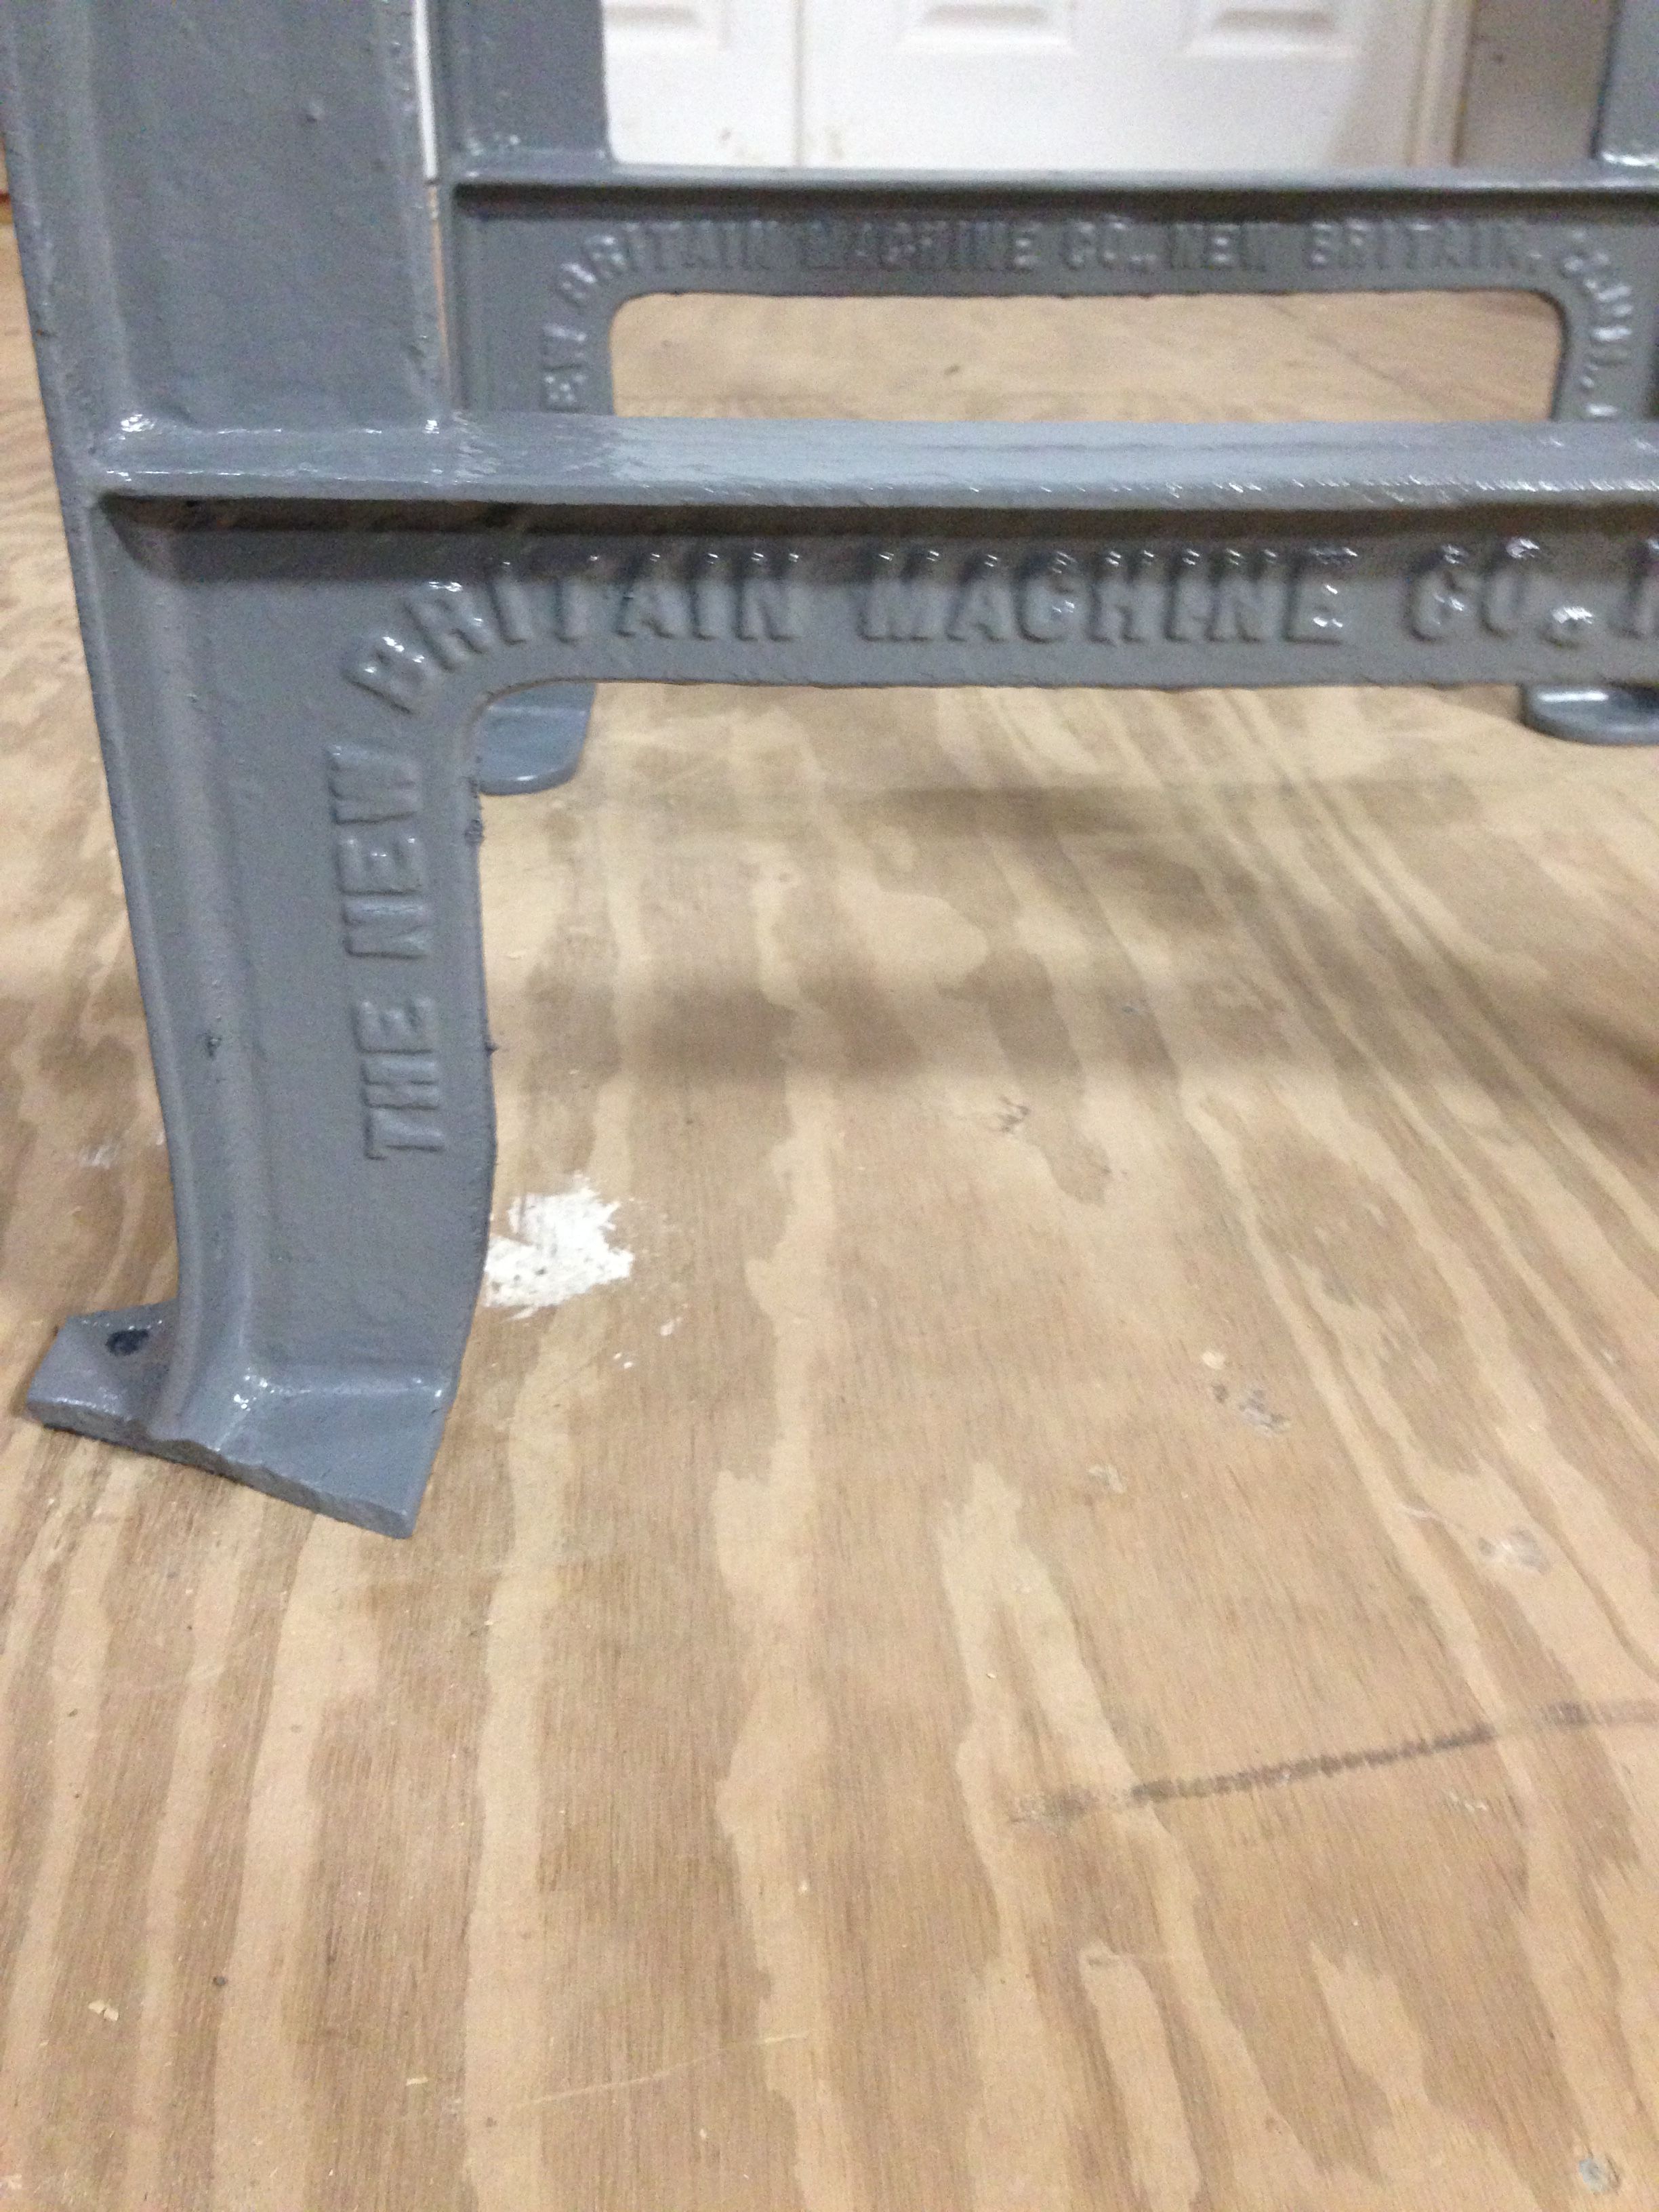
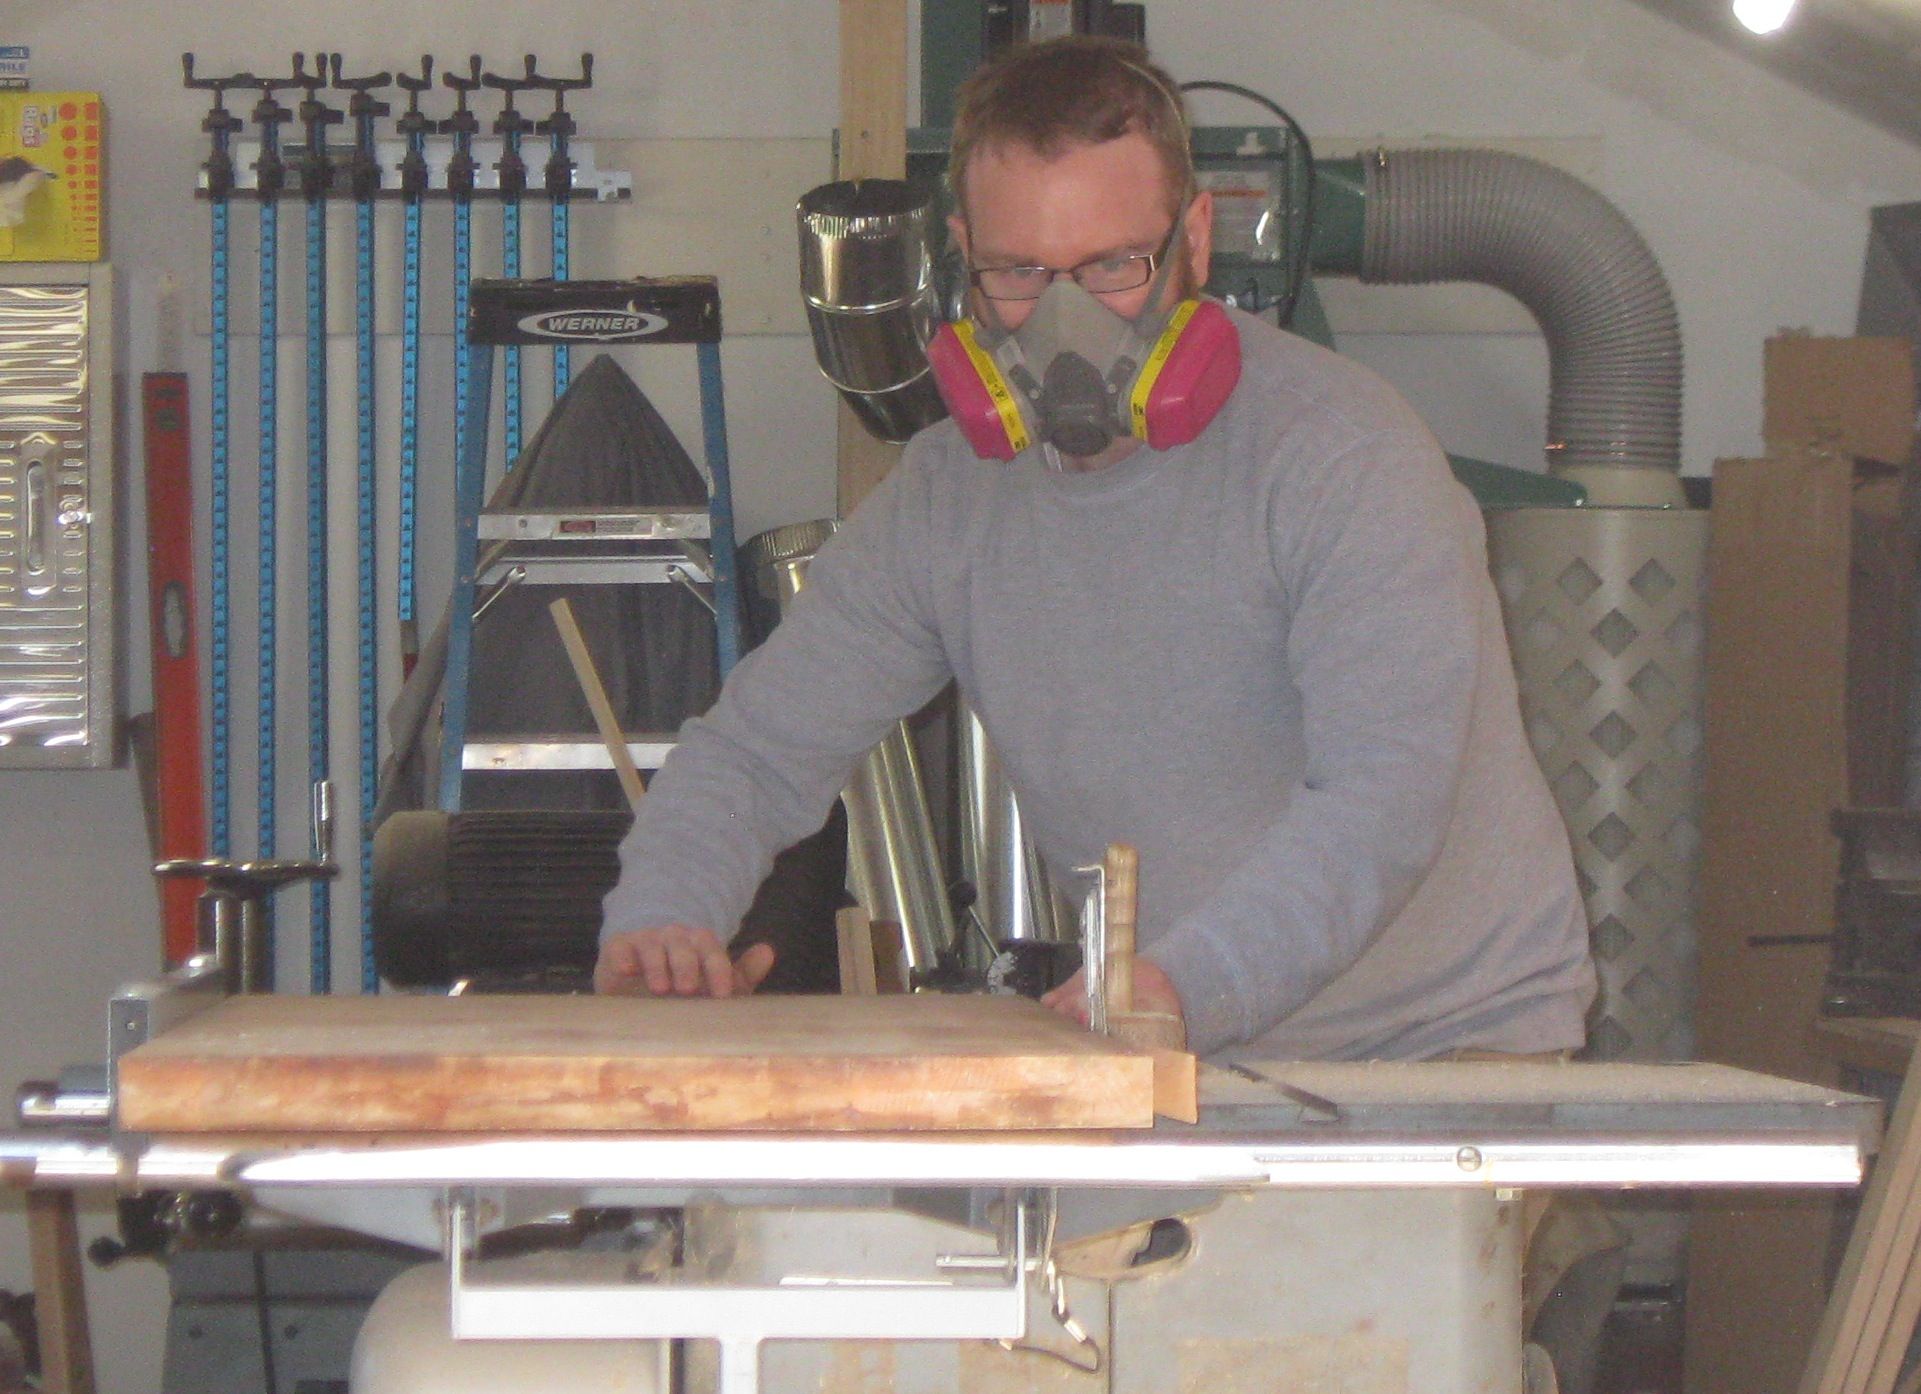
Cast iron legs are great because they’re very heavy and sturdy — great qualities in a bench. But mine were in desperate need of some TLC: a scraping and a new coat of paint. Once the warm weather arrived and I could work outside, I started the bench build by cleaning and painting them. I wanted to work outside because I was scraping off the old paint wherever it was loose, and then lightly sanding everything else. Because there could be lead or other bad-to-breathe chemicals, I wore a mask and took other safety precautions (like doing everything outside.) I vaccumed off any dust and debris before priming and painting the legs. I started with a few coats of primer and finished off with Rust-oleum Dark Machine Gray spray paint, which is a close match to some of the machines in my shop.
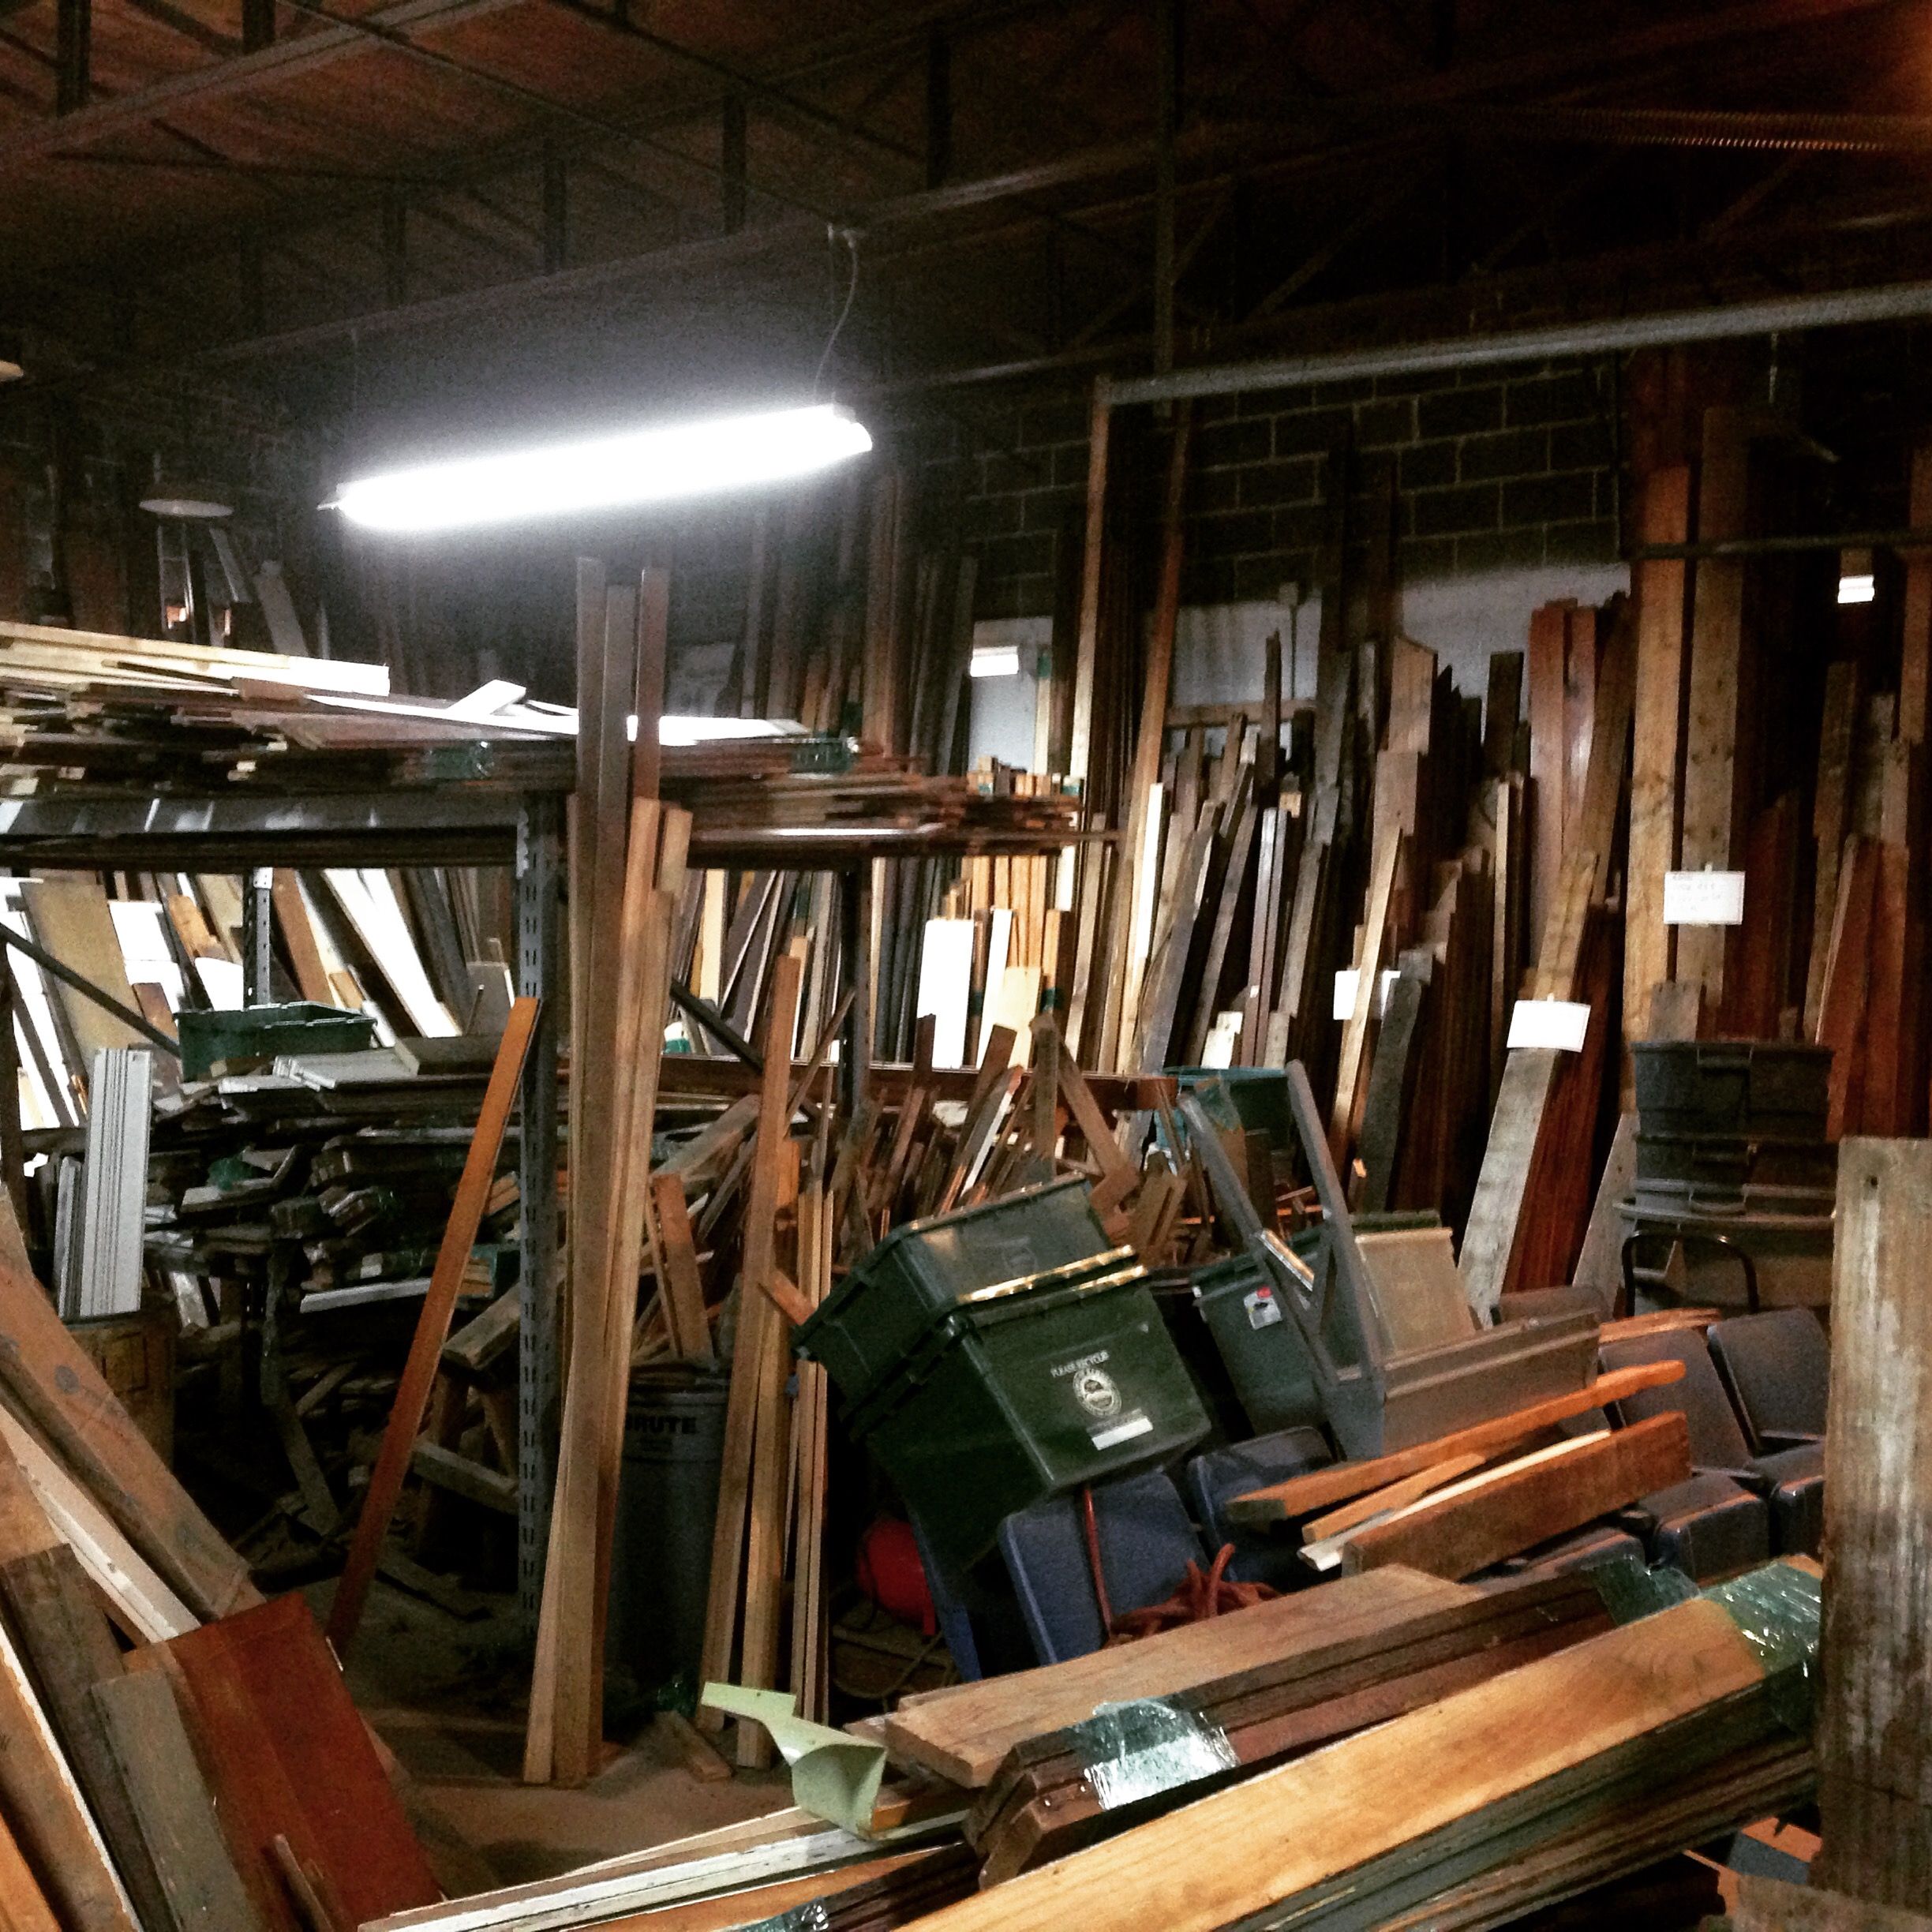
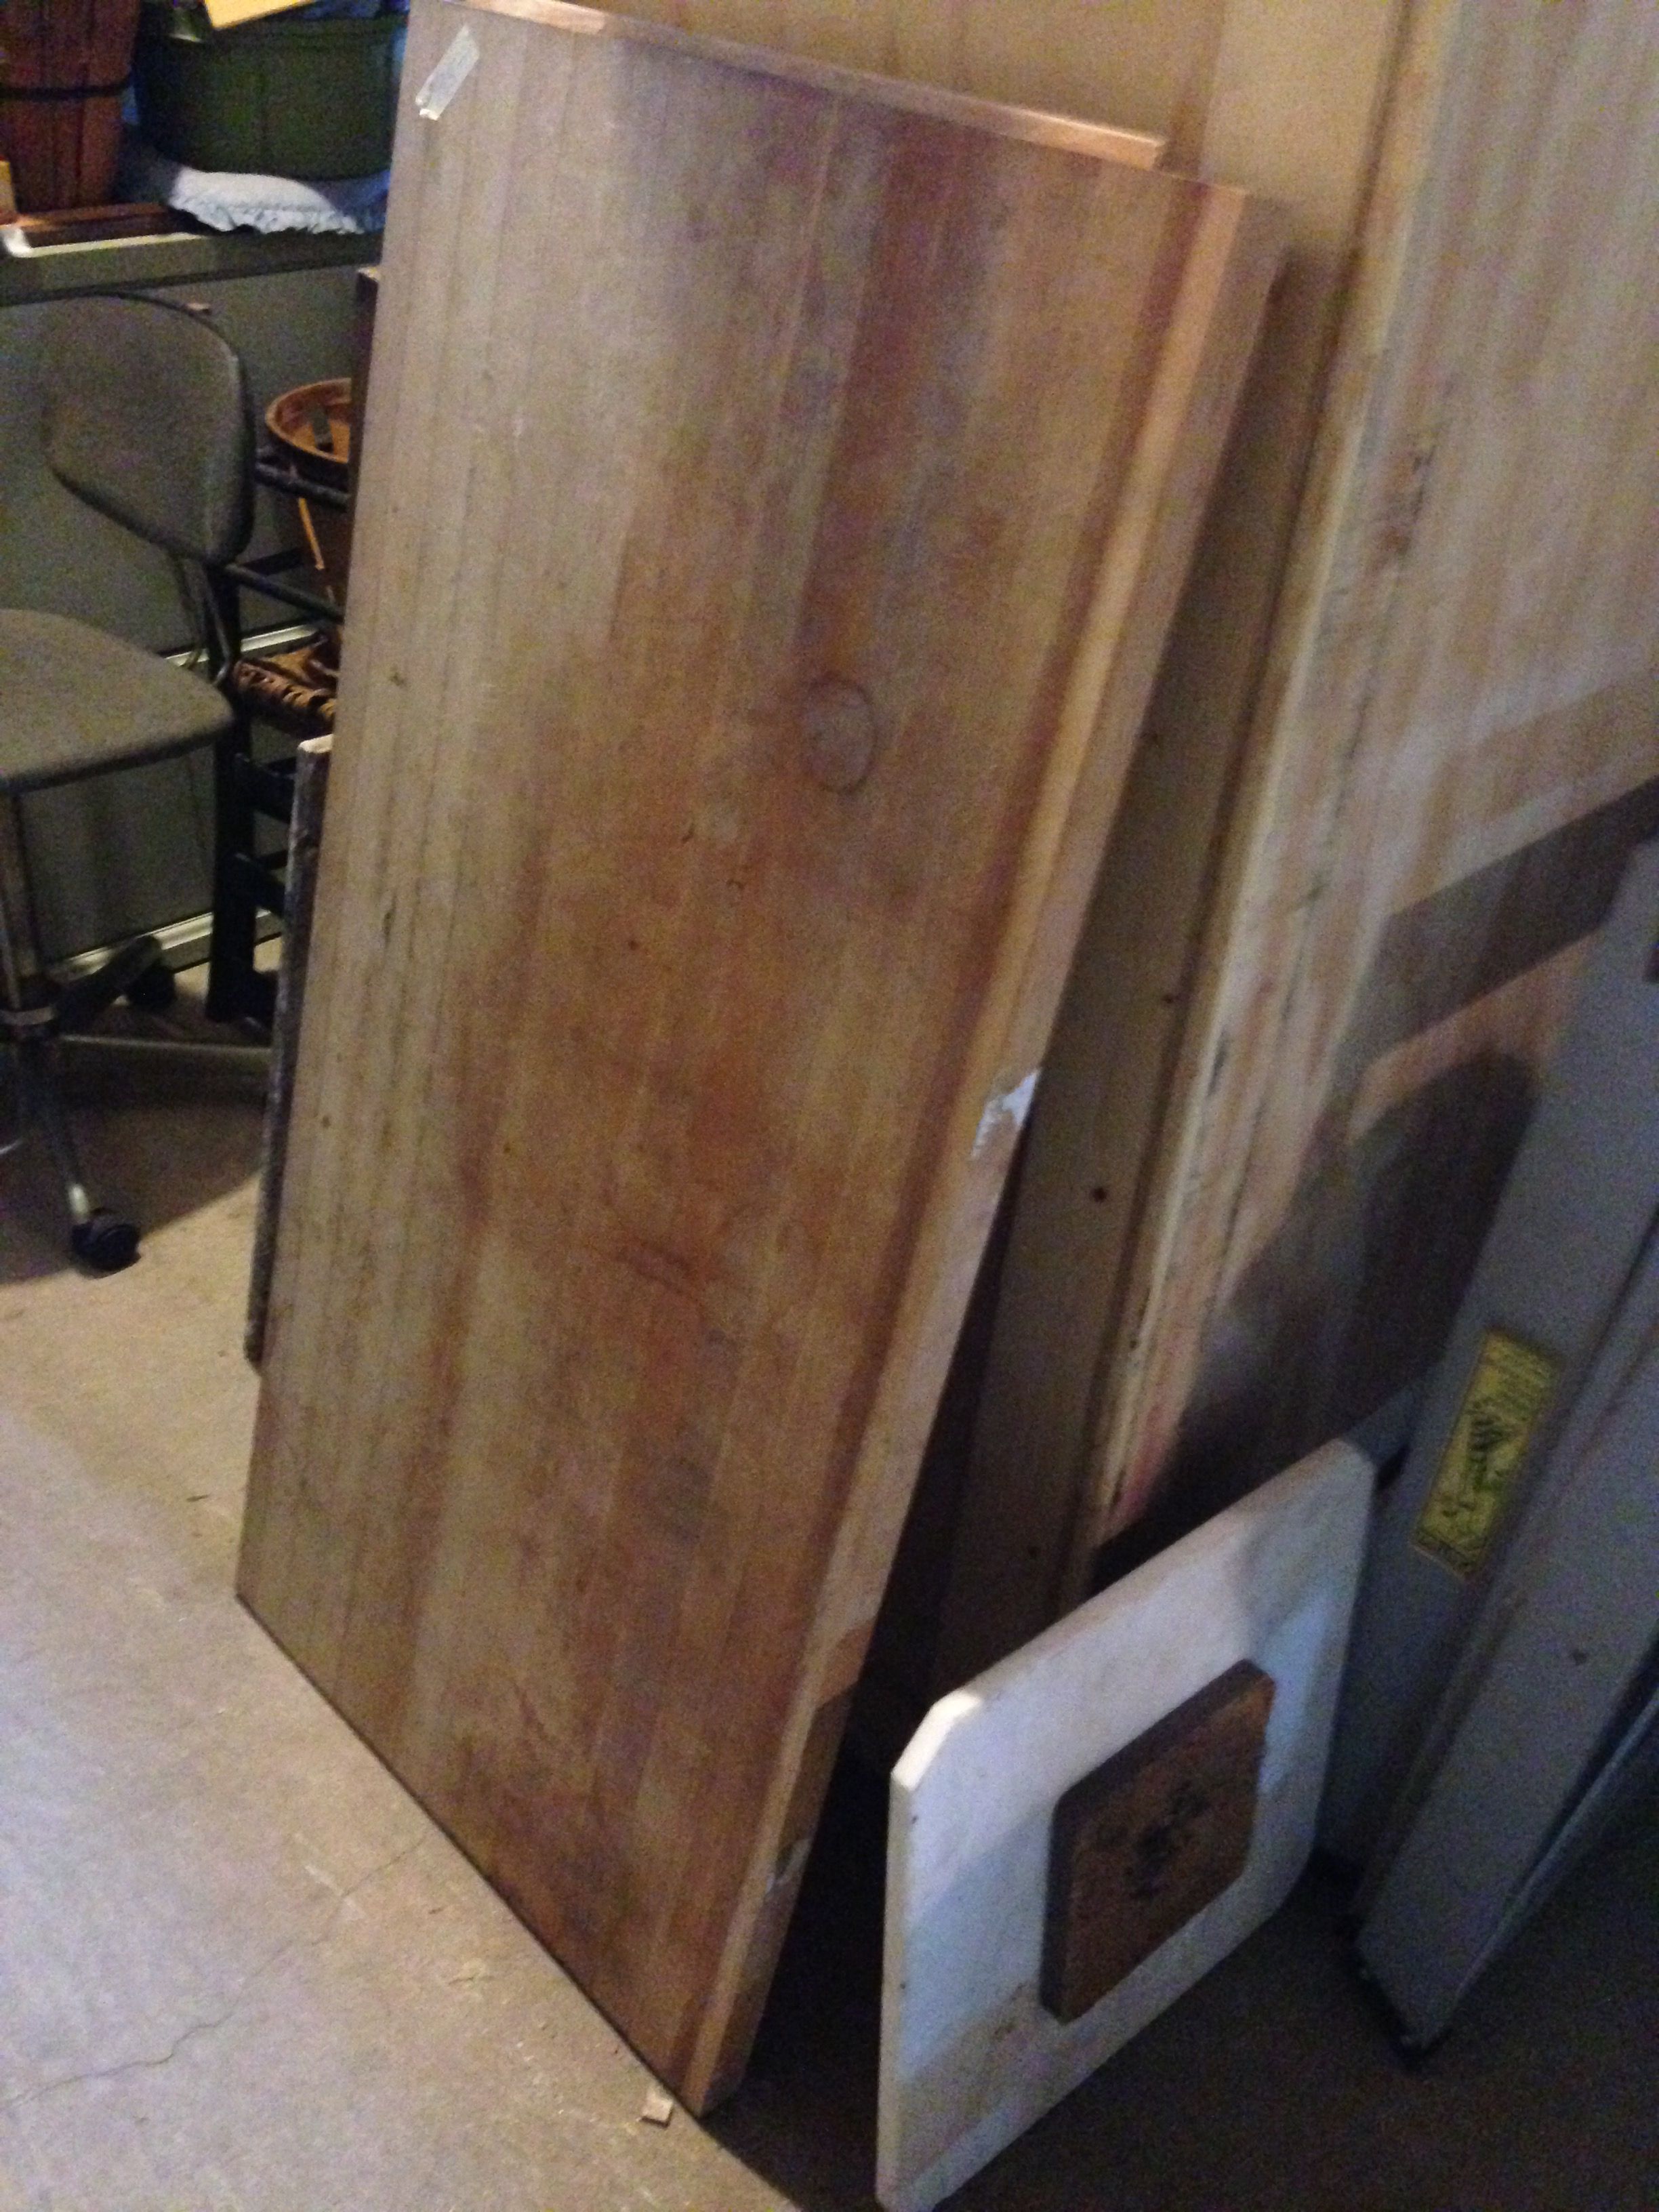
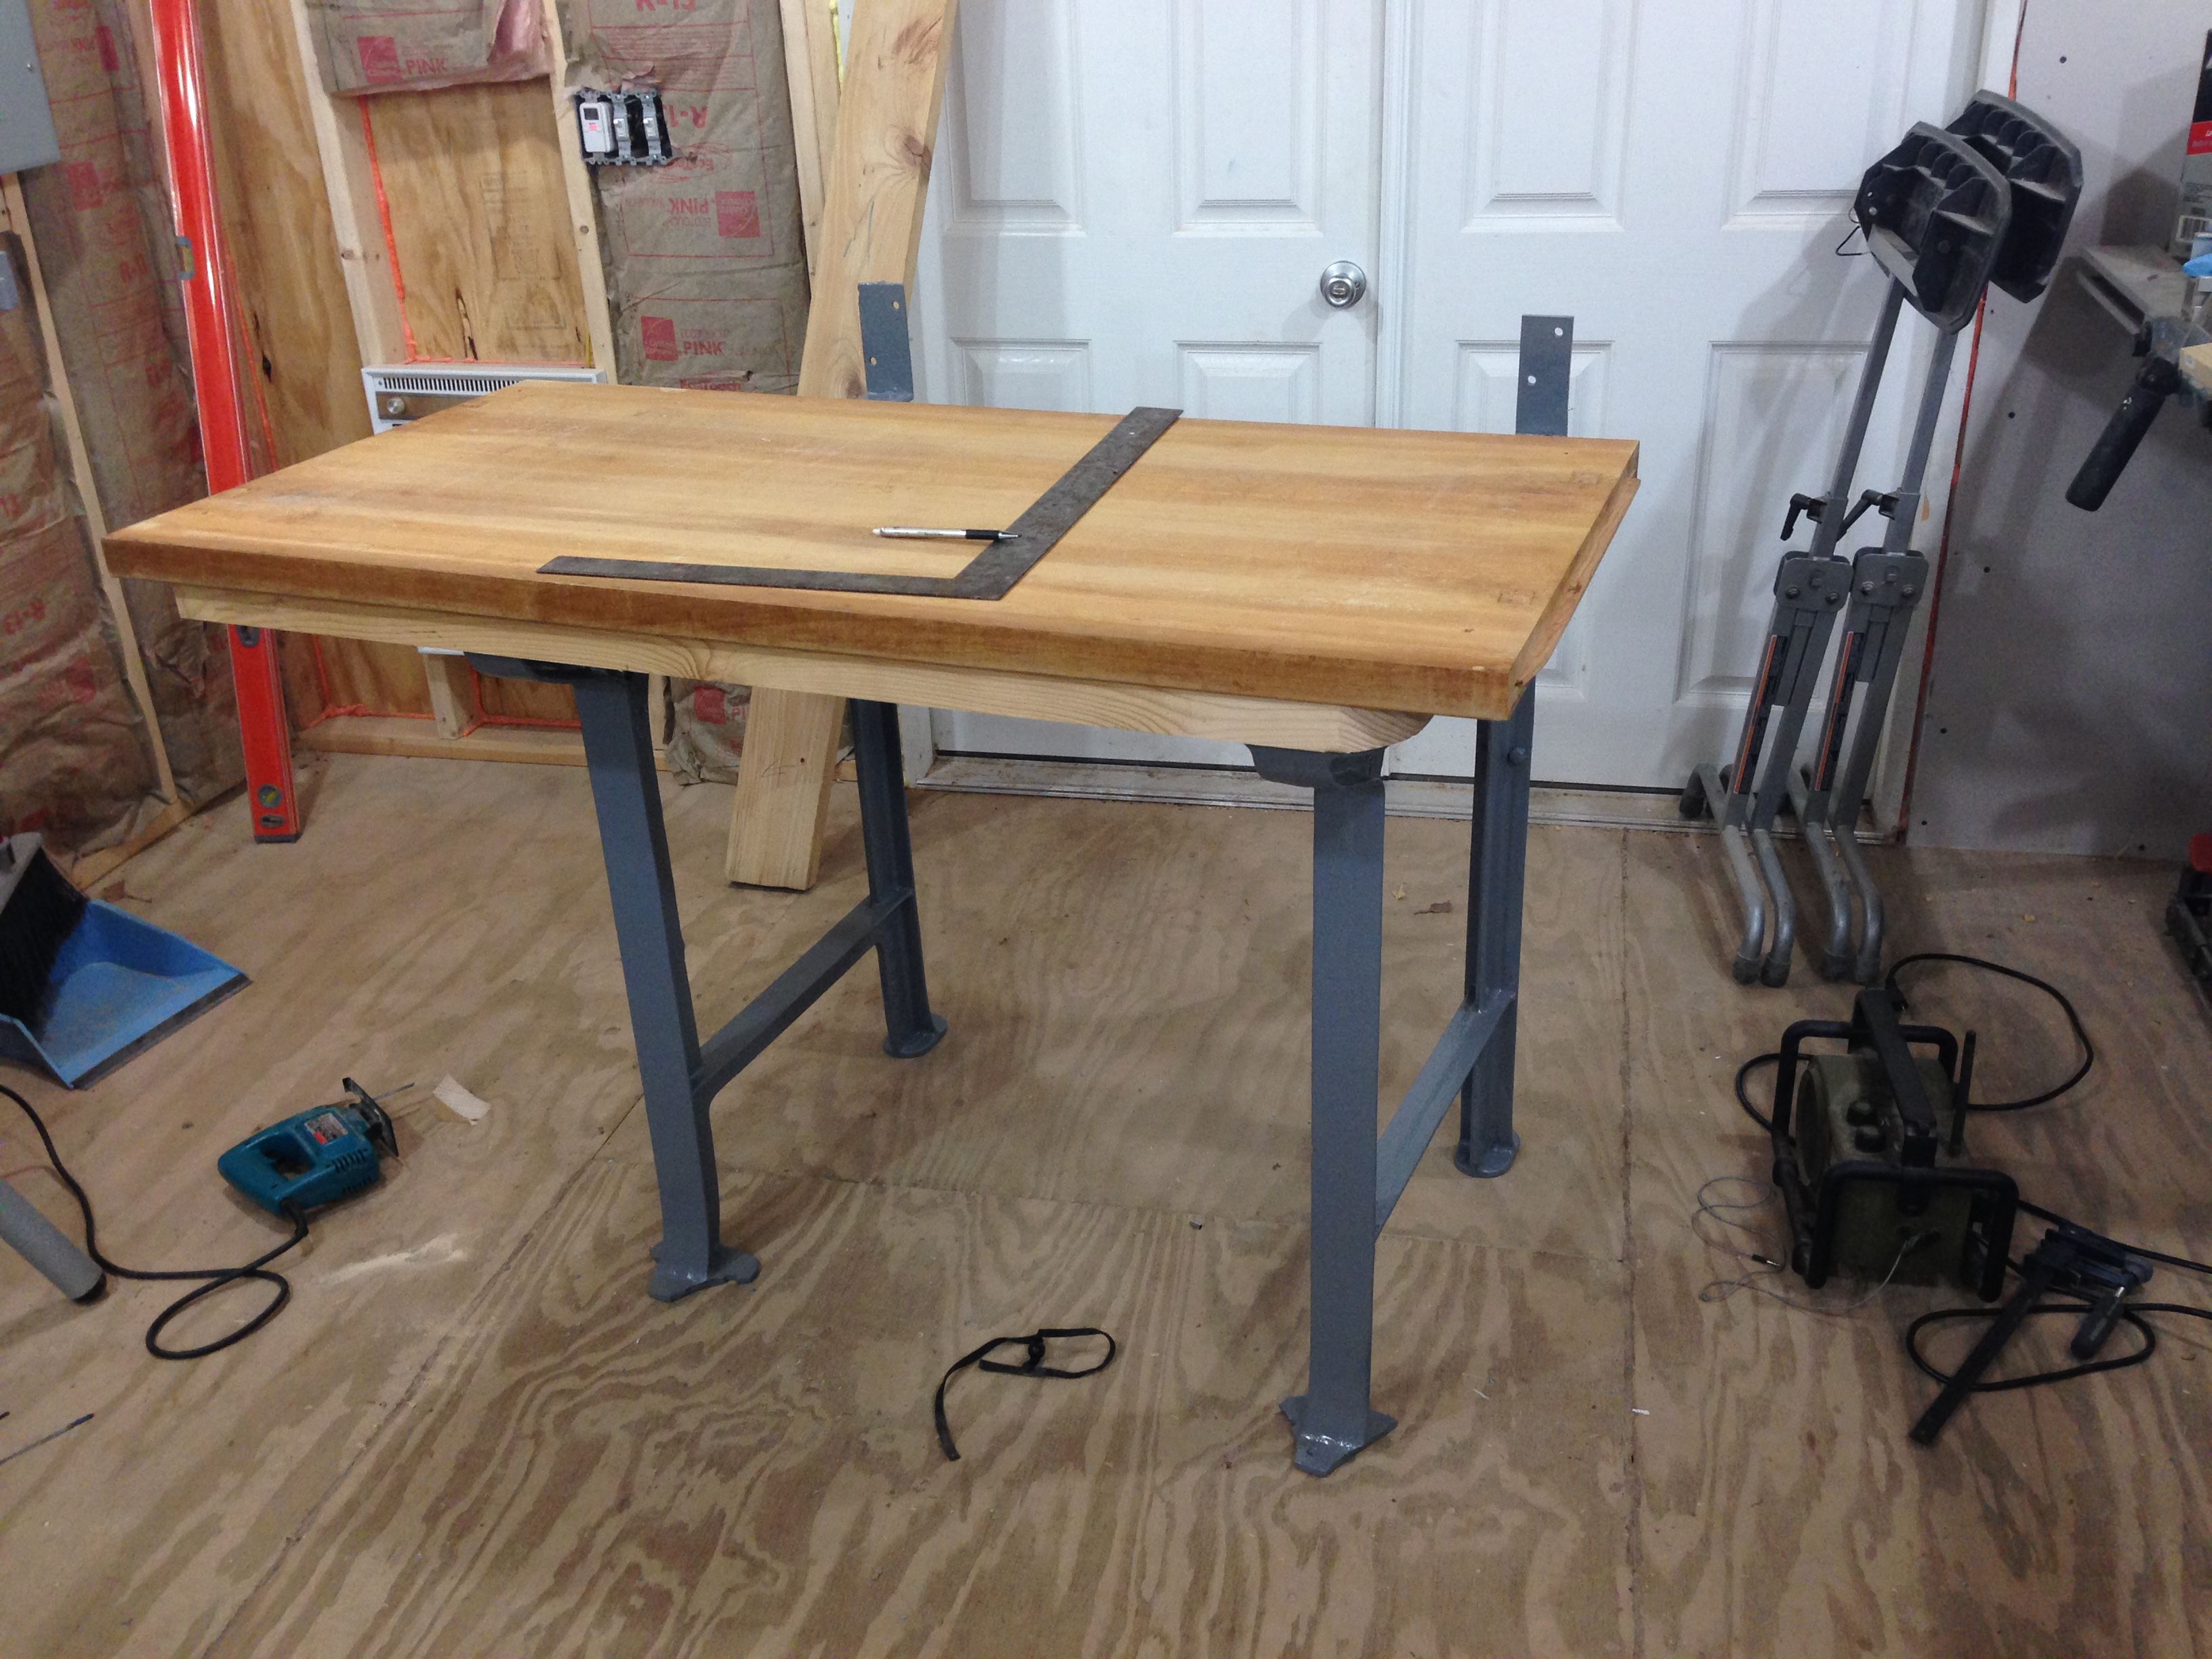
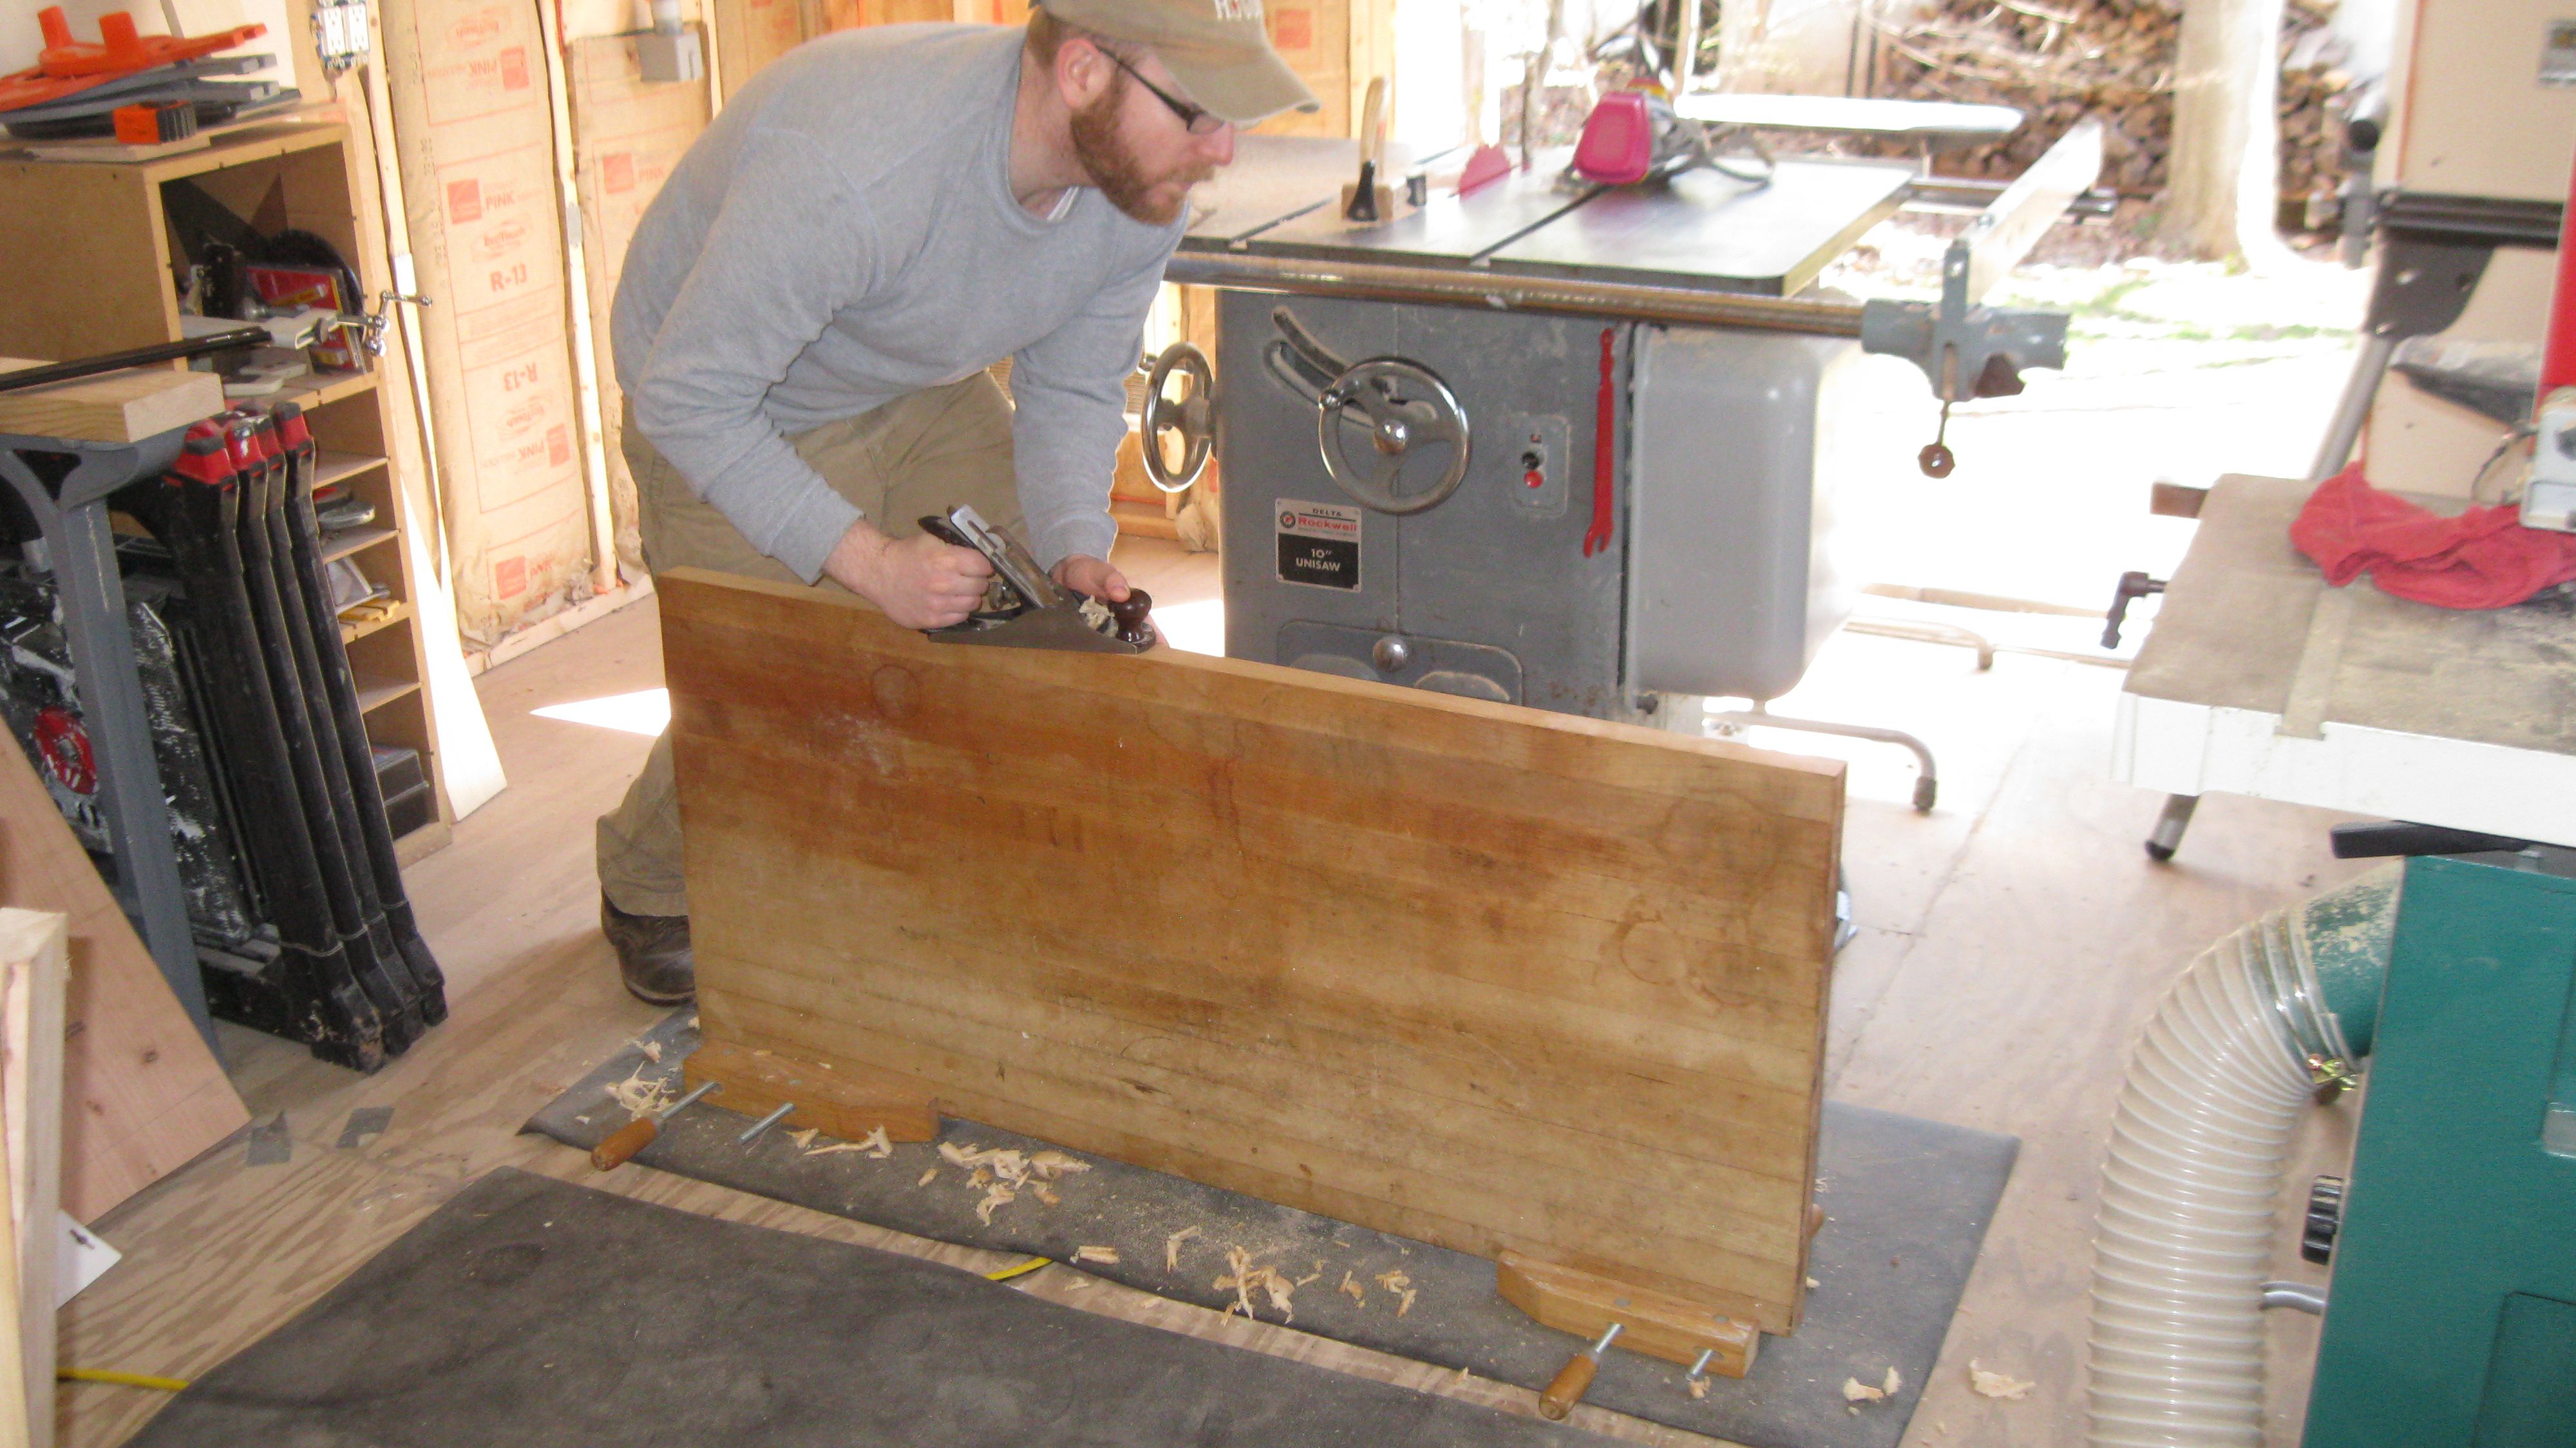
Next, I went to work finding a suitable top. I like the old industrial look so I wanted to get something suitably well-worn. At Urban Miners, an architectural salvage shop not far from the FWW office, I found a reclaimed maple countertop approximately 26 inches wide by 50 inches long. It had a split near one of the sides that I would have to saw off and reattach, and the width wasn’t quite as deep as the legs could accomodate (about 30 inches or so), but otherwise it was a good start for the bulk of a benchtop. I could fill in the rest with stock I had back at the shop.
I took it home, set it aside, and could barely wait for the paint to dry before building the frame for my bench. With cast iron legs like these it’s simple, because the legs have a few recesses in them to receive stretchers and cross-members. I milled up some leftover stock to thickness, and laid out the bench using the parts I had. Then I cut them to size and screwed the frame to the legs with lag screws.
Next up, I had to figure out a way to add a tool rack across the back of the bench, and a woodworking vise. Look for those in part 2.



Comments
The work bench looks like it's really shaping up to look quite good! The legs aren't what I would've pictured to be used, but somehow it seems to pull the whole look together!
Log in or create an account to post a comment.
Sign up Log in