Follow Me is one of the most useful native tools in Sketchup for creating complex shapes. If the tools in SketchUp have analogues in the shop, Follow Me can be thought of as a router or shaper as well as a lathe. It can be used to add material” or subtract it depending upon how you set it up. There are some considerations you need to keep in mind when using it.
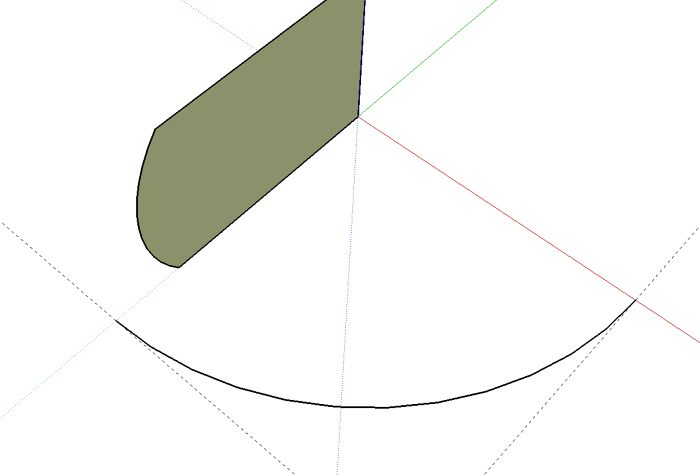
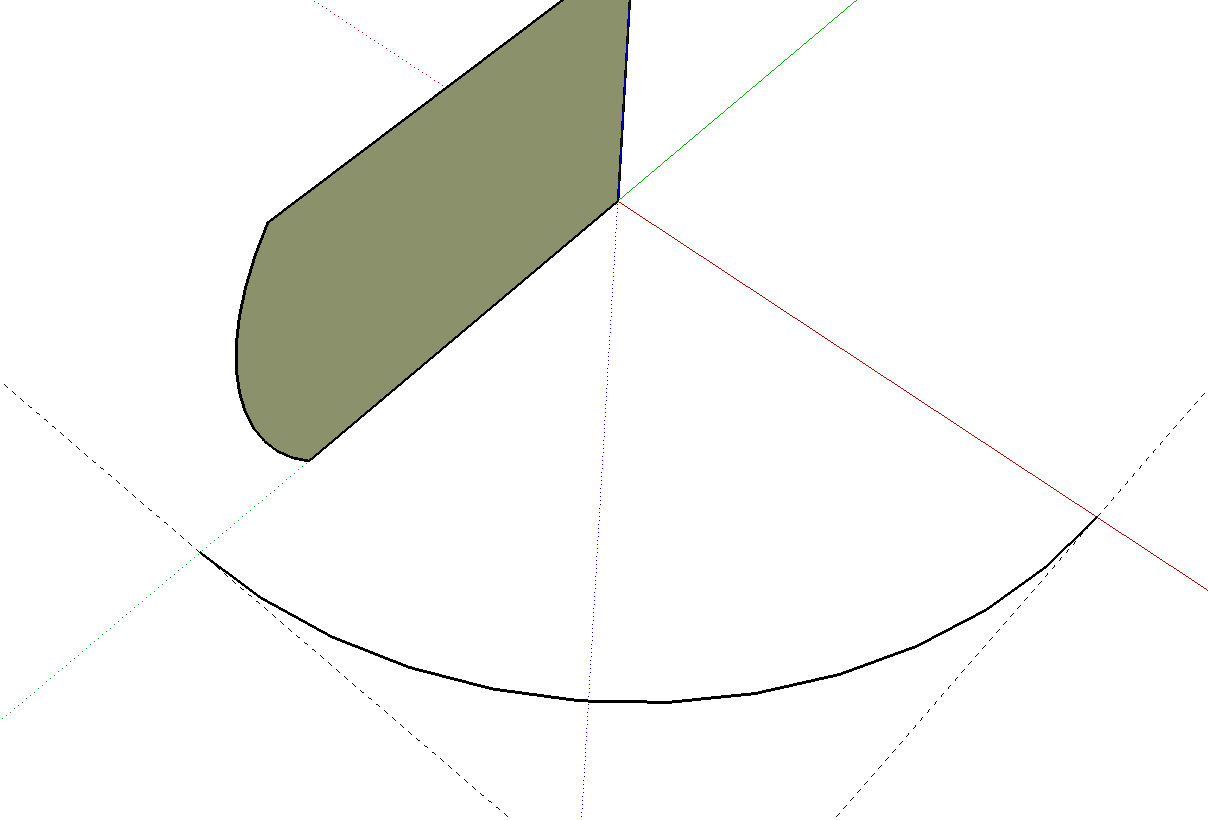
For example, the profile needs to be setup to be perpendicular to the first segemnt in the path. If it isn’t Follow Me will create a projection of the profile that is perpendicular and the extrsion will end with a face that is perpendicular as well. You can see the results of that in the following images.
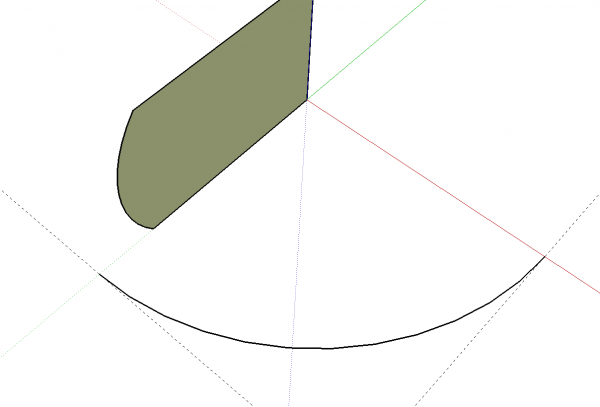
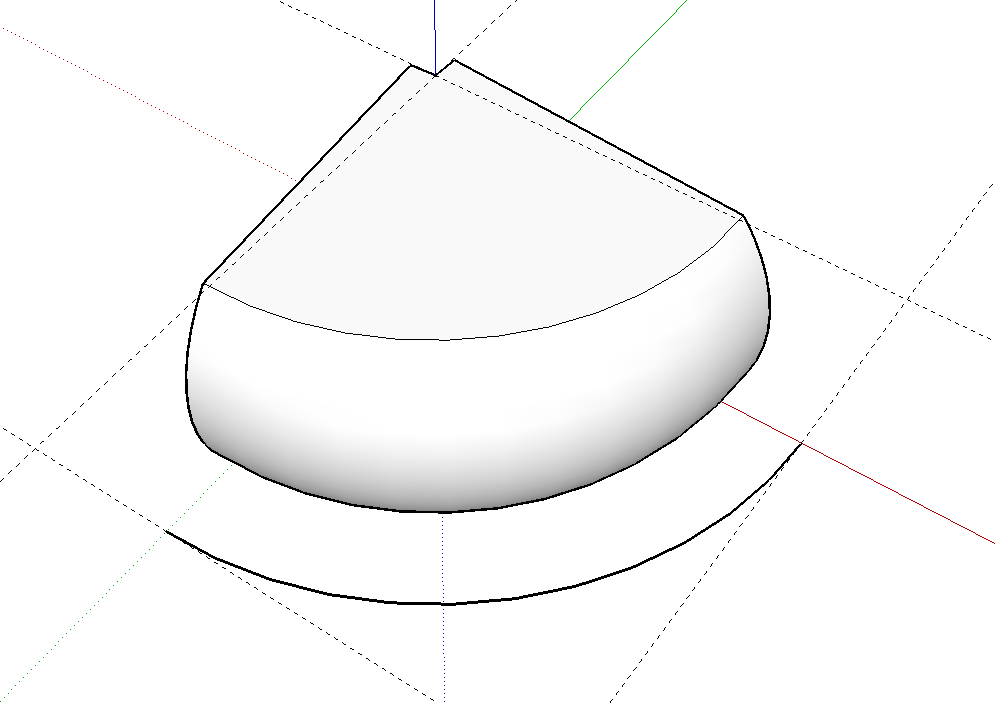
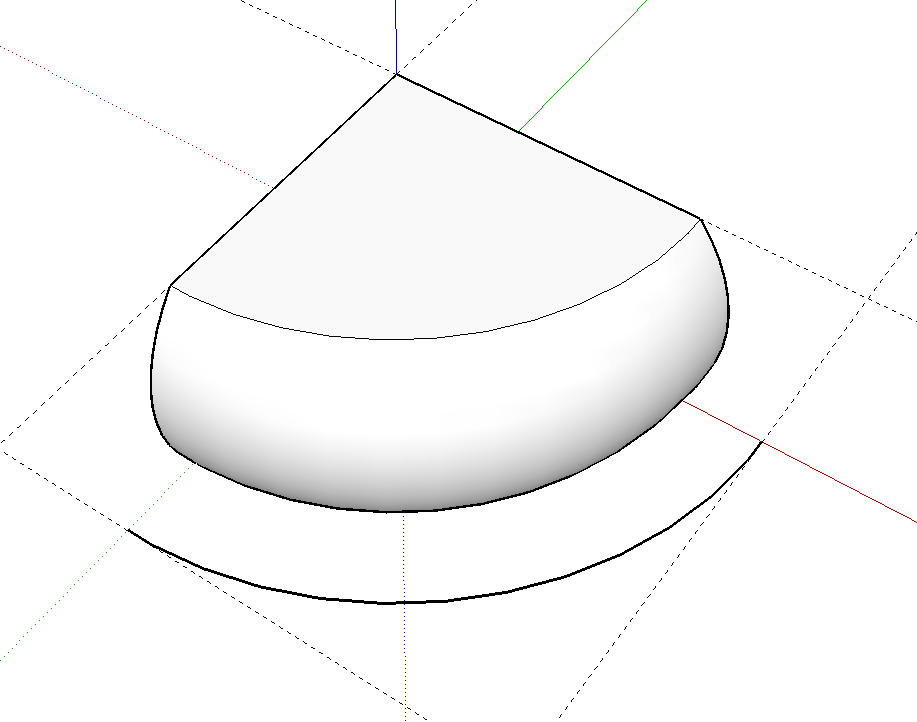
Here the profile is setup on the green axis and I used an arc drawn with the Arc tool to create the path. If you look closely, you can see that the first and last segments in the arc are not parallel with the guidelines which were set out from the axes.
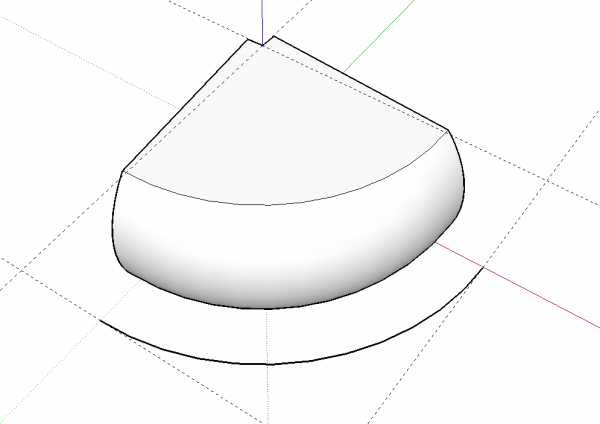
After running Follow Me you can see that the extrusion isn’t quite right. And since the profile is projected to perpendicular, it’s shape isn’t exactly the same as the original.
The easy solution in this case would be to start out with a circle instead of an arc. the next couple of images show how that works.
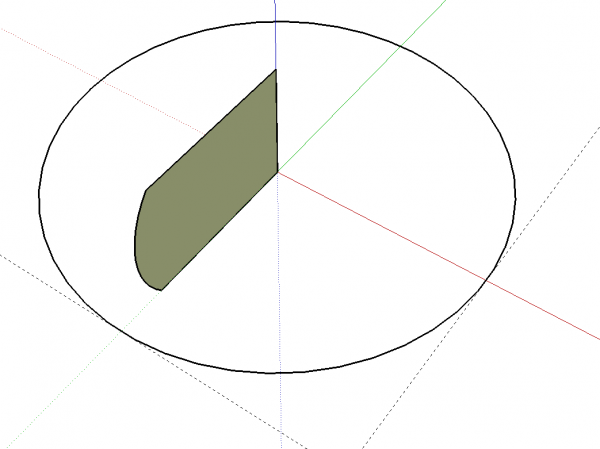
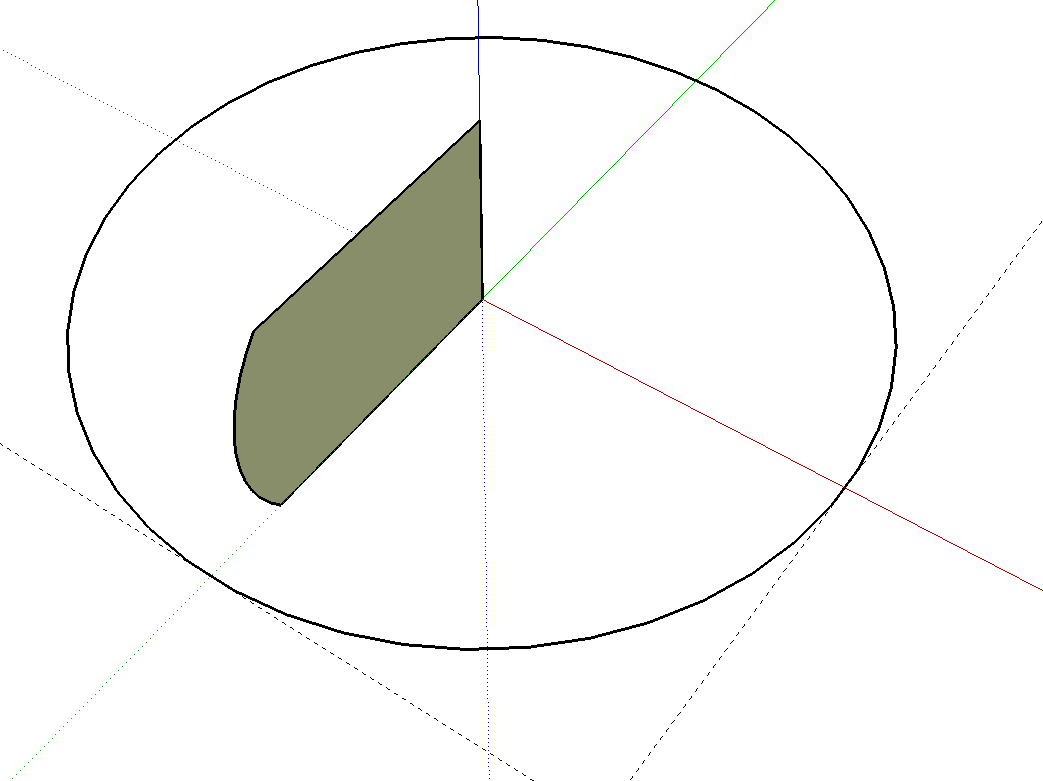
In this case I’ve drawn a circle out on axis and then rotated it so that a line segment on the edge of the circle is crossing the axis at 90°. The rotation angle is half the included angle between vertices. With a default 24-sided circle, then, the rotation angle is 7.5° For this example I used a 48-sided circle so that the shape would be smoother. That meant I needed to rotate the circle 3.25°.
After drawing and rotating the circle, use the Line tool to draw some short line segments at the midpoint of the edges crossing the axes. Then erase the unneeded portion of the arc and those segments used to cut the circle and you’re ready to run Follow Me.
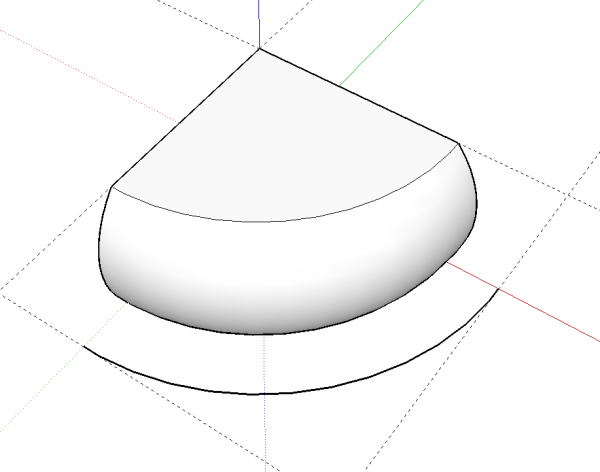
And now the result is like what we might expect with the flat vertical faces parallel to their associated axes.
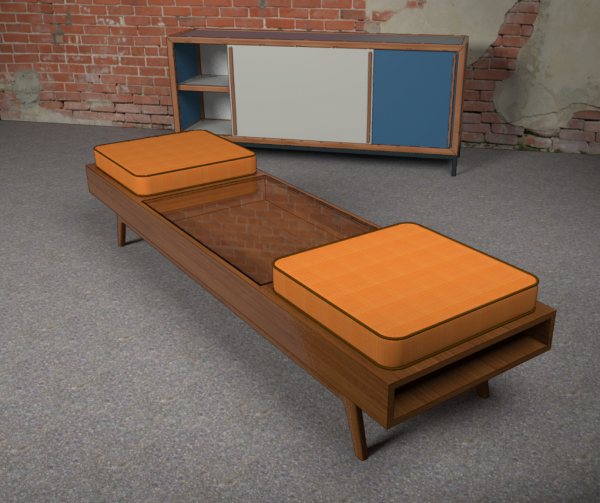
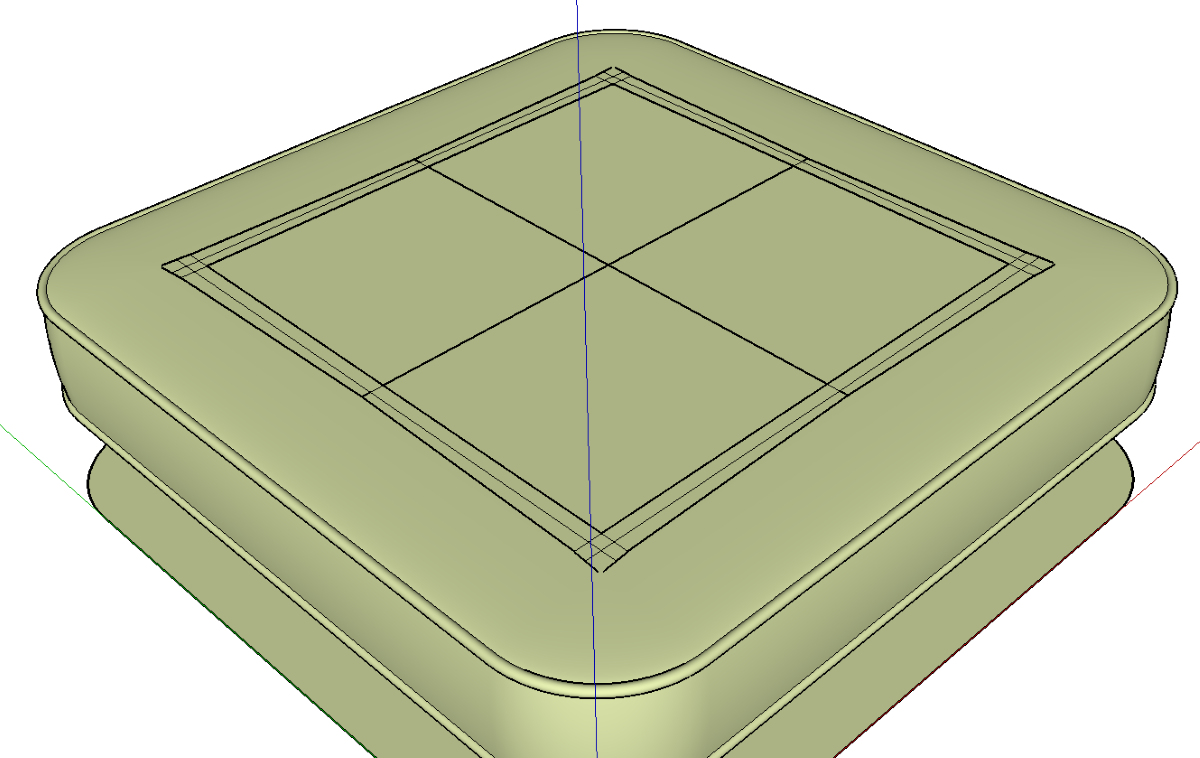
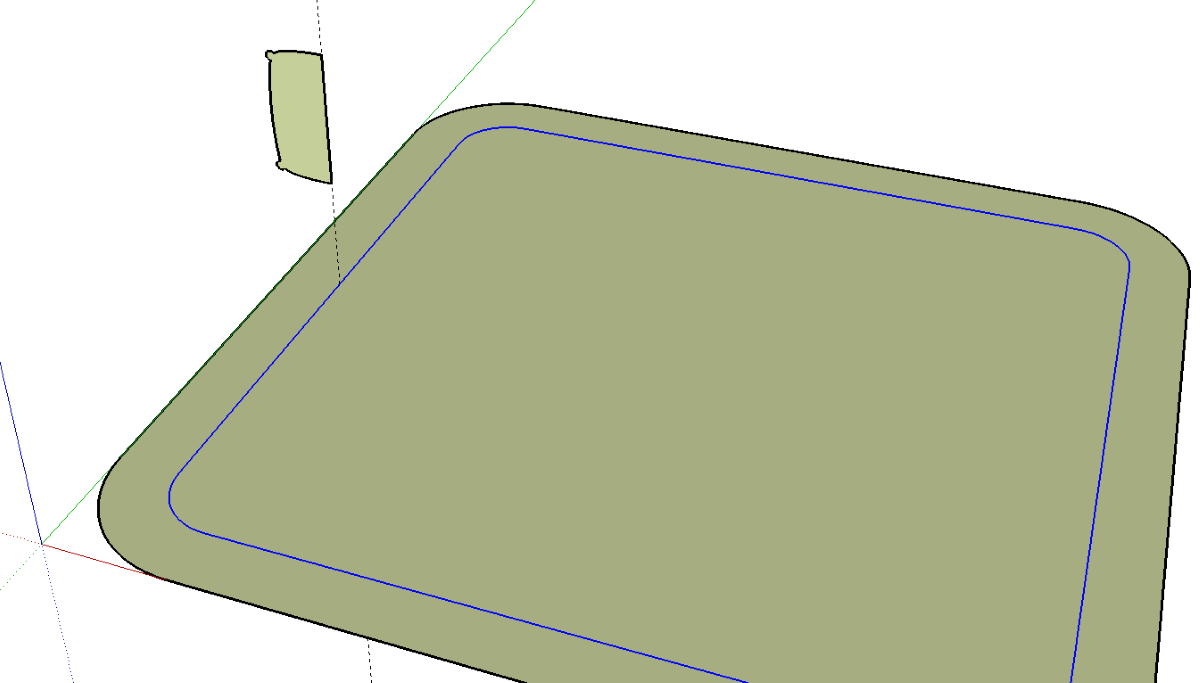
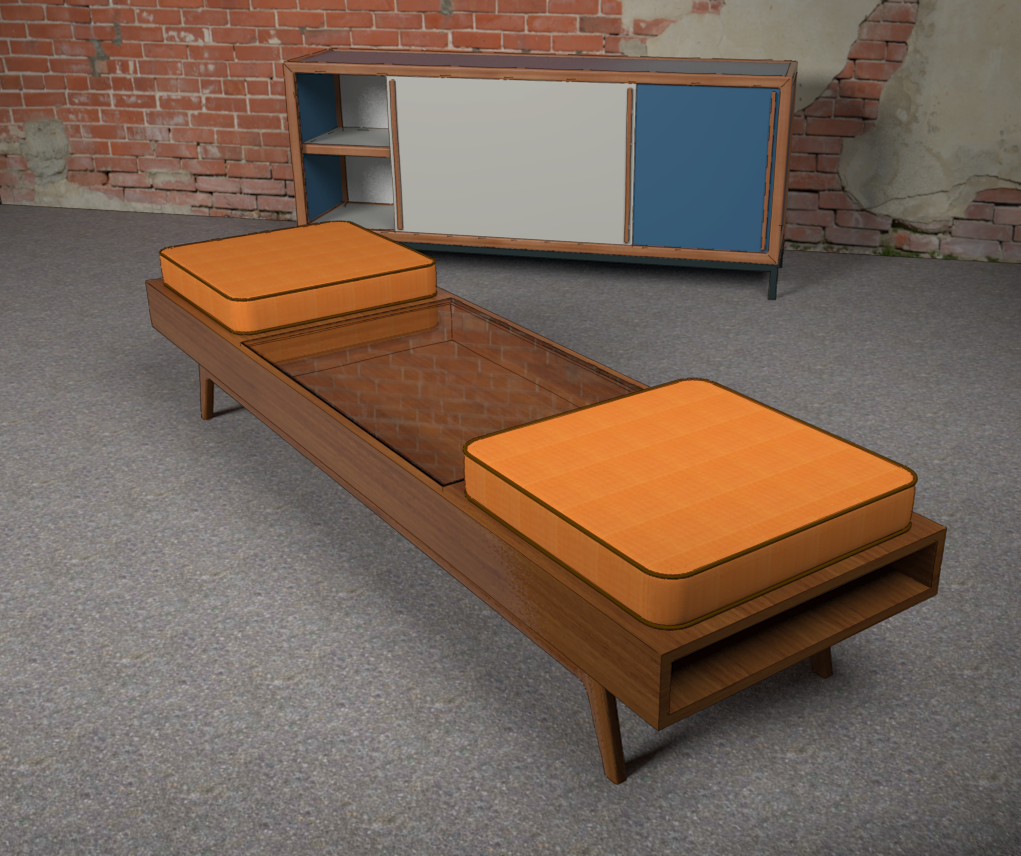
The size of the profile and the location of the path can have a big impact on the results in other ways, too. Here’s the initial setup for drawing the upholstered cushion for the bench shown above.
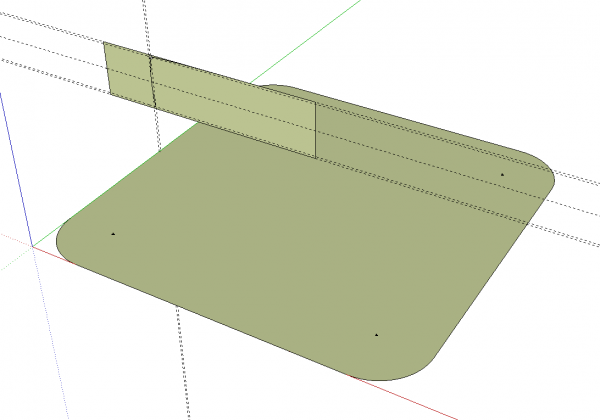
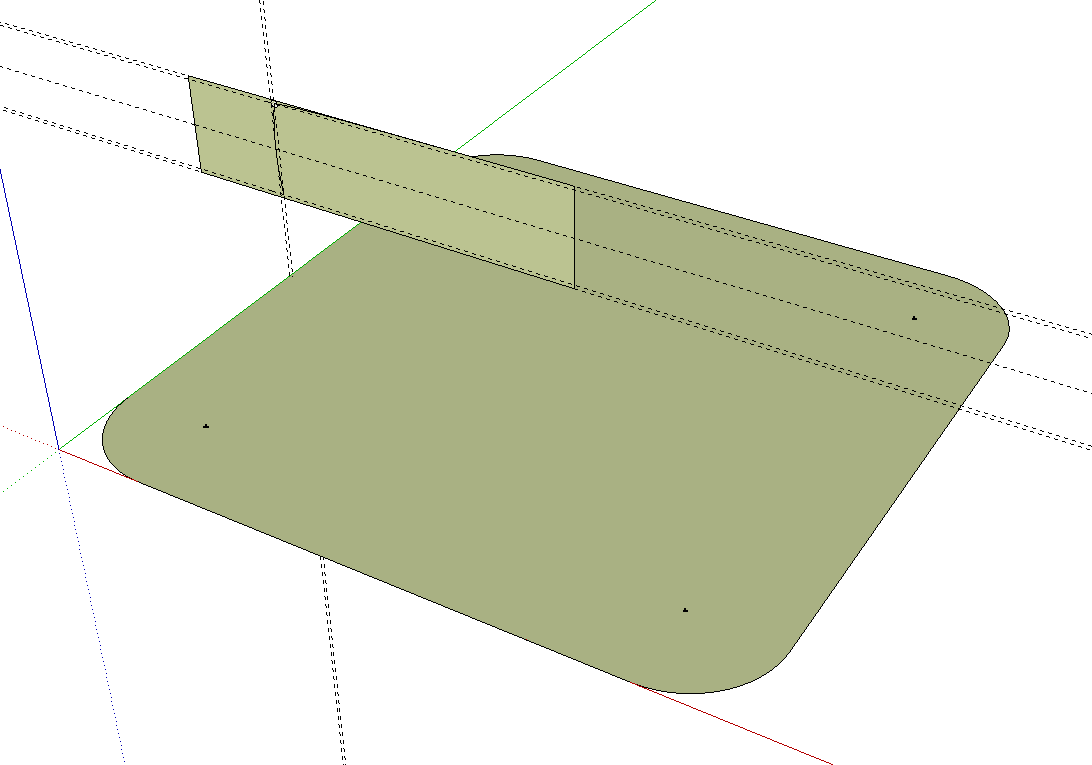
I drew a path for Follow Me and a profile that extends to the center of the shape. The perimeter of the path is lined up with the outside of the profile.
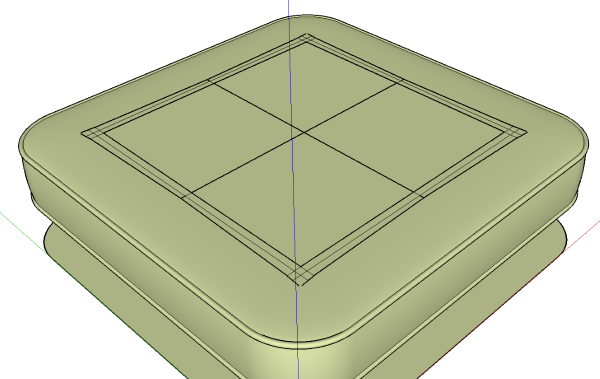
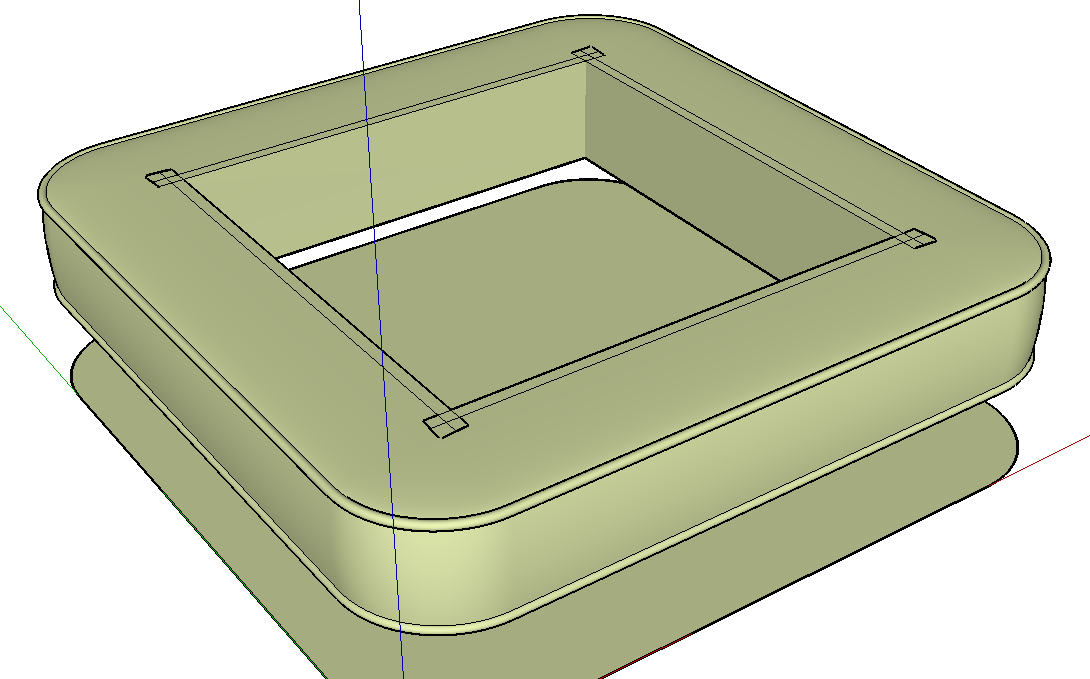
After Follow Me there’s a whole lot of excess geometry created. Although it doesn’t show here, there are many internal faces as well. This could all be cleaned up but it would be quite tedious.
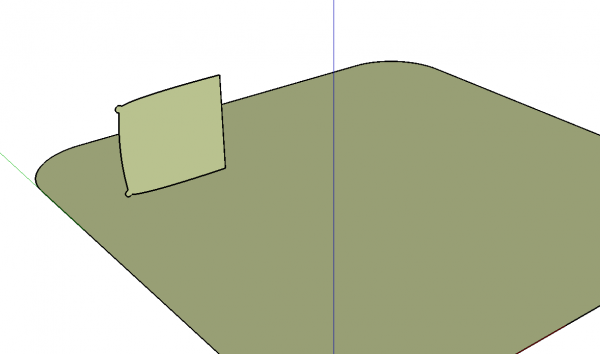
Even if the profile gets shortened up, as shown above…
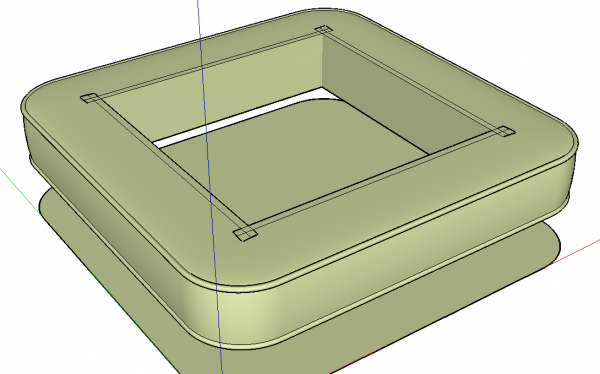
…there’s still a mess of excess geometry to clean up.
So to avoid having so much cleanup to do, I like to set the path to the inside of the profile.
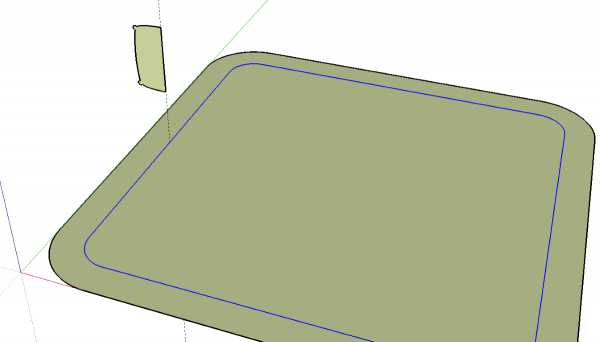
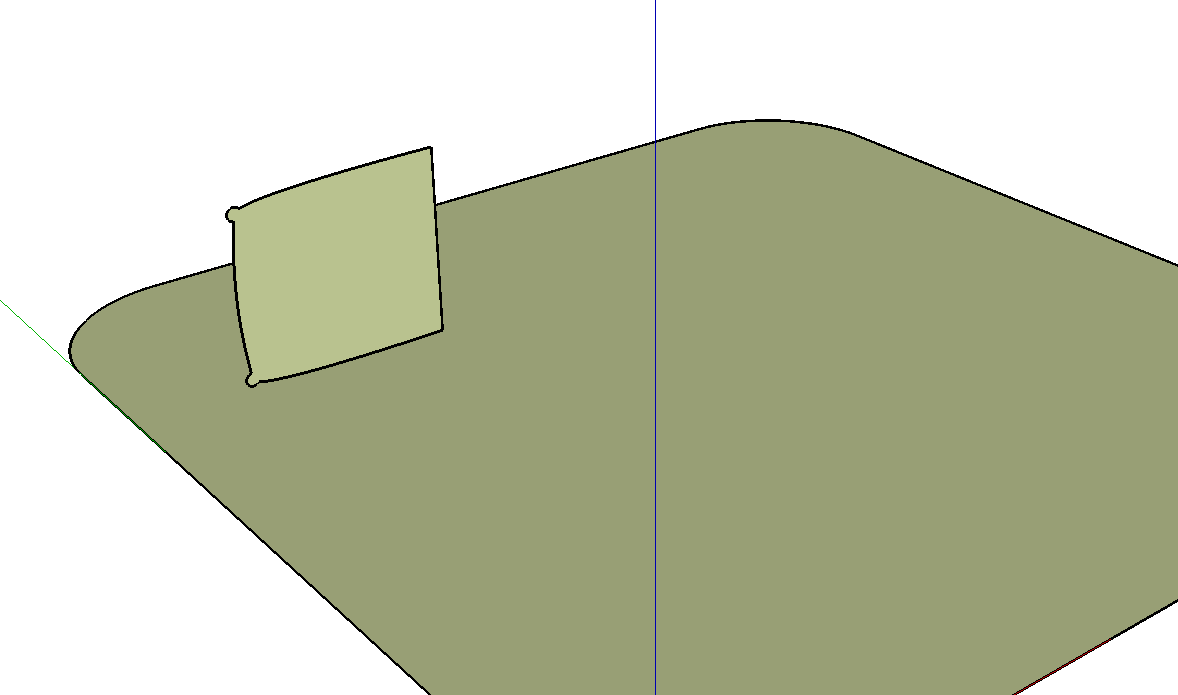
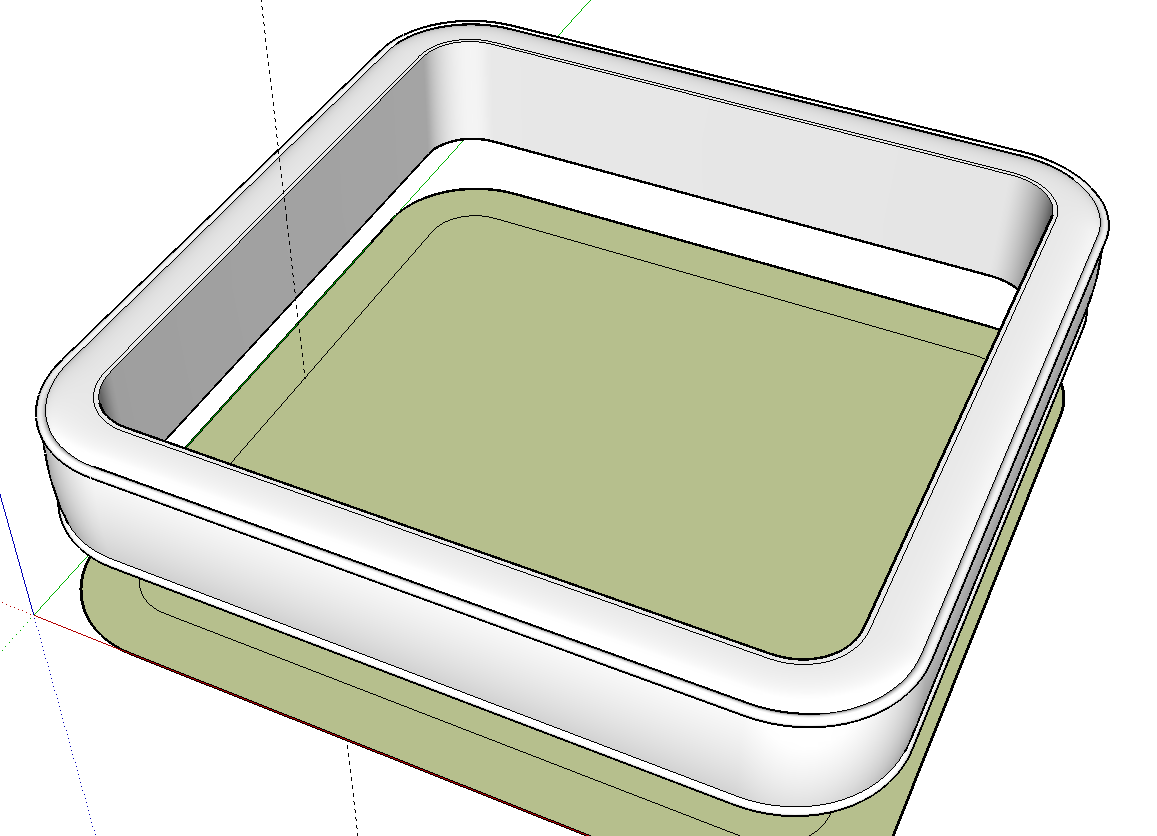
Here I used Offset to create a new path, shown selected, above. I also reduced the profile to only what I absolutely needed. You can see the guideline running along the inside edge of the profile hits the new path.
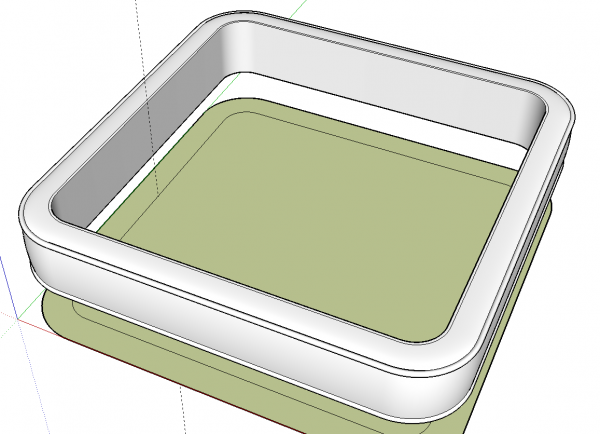
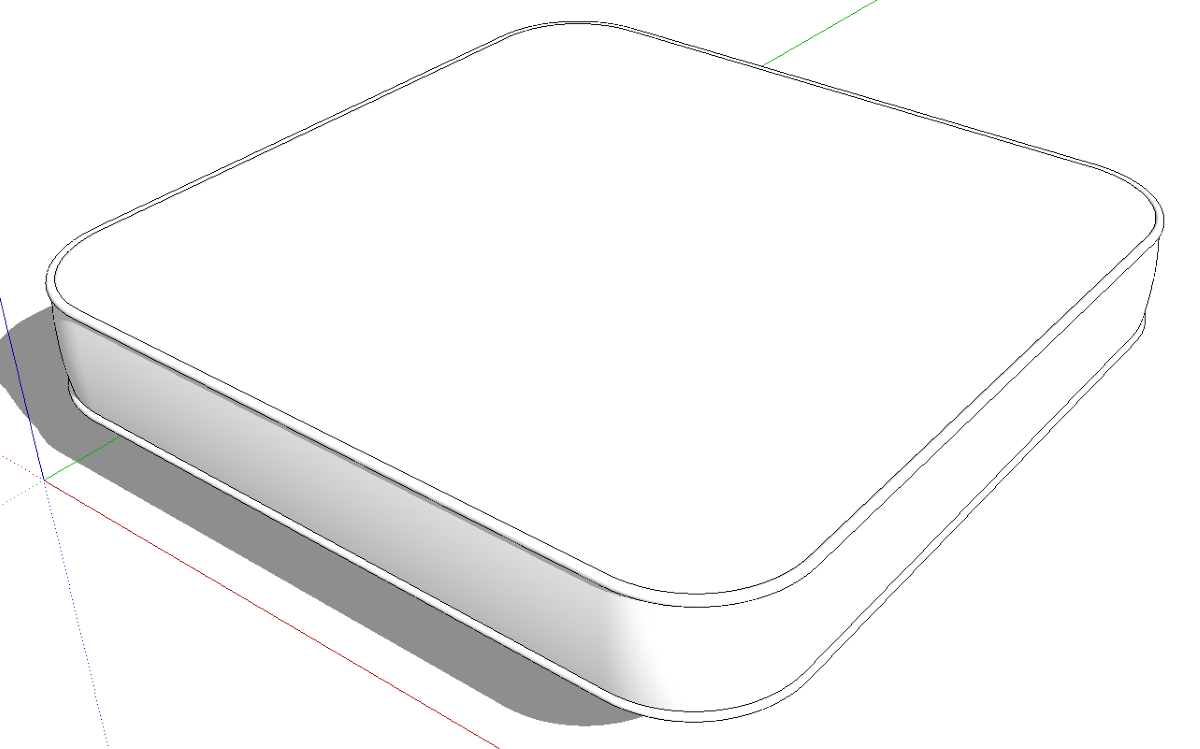
This time, after Follow Me things look much cleaner. And coincidentally the faces are right way round saving me the step of reversing faces. At this point there’s very little cleanup to do. Select the inside surface and hit Delete. Then get the Line tool and trace a line segment on the edge of the openings both top and bottom. this will cause the large openings to be skinned over. Finally, select the geometry, context click and choose Smooth/Soften to soften the edges you don’t want to see.
From here it’s just a case of making the cushion a component and Bob’s yer uncle.
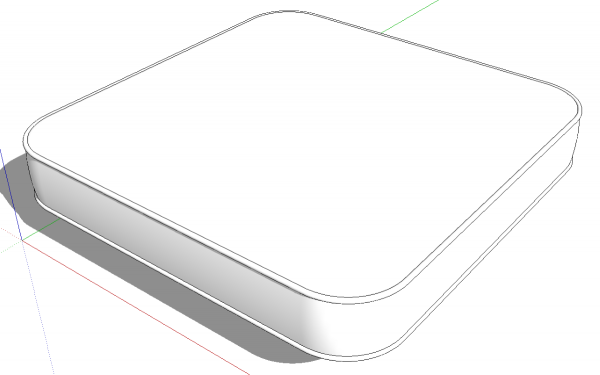
So, if you’re working with Follow Me and having some difficulty getting a clean extrusion, try changing the path and/or the profile and see what you get. Maybe there’s a better way.
–Dave



Comments
Terrific technique, as usual. Did you need to scale up the cushion before running Follow Me?
Thank you, David.
In the case of this cushion, i didn't need to scale it up at all. To be honest, I was expecting to do that but when I ran Follow Me and it left no holes, I decided it didn't need scaling.
You bring up a good point, though. When combining profiles that include arcs or other curves and curved paths using Follow Me, it is possible that you'll wind up with holes in the surface. These holes are due to the fact that SketchUp won't create faces if the edges are too short. The solution is to work at a larger scale. My work flow for that is that I generally make a component of the profile and path before running Follow Me. then I scale up a copy of the component, run Follow Me and discard the scaled up copy. This leaves the original where I made it with the faces intact. I've shown this is several blog posts in the past.
-Dave
Perfect timing! I was about to try FollowMe one more frustrating time when I caught this mini-tutorial. In particular, FM does not function (as far as I can tell) on a closed path. ("invalid path" is the usual result) But your note put the horse in front of the cart, rather than behind: create the component from the moulding inward. So a table top with a roundover edge starts now with the edge creation, followed by the simpler insides. But one question: when the innards are themselves some curvy path, how does Sketchup behave when you start to skin over the hole in the doughnut? Your tutorial said to use the Line tool, but curvy innards call for some combination of Arc, Line. And when I reluctantly started to redraw the innards, starting with Line, the innards skinned over with the first Line segment, like magic. Don't know exactly what happened here. Explanation?
Bill Lindenfelser
Bill, as you've found, FM can work with a closed path. In fact using a circle for a path is the way to create turned objects such as table legs, columns, and bowls.
I'm not exactly sure what you're describing with the curvy innards but if you followed the process I outlined for the cushion while drawing, say, an elliptical table top, the process would be the same. Since curves are made up of a series of straight line segments, you could still trace a line segment.
If the center area was domed or dished out, or if the edges of the opening aren't coplanar, you'd need a different approach to filling in the opening because you need to create a large number of faces and not just one. That might involve creating the whole profile as I showed at the beginning or perhaps breaking it down into smaller portions and combining them. Or maybe you need to do part of the shaping using a plugin.
You could send me an example SKP file and I could probably make a clearer explanation.
-Dave
Log in or create an account to post a comment.
Sign up Log in