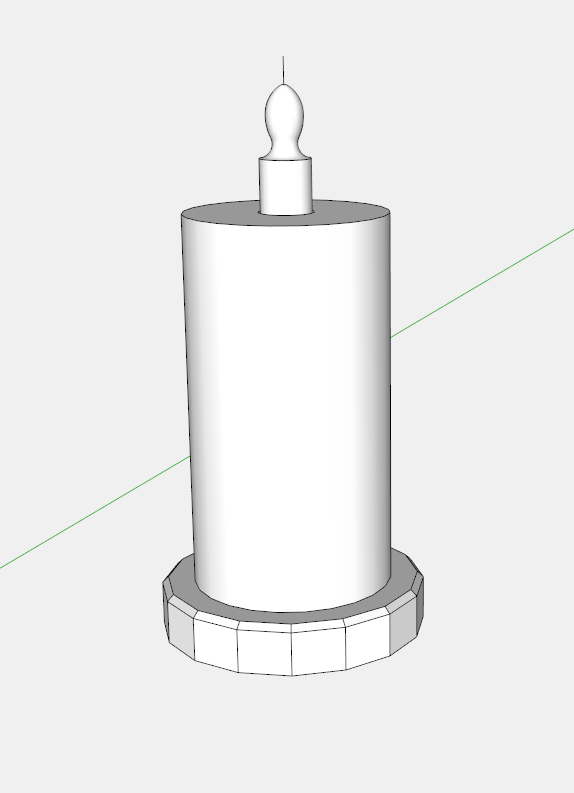
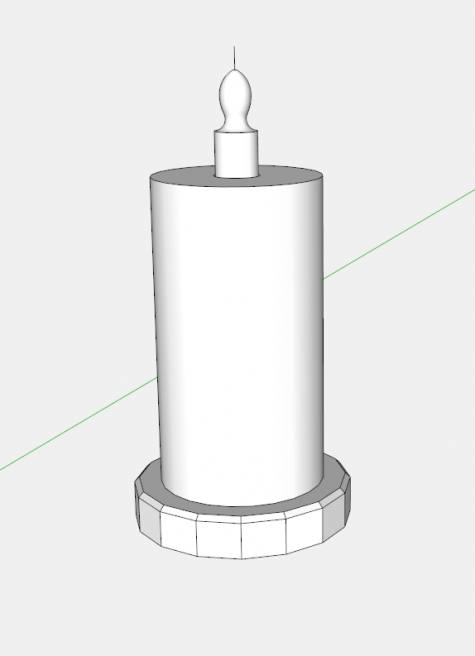
Recently, however, I found myself looking for a better “look” for my model of a simple kitchen paper towel holder. I wanted that paper towel roll to look like it really is not just a bare cylinder.
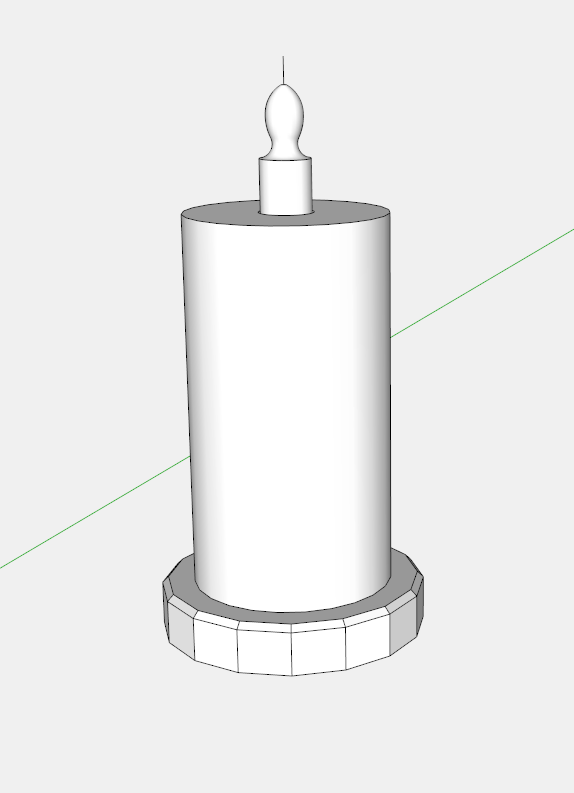
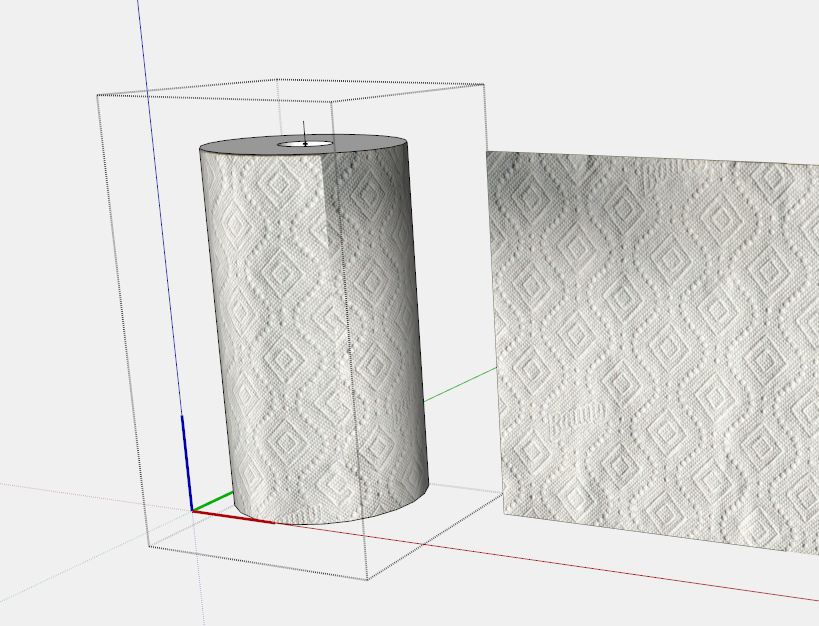
Here’s the bare cylinder……
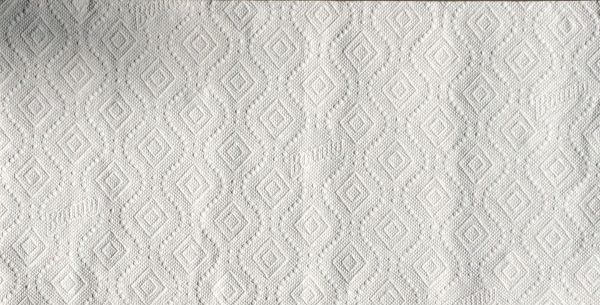
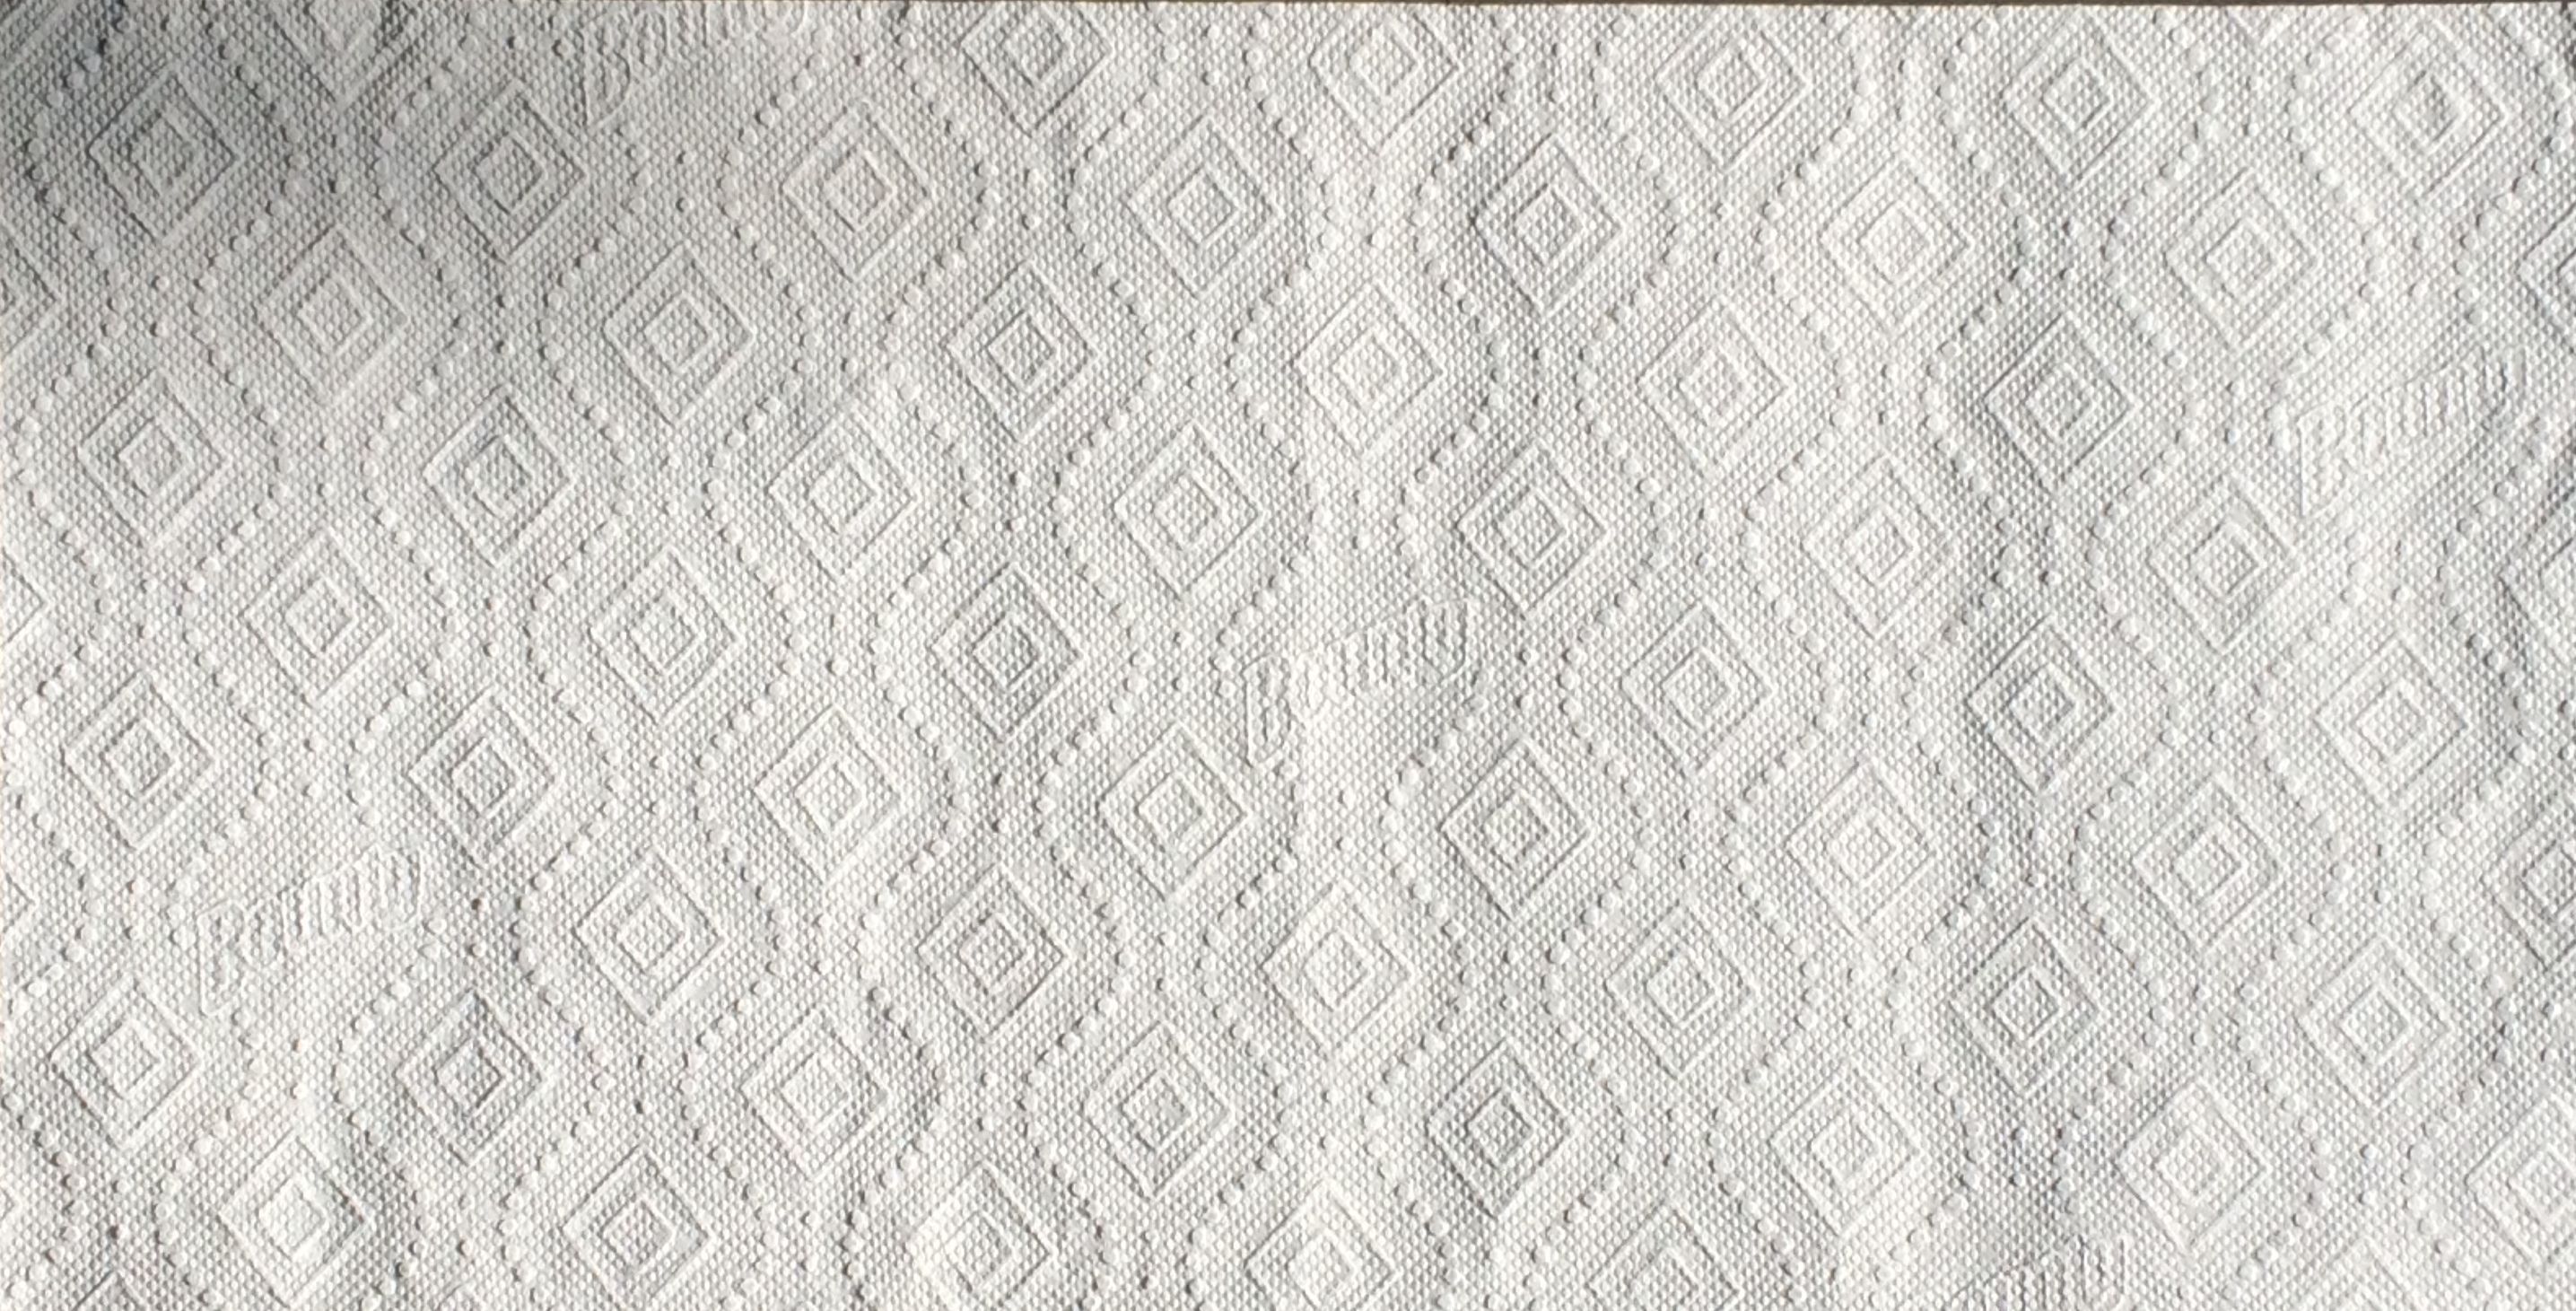
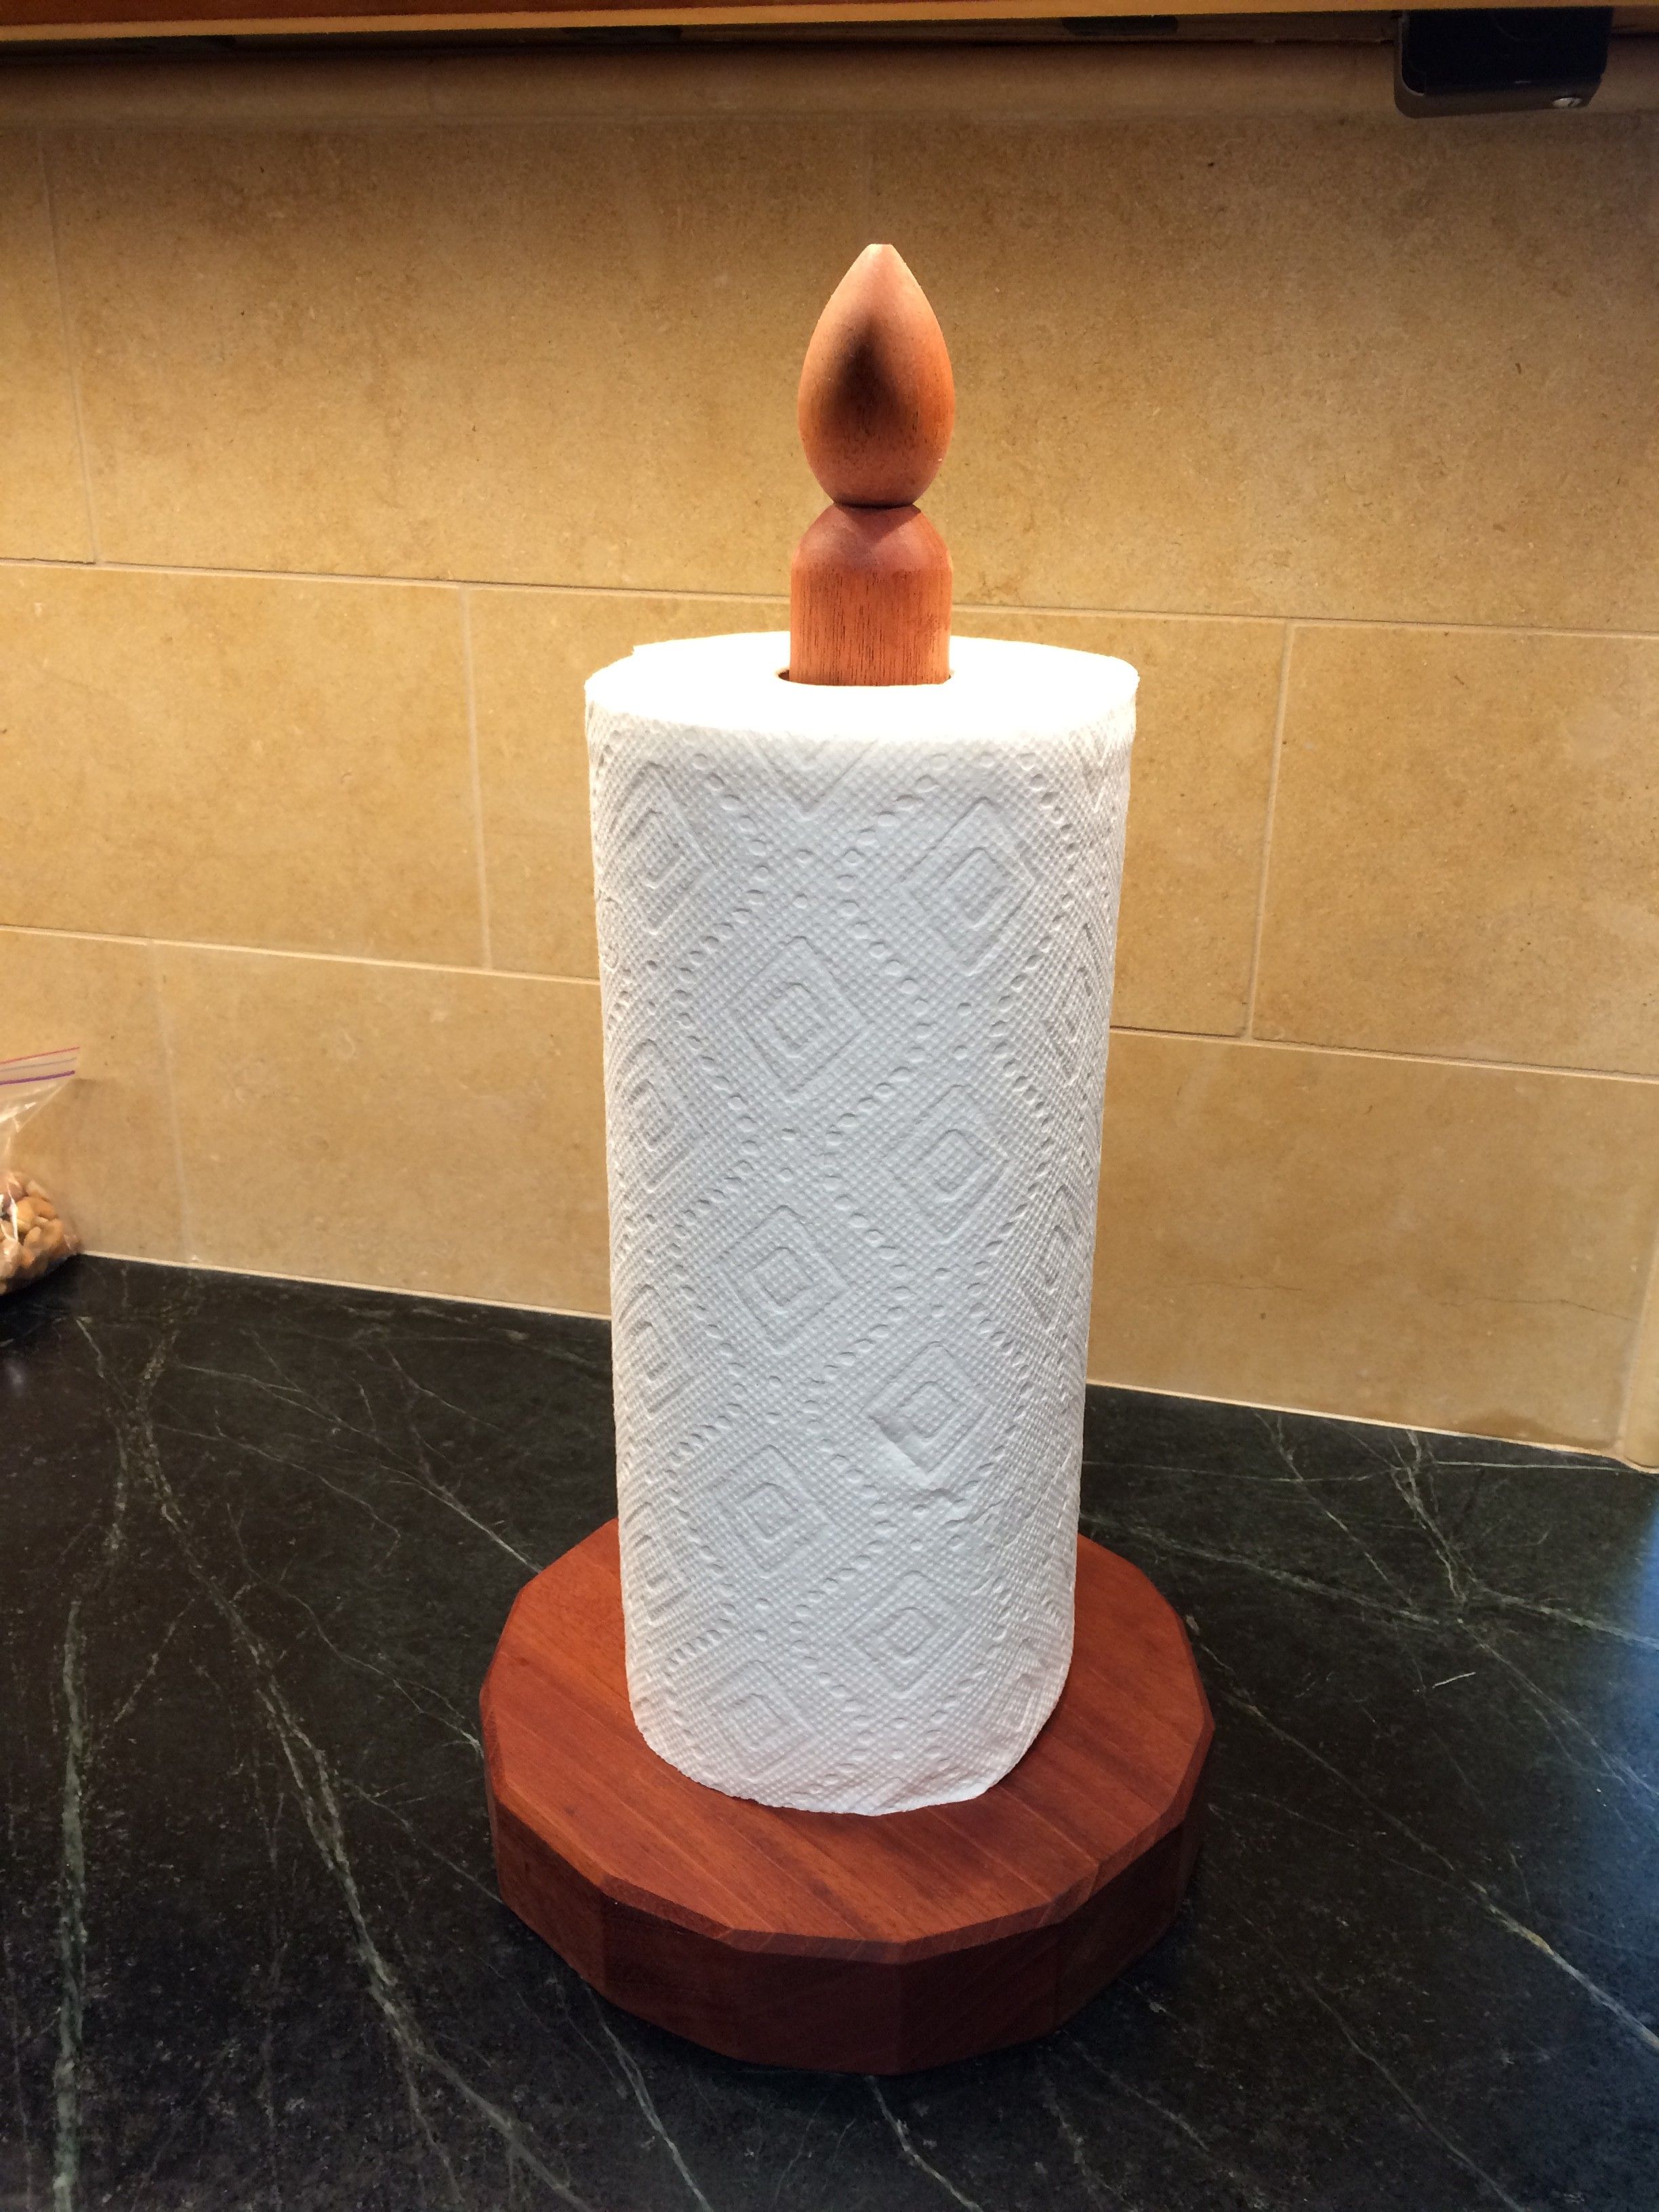
My first step was to use my iPhone to photograph the paper towel. I tore off a couple segments, laid it flat on the floor, and from above took a picture straight on.
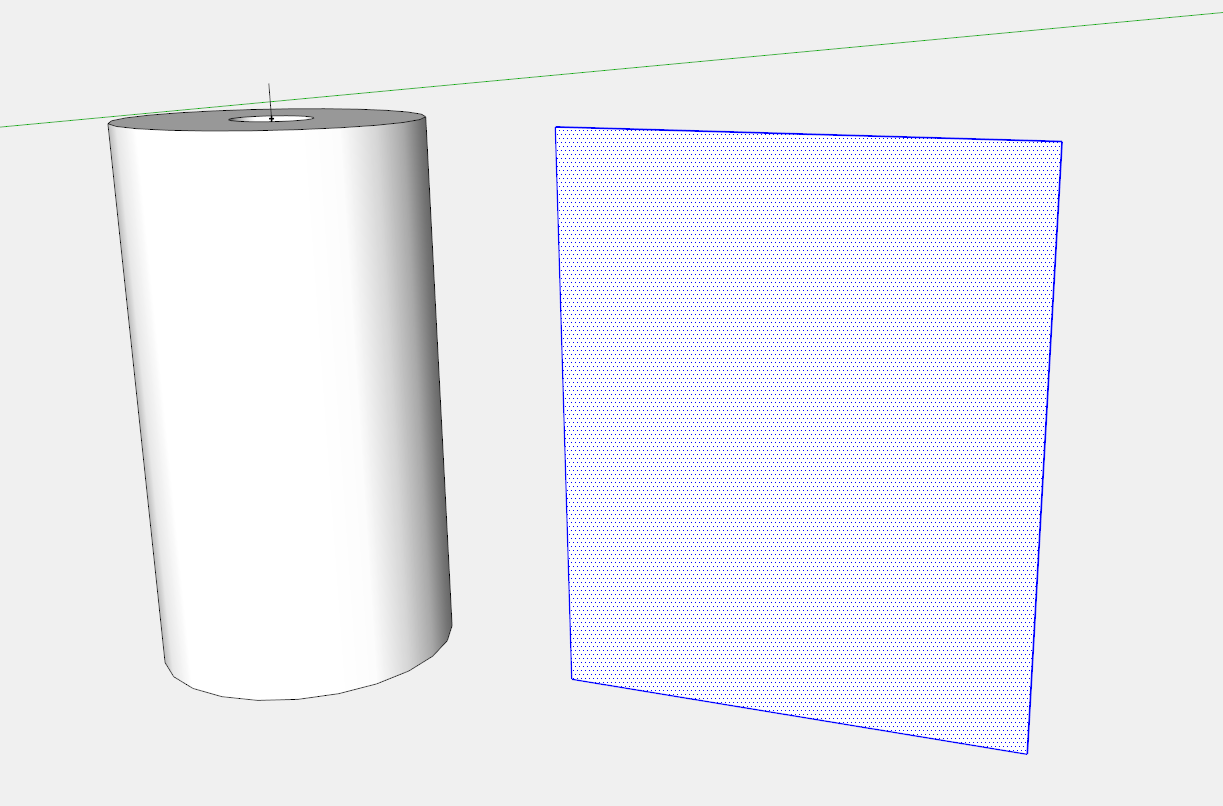
The next step was to copy the cylinder and create a plate that had the same height as the towel roll.
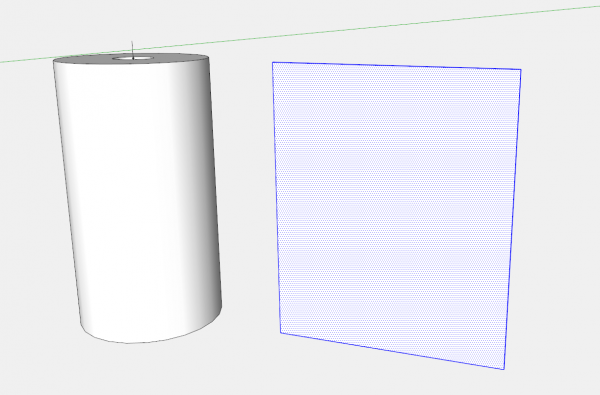
Then I clicked on File “Import”, made sure that “As an Image” was chosen, clicked on the picture of the paper towel, and pasted it on the rectangular plate in the lower left hand corner. Then I expanded the size until it was matching the overall height of the plate.
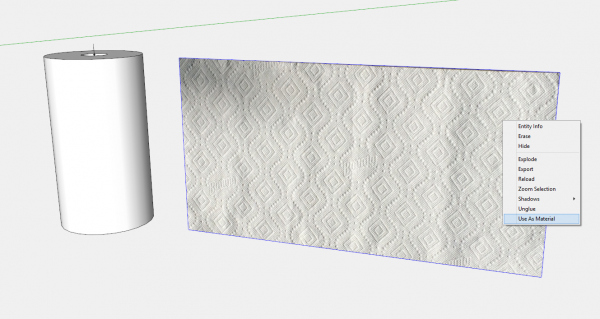
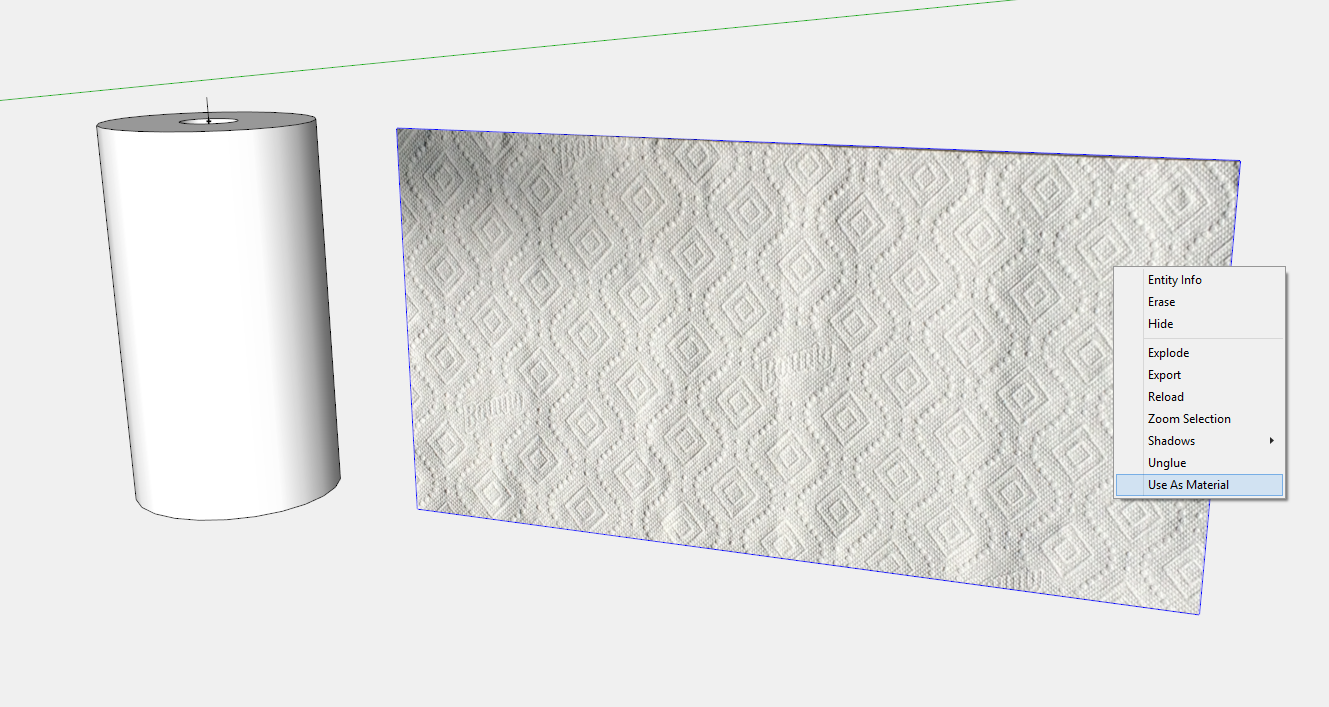
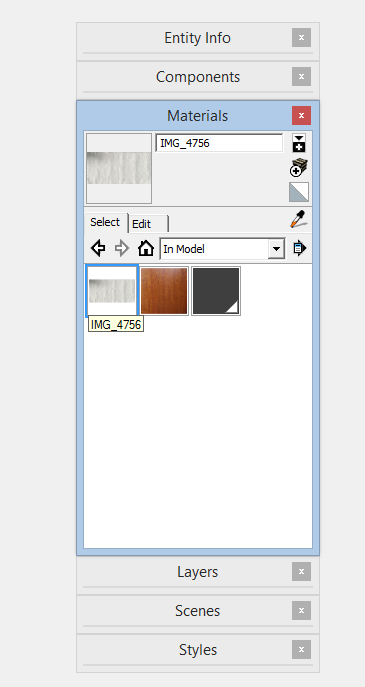
The next step is to right click on the picture and select Use as Material. This will cause the new material to show in the Material Dialog Box as shown below.
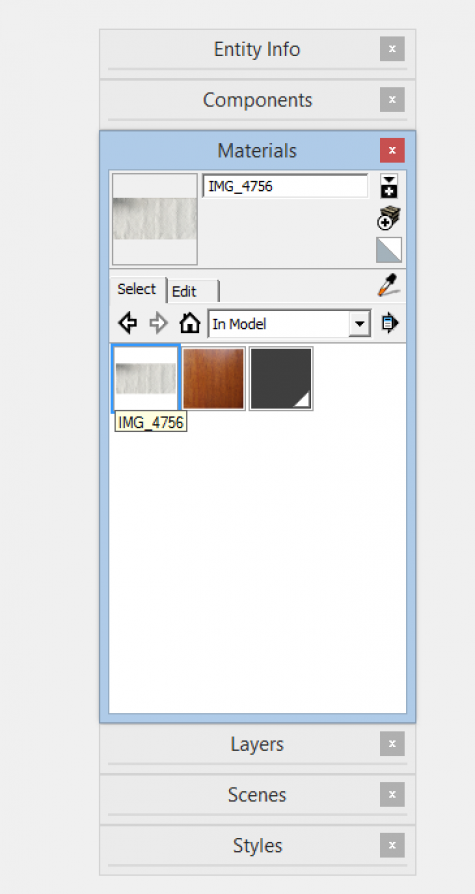
The final step is to open the cylinder component for edit, click on the paper towel material, and click on the surface of the cylinder.
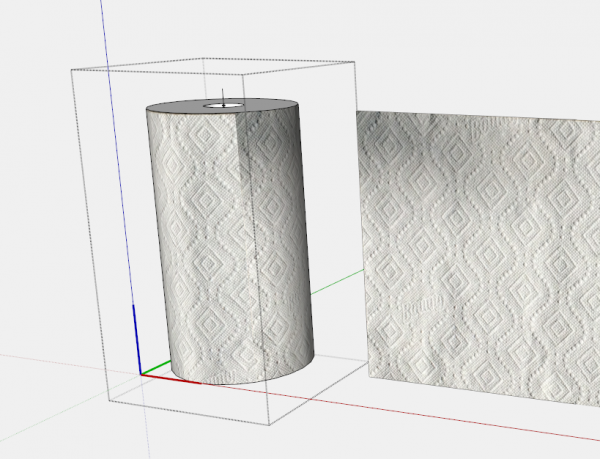
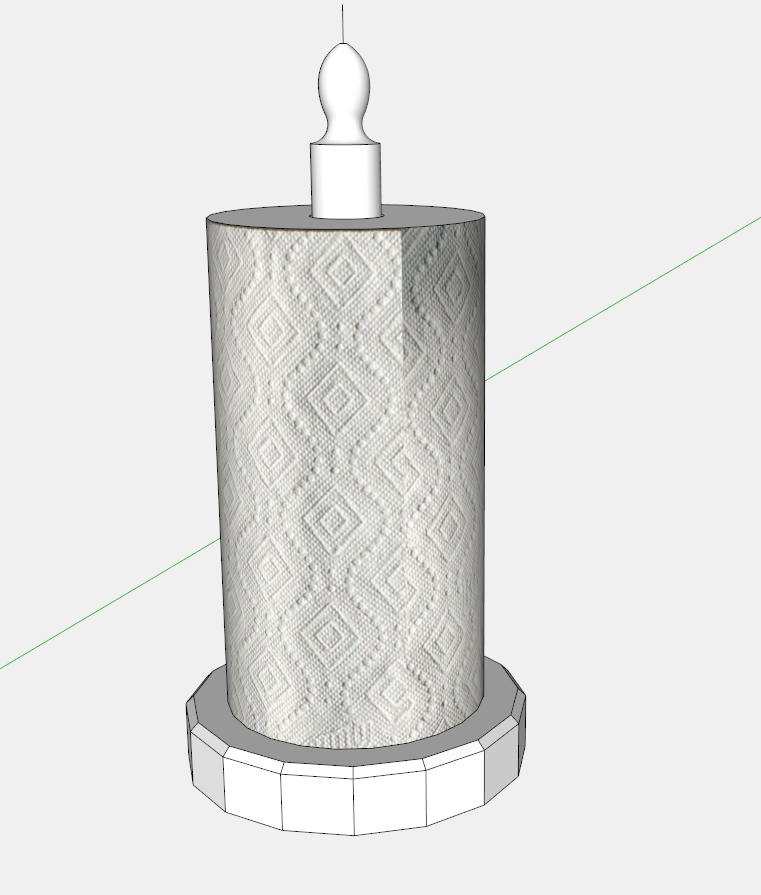
Here is the result….. there is some shadowing and a seam that is caused by the initial photo. Lighting is difficult to get just right. However, this does definitely differentiate the paper roll from the remaining wooden parts.
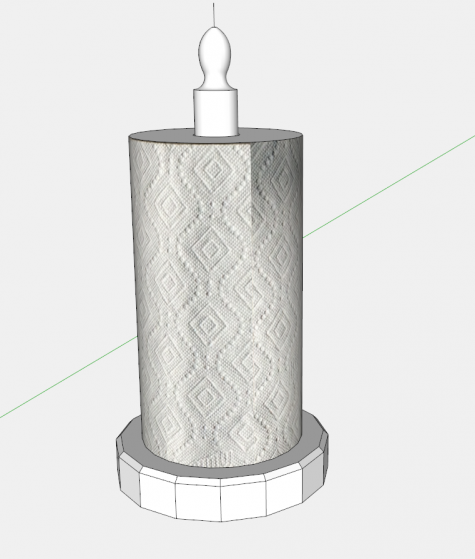
Here is the video…..
Tim
@KillenWOOD




Comments
Tim, SketchupMake does not work the same as Sketchup Pro. Specifically, after importing the image, right clicking on the image does not include in the drop down menu "Use as Material".
It appears that your technique solves the problem of seeing repeated images on a 4' x 3' bedroom dresser face.
Being able to see a model with natural wood grain and color is helpful in choosing what species and saw cut to choose.
Your blog is most helpful.
Robinwood, is it possible that when you imported the image, you had "Use as texture" selected? If so, you wouldn't get the Context menu item for "Use as material" because it already is a material.
Personally, I find it easier with fewer steps to import images as textures. By applying the image to a face of know, dimensions, the size of the texture is automatically taken care of and the image immediately shows in the In Model materials library.
-Dave
No, "Use as Image" is selected. The file is a .jpg file that has been cropped to omit unwanted portions of the photo. The only way I can get to the material submenu is by selecting it from the Window Tab dropdown menu. Then I have to key in the path to the .jpg file, and click on the Create Material button.
Having down the above, painting larger objects results in seeing a repetitive pattern.
Oh, I forgot to mention that when I right-click on the image the last entry in the dropdown menu reads "Add Photo Texture".
Your paper towel example involves a small width. Try painting a 4'[ or 5' wide object. Then you may see what I'm experiencing using SketchupMake.
Thanks for your assistance.
The Cutlist Plugin relies on the Materials Feature when identifying each part. So by naming the materials with the wood species and saw cut (plain, rift, quartersawn) it makes it clear for the hardwood dealer to understand the project's needs.
The process of creating a texture via File>Import is the same between Make and Pro. What operating system are you using?
I'm not into Sketch up, but I like how this project looks. This is quite an awesome idea.
Log in or create an account to post a comment.
Sign up Log in