Outfeed Table Doubles as a Workbench
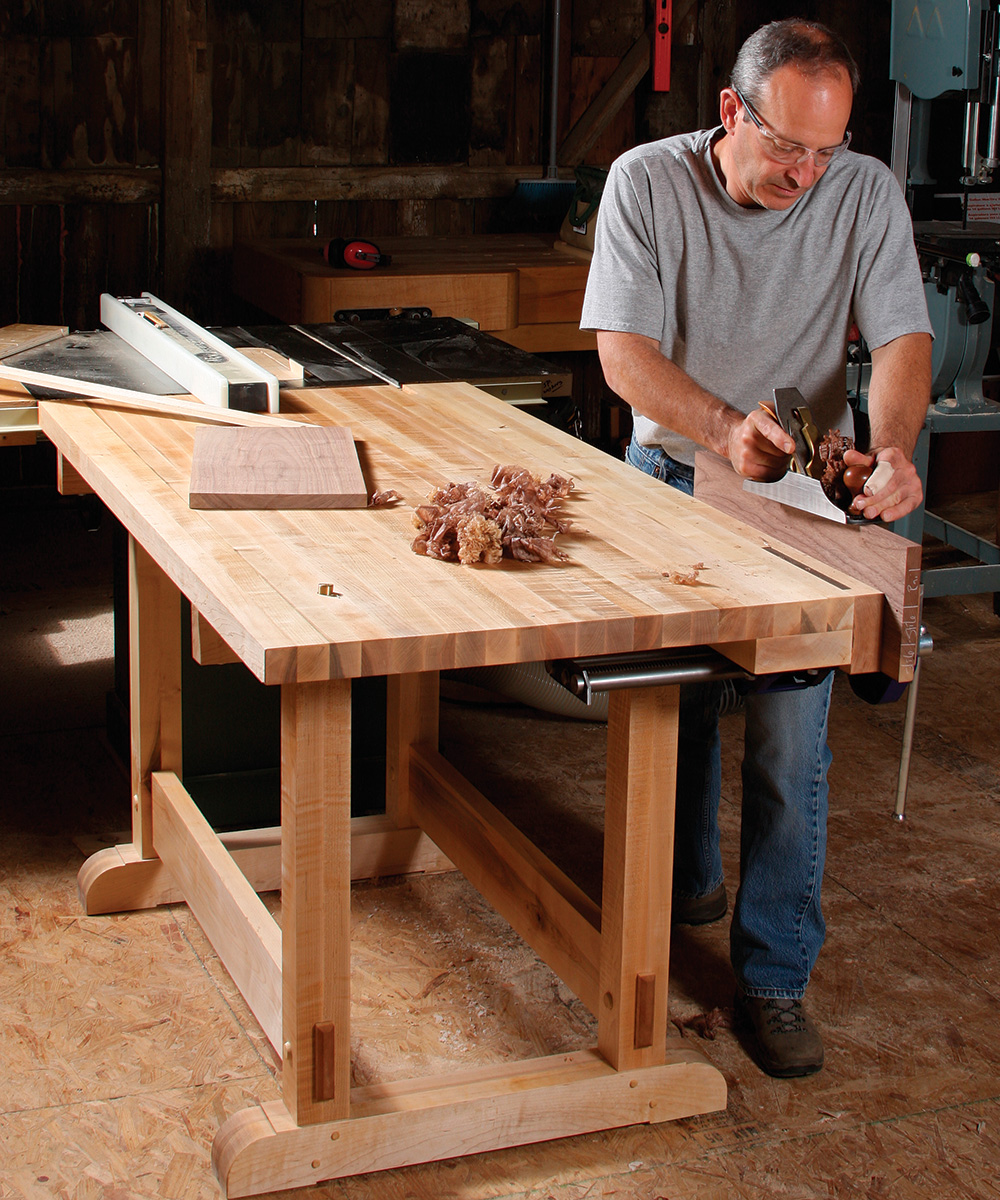
With a big top and vise, this easy-to-build table gives you more space to work.
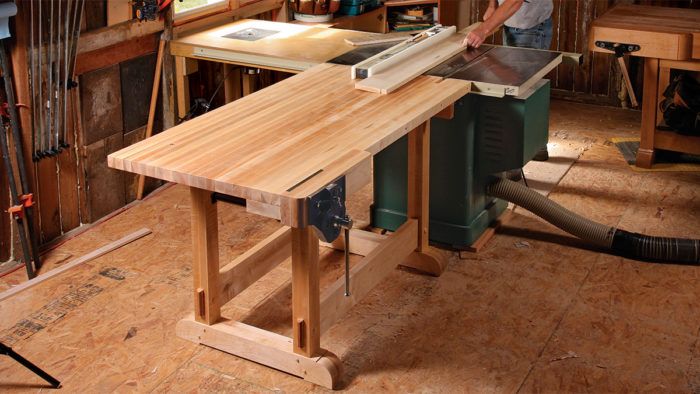
Synopsis: This outfeed table/workbench is designed for double duty so those with smaller shops can squeeze more work surface into their space. It has a hefty top and a large, cast-iron vise. The base is constructed with mortise-and-tenons and bridle joints. Because the feet and posts are made by gluing two pieces together, you can cut the joinery before assembling these parts. A dado set and a couple of stop blocks do the job. Add to the ease of assembly the fact that this table is designed to carry at least twice its weight, and we’re sure it will prove a staple in your shop.
I have a small shop on the second story of a barn. When I needed a new outfeed table for my tablesaw, I saw it as a chance to squeeze one more work surface into the small space. So I designed the outfeed table to double as a workbench. Made entirely of soft maple, the table has a hefty top with a large cast-iron vise. Mortise-and-tenon joinery, along with a few bridle joints, makes for a rigid base. Construction is not difficult. I’ll show you how to build this table from the bottom to the top.
Make the base
Regardless of the technique you use (mortiser, router, or drill press and chisel), deep through-mortises like those in the trestle feet and posts of this table can be difficult to make. I get around all that work by cutting the mortises on the tablesaw.
Here’s the wizardry behind my method. The feet and posts are made by gluing two pieces together, so I cut the joinery before assembling these parts. Start with the stretcher mortises in the posts. Mill the two halves of the post to their final dimensions. You only have to lay out the mortise location on one half of the post. Stop blocks on a miter gauge guide the work from there.
Put a dado set in your tablesaw—a 3/4-in.-wide stack works well. Now attach a long auxiliary fence to your miter gauge. You’ll need two stop blocks to control the mortise’s width and location. To set the stop blocks, place the workpiece against this auxiliary fence and slide it to the right so that the left end of the mortise is aligned with the left side of the dado set. clamp the block to the fence, snug against the right end of the post half. slide the post back to the left until the right end of the mortise aligns with the right side of the dado set. clamp the other stop block to the fence, tight against the left end of the post.
Cut one end of the mortise. slide the post half against the other stop and cut the other end. cut away the waste between these two cuts with the dado set. repeat the process for the remaining mortises.
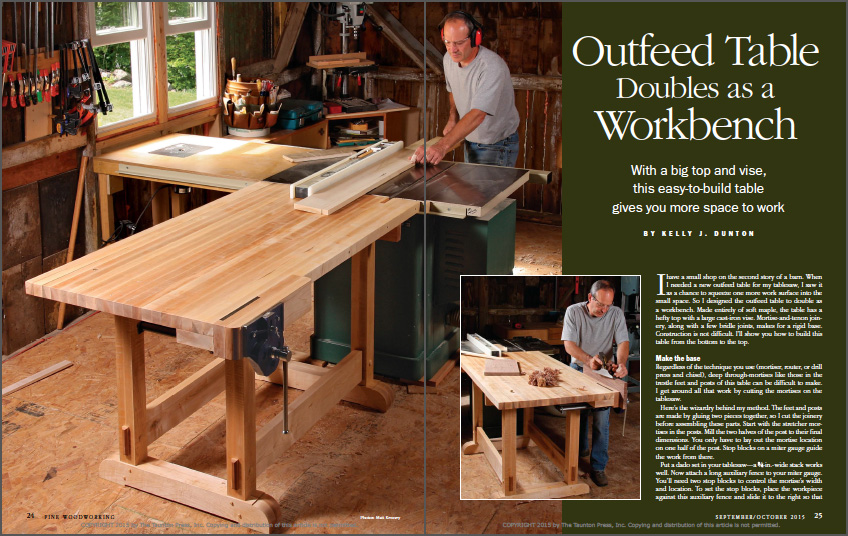
From Fine Woodworking #249
To view the entire article, please click the View PDF button below.



Comments
Very nice, thank you.
How about a cut list????
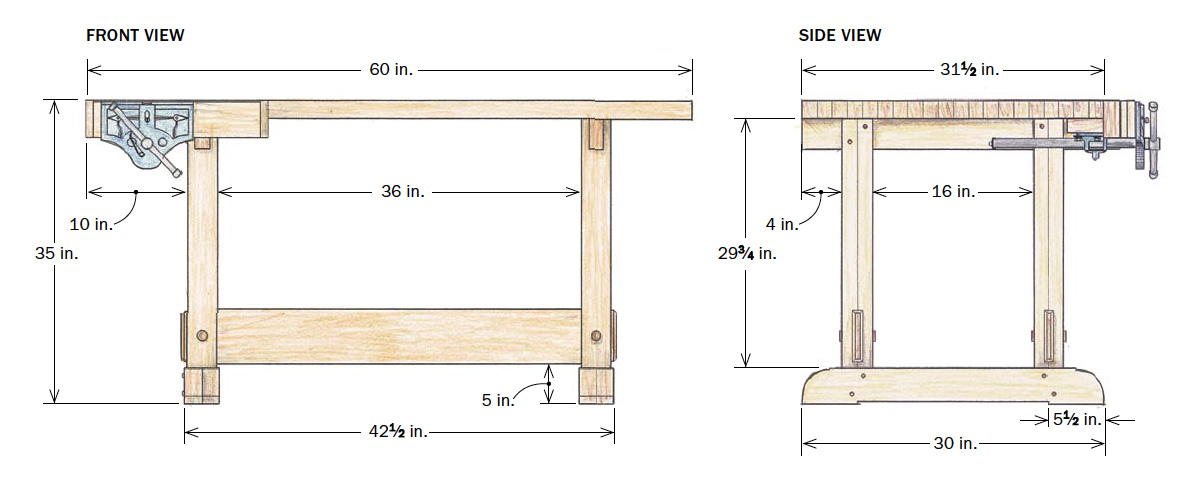
In reply to bkbbentwood, a cut list could easily be created. from a digital model of the table. You can contact me through the Design. Click. Build. blog and we can talk about it.
Great mortise idea - thank you thank you...Great table saw too...but how did you get it up on the second floor - daunting task
Log in or create an account to post a comment.
Sign up Log in