
The other day a woodworker sent me a photograph of a live edge slab of walnut. He wanted to know if it could be drawn in SketchUp. Here’s what I came up with.
The image he sent me was a JPG file of the slab with a white background. That image could be imported directly into SketchUp as a texture applied to a face and you could trace the edges with the Freehand tool to cut out the shape. I decided to let a plugin called Image Trimmer do the work instead. That requires a little bit of preparation. The Image Trimmer is available as part of TIG’s SKM Tools.

Image Trimmer is designed to create edges at the boundary between transparent and non-transparent pixels in the image. So the background needs to be transparent. In an image editor, I selected the white background and converted it to transparent pixels. In PaintDOTnet I just selected them and deleted them. The extension processes all the transparent pixels so it’s a good idea to eliminate as many pixels as possible by cropping very tightly to the image. I also zoomed in on the image and erased any little pixels along the edge of the slab that weren’t really needed. This simplified the edges a little. Then the image is saved. Remember to save the file as a PNG because JPGs don’t support transparency.
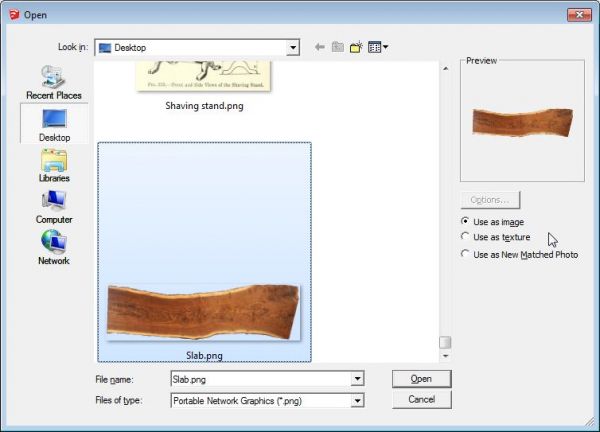
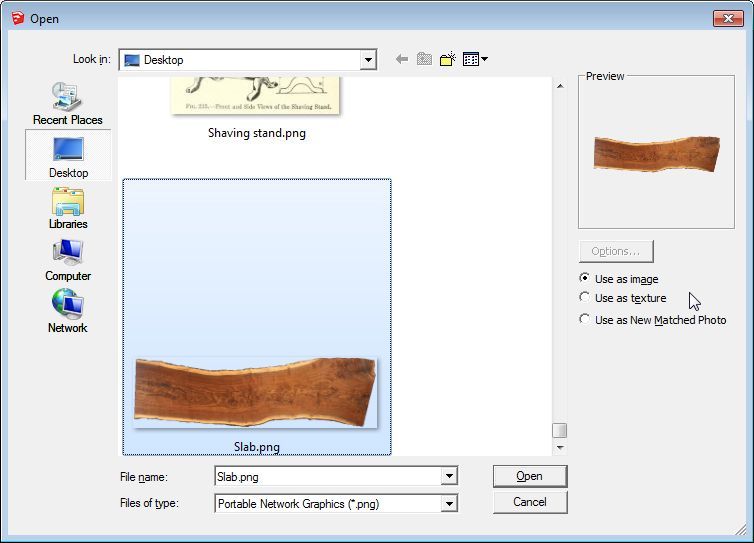
After saving the image, I imported it into SketchUp making sure to select ‘Use as image’ in the Import window.
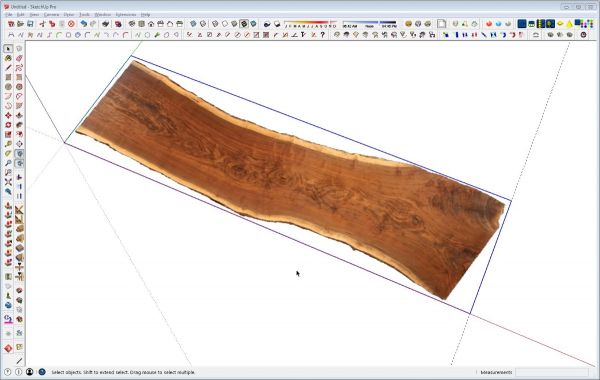
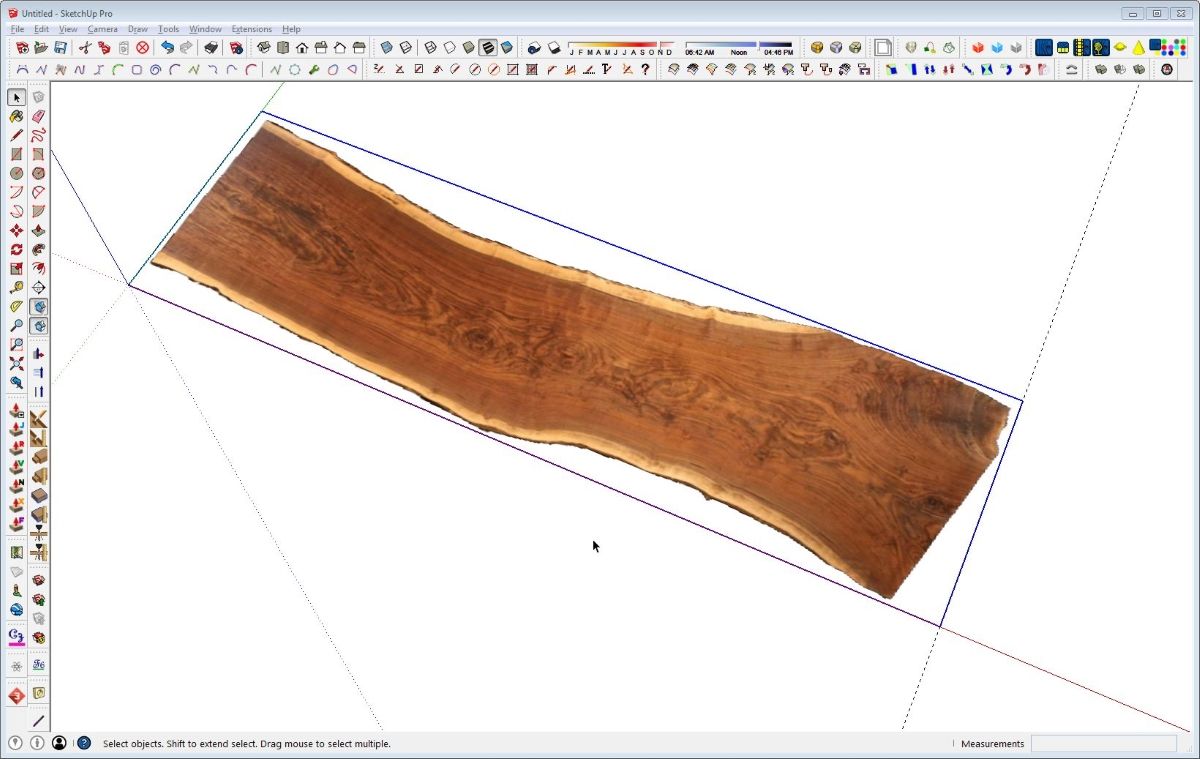
After selecting the image and clicking on Open, you’ll return to the SketchUp window. Click at the origin and drag the image out. To get the image to the correct size, I like to set out a guideline at the known distance from the origin. In this case it was 48 in. Then, when the image is being stretched out, just put the cursor on the guideline and click to set the right end.
Now, before running Image Trimer, the SketchUp file needs to be saved. Then, select the image and from the Tools menu, select Image Trimmer. You can watch the progress info in the lower left corner of the Sketchup window. The more complicated the edges, the longer it’ll take the plugin to run so you might need to be patient. after it has finished processing, you’ll get a series of message boxes with options to respond to. The first will ask if the new component it has created should be stood up. This is handy if you are creating components of 2D people or other vertical things. In this case I wanted it left flat. There are some prompts to delete the original image and some temporary files. The final prompt is to simplify the edges. It’s a good idea to do that at least a little. The default setting is 2.0 but for this slab I went with 1.25.
After that, open the component for editing and use Push/Pull to give the slab the required thickness.
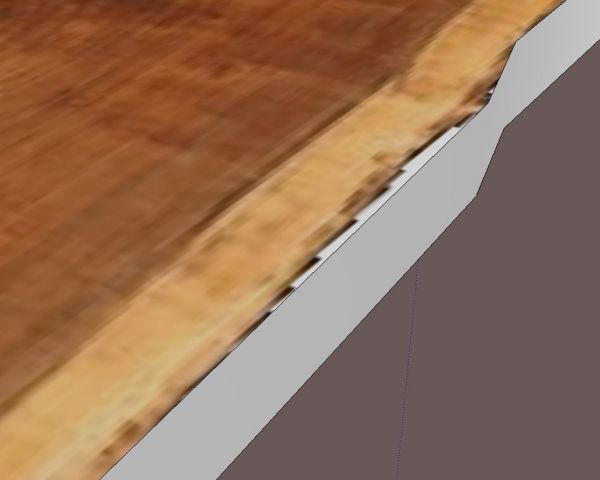
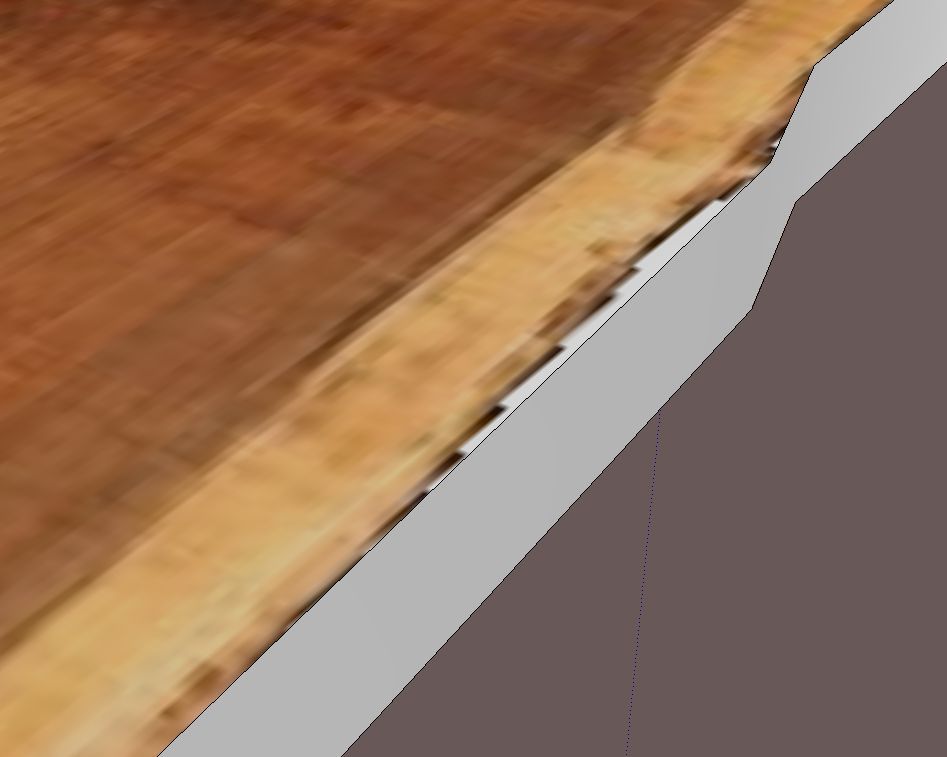
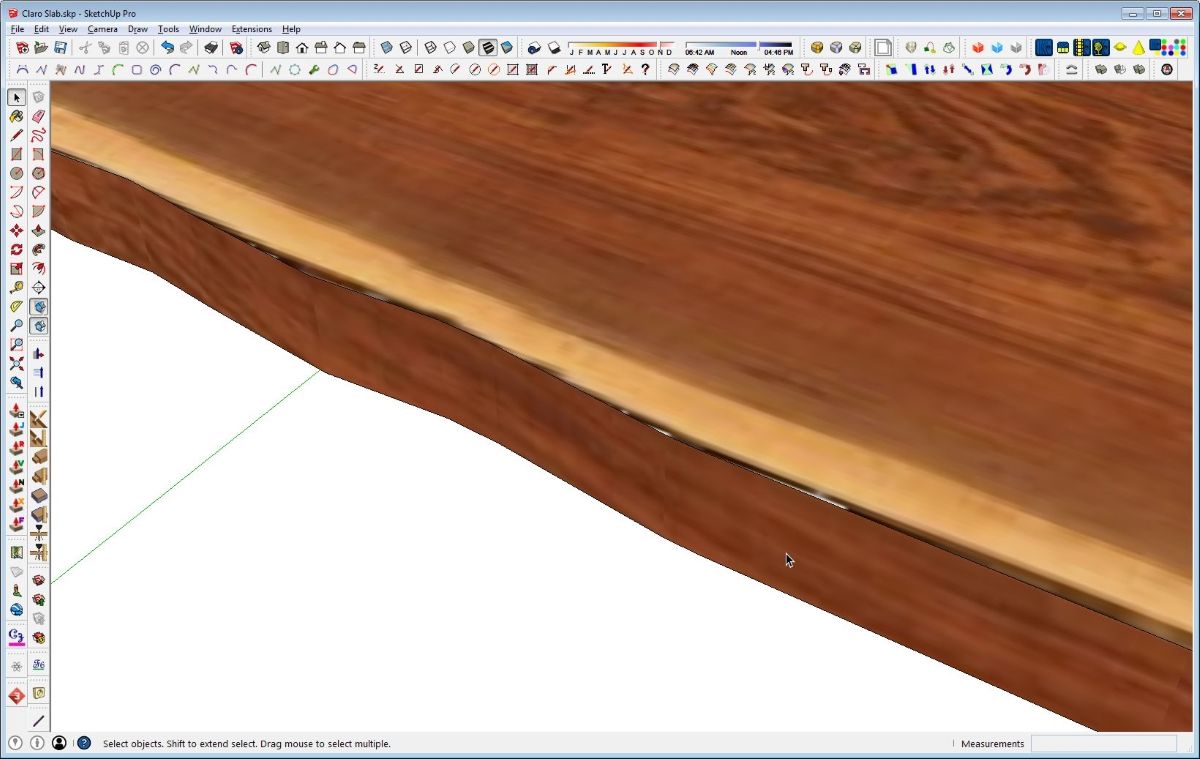
Here’s a closeup view of the slab after I used Push/Pull to give it some thickness. You can see that the simplification process evens out the edge and doesn’t follow the pixels exactly. If you shoose not to simplify the edges, the extension will trace the pixels exactly and you’ll wind up with a huge number of edges and faces. If the white areas outside the pixels are bothersome, you can make simple adjustments by tracing those areas a little bit closer to the edge you wish to keep. If you do that before extruding, you can then just erase the unwanted edges. If you do it after extruding, use Push/Pull to push away the waste.
Dues to the nature of the texture, it probably won’t fit on the edges of the slab very well. I didn’t have a photo of the edge of the slab so I decided to cheat and use a bit of the texture from the center of it. I didn’t want to have to worry about dealing with the white areas around the slab or the sap wood at the edges so I made a new, unique texture.
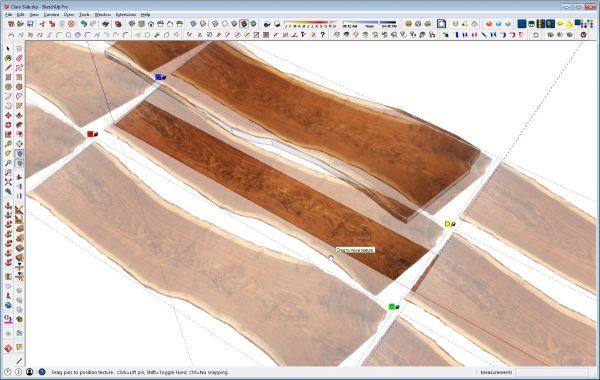
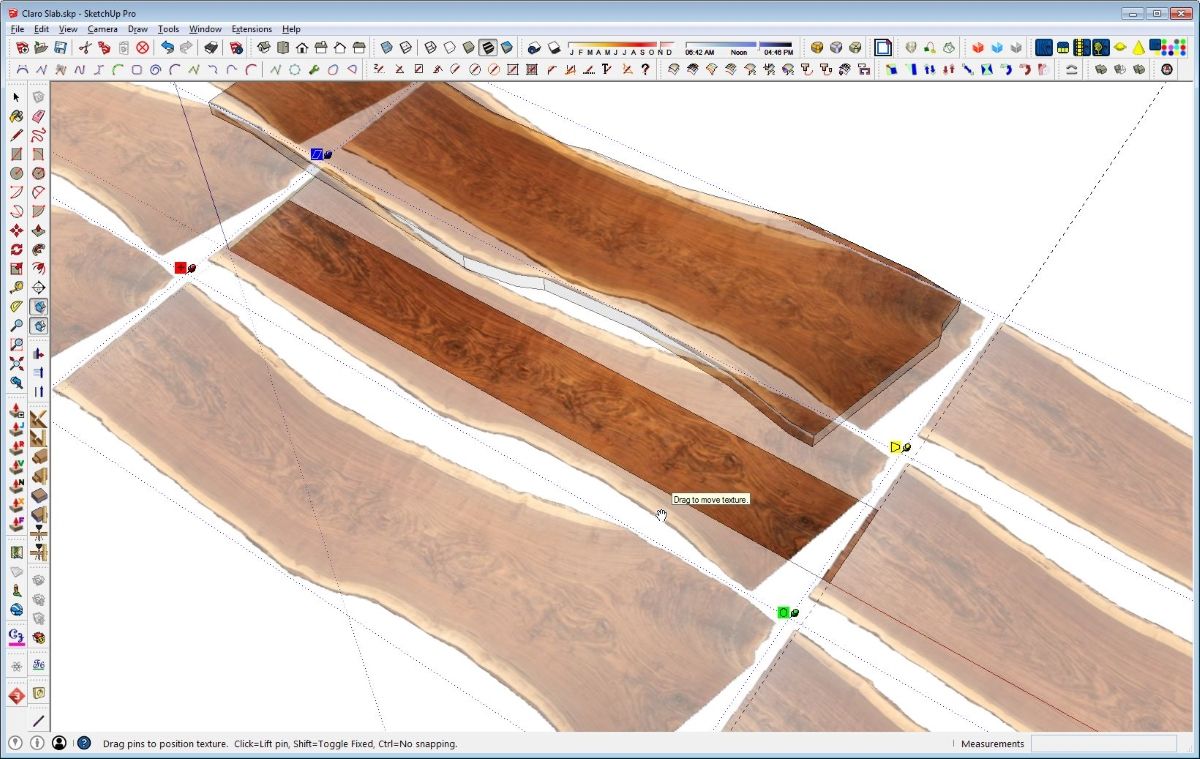
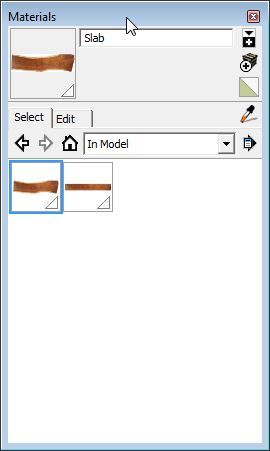
I drew a face on the ground plane and applied the slab texture to it from the Materials window. Then, by right clicking on the face and choosing Texture>Position, I slid the texture around to get as much of a single instance of the texture on the face as I could. when I was happy with that, I right clicked and chose ‘Done’ from the context menu. As it turned out, my rectangle was a bit too big so I drew a new, smaller rectangle that fit the area I was interested in keeping.
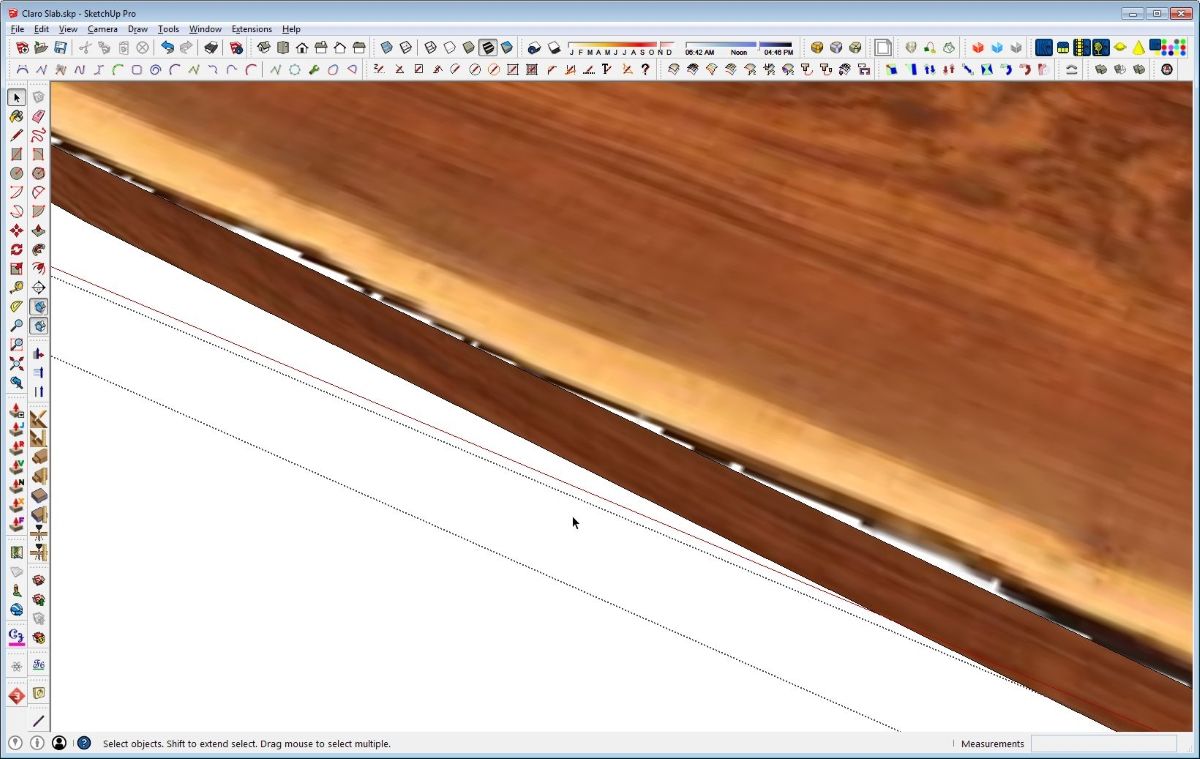
Now, to make a unique texture, I right clicked on the face and choose ‘Make Unique Texture’ from the Context menu. Then I opened the slab component for editing and applied this new texture to the edges. It’s not a perfect match to what I expect the edges look like but I think it gets the idea across. And sometimes you just have to work with what you’ve got.
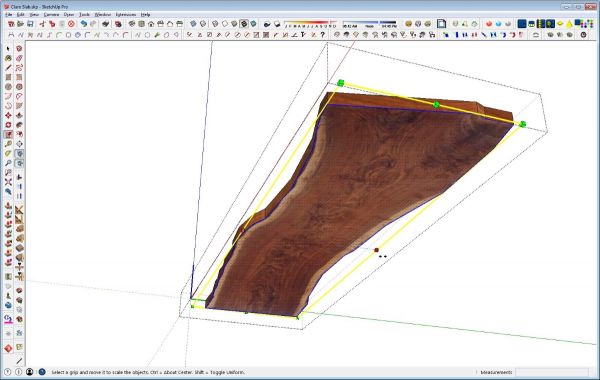
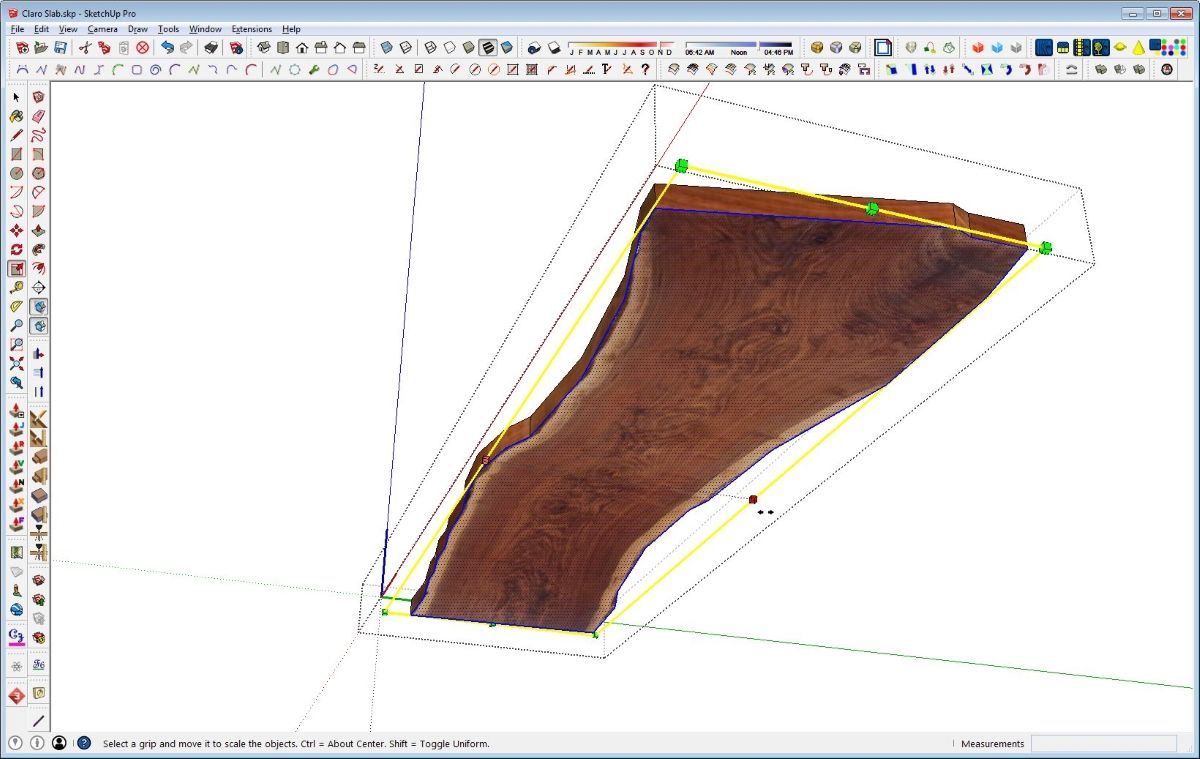
Although it’s not very obvious in the finished drawing, I decided to bevel the long sides of the slab a little to insinuate that the slab came out of a generally round log. To do that, double click with the Select tool on the bottom face. This selects the face and its bounding edges. Then get the Scale tool and, while holding Ctrl on the PC or Option on the Mac to invoke Scale About Center, move one of the side handles in toward the middle. You probably won’t need to scale down much. I used a scale facor of .97.
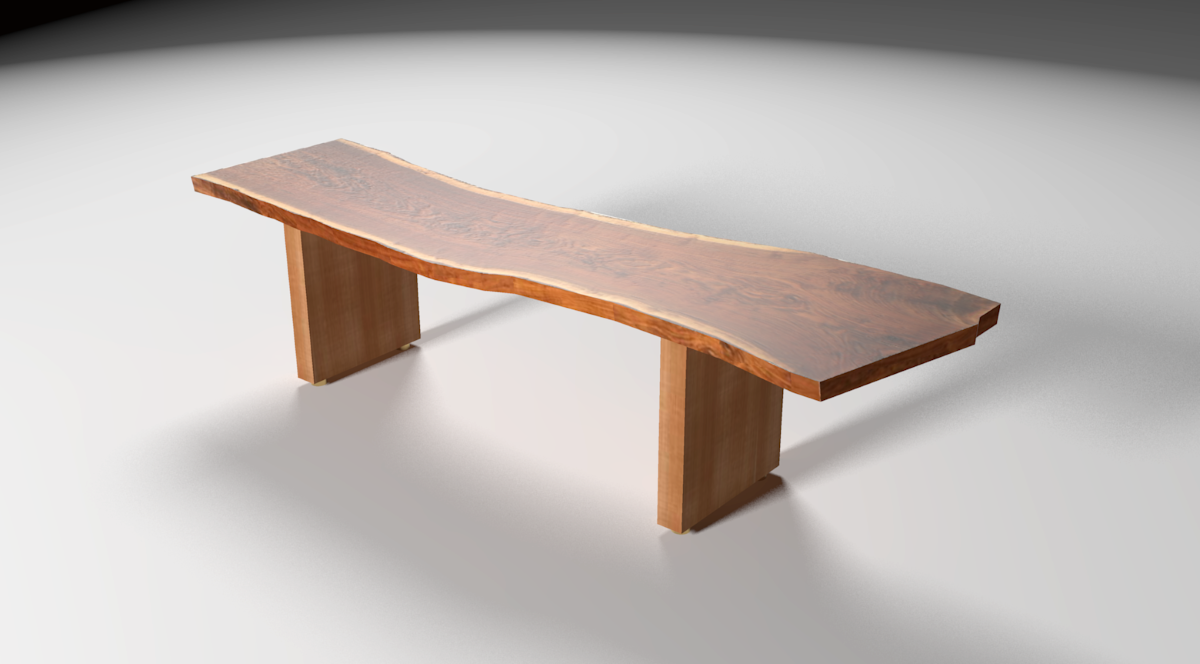
And Bob’s yer uncle. At this point the slab is ready to be used in your model.
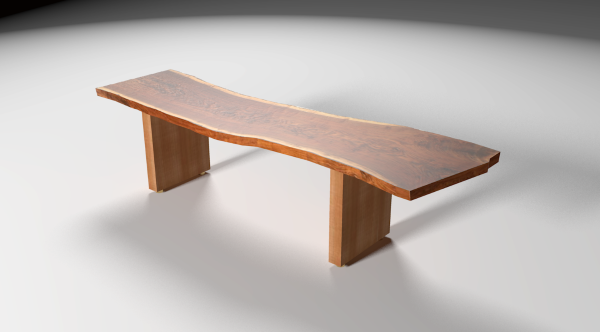
–Dave





Comments
David,
Very nice rendering. Thanks for walking us through this. I have seen more and more that a prerequisite for teaching woodworking today is a good understanding of CAD and/or sketch, admittedly one place I fall short. Thanks again,
Brian
Thank you, Brian.
It does seem that some sort of application such as SketchUp is a useful "power tool" for woodworkers these days. That is especially true for those who are working with paying clients. It is important to communicate clearly and concisely with them so you both have a clear understanding of the project. Of course the old adage about a picture being worth 1000 words is certainly true and an accurate picture of the project you are proposing can go a long way to securing the client's business.
And competition being what it is, the impression given by the images you present have a big impact and can be the difference between getting a job or sending it down the street to the next woodworker.
-Dave
Hi there.
What program did you use to do the final rendering?
I use Kerkythea for rendering.
Log in or create an account to post a comment.
Sign up Log in