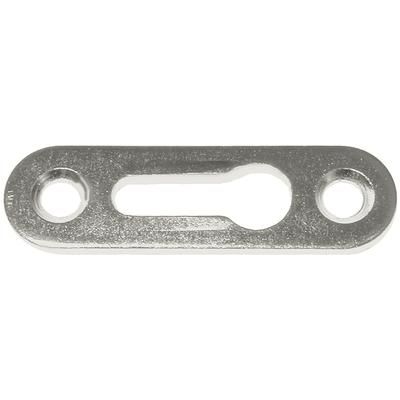
The typical keyhole escutcheon available at home centers and woodworking retailers would have worked, but it required too many steps for my fancy.
I was recently commissioned (by my wife) to build a mirror frame that would hang on a tiled wall above a bathroom vanity in our home. Since this was to be a permanent fixture that would never be taken down, a simple length of wire hanging on a picture frame hook was out of the question. I needed a solution that would affix the mirror frame to the wall firmly.
More Neat Woodworking Tips Flip-Block Simplifies Dovetails |
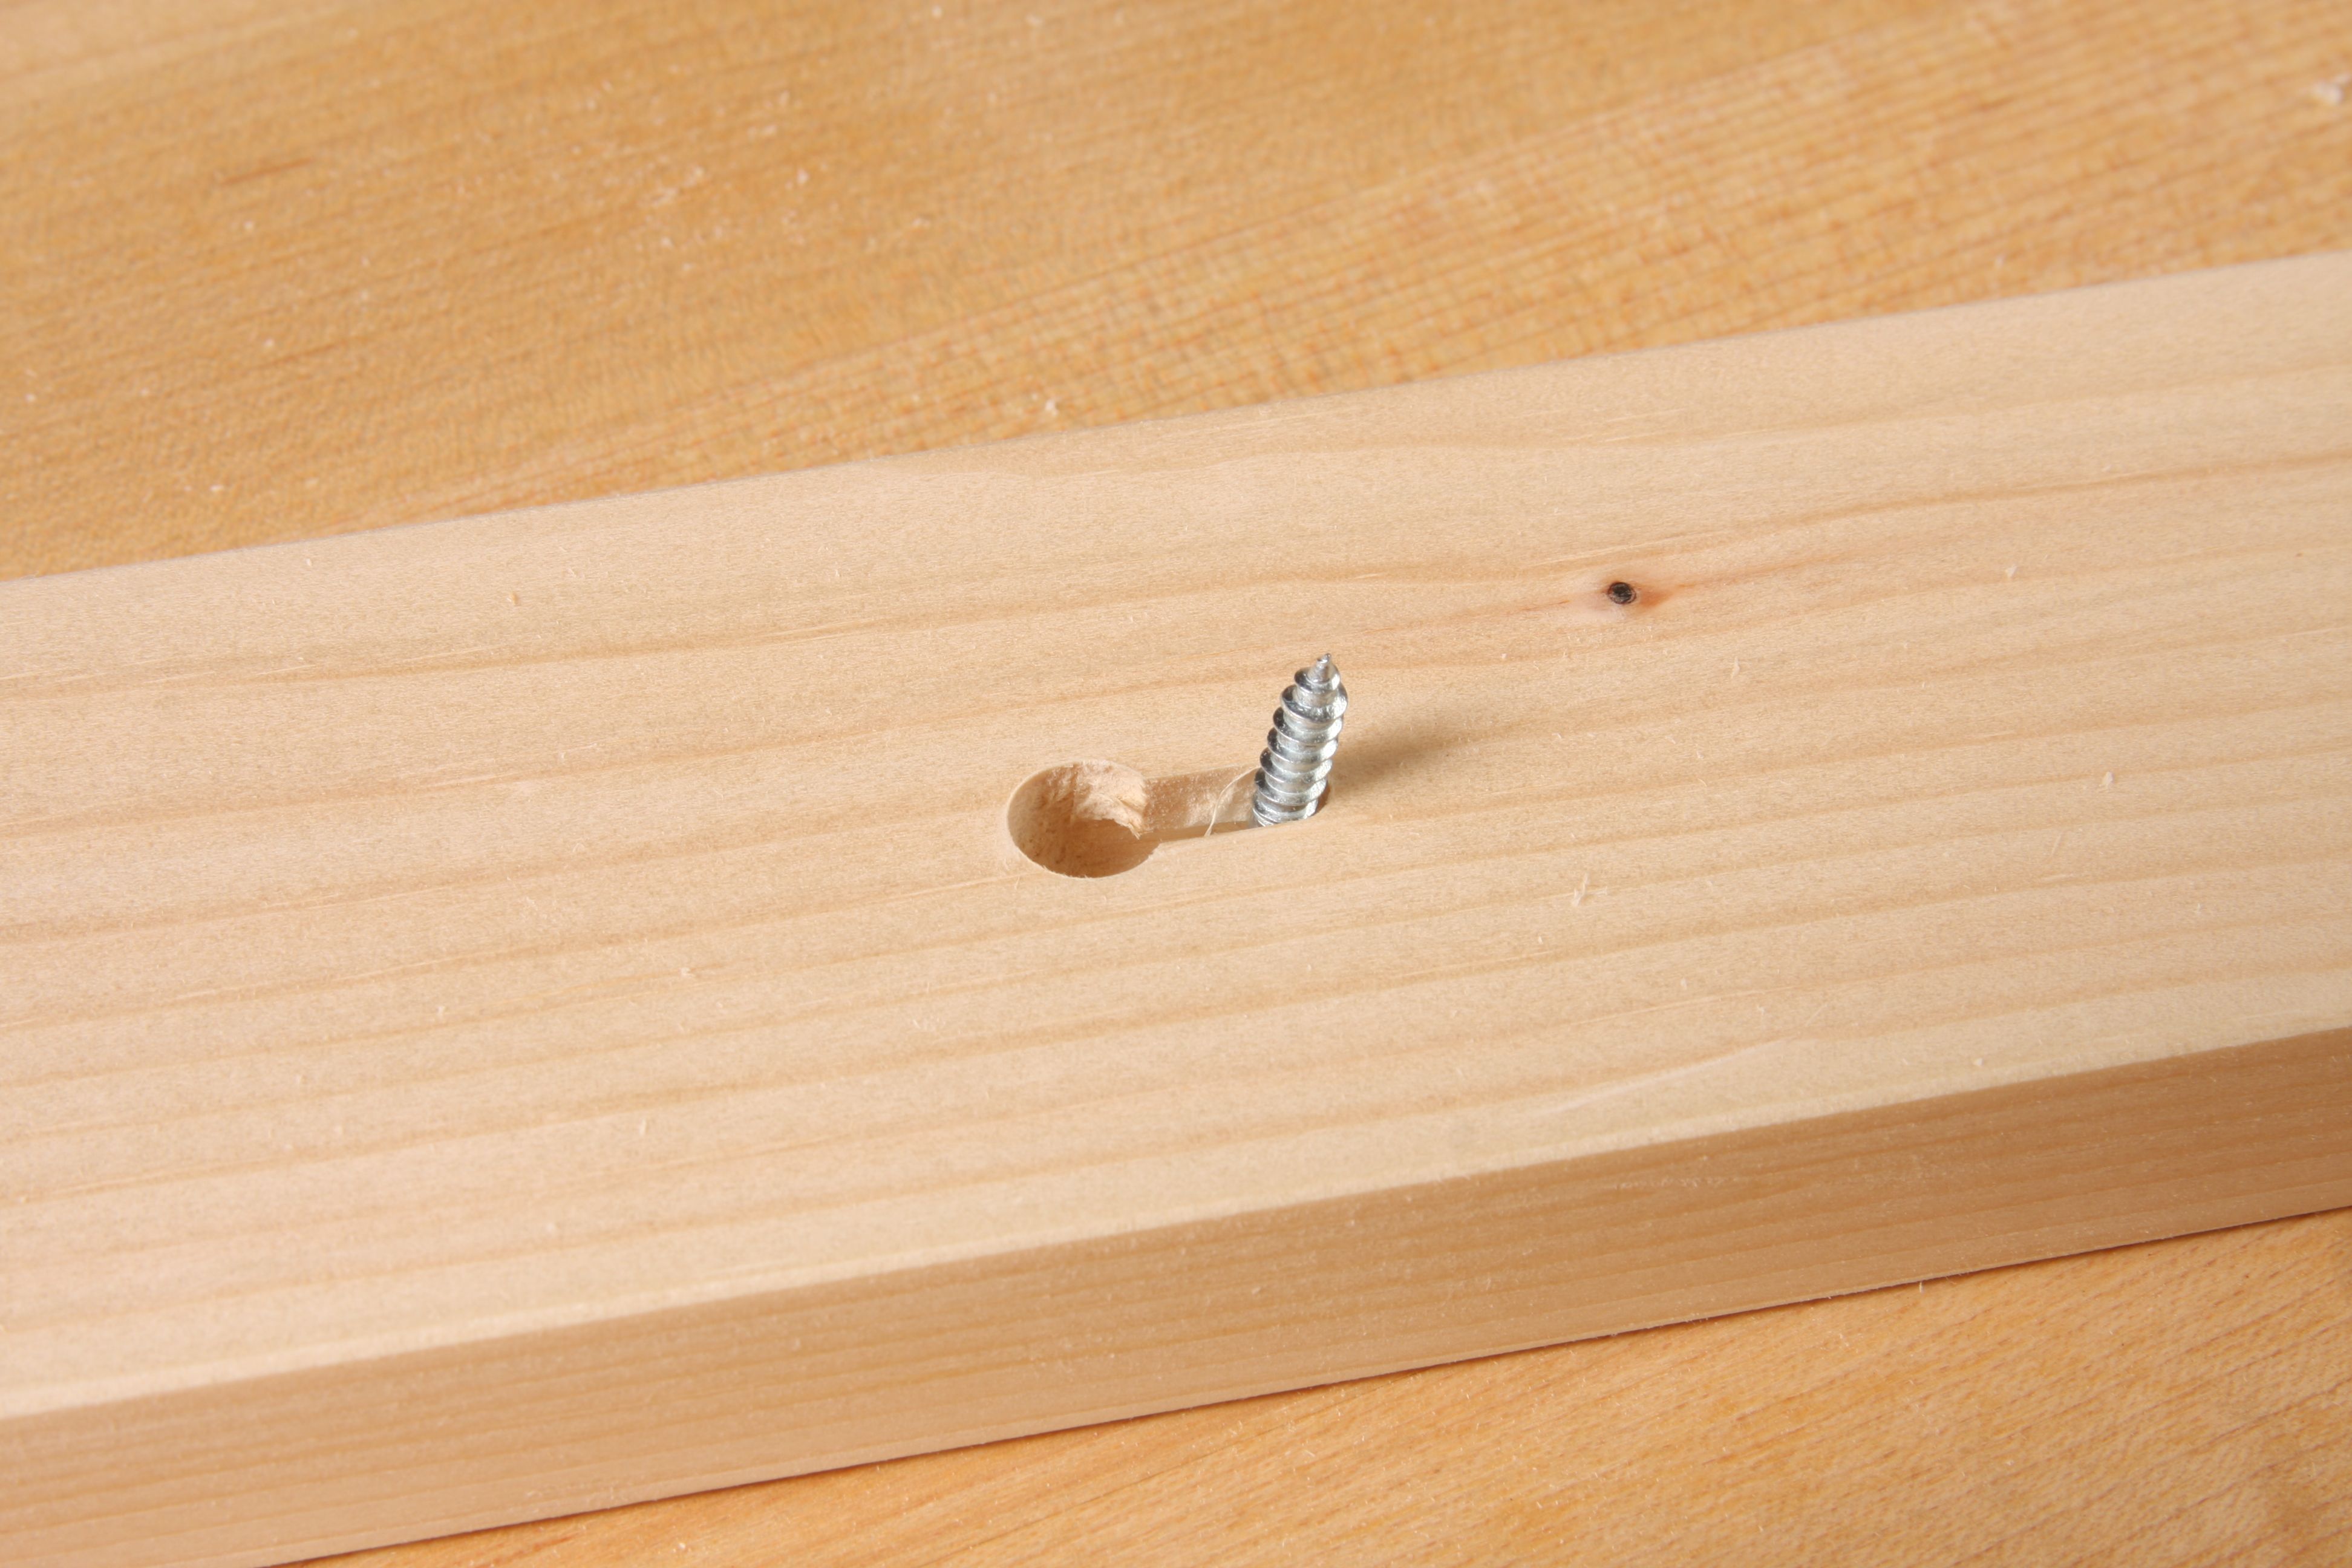
My initial thought was to affix two keyhole escutcheons to both rear faces of the frames two vertical stiles. On the tile wall, I would use a pair of plastic screw anchors to attach the screws. The keyhole escutcheons fit over the screws and provide a firm attachment-in fact, the “firmness” can be controlled by how far from the wall your screw heads protrude. This idea certainly would have worked but it required multiple mortises – one to accommodate the screw head, and another to house the escutcheon itself. No thank you.
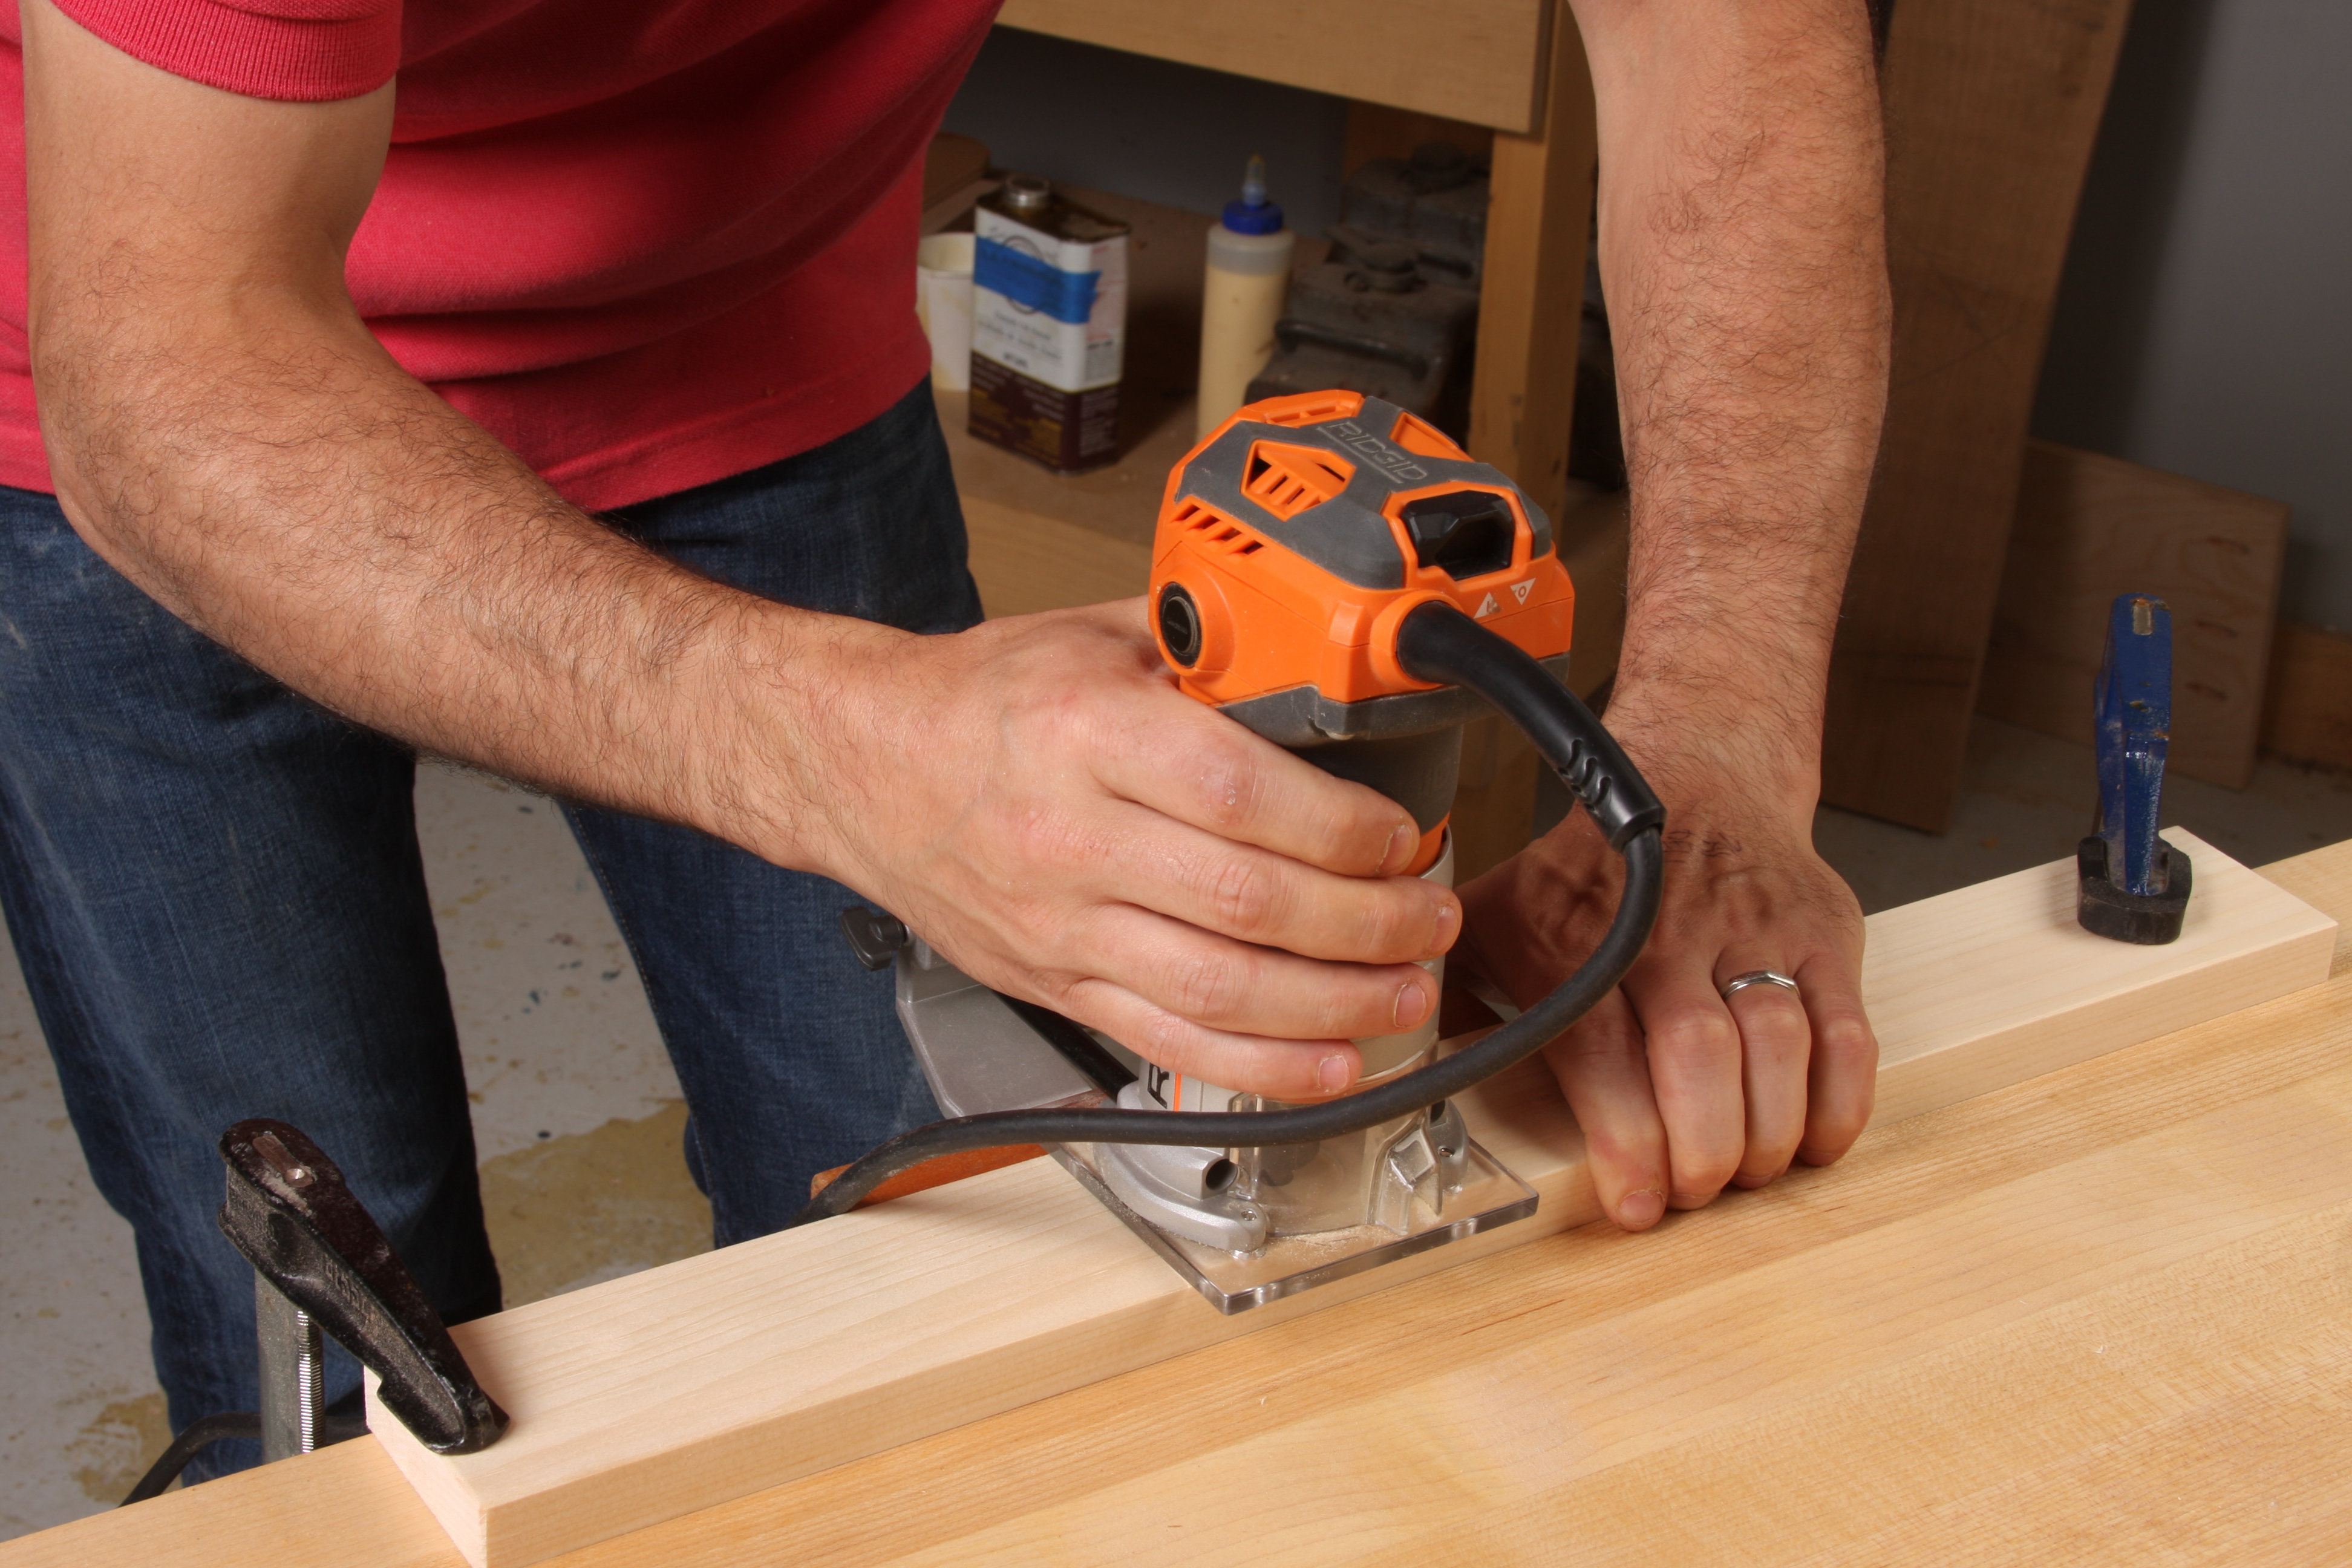
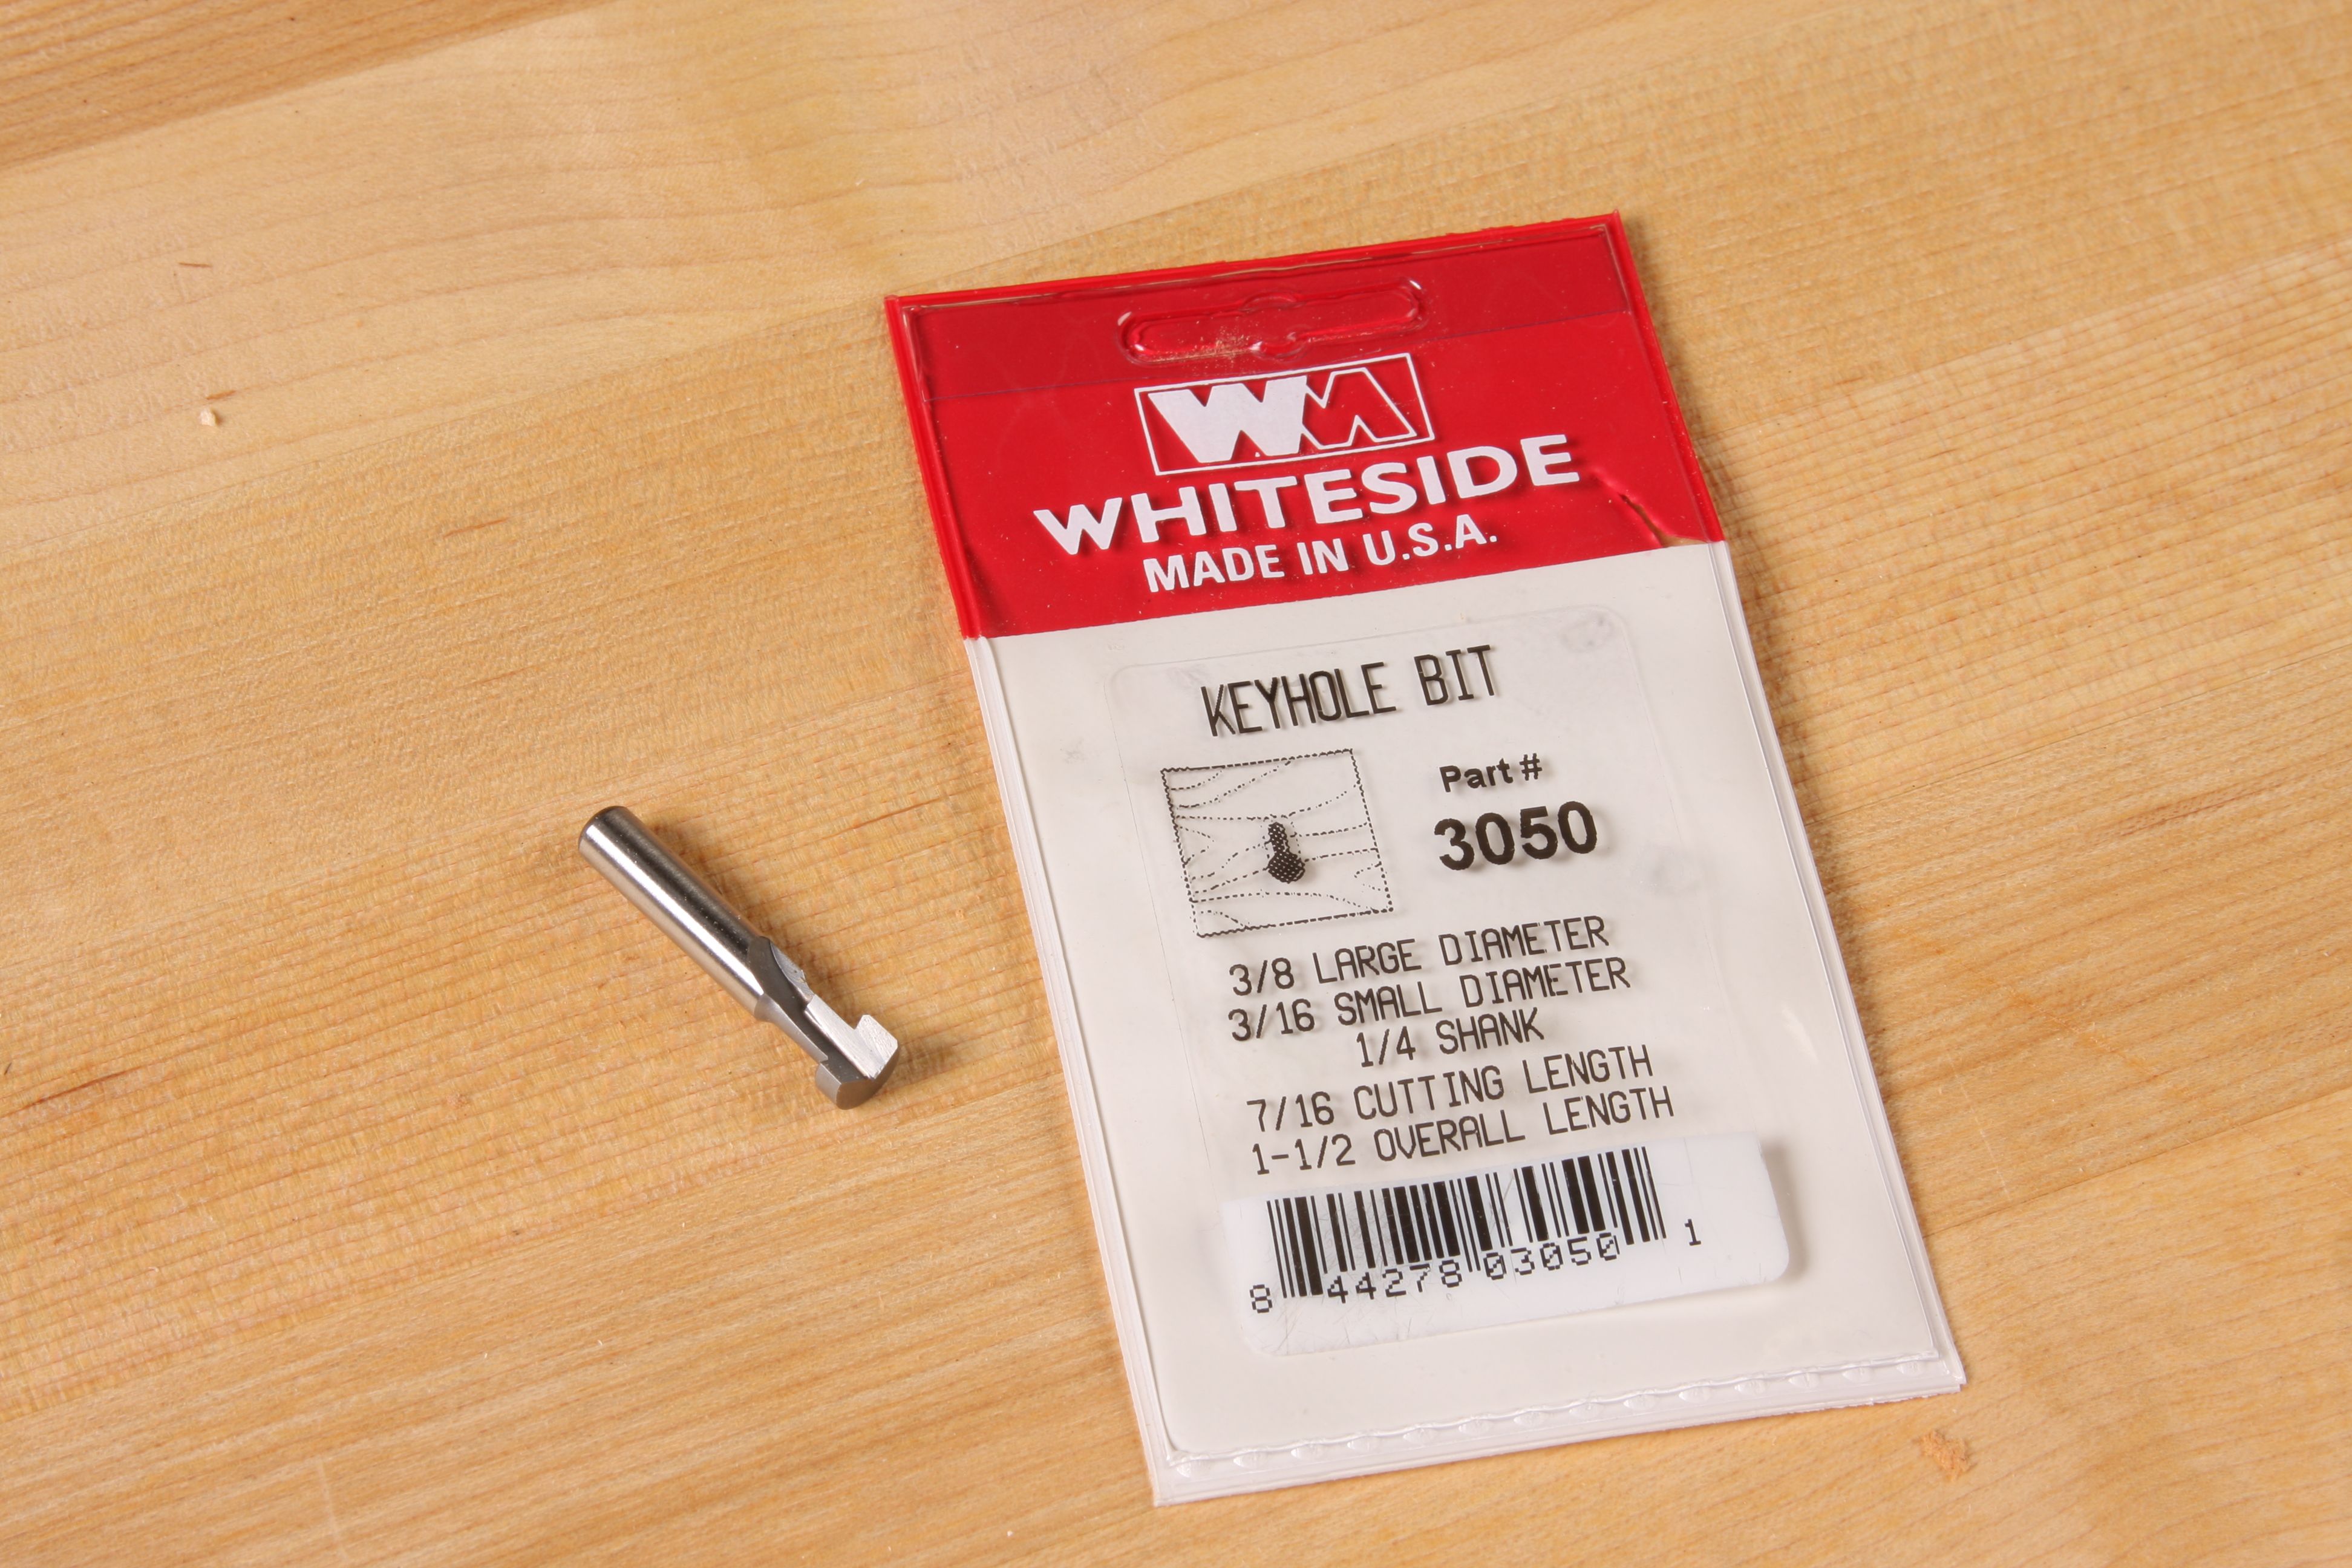
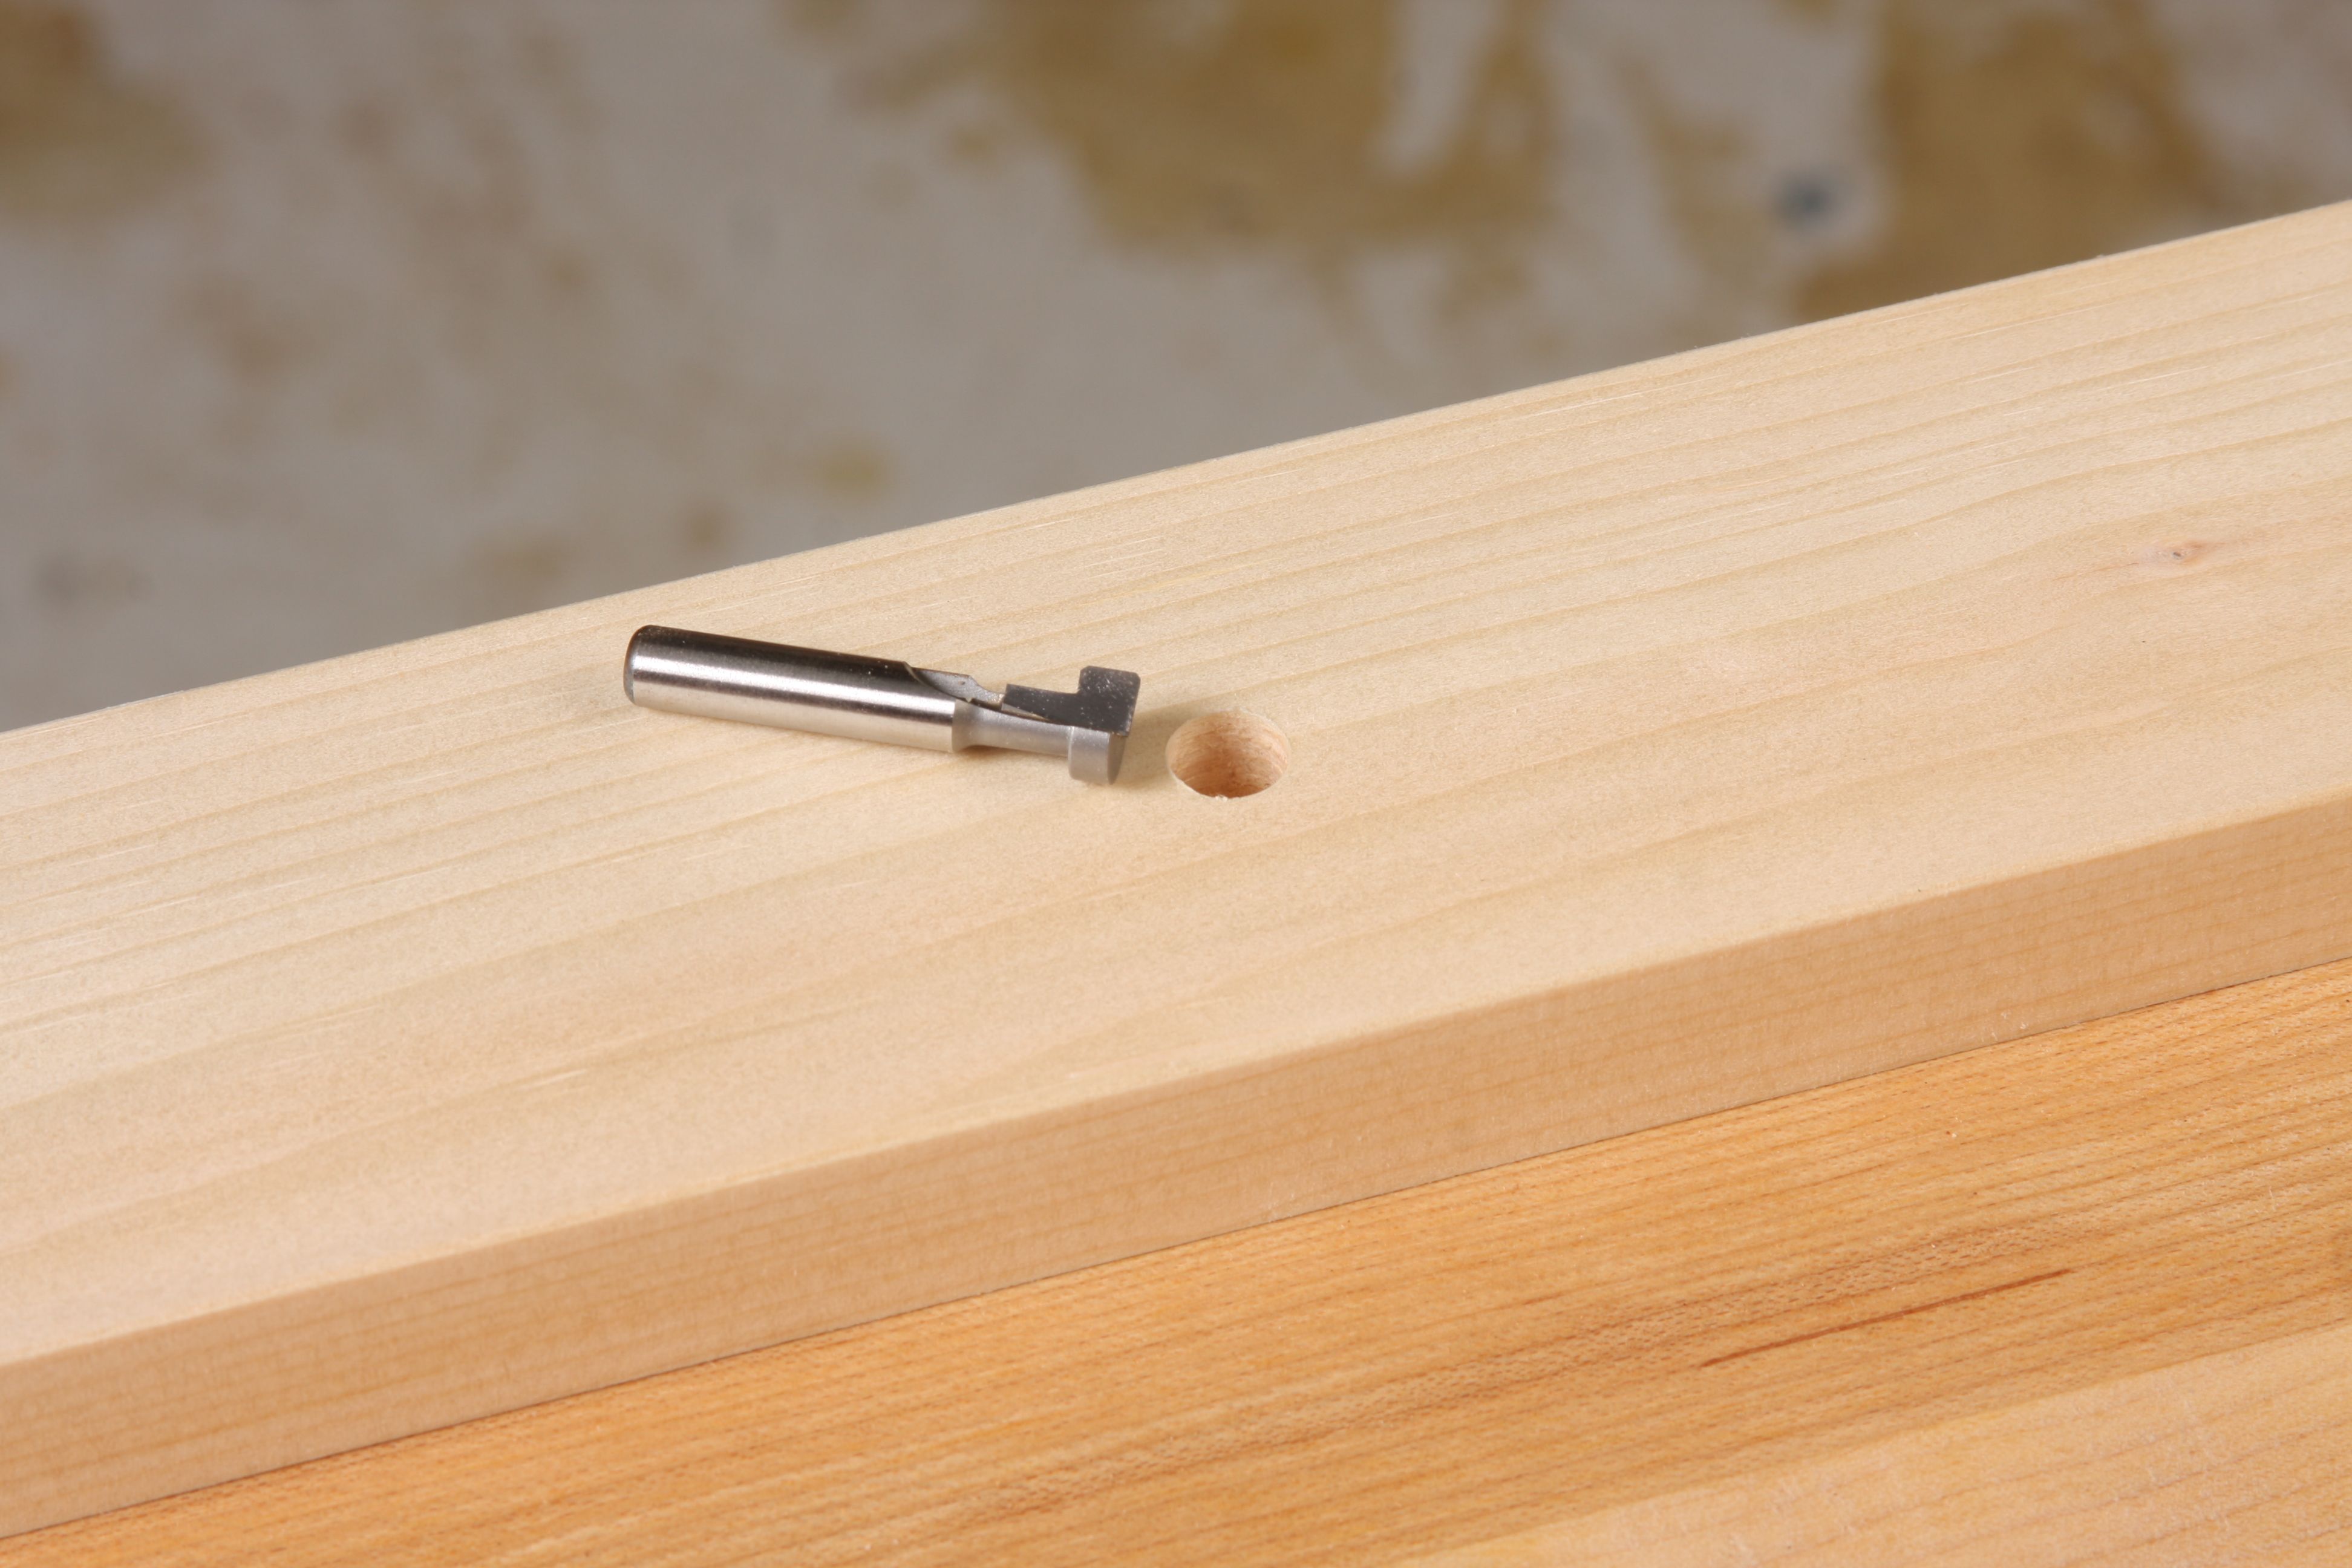
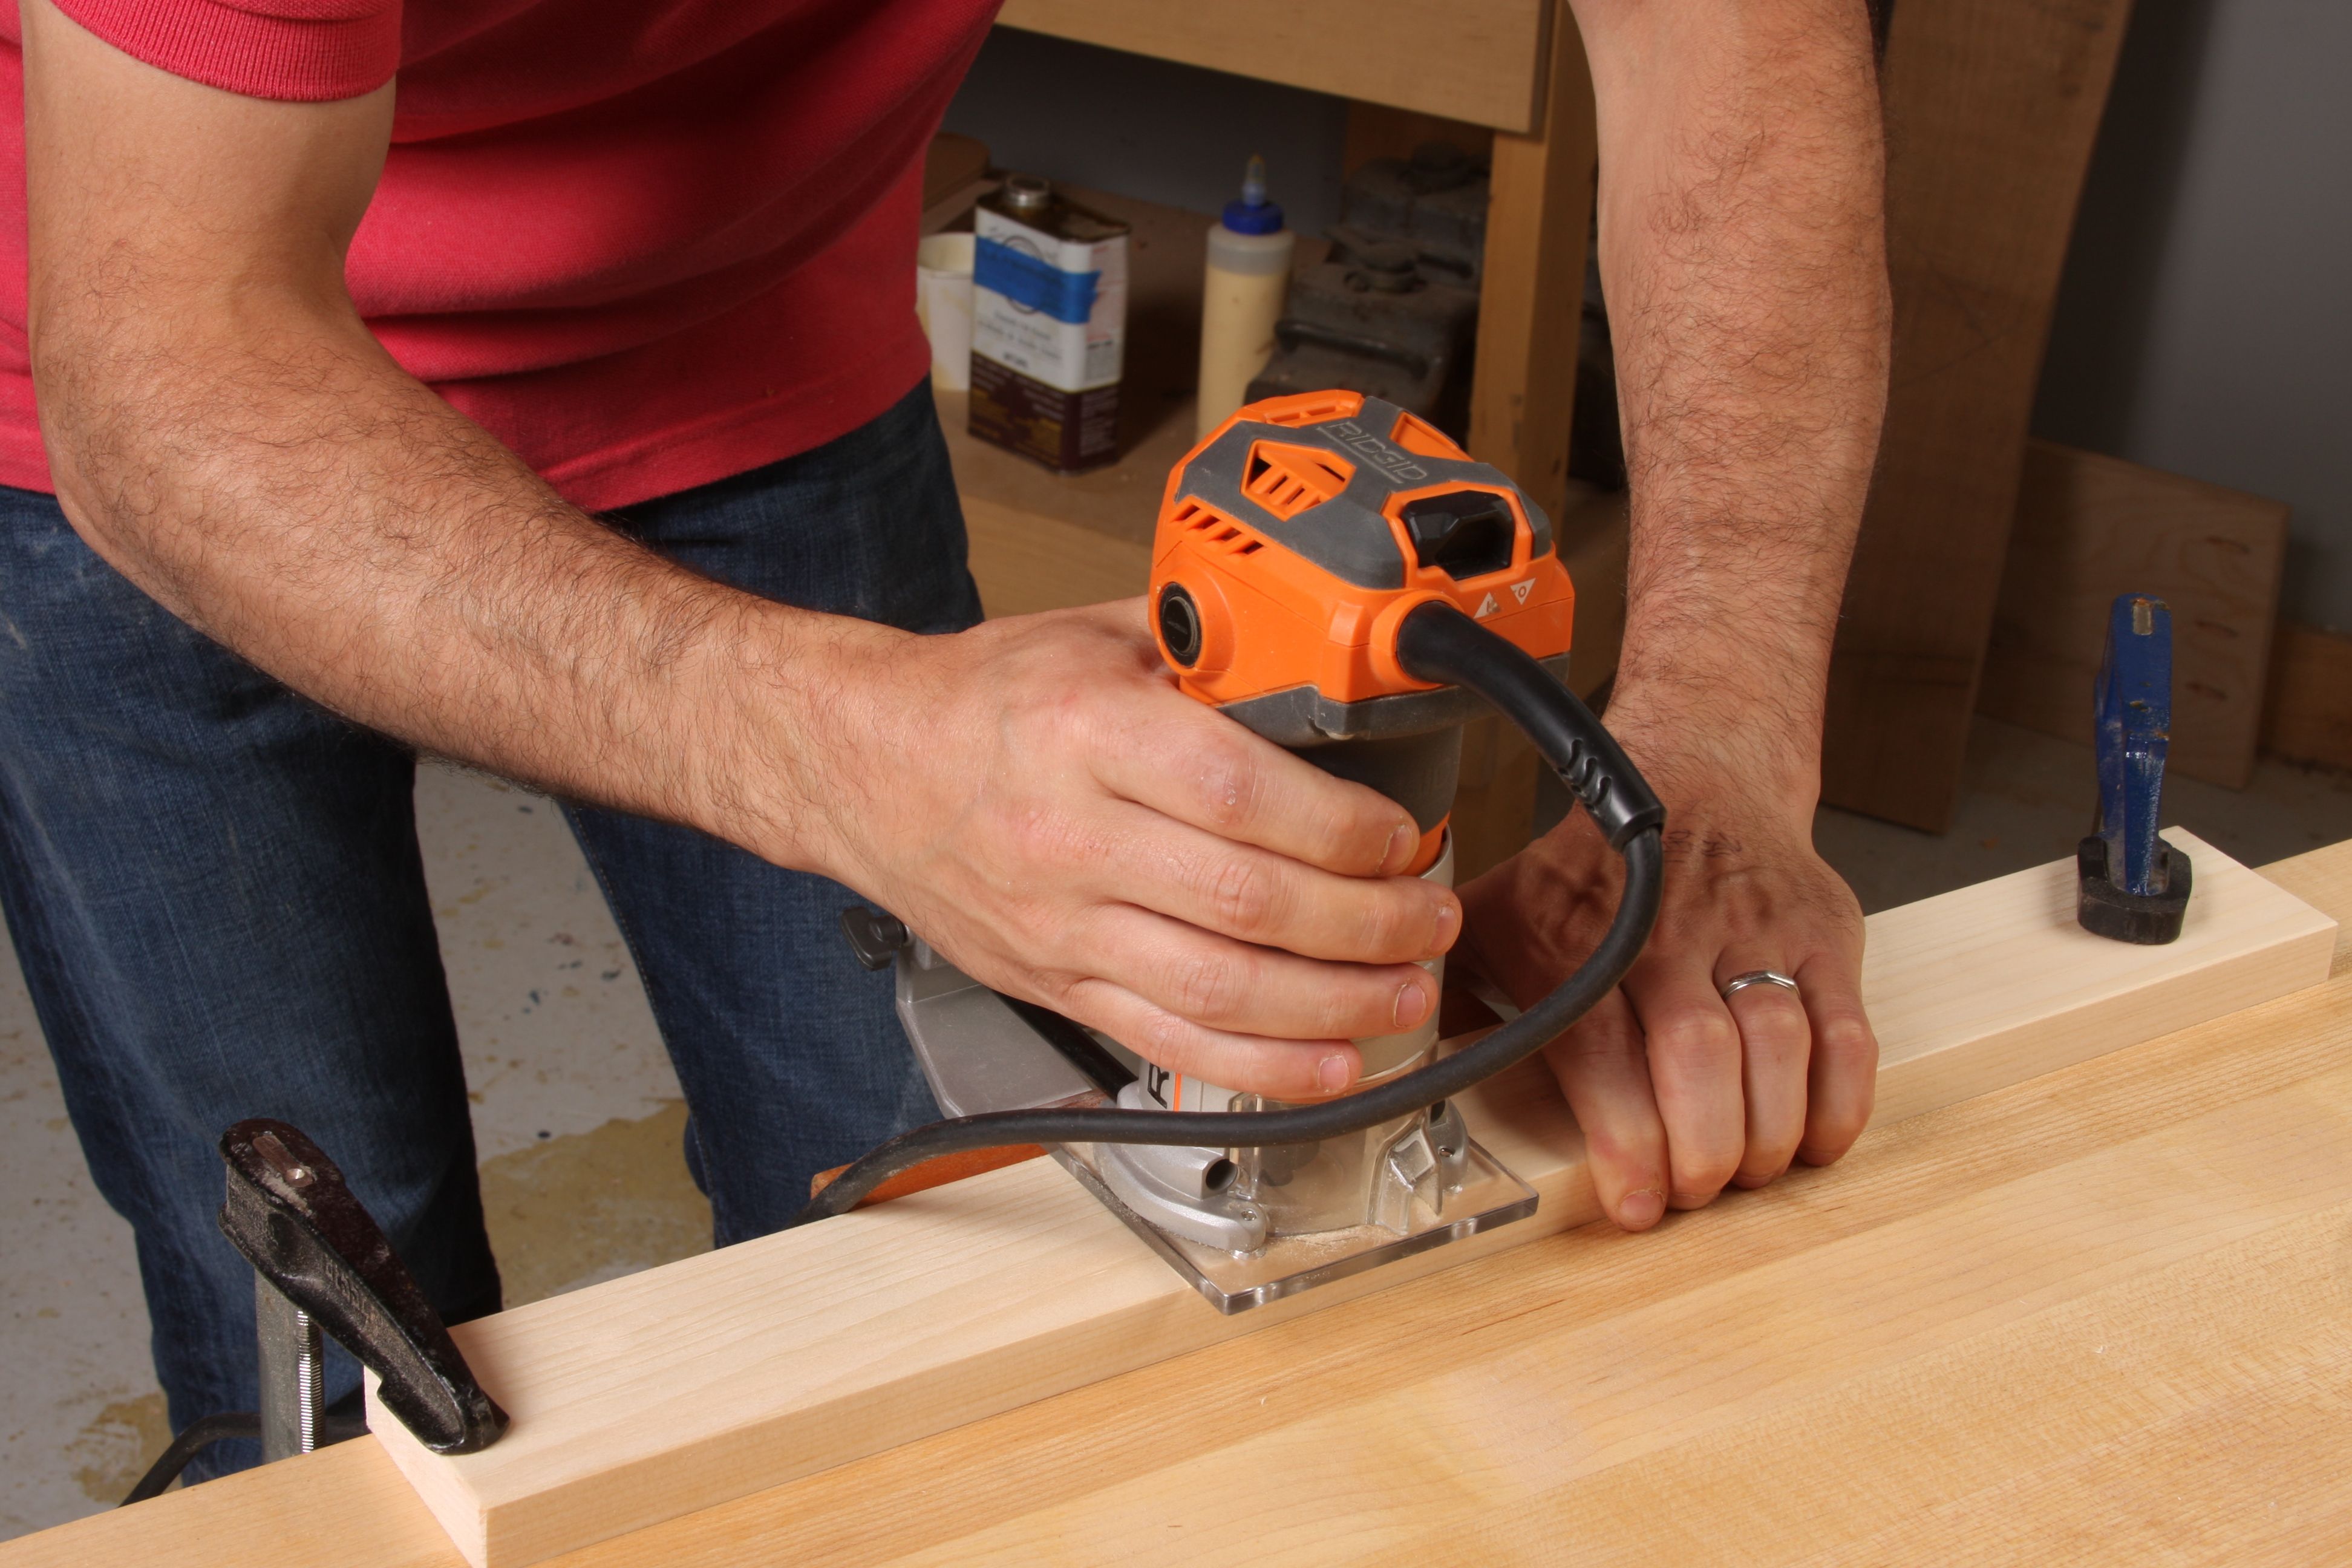
During a chance visit to a local woodworking supply house, I happened upon an easier, quicker solution-a keyhole route bit. This $15 bit can create a solid keyhole for simple mounting in less time. At first glance, it might seem as though a plunge router would be the way to go with this bit, but I found the bit so dainty-and my plunge router so large, that I went a different route. After marking the back of my frame for the start point of both keyholes, I drilled out a starter hole that was just slightly larger than the diameter of the keyhole bit at the drill press. Next, I used my trim router to finish up the cut. With the edge guide in place, I set the keyhole bit into the pre-drilled hole, turned on the router, and cut the slot. The result was flawless, and you can bet I’ll be using this technique for future projects.



Comments
Nice trick, piloting a hole work a drill first. Rather than two vertical keyholes and the "FUN" of trying to hang your anchors evenly for a level mount, run one horizontal long slot across the to rail through the center point. By sliding your frame side to side a perfect level is easily obtained. In the event of a wall that is not flat, place rubber "door bumpers" on the back to the frame to hold the corners out a bit. Rubber bumpers also limit shifting.
I've been using free oak wood from pallets to make some really cool projects and selling them for some extra income. I've got thousands of woodworking plans to build. Here's where I got all my wordworking plans http://tinyurl.com/ntgfwjb .. ,,,
Log in or create an account to post a comment.
Sign up Log in