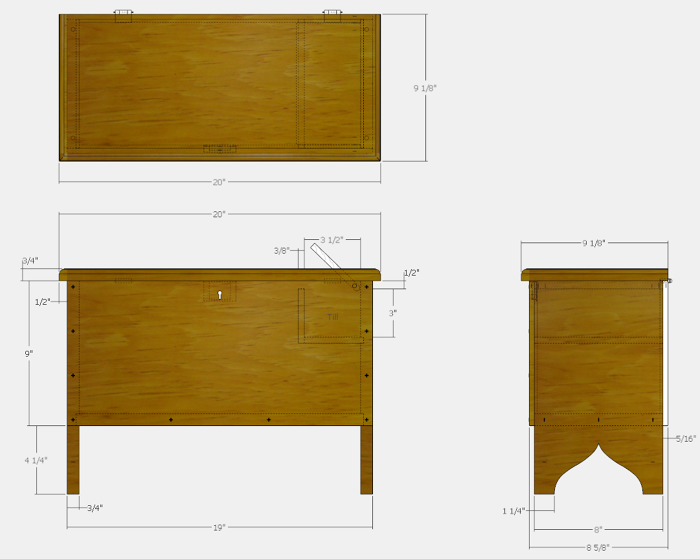
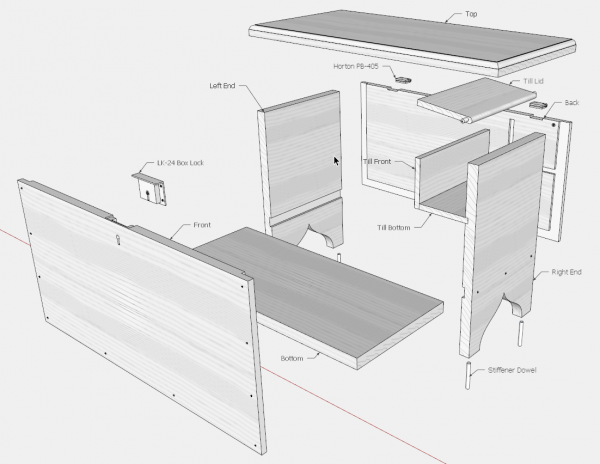
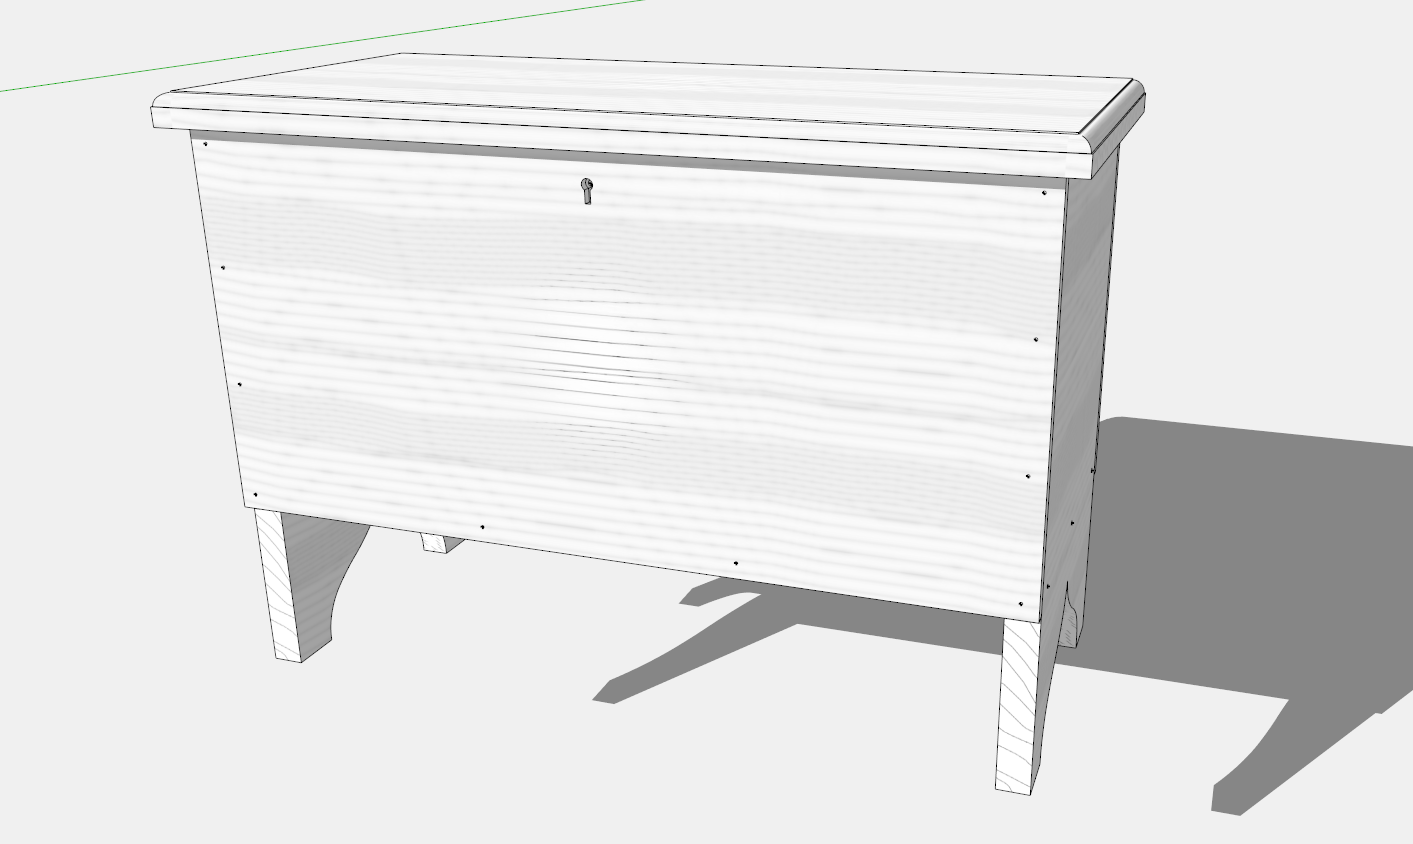
I’m currently working this Small New England Six-board Chest for school. Grain direction is somewhat tricky in this rather simple piece. For example, if the grain direction in the End components is vertical, there would be a cross-grain expansion/contraction issue with the horizontal grain in the front and back. Therefore the grain direction in the End components should also be horizontal and match up with the Front and Back.
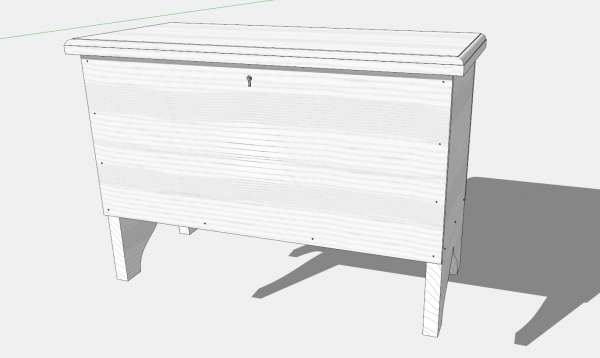
I need to make this grain direction quite visible in the drawing to avoid mistakes in the construction. One way is to show the grain with various wood textures. For example here is a pine texture that I created.
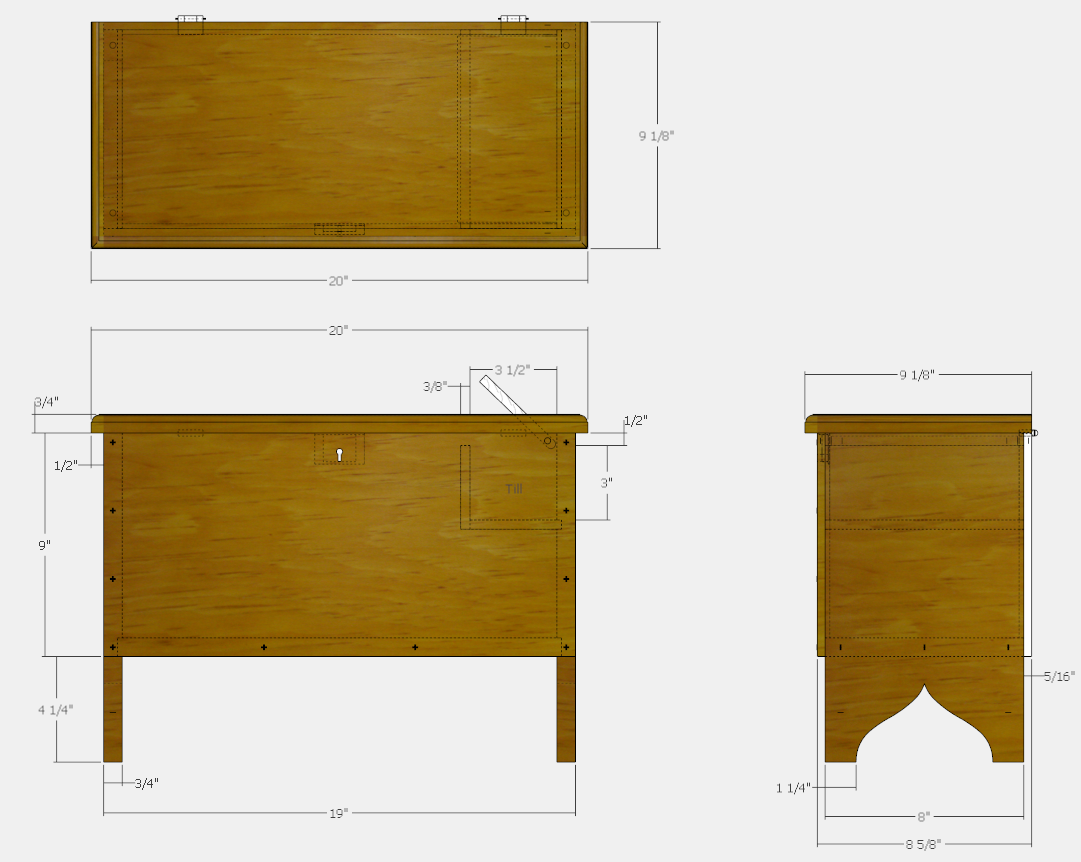
However, these dark textures make it more difficult to see edges and dimensions in the drawing. These realistic textures have their place in displaying furniture models. But for me, they should not be used for drawings used in the shop. I find them distracting and an impediment to reading a drawing.
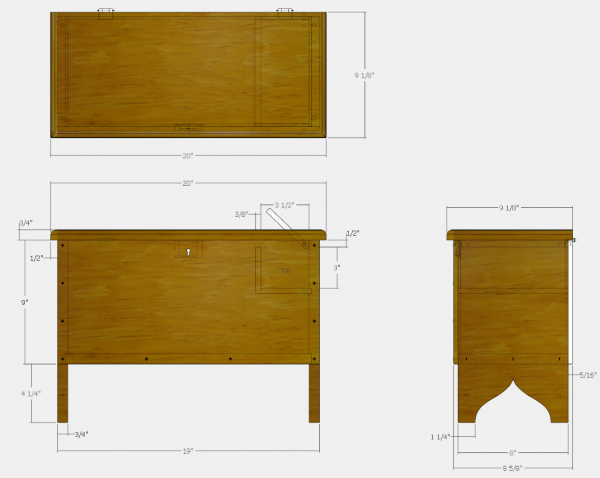
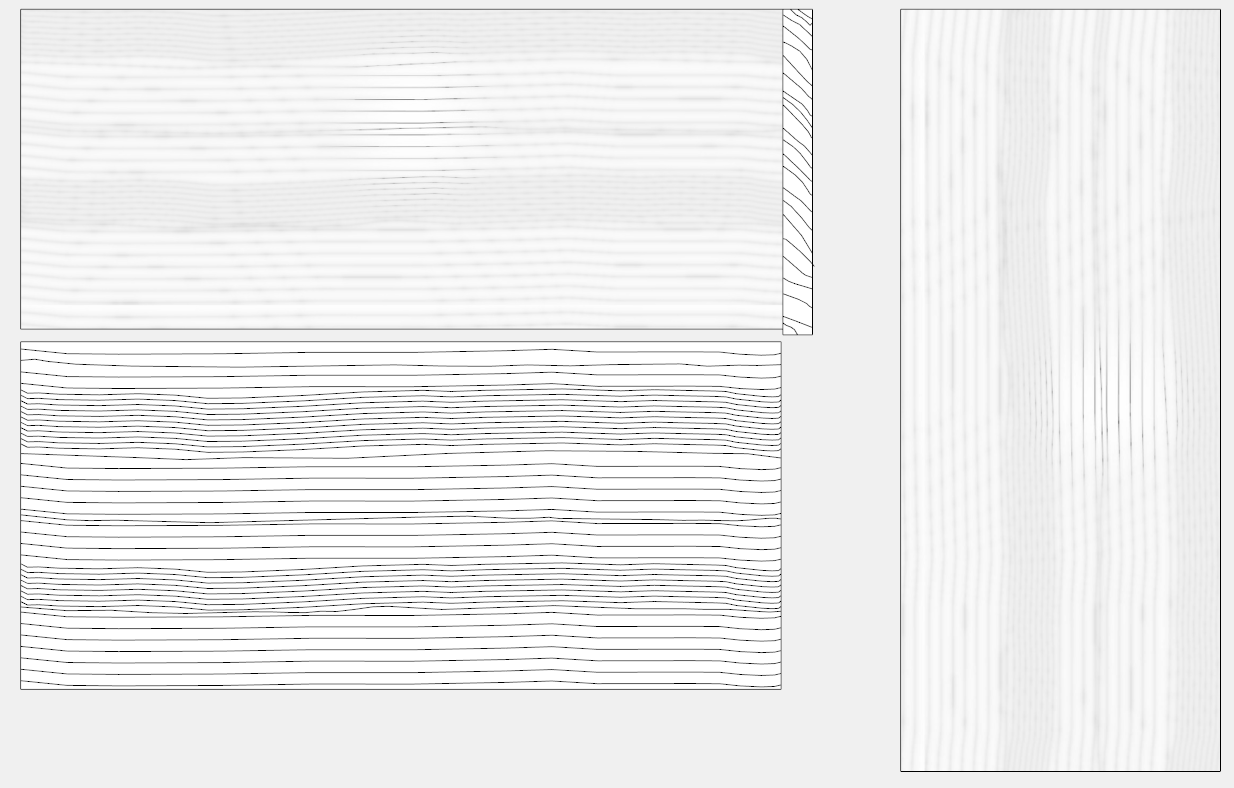
I noticed that early drawings by architects apply a very unobtrusive way of showing grain, and I set out to duplicate this method. With experimentation I came up with textures that seem pale enough, but are also effective in showing grain direction.
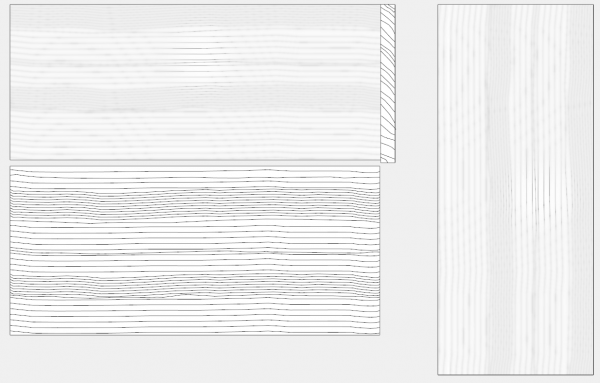
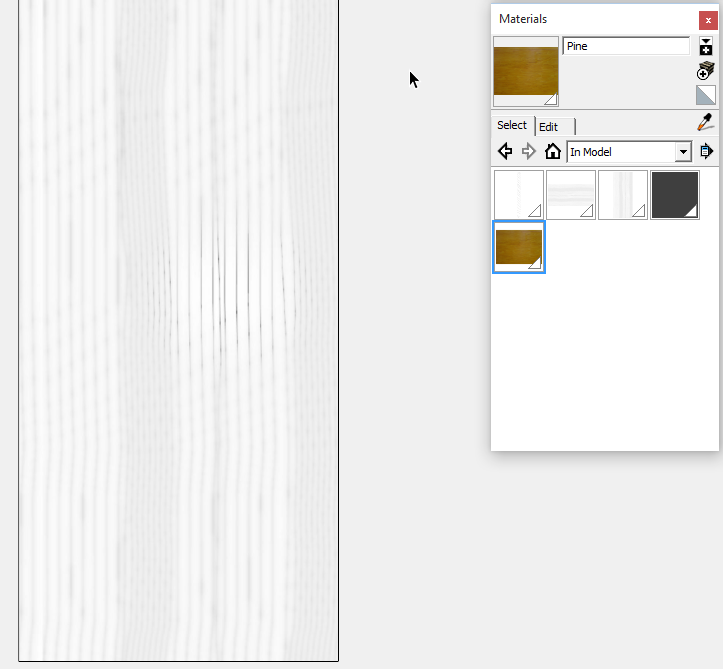
I show the process for making these textures in the video shown below. I first made a rectangle face about the size of the Chest Front. I chose the Free Hand Tool, and scribed horizontal lines on the face. I captured the image with a Screen Capture tool and doctored with an image processor and a “soft focus” feature. That muted the lines sufficiently.
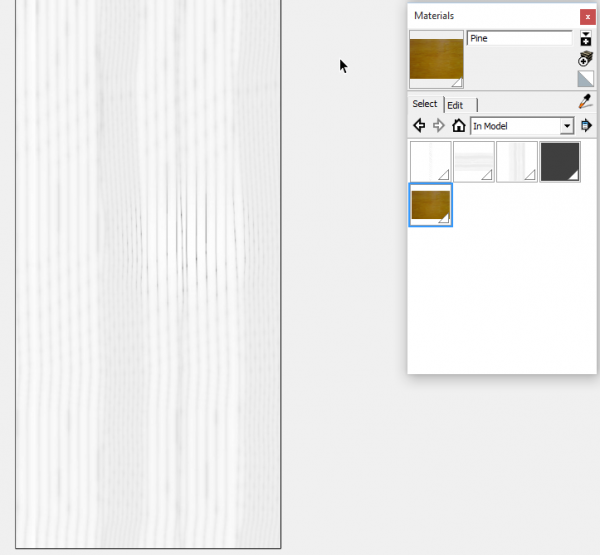
Then I imported these images (as a Texture for a vertical, horizontal, and end grain), so that they appear in the Materials Dialog Box here.
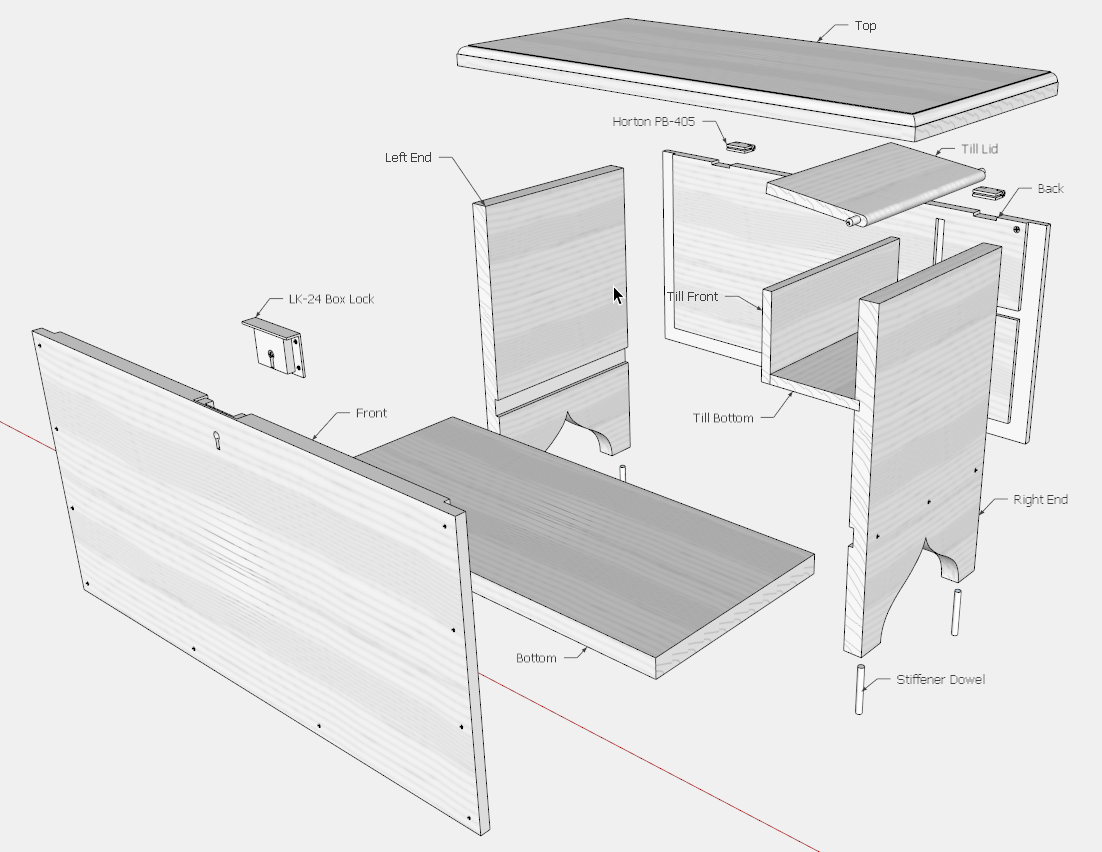
It’s easier to apply the materials in the Exploded View so there is easy access to all the components from all directions.
Tim
@KillenWOOD




Comments
Horizontal grain orientation for the sides will make the feet easier to break.
rwyoung - Good point on the vulnerability of cross-grain feet. That is why I added Stiffener Dowels vertically from the bottom. You can see these in the Exploded View.
Tim
Look to the past and keep it simple :
https://www.finewoodworking.com/FWNPDFfree/six-board-chest.pdf
And by past I mean both the historical record and what has appeared many times in FWW...
rwyoung - I see what Dunbar is saying about using nails without any glue. That probably works but there will still be differential movement depending on species and the way the lumber was cut. Certainly using quarter sawn would also help to reduce movement.
The early small chest I'm reproducing has a key lock for the chest Top. These locks are very sensitive to movement. I could argue that having vertical grain in the End pieces, creates movement in the Top in relation to the Front, and risks lock problems in mating-up properly.
Tim
Use a crab lock (example: http://www.whitechapel-ltd.com/product//178LF3.html) as these have very high alignment compliance as compared to one using a bolt.
And if your lock alignment is THAT critical, solid panel construction is not the way to go. Frame-and-panel will "maximize" the minimization of movement. (Say that three times fast.)
rwyoung - Wow! That chest lock is 7 5/16" long and 3 5/8" wide. It would almost cover the front, with that huge European style escutcheon. The chest I'm doing, is an old New England piece and very small. Panels are not appropriate for the reconstruction and an escutcheon was not applied.
Tim
The link was intended as an example of a "crab lock", not specifically the one to buy (for this or any project). They are available from a good blacksmith and as reproductions from various "sweat shops" in India in all kinds of different sizes.
By using one or two round tipped "clutches" which grab onto a small bar, they have a much higher degree of compliance in their alignment than a chest lock that pushes a bolt into a plate.
Only the lid needs a frame-and-panel construction it will be moving "across" the lip. The front and back will move in unison, not affecting the lock alignment.
If the intent is to create an honest reproduction of the original, why not stick to the original's grain orientation?
rwyoung: The picture of the original piece shows a horizontal split across the Front of the Chest. I can't tell what grain direction was used in the original for the Ends. But I assume that it is vertical, and that caused the split.
In my revised design, the grain of the Chest Top and the Chest Ends is aligned such that any movement is the same in both components, therefore also assuring the lock alignment.
Tim
Log in or create an account to post a comment.
Sign up Log in