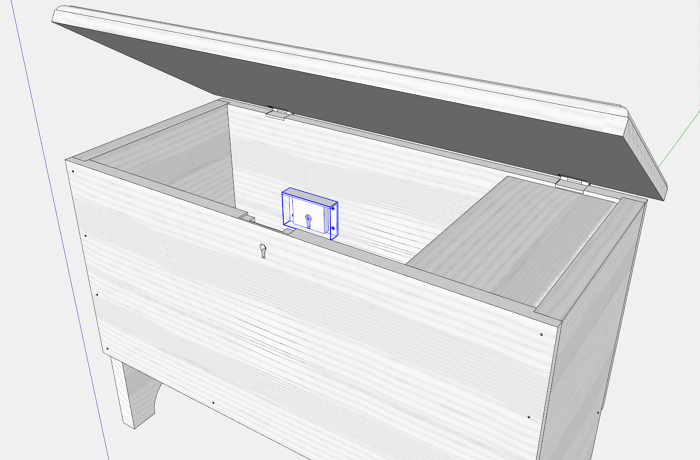
I find installations of key or box locks to be significant challenges. Locks seem to require a degree of accuracy of installation beyond normal work in the shop. Multiple recesses and holes are required in the back face of the cabinet or chest front, and they need to be perfect in position, size, and depth. Also, the entry opening in the front for the Key must again be carefully cut.
To help achieve a successful key lock installation, my strategy is to have on hand the actual key lock, model it in SketchUp, then use that model to create the holes, and recesses in the design model. This is accomplished before any shop work on the actual lumber.
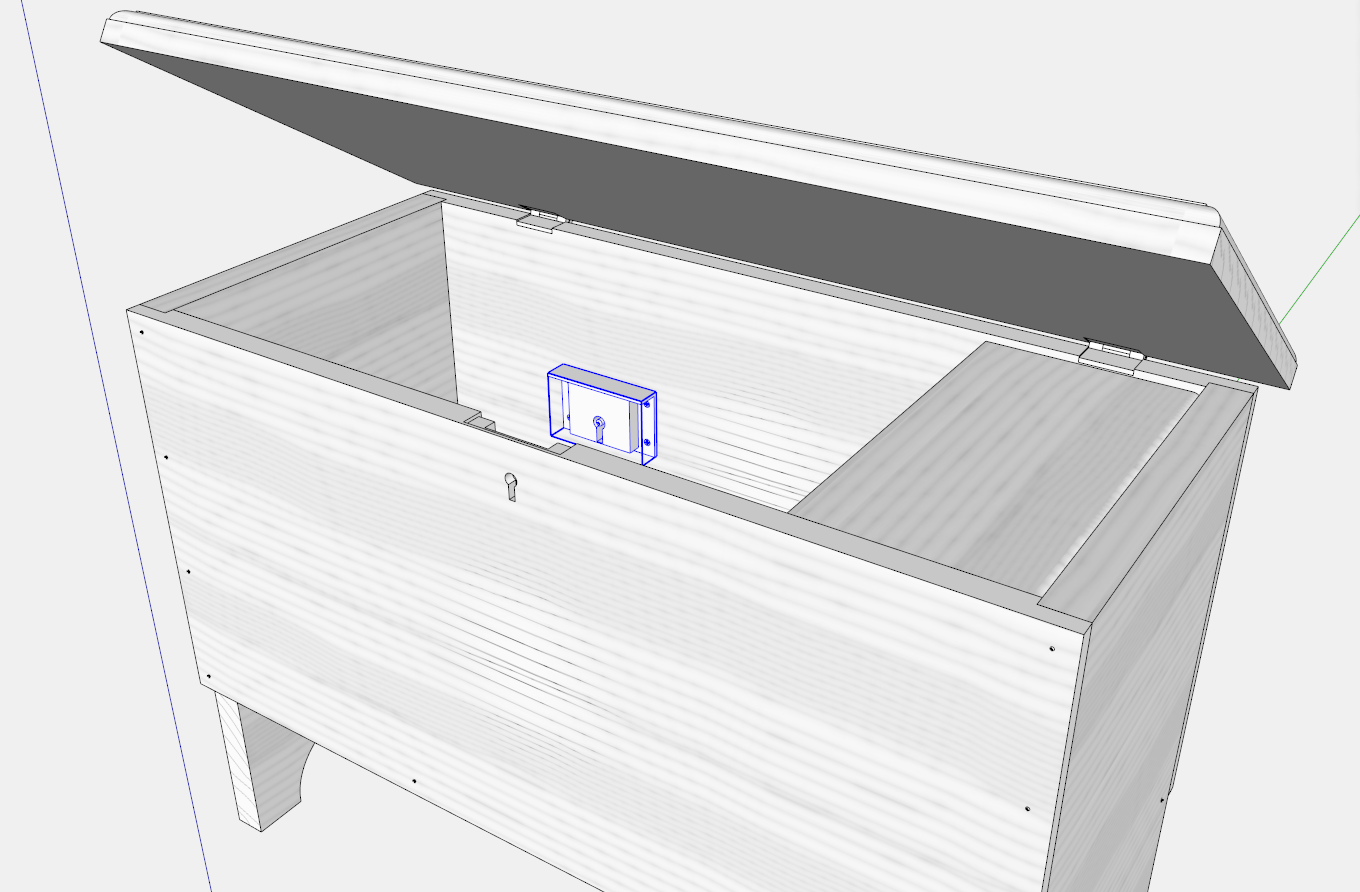
I’ll show a little bit of this process in the following pictures and video. I’m using this Small Six Board Chest as the example.
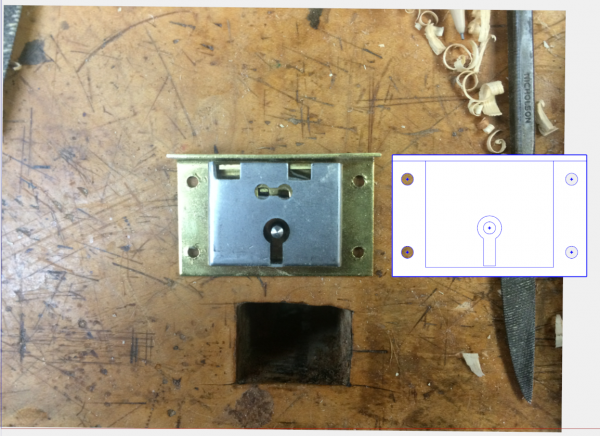
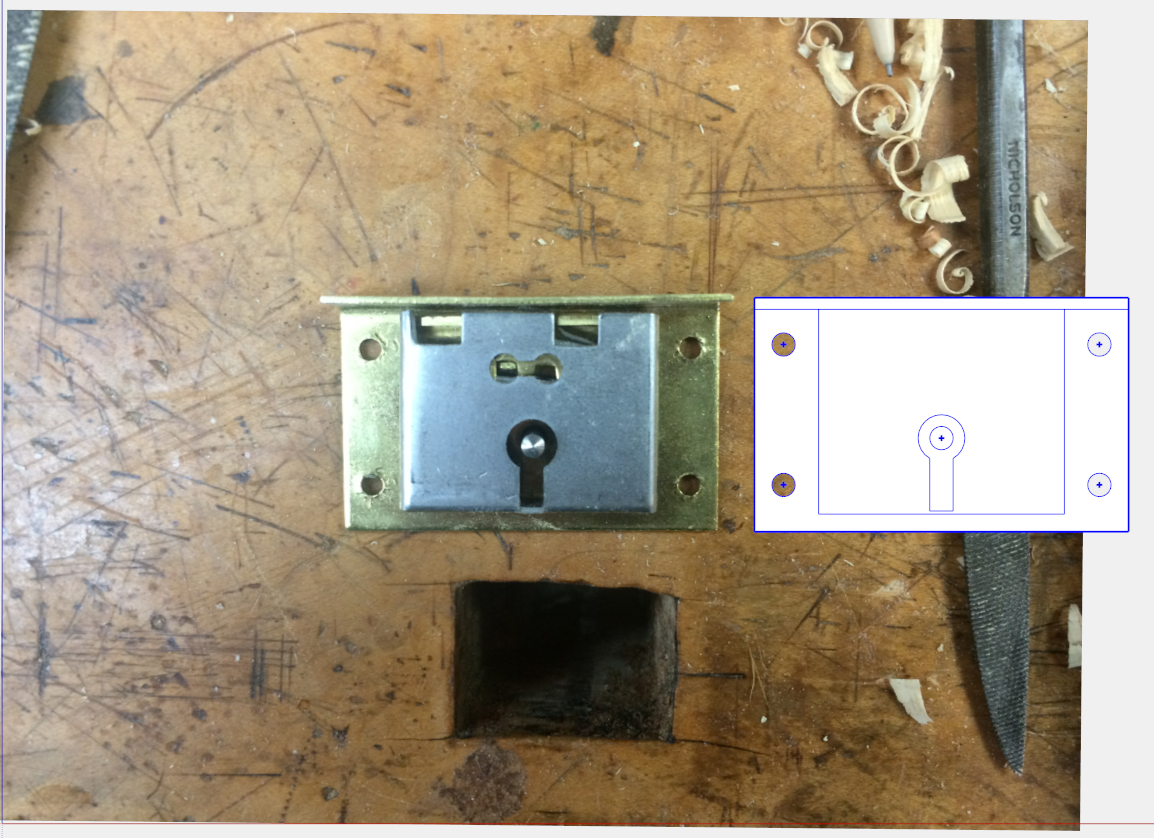
Upon receipt of the actual hardware, I typically make a photo and import to SketchUp. I make the photo full size and trace over the shapes, while taking actual measurements of the hardware. I turn those shapes into the 3D model (shown below to the right of the photo) that can be placed into position on the Chest.
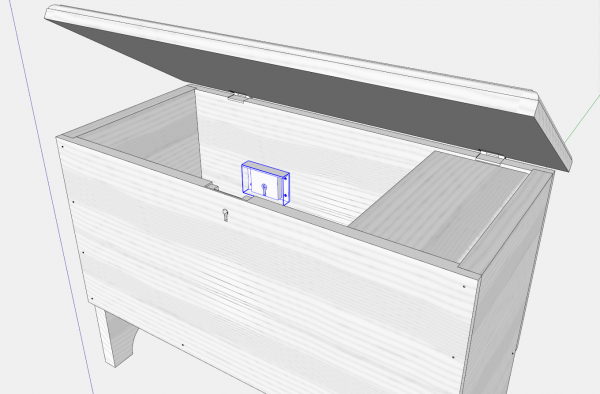
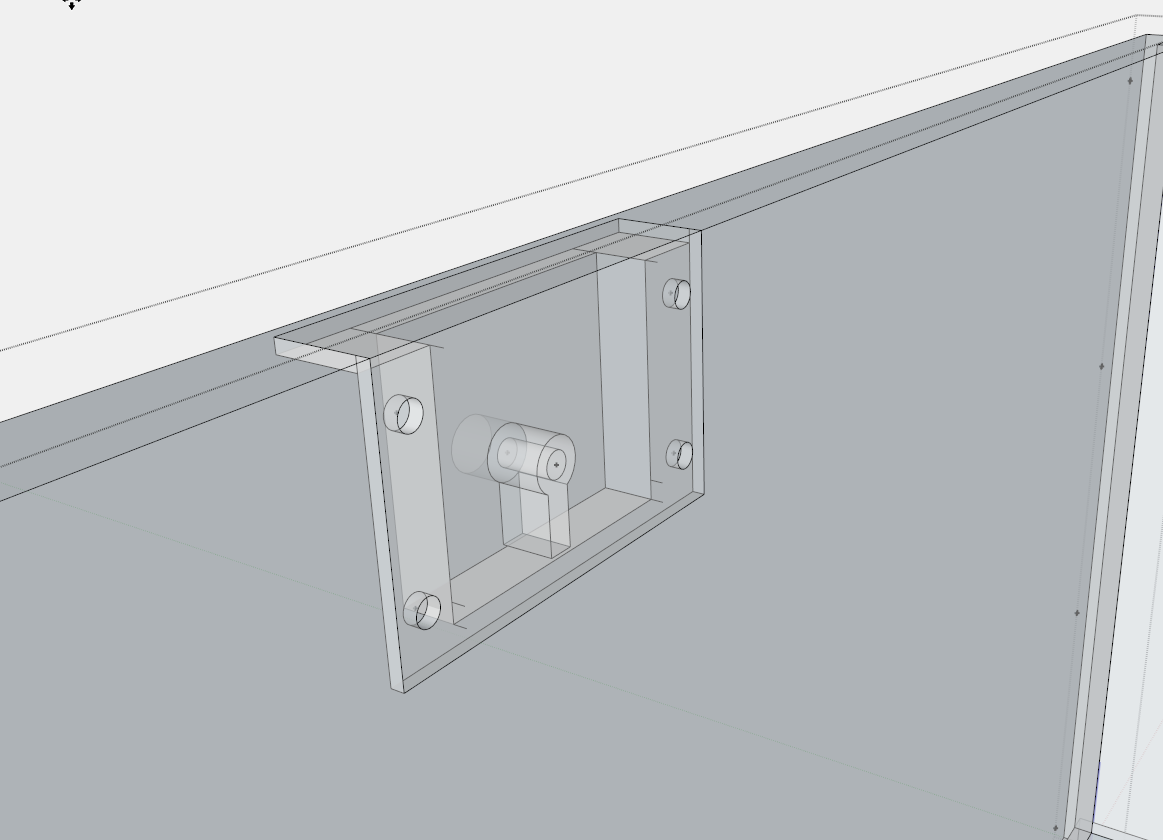
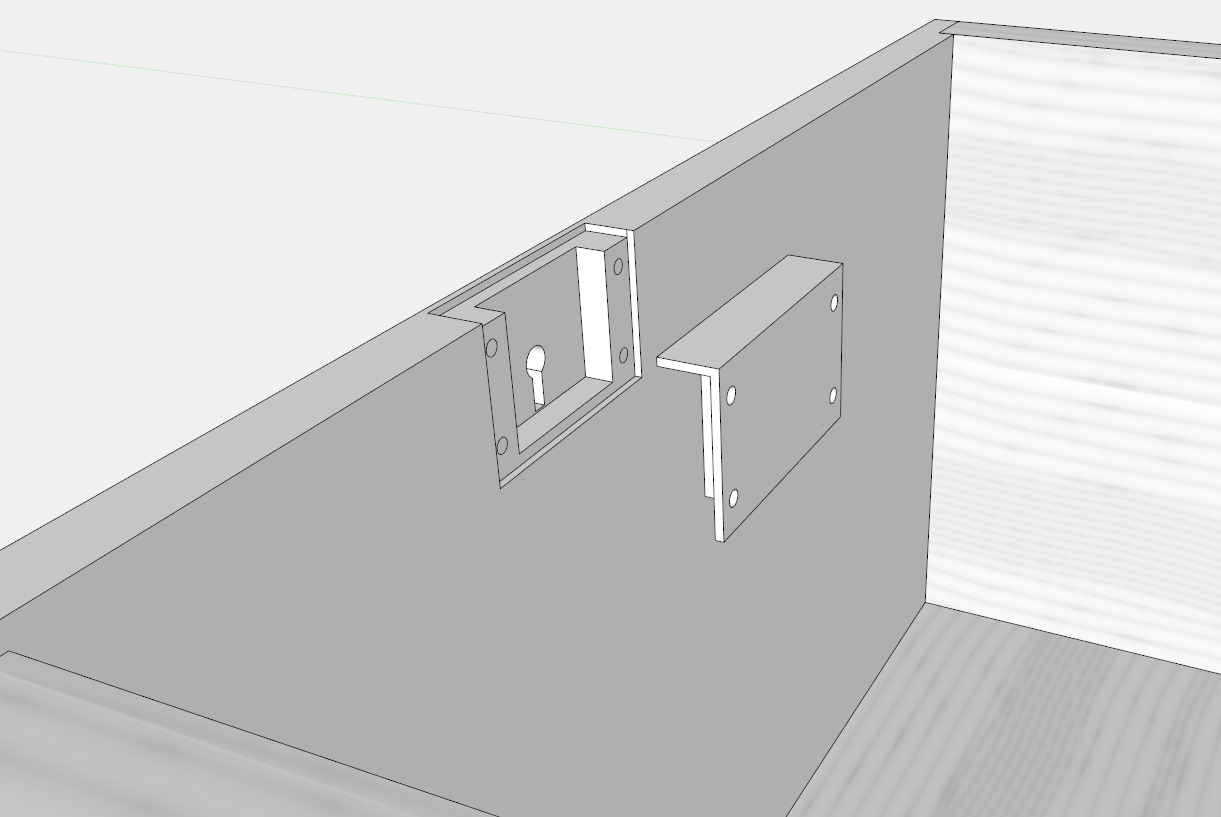
I place the lock into exact position in the center of the Chest. Then turn on X-ray, open the front for editing, and begin making the recesses and holes using the Line, Circle and Push Pull Tools. You can see this operation in the video below.
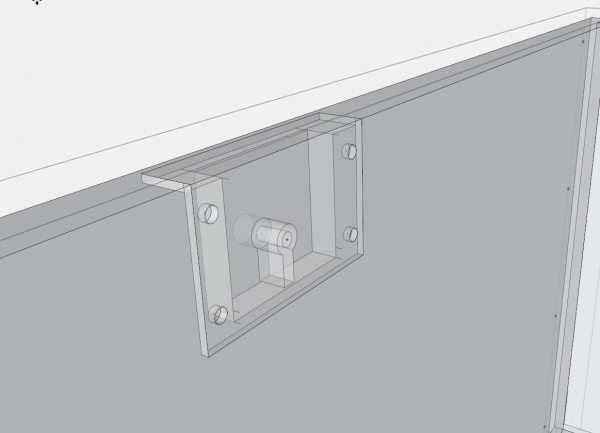
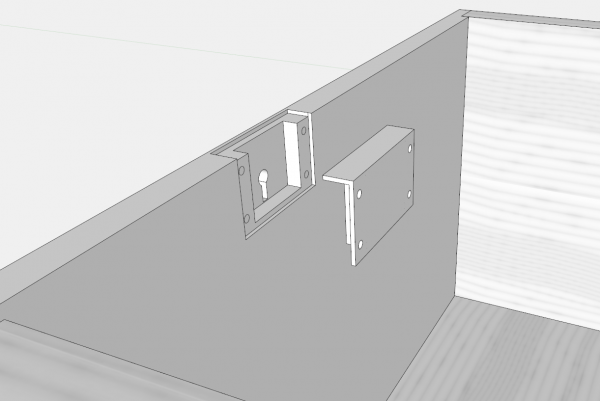
After making the cuts in the back face of the Chest Front, I can extract the Lock from its position and see the results. With this picture and added dimensions/notes, I begin the actual work on the lumber.
Tim
@KillenWOOD




Log in or create an account to post a comment.
Sign up Log in