Half-Blind Dovetails Cut by Hand
Christian Becksvoort shares his method for cutting half-blind dovetails, the next step in craftsmanship for the woodworker who has mastered through-dovetails.

Synopsis: A joint that does its job superbly, delivering beauty and strength without straining for attention—that’s the essence of the half-blind dovetail on a well-made drawer. Christian Becksvoort shares his method for cutting half-blinds, the next step in craftsmanship for the woodworker who has mastered through-dovetails. The tails for both type of dovetail are cut the same way. The pins differ for half-blinds, requiring some careful sawing and extra chisel work. Learn how to lay them out, saw them, and then chop, pare, and clean them up for a perfect fit.
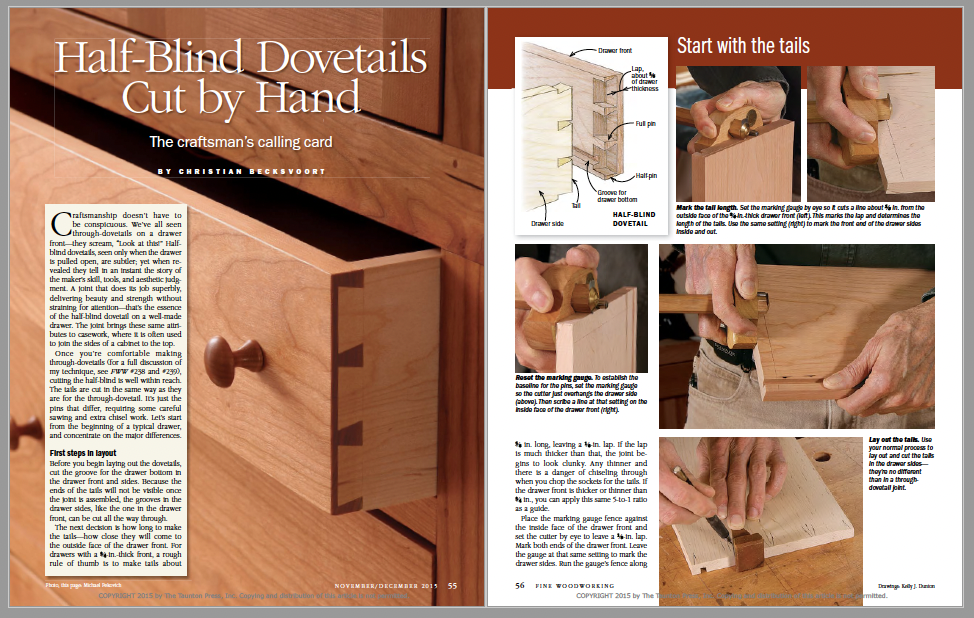
Craftsmanship doesn’t have to be conspicuous. We’ve all seen through-dovetails on a drawer front—they scream, “Look at this!” Half-blind dovetails, seen only when the drawer is pulled open, are subtler; yet when revealed they tell in an instant the story of the maker’s skill, tools, and aesthetic judgment. A joint that does its job superbly, delivering beauty and strength without straining for attention—that’s the essence of the half-blind dovetail on a well-made drawer. The joint brings these same attributes to casework, where it is often used to join the sides of a cabinet to the top.
Once you’re comfortable making through-dovetails (for a full discussion of my technique, see FWW #238 and #239), cutting the half-blind is well within reach. The tails are cut in the same way as they are for the through-dovetail. It’s just the pins that differ, requiring some careful sawing and extra chisel work. Let’s start from the beginning of a typical drawer, and concentrate on the major differences.
First steps in layout
Before you begin laying out the dovetails, cut the groove for the drawer bottom in the drawer front and sides. Because the ends of the tails will not be visible once the joint is assembled, the grooves in the drawer sides, like the one in the drawer front, can be cut all the way through.
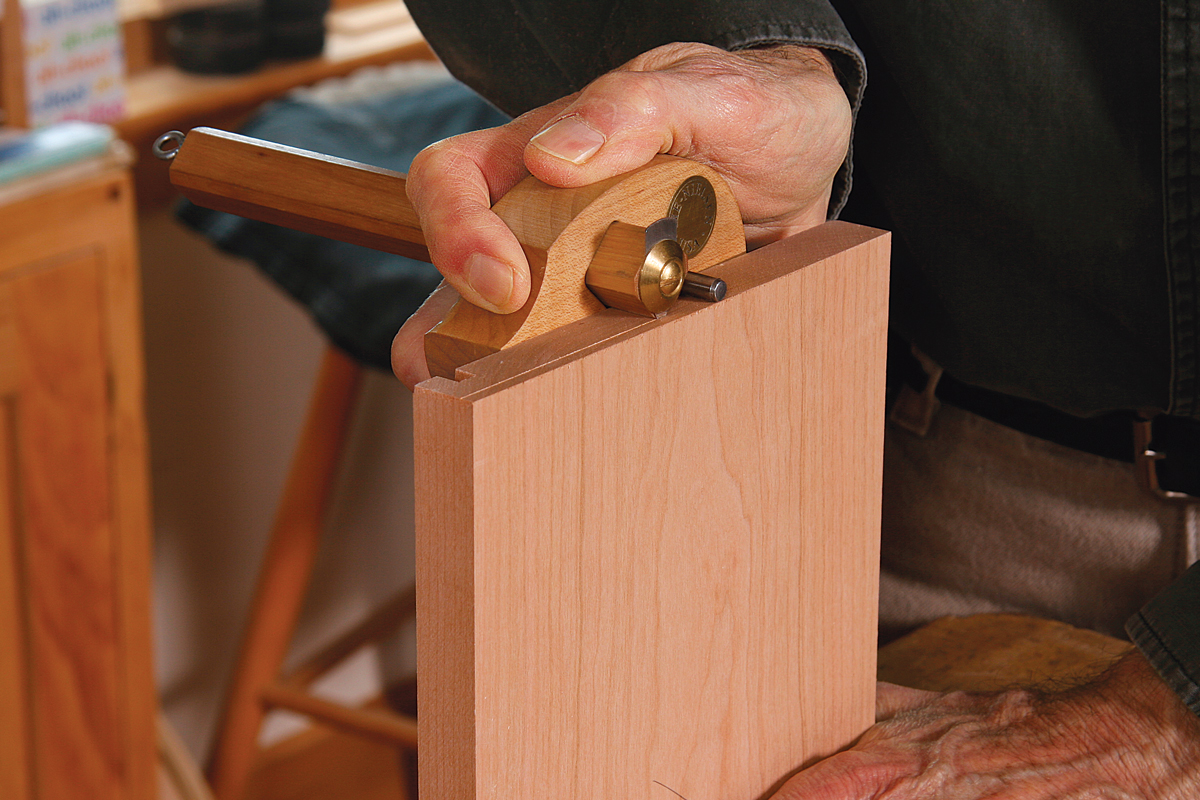
The next decision is how long to make the tails—how close they will come to the outside face of the drawer front. For drawers with a 3⁄4-in.-thick front, a rough rule of thumb is to make tails about 5/8 in. long, leaving a 1⁄8-in. lap. If the lap is much thicker than that, the joint begins to look clunky. Any thinner and there is a danger of chiseling through when you chop the sockets for the tails. If the drawer front is thicker or thinner than 3⁄4 in., you can apply this same 5-to-1 ratio as a guide.
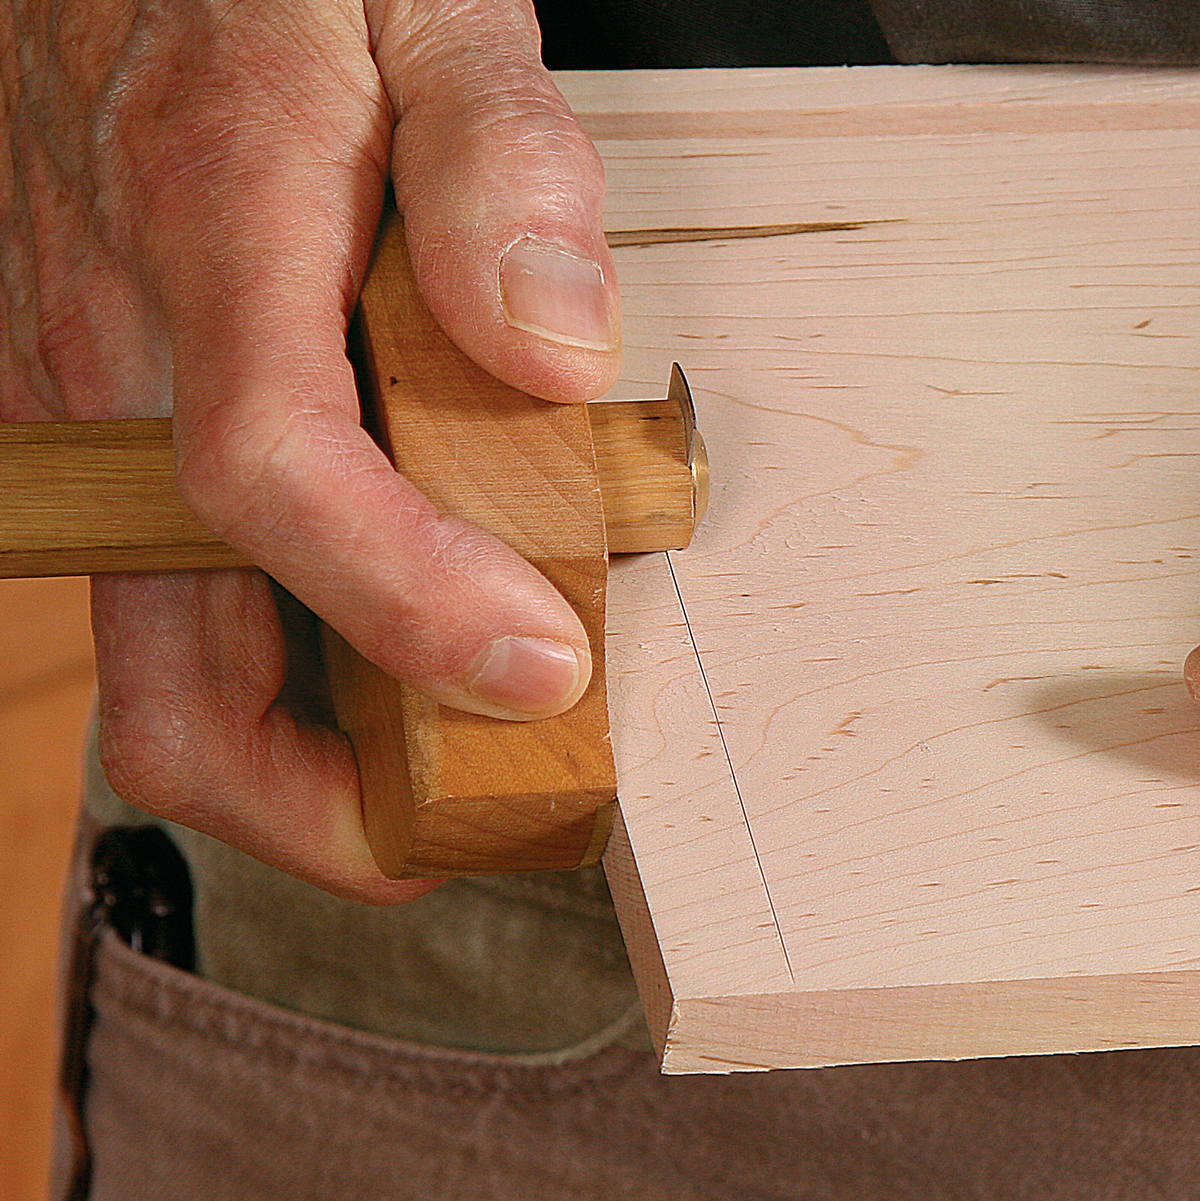
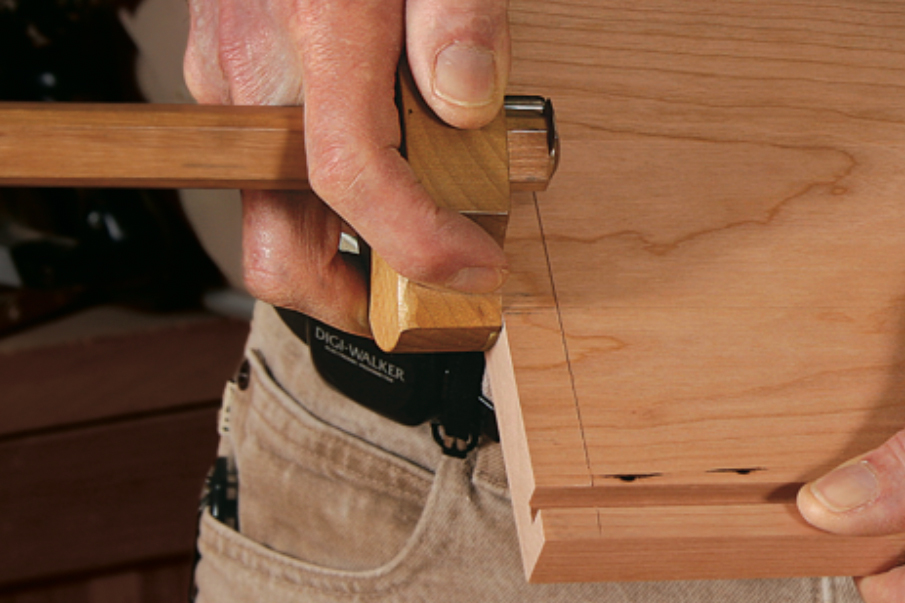
Place the marking gauge fence against the inside face of the drawer front and set the cutter by eye to leave a 1⁄8-in. lap. Mark both ends of the drawer front. Leave the gauge at that same setting to mark the drawer sides. Run the gauge’s fence along the front edge of each drawer side, marking both the inside and outside faces.
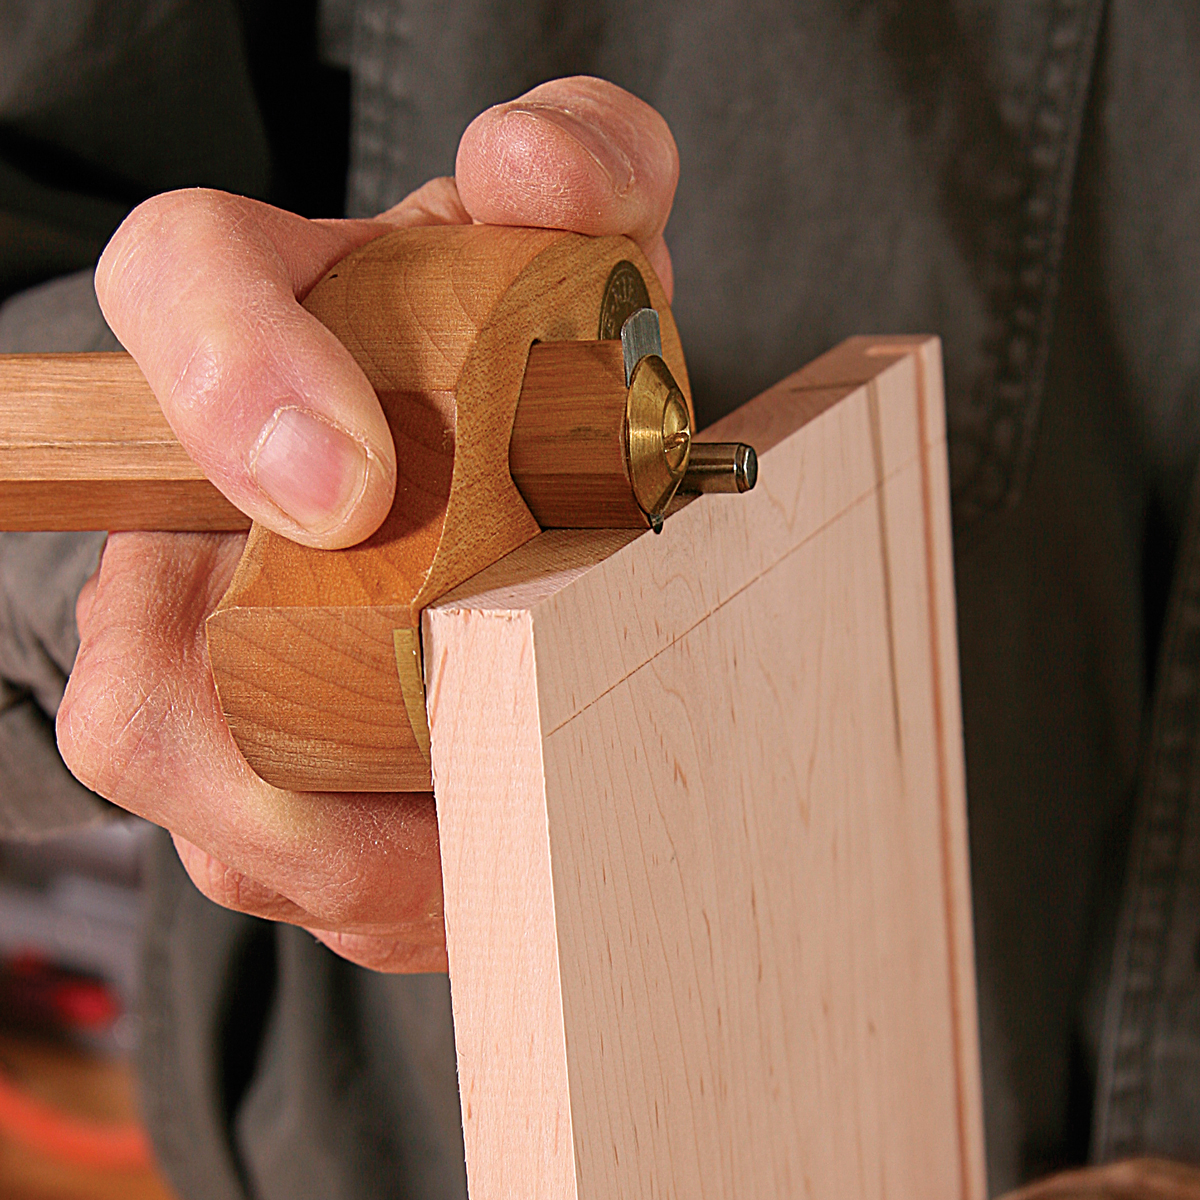
Now reset the gauge to the thickness of the sides and scribe a line on each end of the drawer front on the inside face. When I set the gauge for this line I let the cutter just overhang the side; that way, the pins will be slightly longer than the side is thick and they’ll be easy to plane or sand flush after assembly.
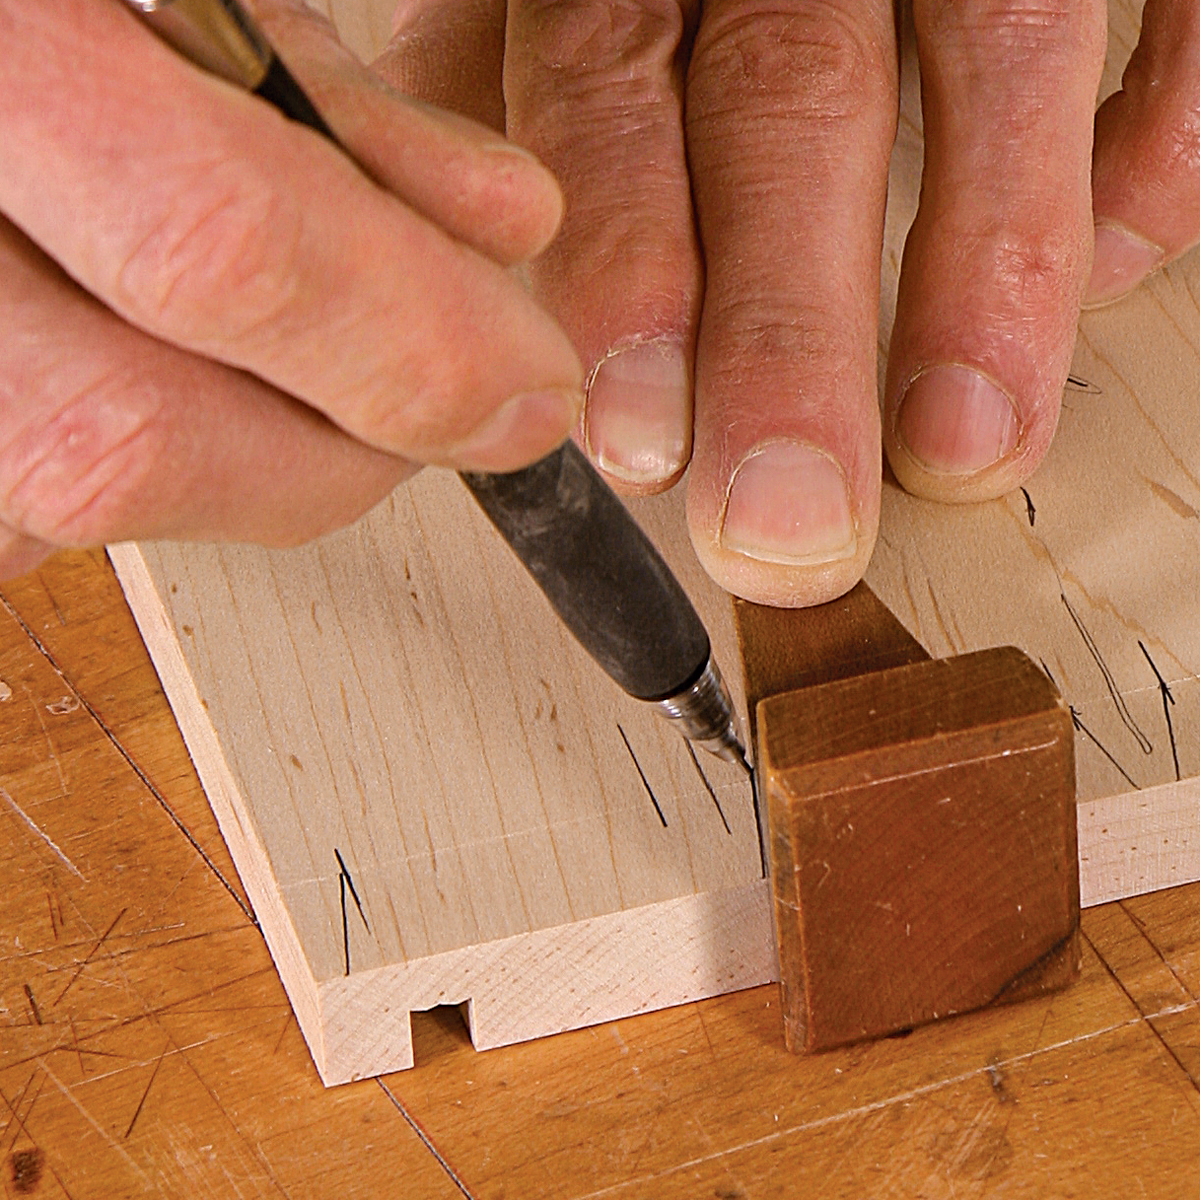
With the marking gauge work finished, lay out the tails on the drawer sides and cut them just as you would for through-dovetail joints.
 From Fine Woodworking #250
For the full article, download the PDF below.
Fine Woodworking Recommended Products

Olfa Knife

Suizan Japanese Pull Saw

Leigh D4R Pro




Log in or create an account to post a comment.
Sign up Log in