Sanding Methods for a Flawless Surface
Jeff Jewitt shares timeless tips for tackling big panels and problem parts.
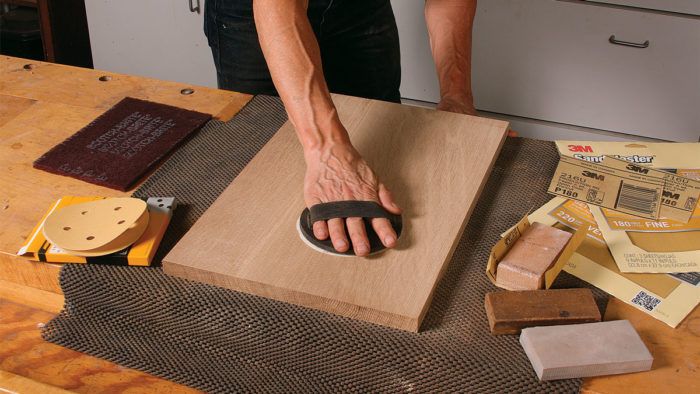
Synopsis: Power tools leave their marks on wood, so if you want a dead-flat, smooth surface ready for a finish, you’ll probably turn to sandpaper. Finishing expert Jeff Jewitt shares time-tested methods for using modern abrasives and sanding machines to get flawless results. From using a random-orbit sander followed by hand-sanding to smooth a surface, to using a belt-sander to level a glued-up panel, to working on tricky surfaces such as narrow parts and curved work, these tips will help you get the flawless surface you are looking for.
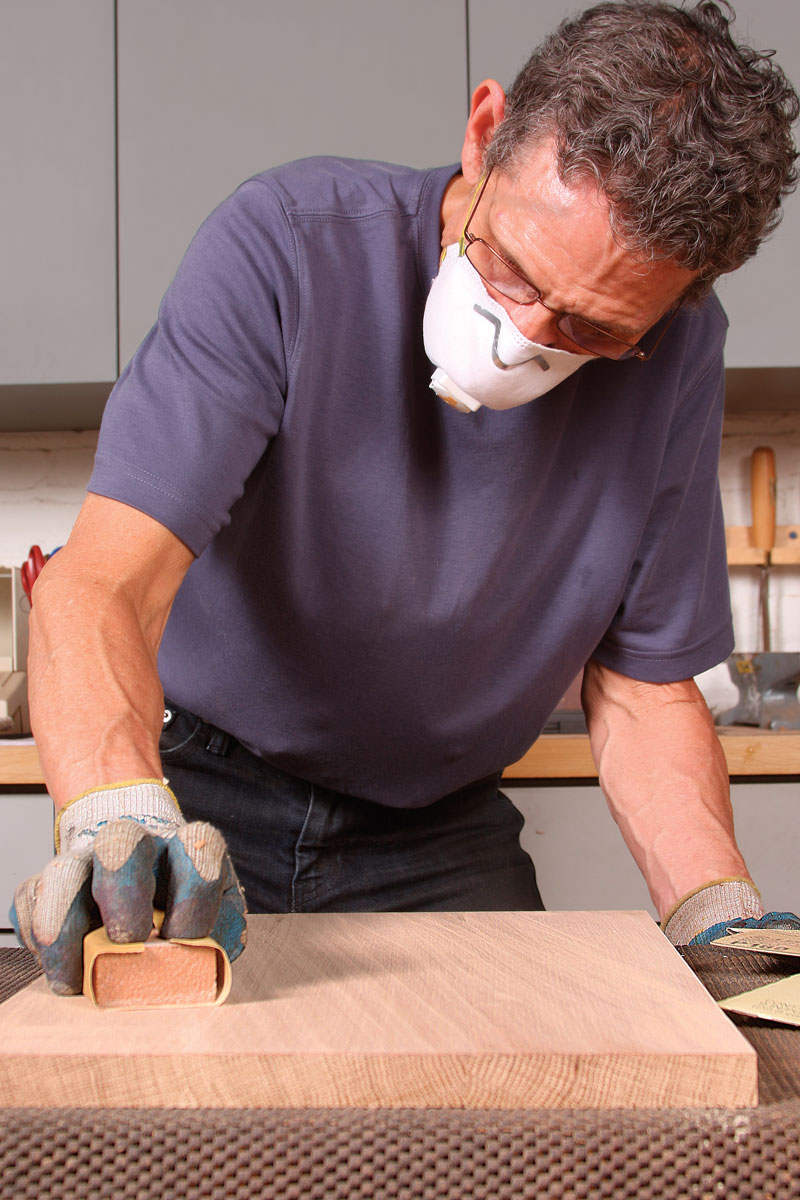 Even if the wood’s surface appears perfect after you’ve run it through the tablesaw, jointer, or planer, it’s not. All of these machines leave their marks, and the tricky part is that those marks often aren’t visible on bare wood. Unfortunately, they’ll jump out once a stain or clear finish is applied. That’s why all boards coming off a machine need further leveling and smoothing.
The type of preparation you use—hand, machine, or a mix of the two—will be dictated partly by the piece you’re working on. If you’re making a period reproduction where nuanced tool marks are a sign of hand-craftsmanship, all you may need is a final quick sanding with very fine sandpaper after using scrapers and planes. However, most woodworkers want a deadflat and smooth surface, and the way to achieve this is with modern abrasives and sanding machines. Here I’ll give you my time-tested methods for getting the best results with these tools.
I’ve been answering woodworking and finishing questions for more than 20 years and one thing that causes a lot of head-scratching is how to flatten a multi-board panel. It is too wide to go through your planer, your handplane skills may not be up to the challenge, and your 5-in. random-orbit sander is inadequate. To cap it all off, this panel often becomes the most visible part of a project, whether it is a tabletop, a desktop, or the sides or top of a chest of drawers. It needs to be perfect.
My answer is to use a belt sander. But the first step in my flattening process occurs during glue-up, when I align the boards as carefully as possible. I clamp 1-1⁄2-in.-square battens across the glue-up near the ends and in the middle to sandwich the boards into alignment. I use laminate-faced battens to repel glue, but packing tape will work, too. I then partially tighten the bar clamps underneath the board and try to bring the joints flush where there’s any misalignment, using a non-marking mallet for extra persuasion. When the panel is as flush as possible, I apply the rest of the bar clamps and snug them all down.
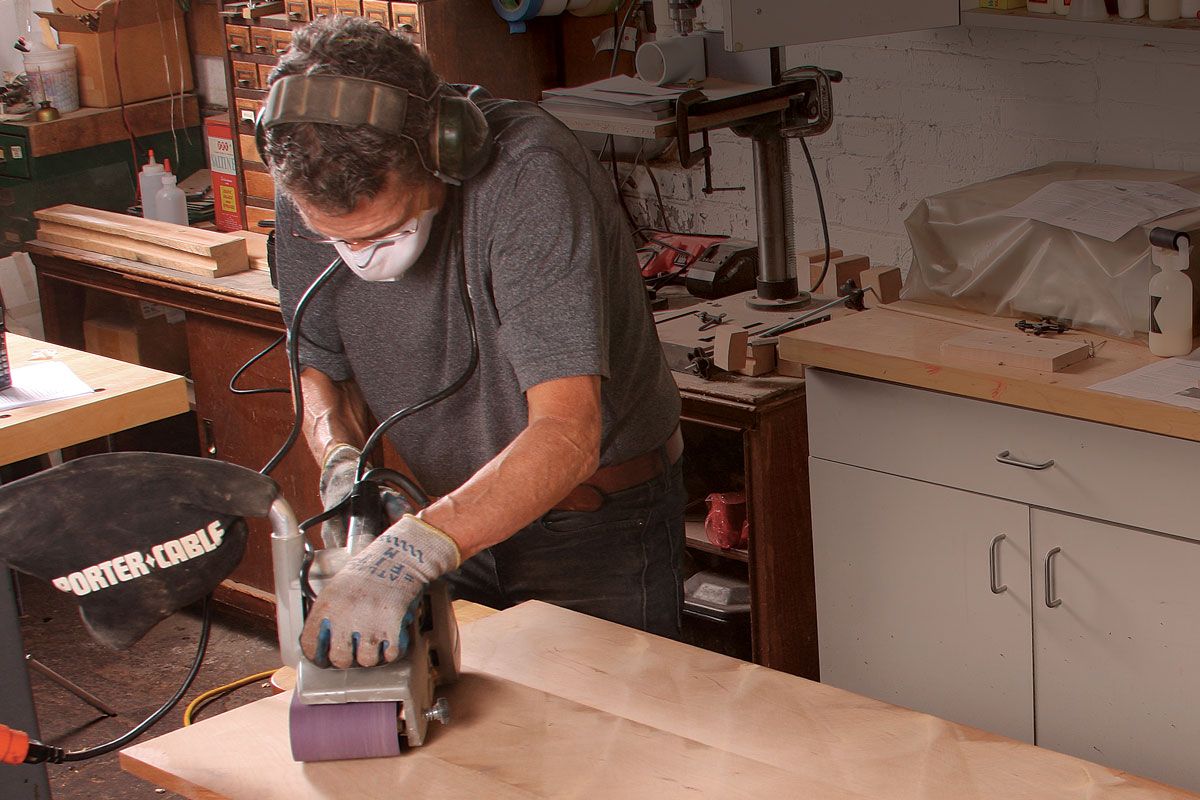
Despite these precautions, unless you’re very lucky, there will still be some bumps at the joints. This is where you bring in the heavy equipment. The best tool for the job is a large 4-in. by 24-in. belt sander.
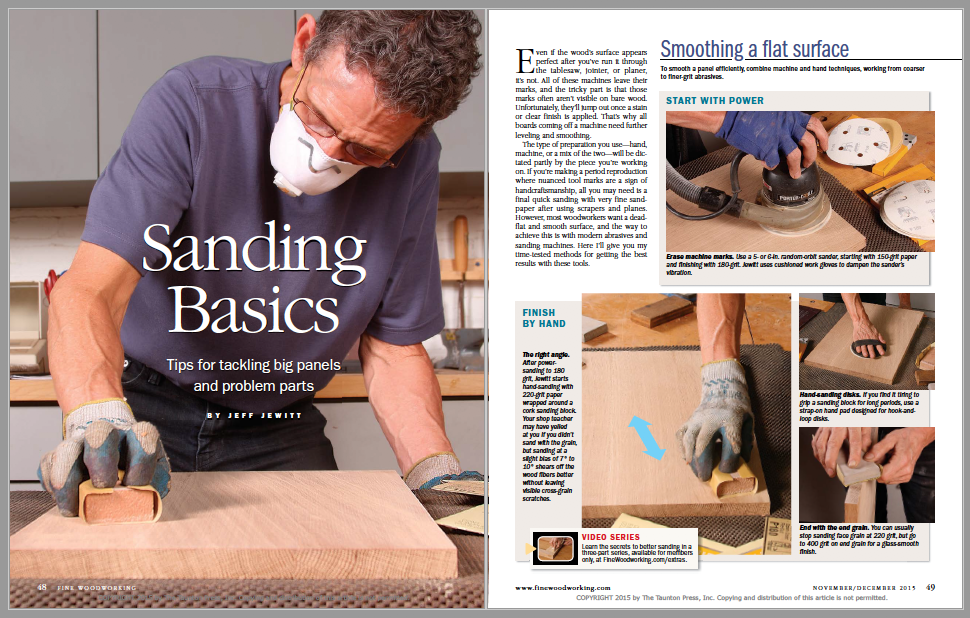 For the full article, download the PDF below.
From Fine Woodworking #225
Fine Woodworking Recommended Products
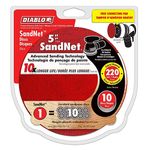
Diablo ‘SandNet’ Sanding Discs

Odie's Oil

Bahco 6-Inch Card Scraper


Comments
Excellent helpful article
Log in or create an account to post a comment.
Sign up Log in