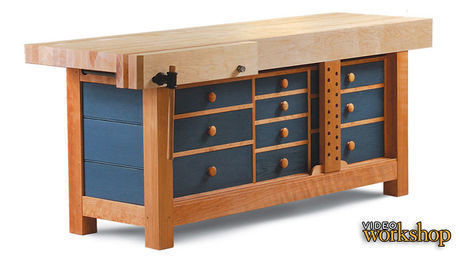
How to Build the Ultimate Shaker Workbench
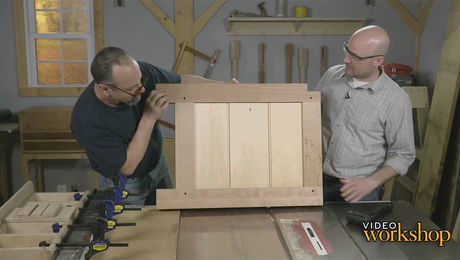
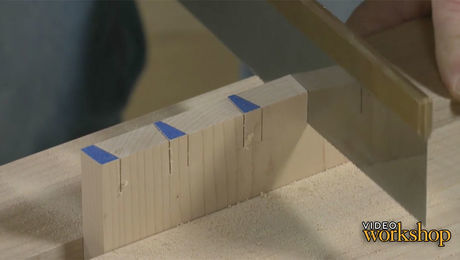
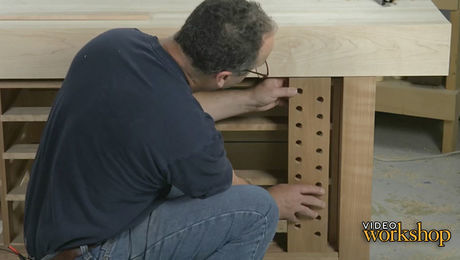
In this first episode of the video workshop, Mike Pekovich and Matt Kenney explain how the bench is constructed.
Videos in the Series
-
How to Build the Ultimate Shaker WorkbenchOctober 28, 2015
-
In Search of the Perfect WorkbenchOctober 28, 2015
-
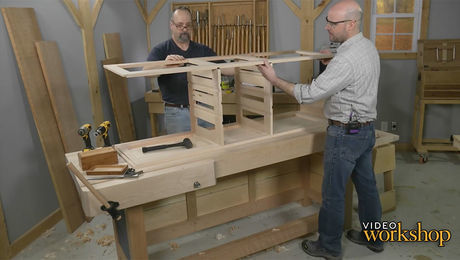
Building the Base for the Ultimate Shaker WorkbenchOctober 28, 2015
-
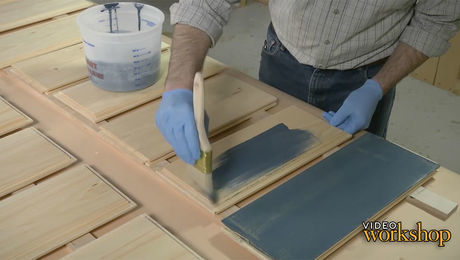
Make Beaded Panels for Your WorkbenchOctober 28, 2015
-
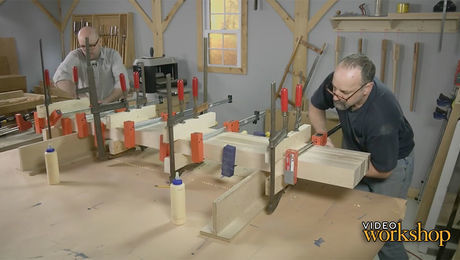
Prepping the Base for Glue-UpOctober 28, 2015
-
How to Install the Benchtop and ViseOctober 28, 2015
-
Building a Web-Frame Drawer Box for the Base of the BenchOctober 28, 2015
-
Assembling the Bench DrawersOctober 28, 2015
-
How to Install a Sliding Deadman on a WorkbenchOctober 28, 2015



Comments
Limited space, so, I built my modified Shaker style work bench. 4'x8' and 36''height. Height is to accommodate my Saw Stop table saw. On the right hand side I set up my lift router base with two parallel tracks for the router fence. Then I routed out a full length track that would accommodate my Kreg hold down clamps. On each end of the table top, left side, I cut down a Festool table edge rail to two pieces 6" long and mortised them into each end on the top edge. Using a vertical sliding dead man for a holding device, I purchased an antique wood screw and nut from E-Bay for $15.00, made my jaw from a 24" by 2" by 6" block of walnut with two 1' walnut dowels 18" long. Then mounted a pair of wood channels beneath the surface of the table top to prevent vice wracking and mounted this of the far left side. Two 3/4" holes for stops and corresponding holes to match of the table top. Drawers and doors were added on each side according to my needs. This was seven years ago.......
Mike and Matt. Each one of my all time favorite teachers and video presenters. And now pairing up on a build. It's like watching an all-star game.
Though I'm just starting on a Roubo bench with Benchcrafted's hardware and plans, this series will be a great adjunct.
I like the integration of some of the Shaker features. I also like that the bench is very solid and that a thick top goes all the way across. But no dog holes and no end vise? How do you guys plan on securing work on top of the vise? You should minimally have one row of round (to also accommodate a hold fast) dog holes and a wagon vise. This would require that the top extend out a bit to accommodate them so they don't drop into the drawers. A better option would be a dual screw end vise with multiple rows of dog holes. The extra rows of dog holes would be for mushroom topped dogs that don't drop through. A leg vise should also be an option, which would provide the ability to secure a long board for planing, without hitting the screws in that front mounted vise.
Log in or create an account to post a comment.
Sign up Log in