Build A Shaker Workbench
With a stout base, thick top, and abundant tool storage, this is one bench you’ll never outgrow
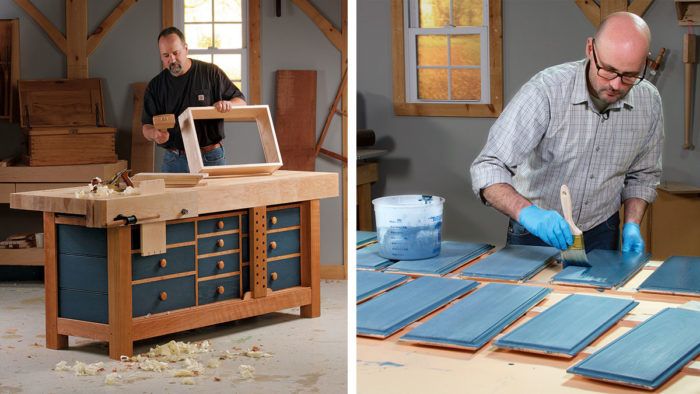
Synopsis: Inspired by the workbench at Hancock Shaker Village, this sturdy and stylish bench has a big, heavy base with drawers for all of your hand tools, and a beefy hard-maple top. There is a twin-screw vise on the front apron, with enough space between the screws to dovetail most furniture parts. A sliding board jack supports boards for edge planing, or for when you need to dovetail a part that’s too big for the vise. The top can be drilled for holdfasts.
The shop at Fine Woodworking gets a lot of use and a fair amount of abuse. This is especially true of the workbench. After years of steady and heavy use, the top and vises are just hanging on, and the tool cabinet in the base is barely functional. The time for a new bench has come.
You might think that a bench for a communal shop would need to be quite different from a bench used in a one-man shop. But the basic requirements are the same. It should have a thick, flat top that sits on a stout, rigid base, and it should offer plenty of options for holding work. The bench we designed has it all. Inspired by the one used in the workshop at Hancock Shaker Village in Pittsfield, Mass., the bench has a big, heavy base with drawers for all of your hand tools, and a beefy hard-maple top.
For holding work, we put a twin-screw vise on the front, with enough space between the screws to dovetail most furniture parts. We added a sliding board jack to support boards for edge planing, or for when you need to dovetail a part that’s too big to fit in the vise. For planing work on the benchtop, we prefer using stops tailored for the job at hand. That’s why there is no end vise. The top can also be drilled for holdfasts.
In general, benches are not complicated beasts. The most challenging part of building this one is handling the big parts as you cut joinery in them. By the way, even though two of us built the bench together, it’s certainly possible for just one woodworker to get the job done.

Begin with the base
There are two parts to the base: a stout frame and a cabinet with drawers. Construction begins with the frame, which is made of 8/4 cherry. The mortise-and-tenon joints connecting the legs to the rails and stretchers are drawbored, eliminating the need to clamp the base together as the glue dries. The back and sides of the frame are grooved to accept shiplapped panels, which are made of white pine and finished with blue milk paint.
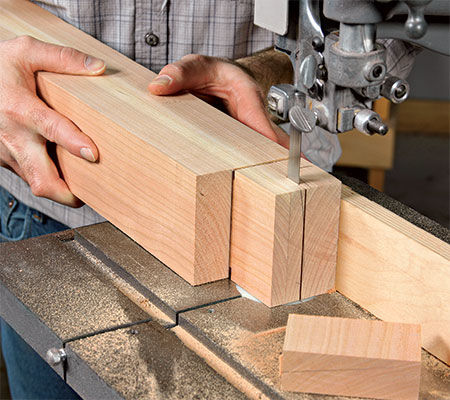
After gluing up the blanks for the legs and the three stretchers, mill all of the frame parts to their final dimensions, then lay out the mortises, including the holes for the drawbore pegs. Drill those holes at the drill press before mortising.
We cut the mortises with a hollow-chisel mortiser. We used a 1⁄2-in. bit to cut the 1⁄2-in.-wide mortises in the short side rails.
For the full article, download the PDF below:

Get the Plan
Printed and digital plans and a cutlist for this project are available in the Fine Woodworking store.


Comments
Having a hard time locating a source for the timber for the legs. Any suggestions?
I am not able to gain access to purchase these plans. Please help as this is the main reason I purchased a membership.
I built this workbench and love it. I used repurposed ponderosa pine for the base, spalted maple for the top, and white pine for the drawer assembly. Plan to build storage for specific hand tools into the drawers. I found milk paint on line and duplicated the plan as designed right down to the twin screw vice.
I wonder whether the folks at FWW think it would that difficult to substitute a leg vise for the twin screw vise and move the twin screw vise to one end?
Log in or create an account to post a comment.
Sign up Log in