Recently I was doing an online SketchUp tutoring session with a woodworker. It started as a tutorial on drawing frame and panel doors but very quickly changed course and we spent most of the time talking about general methods of work. He said the tutorials he followed taught him to draw each part of the project in a separate SketchUp file and make each one a group. Then, when all the parts are completed, assemble them in a new SketchUp session. He told me that by working that way, he could make image exports of each part to use in creating a plan. He said it made sense to him but he bemoaned the fact that it takes a long time to draw all of the parts and it’s hard to assemble the parts into a model. I asked him how he handles changes to the project which will eventually come. He replied that he would go back to the part that needed modifying and make the adjustments, then he would replace the part in the assembled model.
It sounded as if he was very frustrated with SketchUp and to be honest, if that’s the way I had been taught it worked, I’d have given it up long ago. To me that sounds a bit like having one shop with all your tools where you make and adjust the parts for your project and another shop a block away where you assemble it.
I showed him the process I advocate for drawing a project. The basics are to draw the parts that define the footprint of the piece and add the rest of the parts to fit drawing them in place. Every part is a component, even if there’s only one in the project. There’ll surely be at least one more copy by the time I’m finished making the plan for the project.
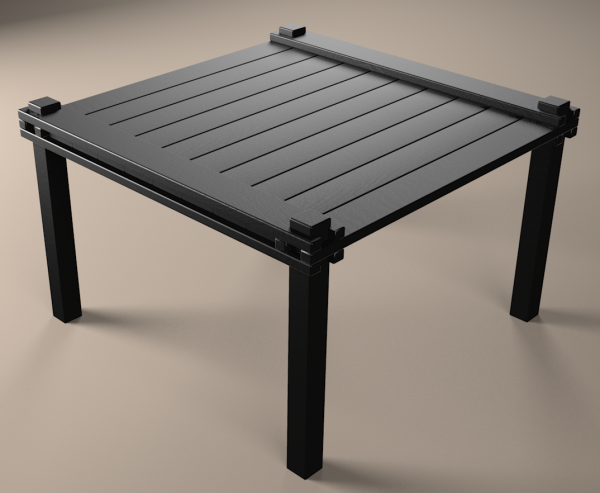
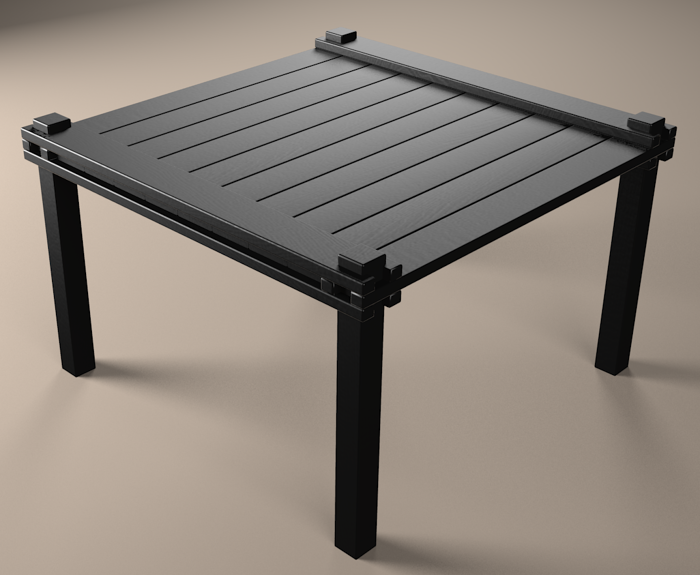
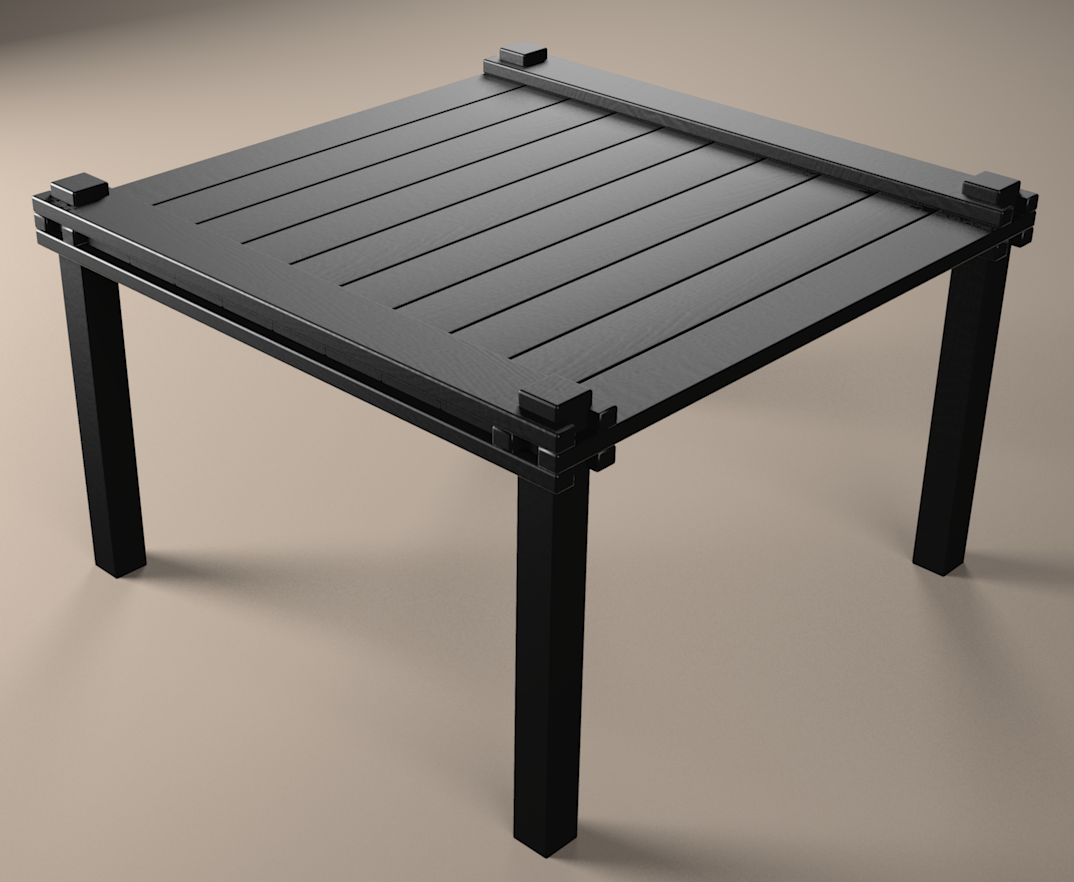
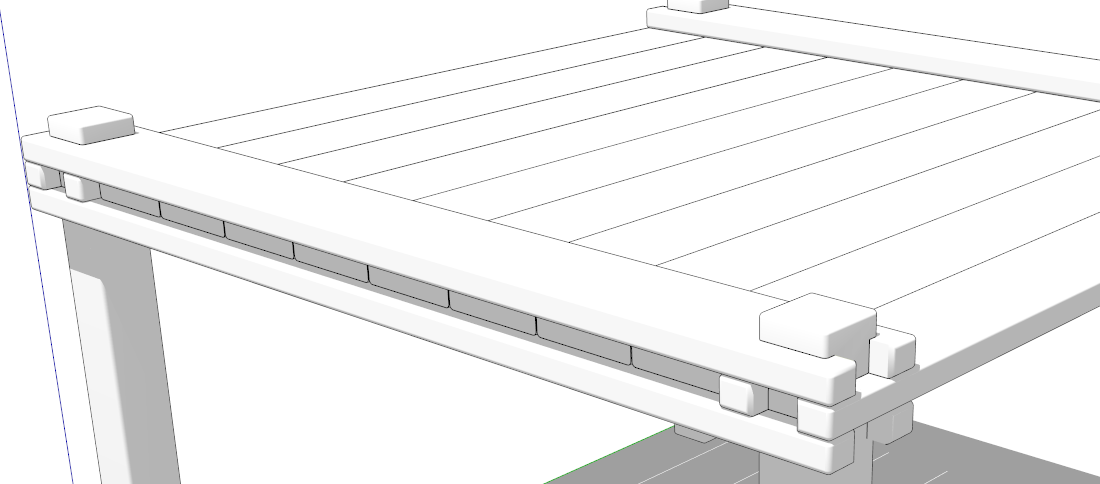
Yesterday I shared a drawing I did of this Danish side table from around 1960 and one gentleman asked how long it took to draw this piece. The answer is, less than ten minutes. This simple model is a good example of a method of work I find very efficient and quick. I started with one leg, copied it into place for the other legs, making sure to flip them accordingly. Then I drew one of the rails in place using the top of two legs as references. After making that rail a component it was moved and copied into place. I used that same rail component to make the slats for the top, as well. All the parts were simple boxes. I left the details until after all the parts were in place.
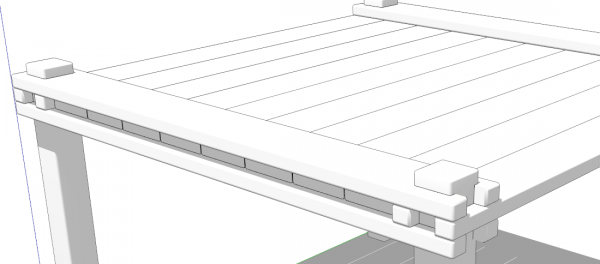
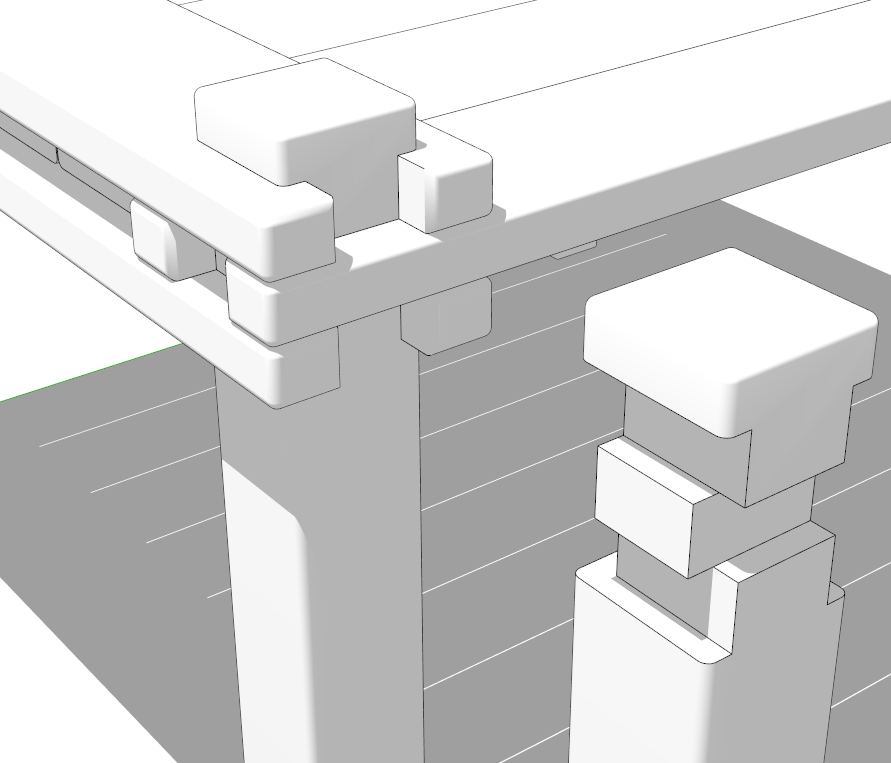
With the parts all placed correctly, it was then time to add the joinery and radius the edges. The rails that join to the legs are all identical with a notch cut to fit the leg. Before cutting the notches, though, I made the slats unique so they wouldn’t get the notches. The slats did get shortened with Push/Pull, though. Then the notches were cut, also using Push/Pull using the legs as a reference. Since all six of the rails are made identically, they are instances of the same component so editing one is all that is needed.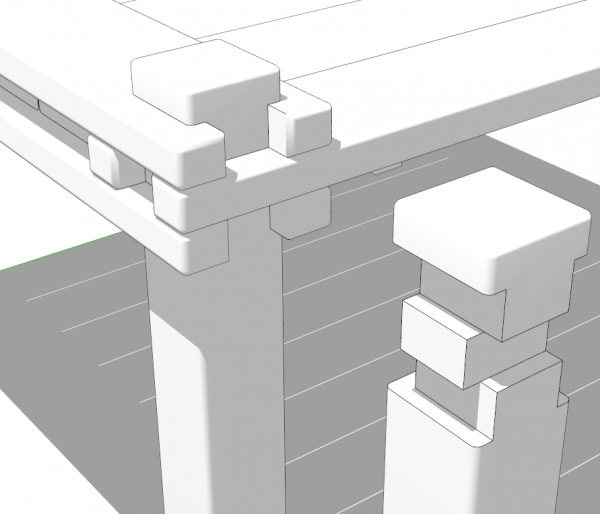
The notches in the leg were then drawn using the rails as references for where the cuts need to be made. All in all I needed to know or enter very few dimensions to draw this and all of the parts fit together perfectly because I used what I’d already drawn as references for what I had to draw next.
The leg for this table really isn’t all that complex but imagine trying to figure out the notches without the rails as a reference. Sure, it could be done but I think it would take much more time to do.
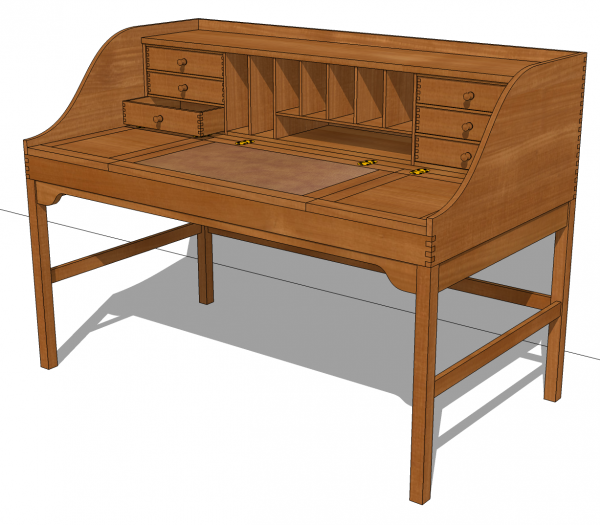
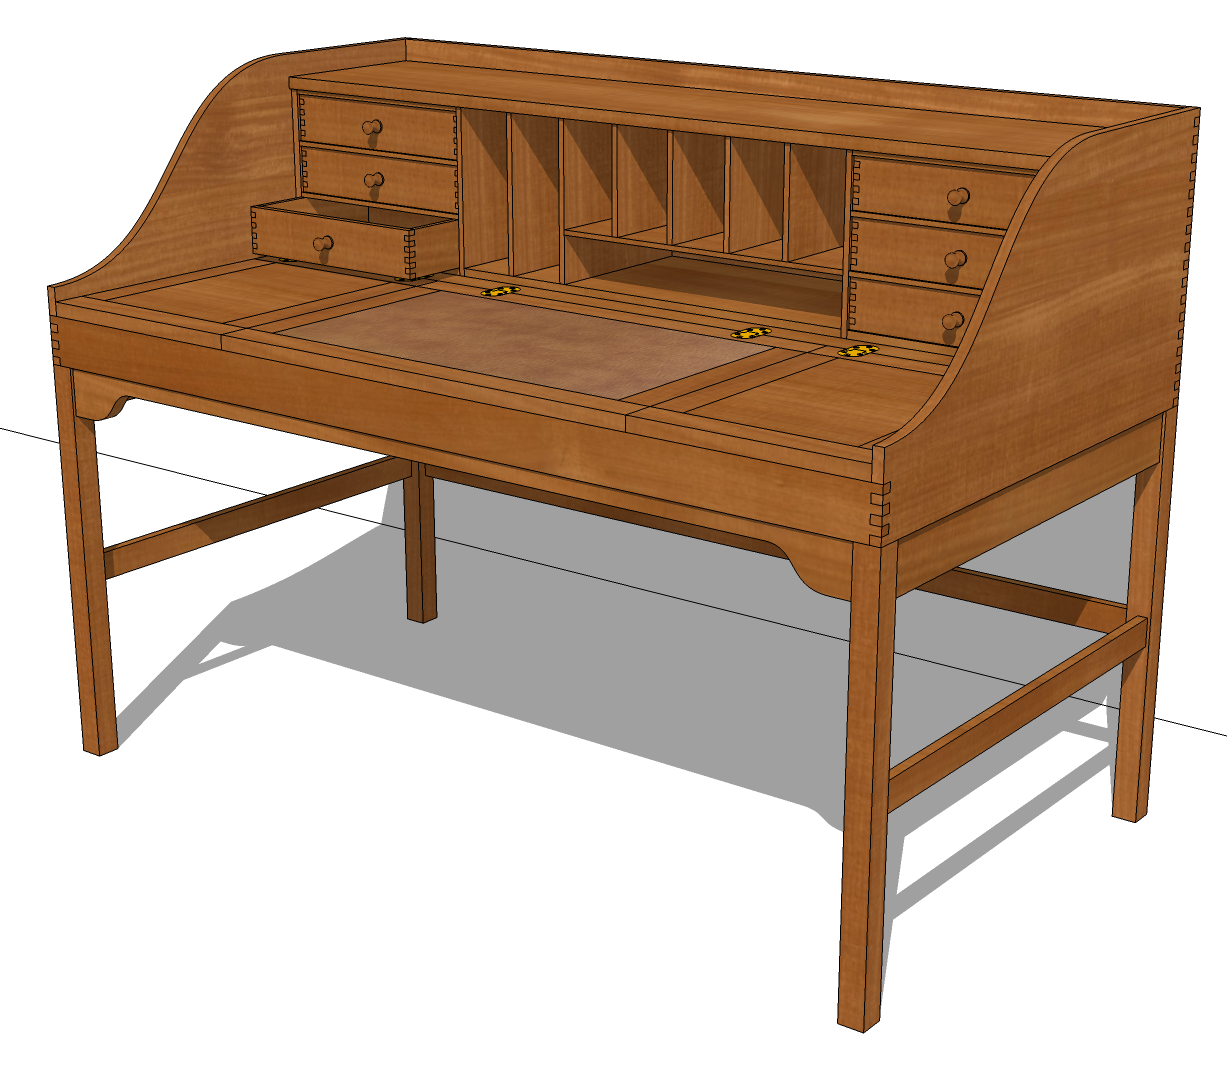
Now, that was a very simple project. Suppose you were trying to draw something like the Andreas Hansen skrivbord with all of its parts. I drew it with a few basic dimensions and some eyeballing of the photos I could find. It certainly took longer to draw than that side table but I used the same method. I set uot parts to define the outside dimensions and drew the rest of the parts to fit. I’m not even sure it’s possible to draw the parts for this in separate SketchUp files as my friend had been taught. With so few dimensions to be had, there’s not enough known information.
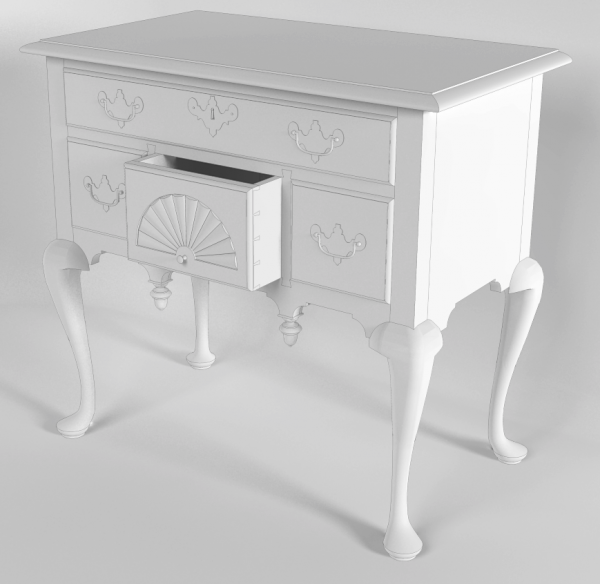
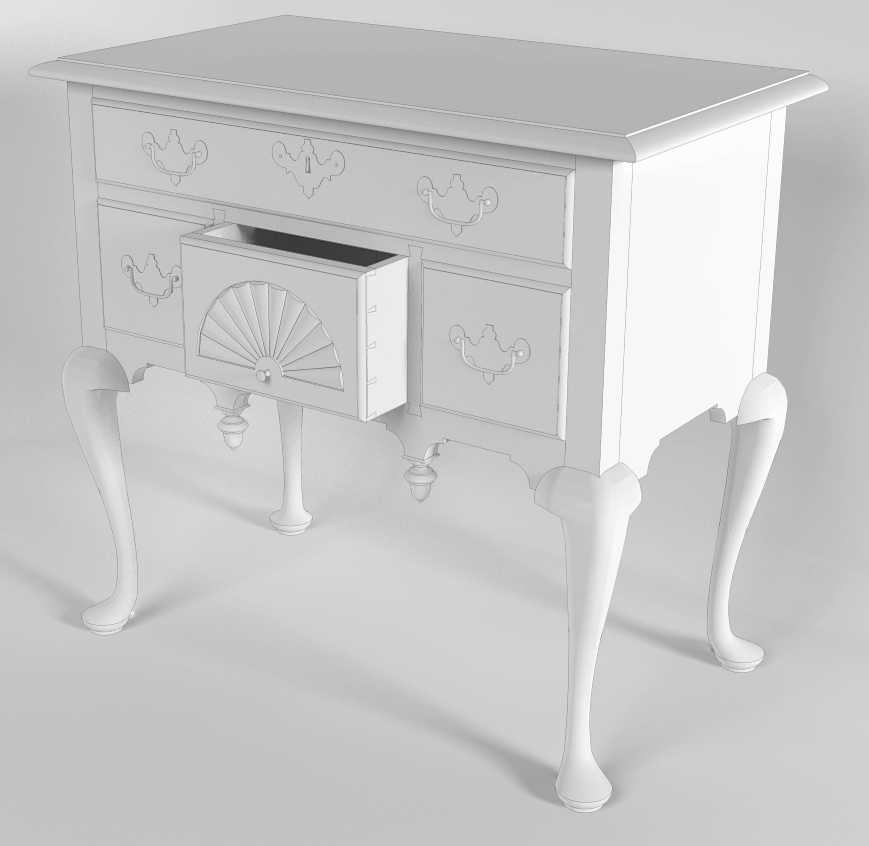
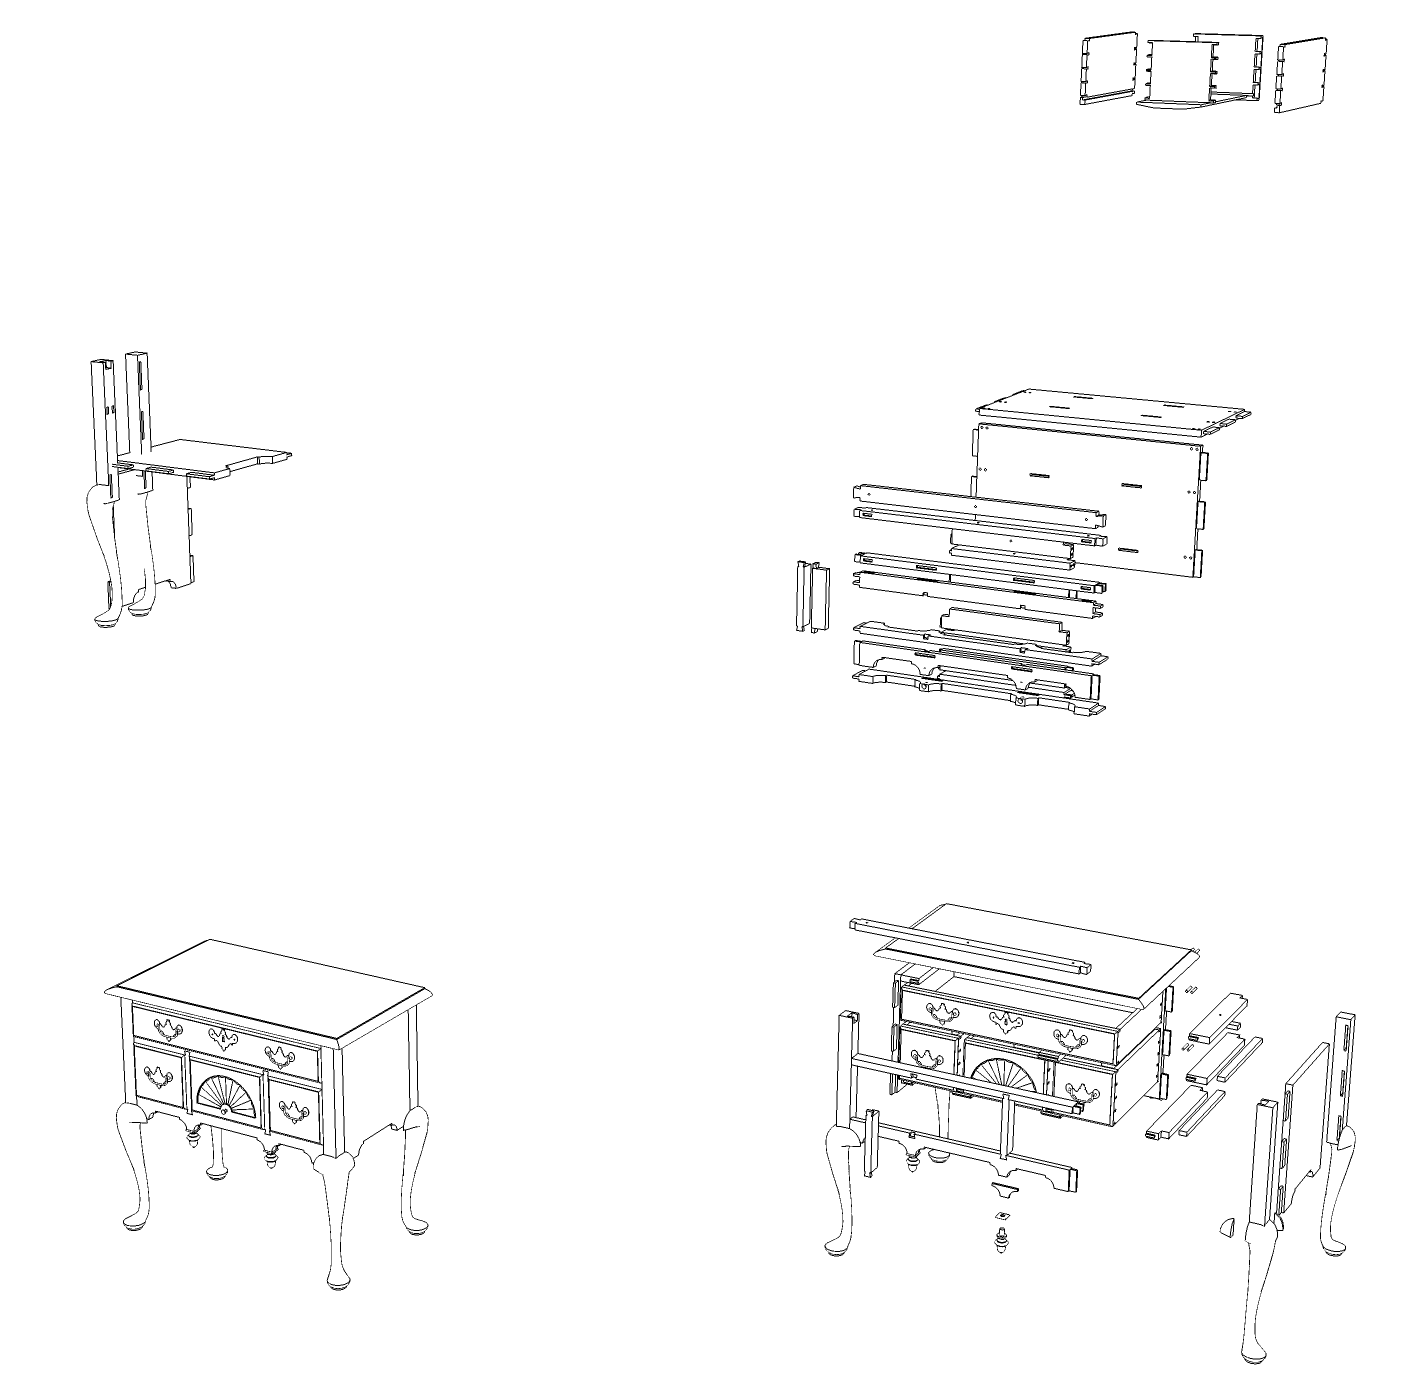
I had a whole lot more information available to me when I drew this lowbot by Philip C. Lowe for the digital plans in the Taunton Store but I still wouldn’t have dreamed of drawing the parts in separate SketchUp files. Well, I did draw the drawer pulls and escutcheon plate separately and those components were added to my library of hardware but all of the wooden parts were drawn in place and drawn to fit. Not only did this make it faster and easier to draw the piece, it allowed me to double check the dimensions I was given to make sure they were correct. I had a photocopy of Mr. Lowe’s full sized hand drawn plan and while it had a bunch of dimensions called out, I still had to pick up other dimensions by measuring off the paper. Unfortunately, the copying process is not perfect and the dimensions on the copy weren’t exactly reproduced. They were scaled slightly and the scaling differed in the x and y directions. By starting with the dimensions I knew without measuring, I was able to work out the rest of the dimensions without much trouble by making things fit.
During our conversation, my friend then asked if I would then copy each part to a separate SketchUp file so I could make the dimensioned drawings of the parts. Effectively ending up where he had started. You could do that I suppose but for me it makes much more sense to make all the dimensioned drawings in the same SketchUp file with the assembled model.
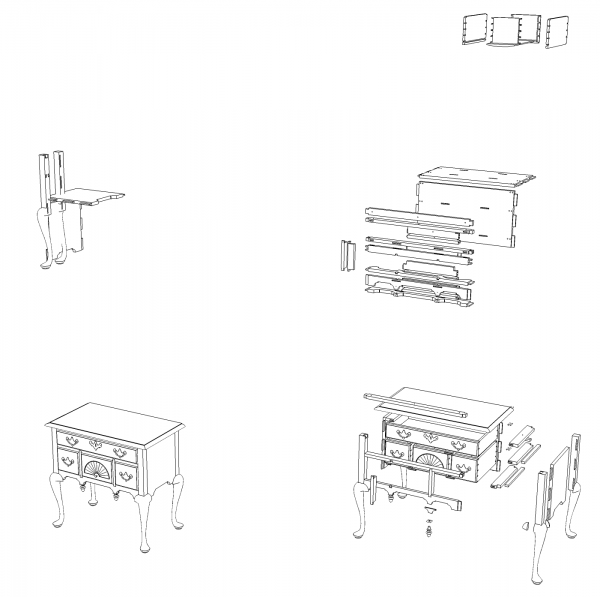
This is what the whole model space looks like for the Lowboy plan. By using layers and scenes, I created all of the views I needed for the plan. Layers get used to control the visibility of components and then scenes are like photos of the various parts. Although I do all the dimensioning in LayOut, you could add them in these various scenes right in SketchUp.
I mentioned earlier that I’d make all parts components. Some folks prefer to make groups if there’s only one of the part. In this model I guess they’d make the top, horizontal rails, apron, top drawer front, and middle drawer front groups. But even those have multiple instances in the model space with the setup as shown. Since they are components, any possible edits required to those parts will automatically carry through to the rest of the model.
When we finished up, he sounded energized to try a new way of working through his projects in SketchUp. The last time I heard from him he told me he was amazed at how much faster he was getting from a concept to cutting wood in the shop. I think we forgot the tutorial on drawing the cope and stick joint for his raised panel drawers, though.
–Dave



Comments
That guy you helped really had a horrible way of using Sketch up, let me tell you that. Good thing you managed to show him the right way, otherwise he might have dropped the program altogether.
That method seems to work for some people or it wouldn't get taught to others. To me it's an example of work hard not smarter. Evidently my friend decided he liked the process of drawing things in situ. From the communications I've had with him since, he seems to find the process a whole lot more enjoyable.
-Dave
Log in or create an account to post a comment.
Sign up Log in