Drill Press Tips and Tricks
Do more with this tool by improving your basic setup and adding a few simple accessories.
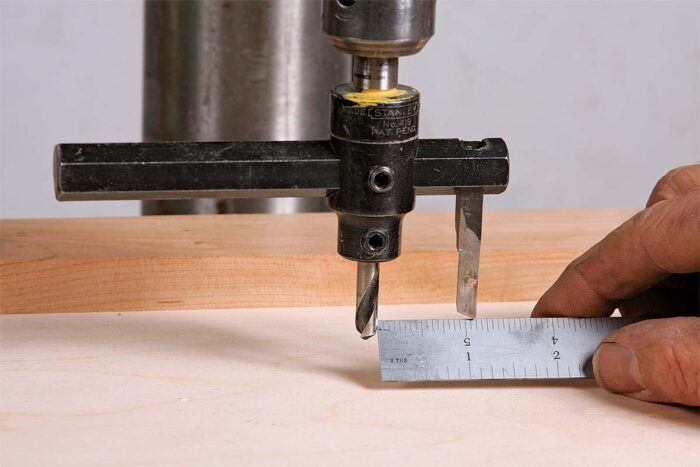
Synopsis: Get the most out of your drill press with expert advice from Michael Fortune. From proper setup to inventive jigs, this longtime professional furniture maker knows how to turn this boring tool into a shop staple. Find tips on making an auxiliary table, supporting large workpieces, bringing the work closer to your eyes for greater accuracy, using stop blocks, holding work securely for drilling end grain and small workpieces, cutting circles, and more. You’ll also learn the value of using your drill press as a sander.
Set up properly, any drill press can create clean, accurate holes, small and large, in workpieces of all shapes and sizes. armed with a few accessories, though, it can do much more. Over my 40 years of woodworking, I’ve developed a series of tips and jigs that will make the drill press one of your favorite shop companions. They will work with any drill press, big or small, fancy or basic.
Success starts with your setup. a lot of woodworkers buy or make a big auxiliary table to support large workpieces. But these offer false security. They are rarely flat, and they obstruct your ability to get in close and see where you want to drill a hole. They include a replaceable insert in the middle, sitting in a rabbet that needs frequent cleaning. These big tables also make it hard to get clamps close to the bit, so they need T-tracks and awkward hold-downs.
The solution is elegantly simple. I use sacrificial 12-in. squares of MDF as backer boards. Like table inserts, they prevent blowout on the back of the hole. The difference is that they can simply be shifted to expose a fresh surface and discarded when they look like Swiss cheese. Workpieces always lie flat on this small work surface, and clamping is a lot easier. It means making your own fences and stops, but those work better too, as you’ll see. The small table won’t support long workpieces, but I’ll show you how to deal with that.
After you nail the basic setup, there are quite a few great accessories for the drill press, some bought and some made. I’ll tell you which ones really matter. To drill into the end of a long part, you rotate the table sideways, but there is a surprising amount of force required to cut into the end grain and you need a way to secure the workpiece solidly. This jig includes both a sliding T-fence to locate the part and an adjustable stop to keep it from shifting downward.
Use a no-frills fence and table
Fortune prefers a simple MDF table and hardwood fence, clamping both down in one shot. To change the fence setting slightly, loosen the table bracket and pivot the whole table on the column.
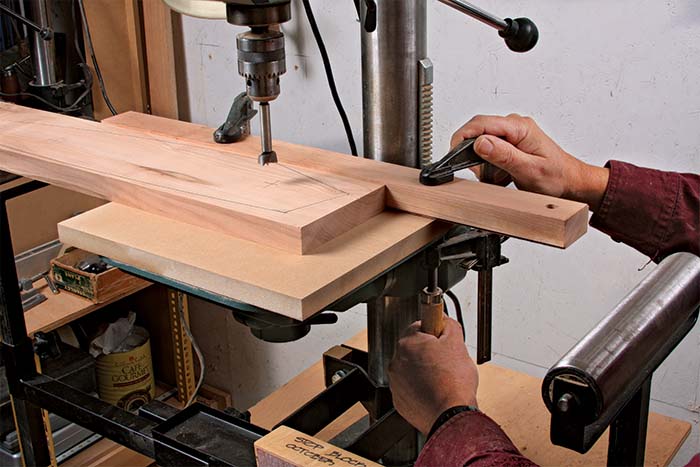 |
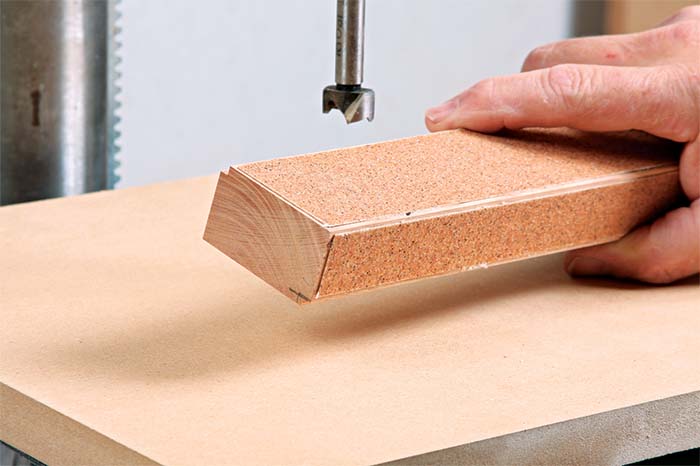 |
Two-faced. Fortune’s shopmade fence is machined straight and square. It can be used tall or short, letting you raise the table for small bits without interfering with the crank handles. He puts a 1⁄8-in. rabbet along the bottom edges so dust doesn’t push the workpiece away, and glues 120-grit sandpaper to the bottom faces to keep the fence from shifting.
Get a set of support arms
 |
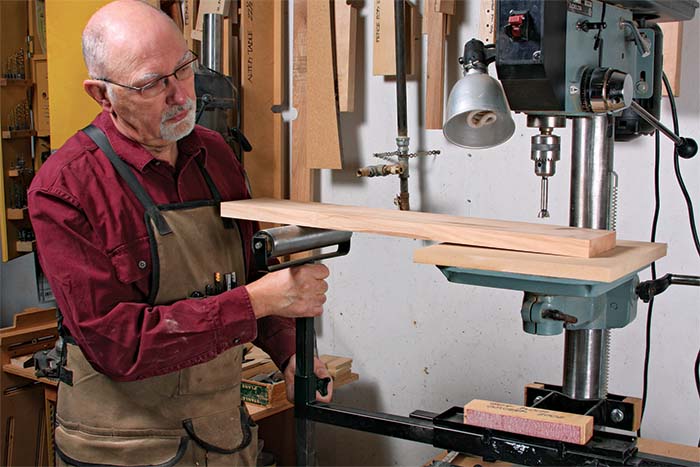 |
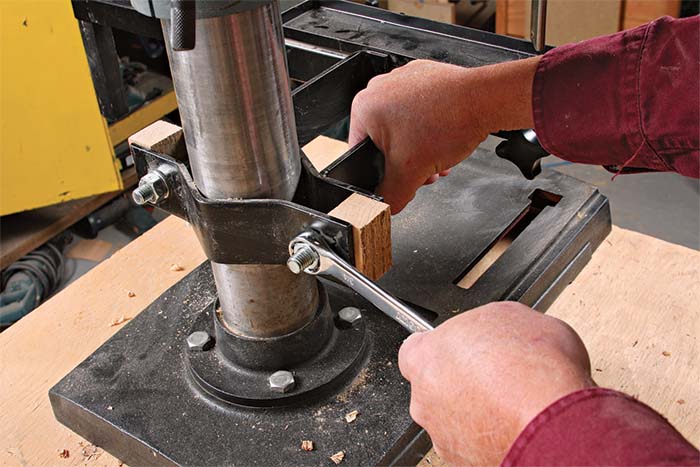
Rather than using a large table to support long workpieces, Fortune sticks with the small table, plus a set of work-support arms. The HTC PM-128 model is available online for $60. The rollers extend outward up to 28 in. on each side and are easily raised and lowered to keep the workpiece level on the table, or slid inboard to save space. The mounting bracket holds more securely if you place small wood blocks at the end of the straps.
For the full article, download the PDF below:
Fine Woodworking Recommended Products
Freud Super Dado Saw Blade Set 8" x 5/8" Bore
Rockler Dust Right 650 CFM


Comments
Anybody know of any substitutes for the roller arms? The HTC PM-128 is no longer available.
Log in or create an account to post a comment.
Sign up Log in