Build a Longboard
Make something fun while learning new skills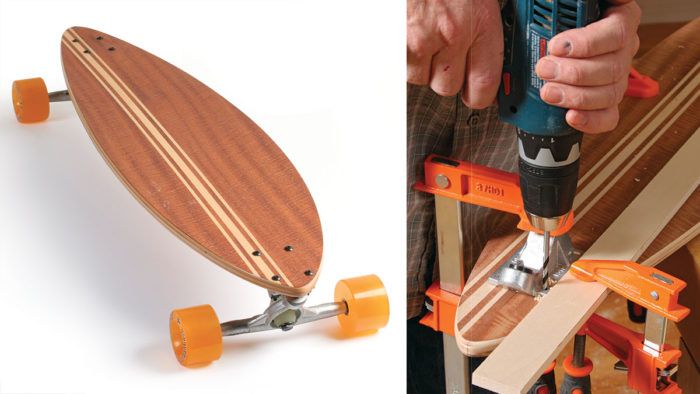
Synopsis: Before Chris Gochnour became a furnitiure maker, he had his own business building and selling skateboards. His love of skateboarding led to a love of woodworking, and the rest is history. Recently his children reintroduced him to board making because they wanted longboards of their own. The classic longboard is a great project for woodworkers. It’s also an easy way to learn about bent-lamination and veneering. You won’t have any trouble following Gochnour as he shows you how to make a board. Whether you can follow along once he gets on that board and heads downhill is another story.
I owe a lot to skateboarding because it introduced me to woodworking, a craft I’ve loved for 40 years. My love for skateboarding led me to start my own business building and selling CLASSIC LONGBOARD The surfboardinspired board is a great gift or project for woodworkers and boarders. It’s also an easy way to learn about bentlamination and veneer on a small scale. skateboards, which later transitioned to furniture making.
My children reintroduced me to board making recently because they wanted longboards of their own. Longboards, as their name implies, are longer than the standard skateboard deck and are made for the purpose of cruising downhill, rather than doing tricks.
This project is fun to make, whether it’s for you, your children, or your grandchildren. Plus it’s a great way to introduce yourself to new skills—like pattern making and routing, bent lamination, veneer work, and resawing—without a huge investment in materials. All these techniques can be used in your furniture making.
Building the form
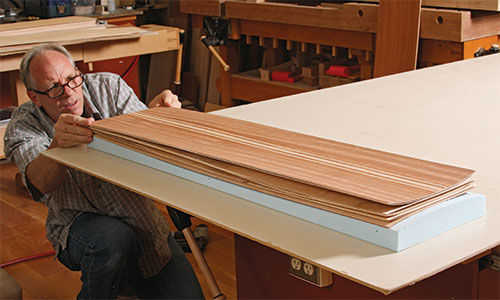
The biggest part of building a board is building the deck, or platform, that supports the rider. It’s curved in two directions, and the shape determines the responsiveness and stability of the board. Afterward, the trucks (which allow turning), wheels, and bearings are attached with hardware. To ensure this thin board is strong, board makers use maple or birch plies of alternating grain direction, pressed over a compound form.
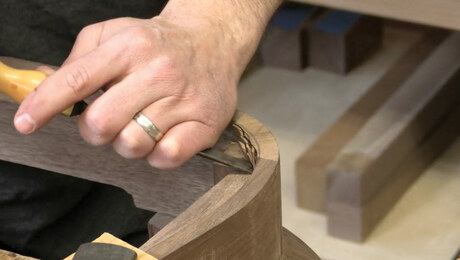
I make the form from a sheet of rigid polystyrene foam. To cut the curves in the foam, you need to make a couple of templates and a router jig. draw the long convex curve on a strip of MDF using flexible battens. Bandsaw the piece to shape, clean up the sawmarks with assemble the Face veneers a spokeshave and sandpaper, and then resaw the strip to get two templates.
Screw one template to each long edge of the foam, and use a bandsaw to cut out the arch. To ensure a parallel cut, I use a simple finger jig. The jig gets clamped to the table or fence and the “fingers” straddle the blade and guide the two templates on the foam, cutting the form evenly across the profile. After cutting the long curve, remove the templates.
Next, you’ll make a convex contour in the form to create the concave shape in the deck. I cut this curve across the form using a router jig. I make the jig from a piece of poplar. Lay out the arch on the board’s edge and then bandsaw and sand it to shape.
For the full article, download the PDF below:
Fine Woodworking Recommended Products
Ridgid EB4424 Oscillating Spindle/Belt Sander

Bahco 6-Inch Card Scraper
Whiteside 9500 Solid Brass Router Inlay Router Bit Set




Log in or create an account to post a comment.
Sign up Log in