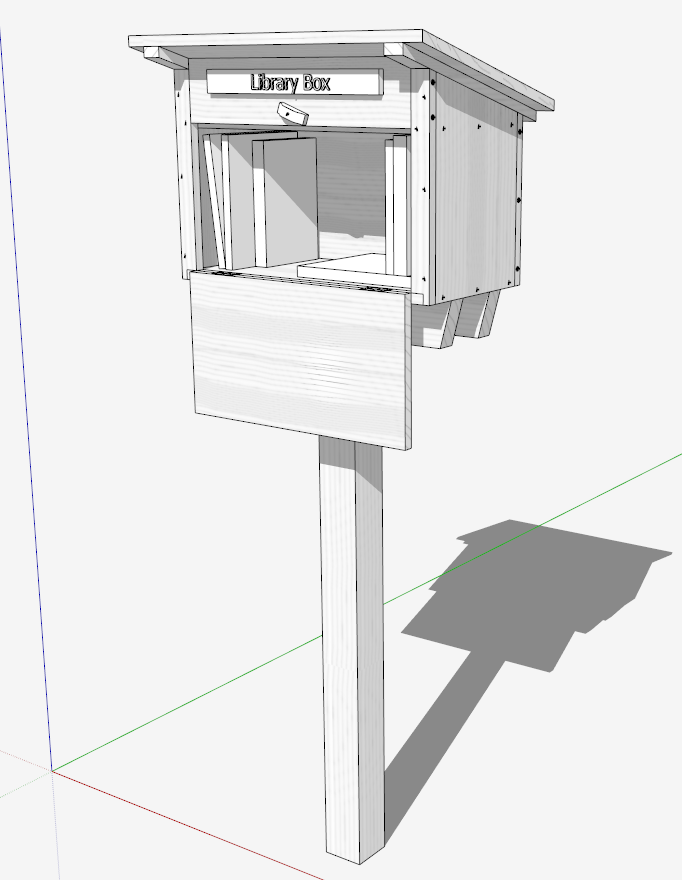
There are numerous methods of design, as each woodworker develops a unique and successful way of creating a project. Many woodworkers start with rough hand sketching that proceeds to detail shaping and sizing of components, dimensioning and joinery. This is the way I started many years ago, then proceeding to more detail with a drafting board, T square, compass, and other hand drafting tools.
In this video, I show how I start out in SketchUp, even at the rough and conceptual stage. The example project is one that I’m working with the grandchildren, a Street Library Box. This will be positioned strategically in the neighborhood for the purpose of sharing books.
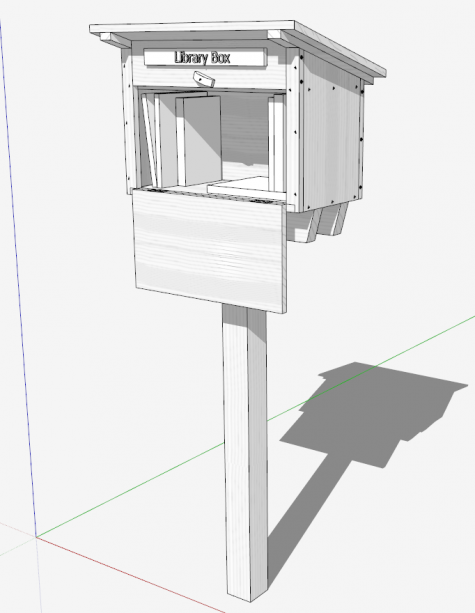
I started by listing some design criteria:
I) Size
a. Assume twenty 1-in. thick books within the enclosure
b. Accommodate large book lying flat with depth of 9 1/4-in. and height of 12-in.
c. Consider average book at 1-in. thick, 9 1/2-in. high, and 7-in.deep
II) Joinery
a. Apply simple joinery (nailed parts) to enable assembly by young children
b. Use Titebond III for outside use
c. May require a few S.S. deck screws
III) Material
a. Use 3/4-in. thick lumber, preferably redwood, or Monterey pine painted after assembly
IV) Configuration
a. Use a sloped roof at 15 degrees, with 2-in. overhang, covered with asphalt roofing felt and shingles
b. Fix library box to a 4 x 4 post that can be buried in post hole with concrete
c. Assume 40-in. high for bottom of library box
d. Don’t use any glass. Consider hinged drop-down flap for access to books.
I often start a project by first reviewing photos on Google Images. And this case was no exception. I saw some very sophisticated library boxes that would be far too complicated for my application. I wanted something less complex and accommodating shop work that includes my grandchildren.
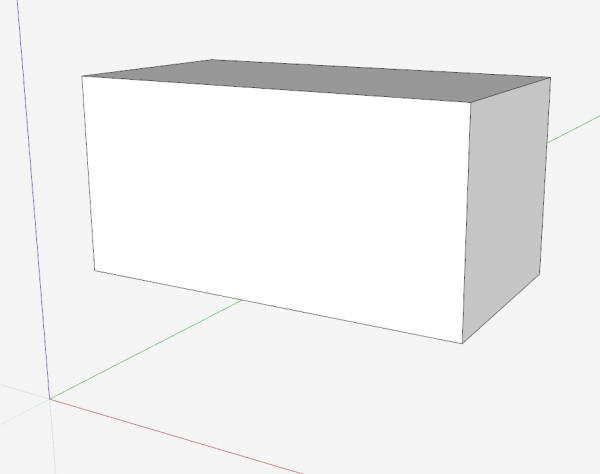
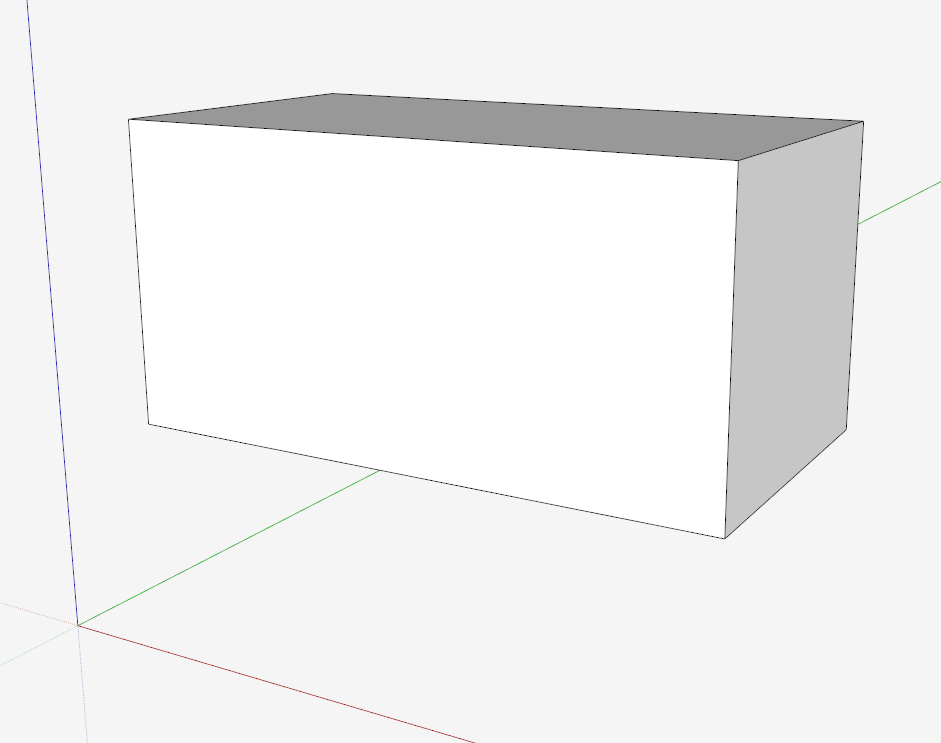
After listing the design criteria I opened SketchUp to “build” the project. The first step was creating a volumn that represented the size of the 20 books defined in the design criteria.
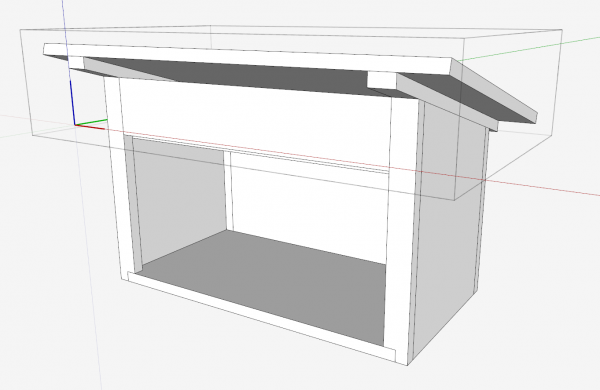
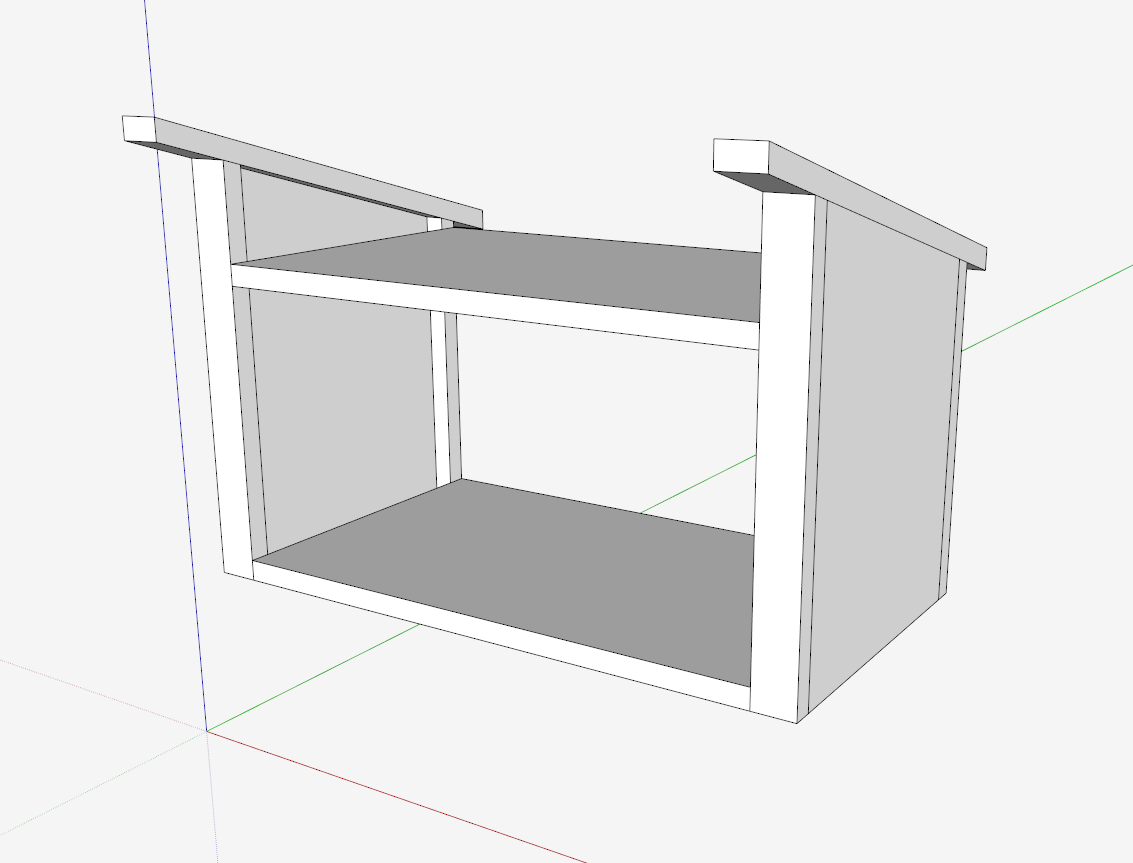
I then added framework around the book volumn – Bottom, Sides, Corner Posts, and Roof Supports.
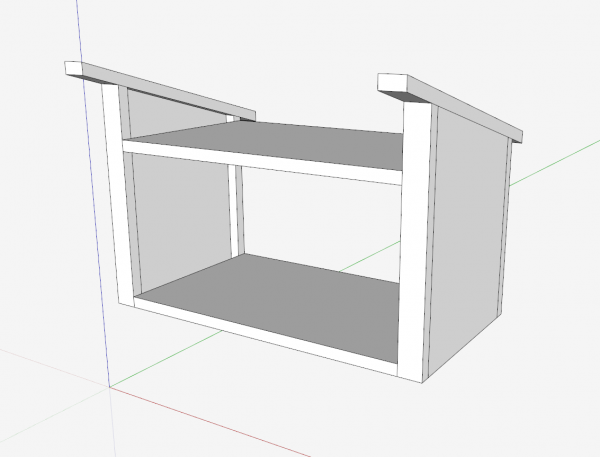
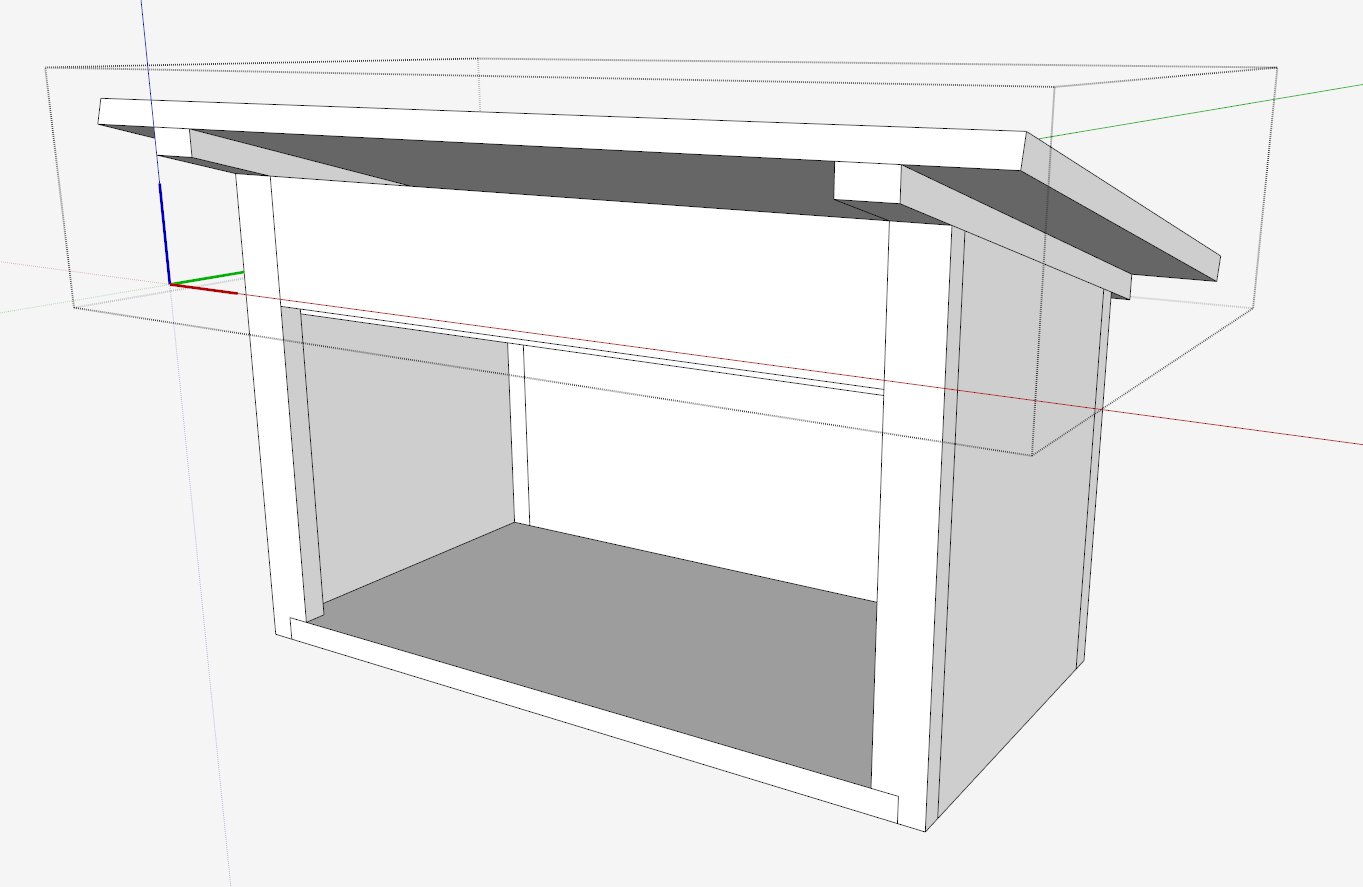
Next I added the Front Rail, Back and Roof Plate.
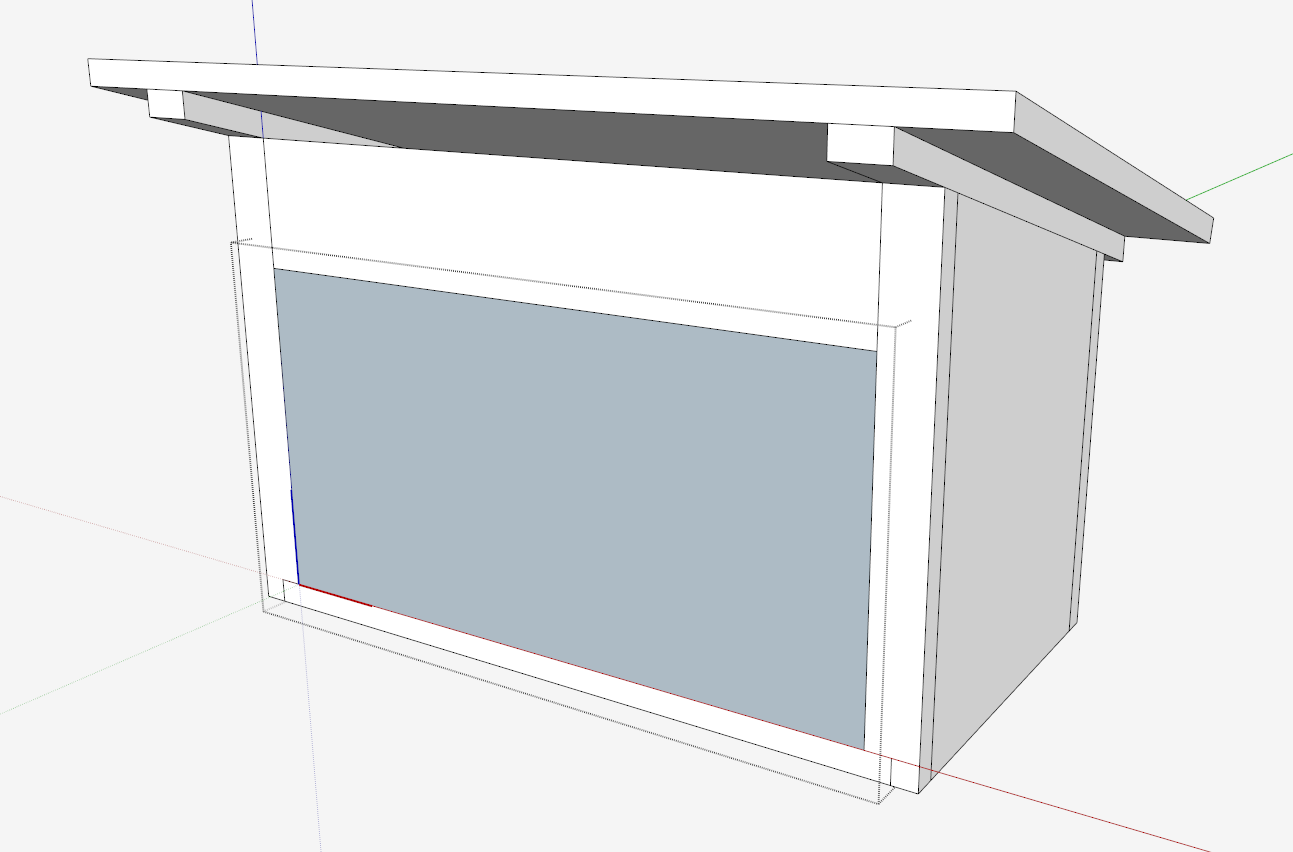
Here, I’m making the front hinged drop lid, fitting within the front opening.
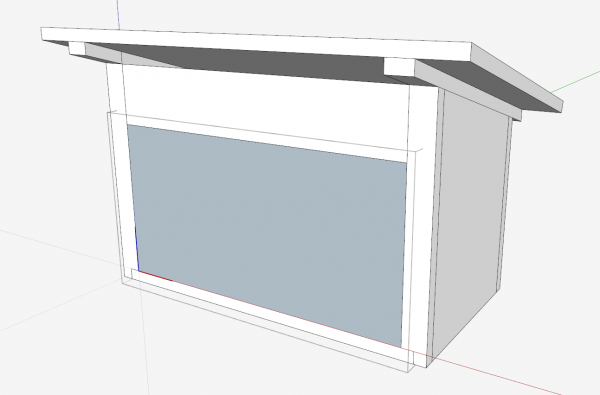
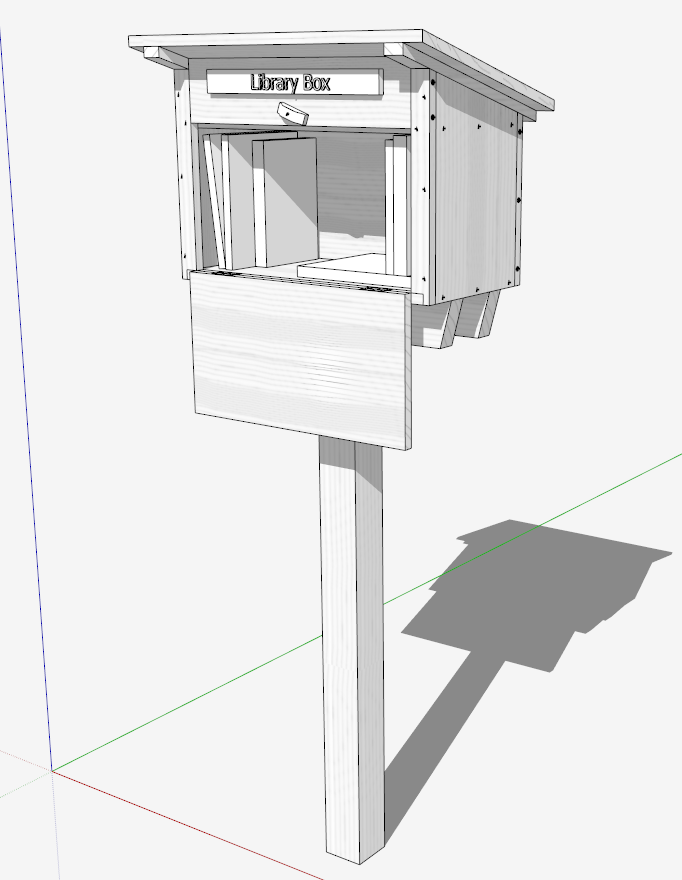
The next steps are adding more detail, hardware, nail, and screw positions, and joinery. I find it effective to begin the work in SketchUp as it is easy to adjust, modify, shape, add components, and re-position pieces. In the end you have an assembly ready to dimension and take to the shop.
Tim
@KilllenWOOD





Comments
Ah, what a nice project and idea. Good work with Sketch up, by the way. It takes a lot of time to make a project look as goos as this, not to mention getting all the parameters right. At least in my case, it does :)
I used to live in a neighborhood where we had a library box much like this one. Unfortunately some vandals burned it down and no one ever restored it. After that I moved out, so I don't really know how the neighborhood is doing now.
Log in or create an account to post a comment.
Sign up Log in