Small Cabinet Is Big on Details
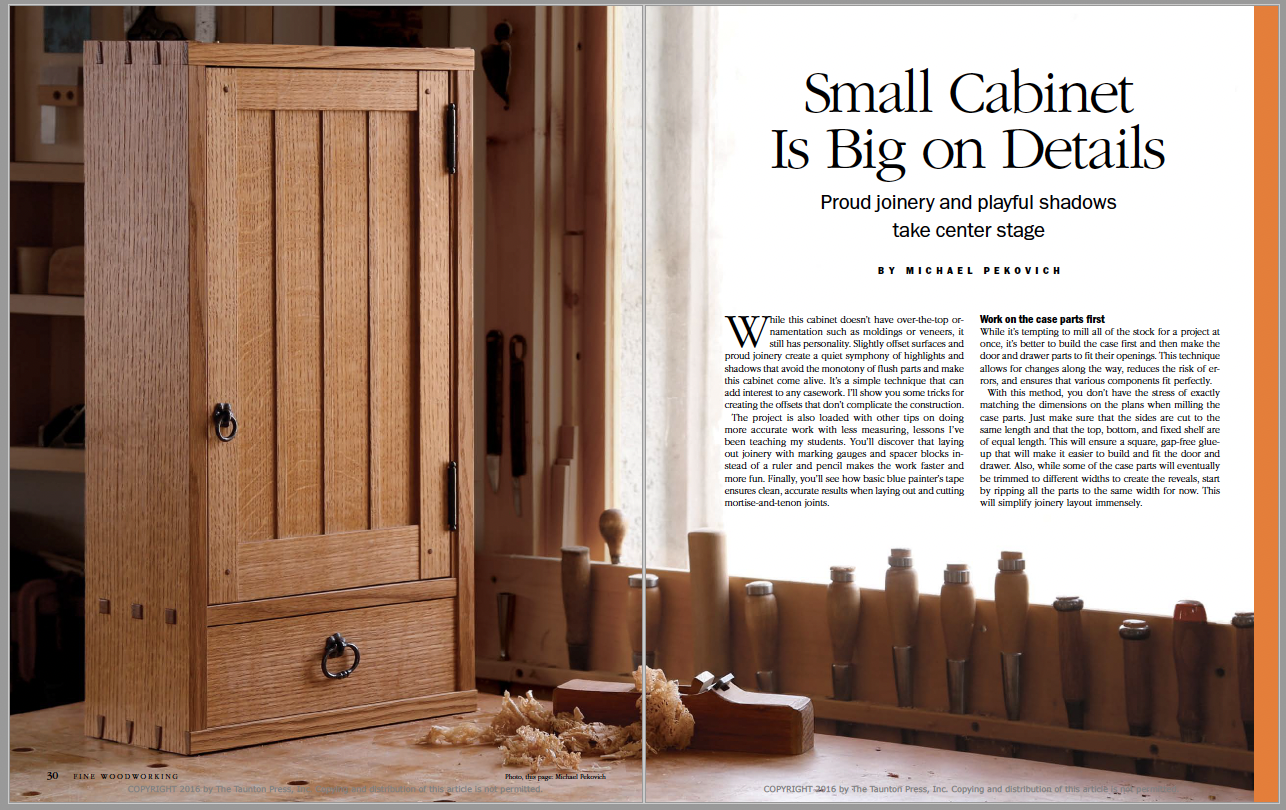
Proud mortise-and-tenon joinery and playful shadows take center stage on this simple hanging wall cabinet.
Synopsis: On the surface, this is a simple cabinet, but it’s the surface that really sets this project apart. Proud joinery and slightly offset components in the case and door create a symphony of highlights and shadows. The mortise-and-tenon joinery is made simple through the use of a spacer that ensures accuracy without measuring. Blue tape, used as a guide when sawing and chopping the joints, ensures a perfect fit without fuss. The case dovetails are rabbeted at the rear edge to accommodate the back. The door is traditional frame-and-panel construction, with a hinge strip that simplifies mortising.
While this cabinet doesn’t have over-the-top ornamentation such as moldings or veneers, it still has personality. Slightly offset surfaces and proud joinery create a quiet symphony of highlights and shadows that avoid the monotony of flush parts and make this cabinet come alive. It’s a simple technique that can add interest to any casework. I’ll show you some tricks for creating the offsets that don’t complicate the construction. The project is also loaded with other tips on doing more accurate work with less measuring, lessons I’ve been teaching my students. You’ll discover that laying out joinery with marking gauges and spacer blocks instead of a ruler and pencil makes the work faster and more fun. Finally, you’ll see how basic blue painter’s tape ensures clean, accurate results when laying out and cutting mortise-and-tenon joints.
Work on the case parts first
While it’s tempting to mill all of the stock for a project at once, it’s better to build the case first and then make the door and drawer parts to fit their openings. This technique allows for changes along the way, reduces the risk of errors, and ensures that various components fit perfectly.
With this method, you don’t have the stress of exactly matching the dimensions on the plans when milling the case parts. Just make sure that the sides are cut to the same length and that the top, bottom, and fixed shelf are of equal length. This will ensure a square, gap-free glue-up that will make it easier to build and fit the door and drawer. Also, while some of the case parts will eventually be trimmed to different widths to create the reveals, start by ripping all the parts to the same width for now. This will simplify joinery layout immensely.

Begin with the shelf through-tenons
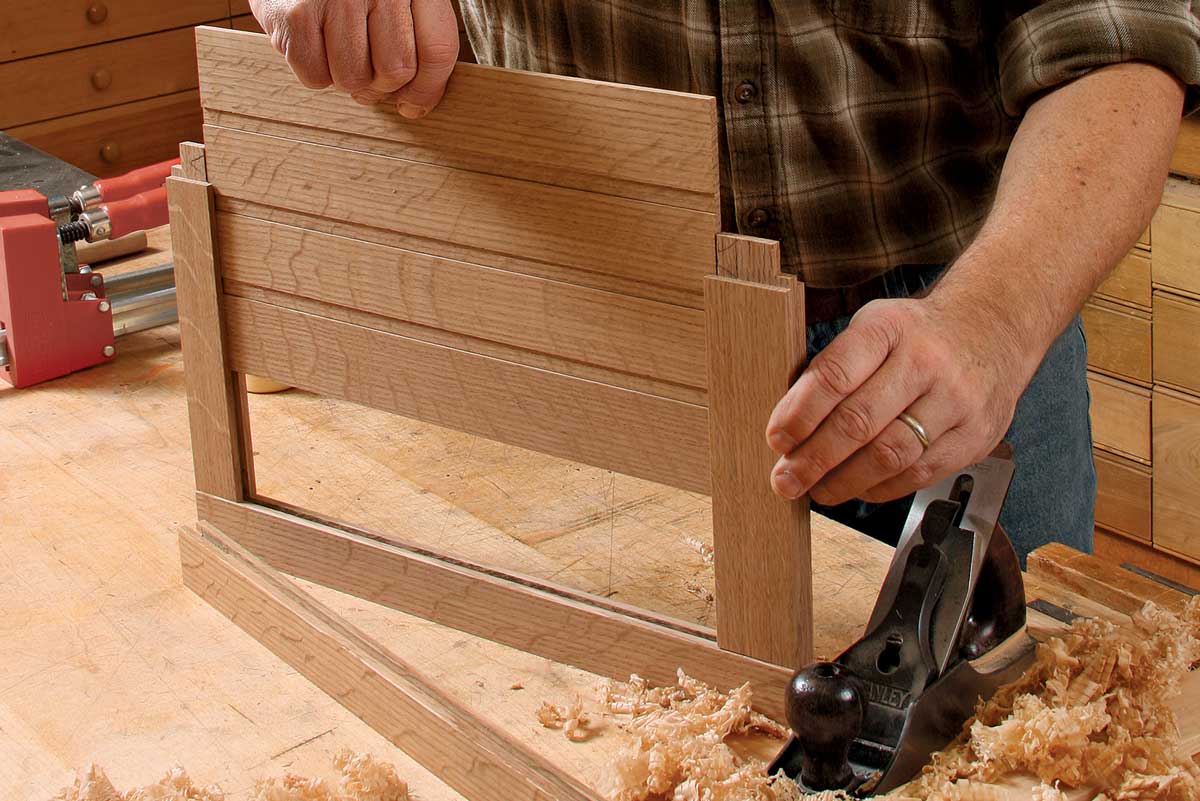
The shelf is attached with through-tenons that sit proud of the case sides, a feature that adds interest and depth. To prevent gaps, your layout marks must be accurate. To ensure this (and do away with a lot of measuring), I lay out the mortises and the tenons using a spacer block and marking gauge. To make the spacer block, mill up a short length of stock to match the tenon, in this case 1⁄2 in. square.
Before working on the mortises, though, you need to cut the tenons. Scribe the shoulders of the tenons on the shelf, setting the marking gauge 1⁄16 in. wider than the thickness of the case sides. With the same gauge setting, scribe the baselines of the dovetail pins. Cut the tenon cheeks, matching the tenon thickness to the spacer—I use a dado blade and miter gauge. Now you can lay out the mortises in the case sides and the widths of the tenons.
When laying out through-joinery, I first lay down some blue painter’s tape over the area of the joint. I scribe through the tape and peel it off the waste areas to give me a clear-cut guide for sawing and chopping. Tape the inside and outside faces of each case side at the tenon locations and on the ends of the shelf. Trim off the tape at the edges; folding it over will throw off your gauge setting.
Use a square and a pencil to mark the approximate location of the top and bottom of the mortises on the case sides. You’ll dial it in later, but this will provide a starting and stopping point for scribing the sides of the mortises.
Set the gauge to the inside wall of an outer mortise and scribe each face of both case sides. Use the same gauge setting to scribe the ends of the shelf tenon. Now, without changing the gauge setting, place the spacer block against the edge of the case side, register the gauge against it, and scribe the outside wall of each outer mortise. Then register the spacer along the edge of the shelf and scribe the outside wall of each tenon as well.
Now adjust the gauge to scribe one wall of the center mortise. Scribe it and rotate the workpiece, registering off the opposite edge to scribe the second wall. Repeat for the center tenons on the shelf. All that’s left of the layout is to scribe the tops and bottoms of the mortises. Register the gauge off the bottom of the case and scribe the top of the mortise, then insert the block to scribe the bottom. Now peel away the tape from the waste areas. The tough part is over. It’s time to cut some joinery.
 For the full article, download the PDF below:


Comments
Nicely detailed project. I am changing the wood to cherry for mine. One note: I altered the spacing of the dovetails to allow more width in the front pin and the rear tail. The mortise for the back panel allowed very little "meat" to support the rearmost pin using the spacing in the plans.
Please excuse the use of the term "mortise" above. I should have said "rabbet for the back panel".
I really loved the design and details of this project. Really brought out the character in the cabinet. Question ... where did you get the marking gauge you are using in this article? I've been looking for one with a bit stronger substance as the one that you are using.
I like this cabinet and intend to build it. What is the source for the hardware you used for your pulls and hinges?
Horton brasses has similar (although not quite the same) hardware. I do love their stuff.
Whitechapel, Ltd. is the source for the pulls and the back plates. Horton Brasses is the source for the hinges. That's shown in the plans. https://www.tauntonstore.com/project-plans/wall-cabinet-in-white-oak-project-plan.html
Hi. I wanted to buy the plans for this cabinet, but I am having trouble accessing the store. I've tried multiple devices and browsers, and get the same error. Any idea when the store will be back online, or is there an alternative way to buy the plans? Cheers!
Unfortunately, our store is temporarily unavailable to EU customers while we update our privacy settings. You can place an order over the phone by calling 1-515-247-2990 or if you are located in the U.S., please call 1-866-325-2495.
Many thanks Ben. I thought I had escaped GDPR unscathed. Little did I know...
User-6300840 mentioned he made this from Cherry, and I am considering doing the same. Was hoping he/she could share some photos of the finished cabinet? Trying to decide between oak and cherry.
Txs.
Log in or create an account to post a comment.
Sign up Log in