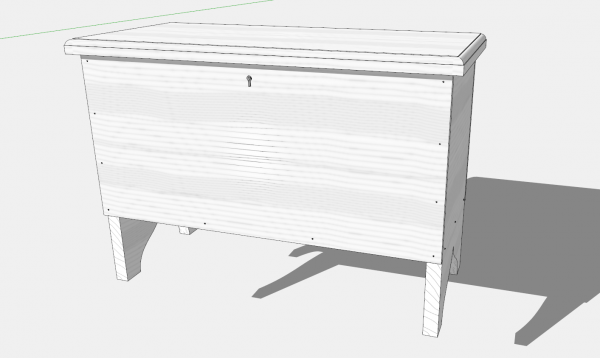
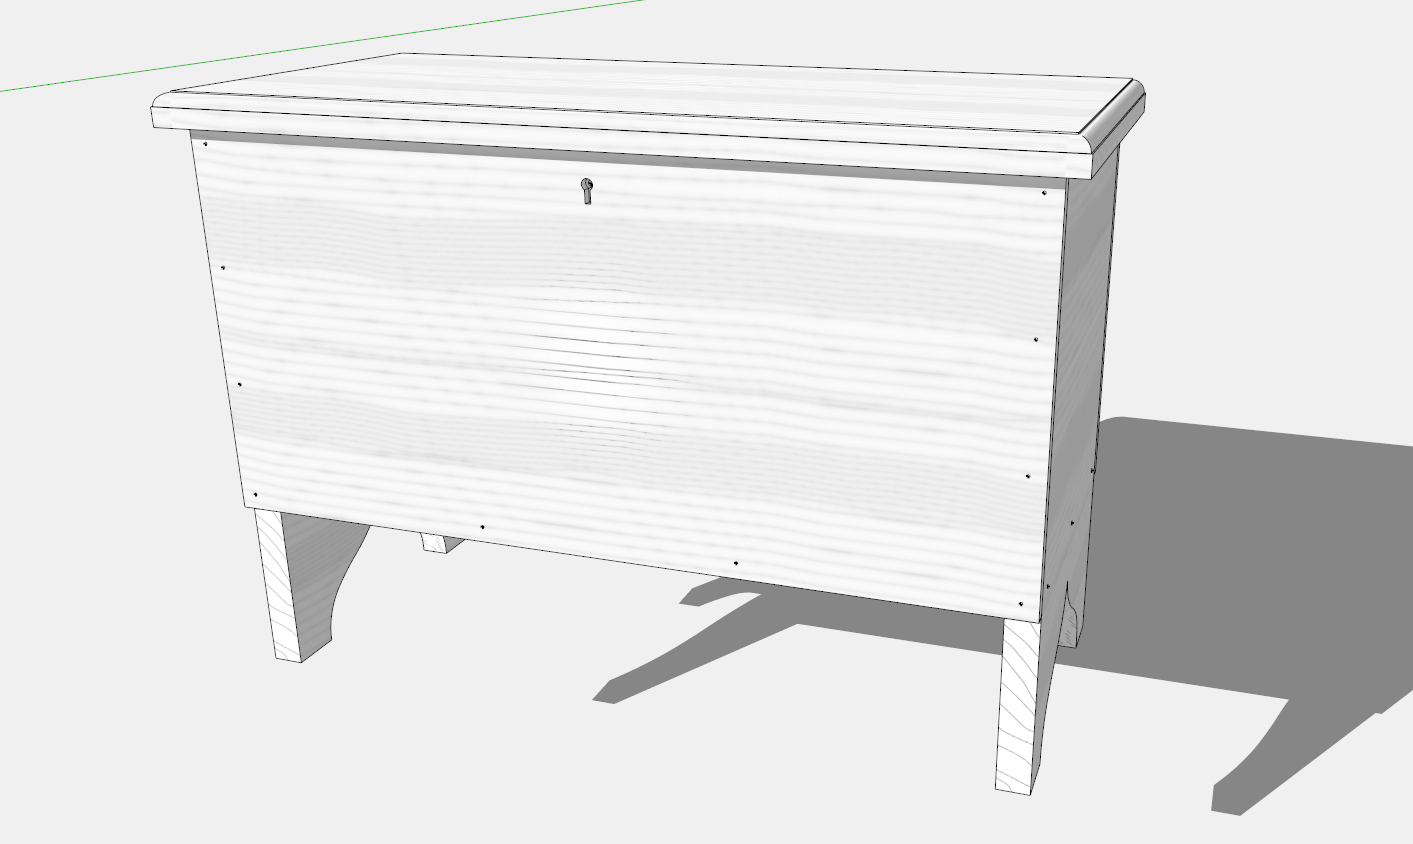
This is the second step in creating a model of the Small Six-board Chest. I’ve shown below the final result after about 10 steps.
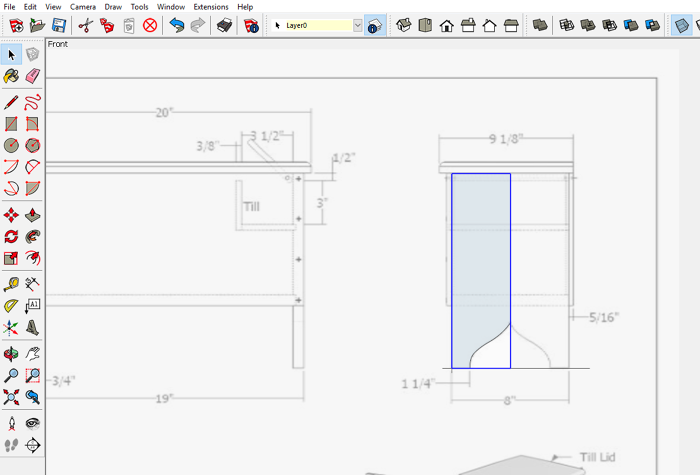
Step 2: the image below shows the scanned image in SketchUp created in the first step. On top of that image use the Line and Arc Tools to trace over the shape of the End component. It helps to accurately place Guidelines with the Tape Measure to accurately size the shape to the exact dimensions shown in the drawing. Then double click the mouse on the traced shape, right click, and choose Make Group from the pop-up menu. You can see the highlighted selected group in the image below.
Note that I’m not ready to call this shape a “component” called End. I’ll do that later, and hold that step when I’m confident about the following End modifications. I like to hold the original traceover on the scanned image. If I make it a component, the traceover on the scan will change as I make changes to the component in the design. Having it as a Group, means I can back track if necessary and modify the original traceover.
The video is of making this shape is shown on the following video.
Tim
@KillenWOOD




Log in or create an account to post a comment.
Sign up Log in