Make a Sleek Box with a Sliding Lid
Clean, versatile design offers easy access to what’s inside this mitered box.

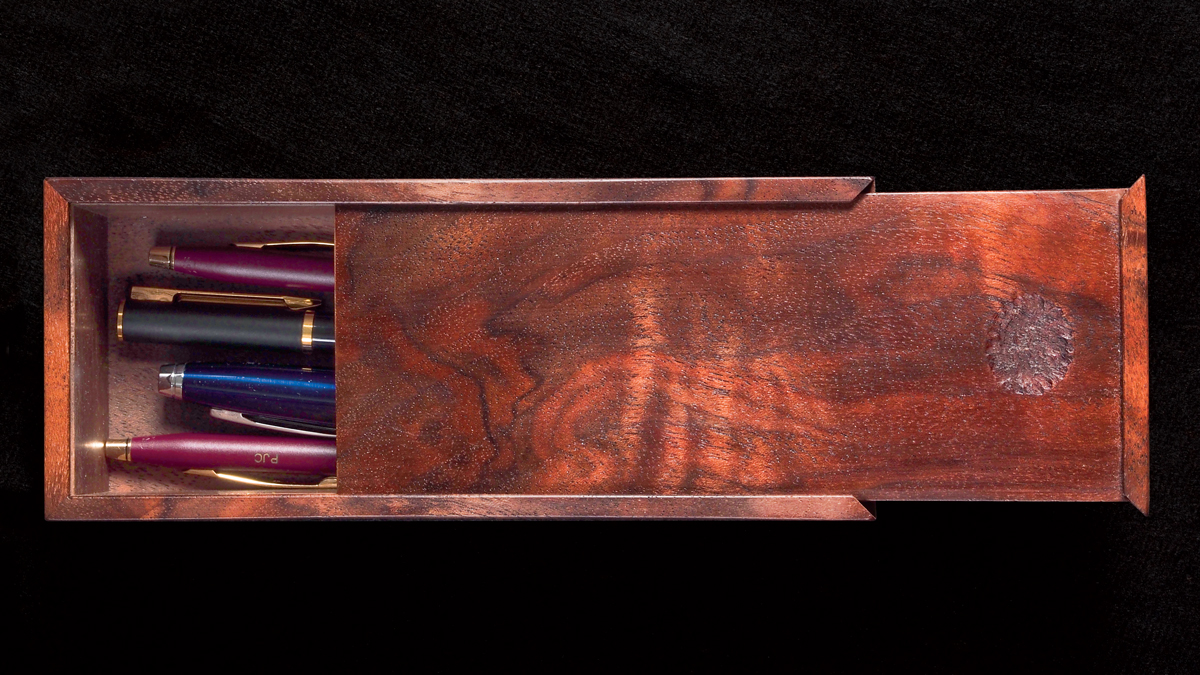
Synopsis: Thin parts, mitered corners with slender splines, and a smoothly sliding lid with a carved fingerhold are the main features of this clever box. Maker Michael Cullen stresses that careful attention to detail and stock preparation are keys to success. The sliding lid must fit snugly but also have smooth action, which means double and triple milling is needed. Small parts require that you pay close attention to safety as well. The result is a gem of a box.
Some years ago I decided to make a box for my wife, Barbara, to hold some of her favorite pens. My design was inspired by the memory of a simple wooden pencil box with a sliding top that I had as a child. To me, boxes are a beautiful expression of what working in wood is all about. Of all the things I make, nothing else holds as much mystery or evokes as much curiosity as a box. I loved making that box, and I’ve since made many more, in a variety of woods and sizes but all hewing to the same basic design: thin parts, mitered corners with slender splines, and a snug but smoothly sliding lid with a carved fingerhold.

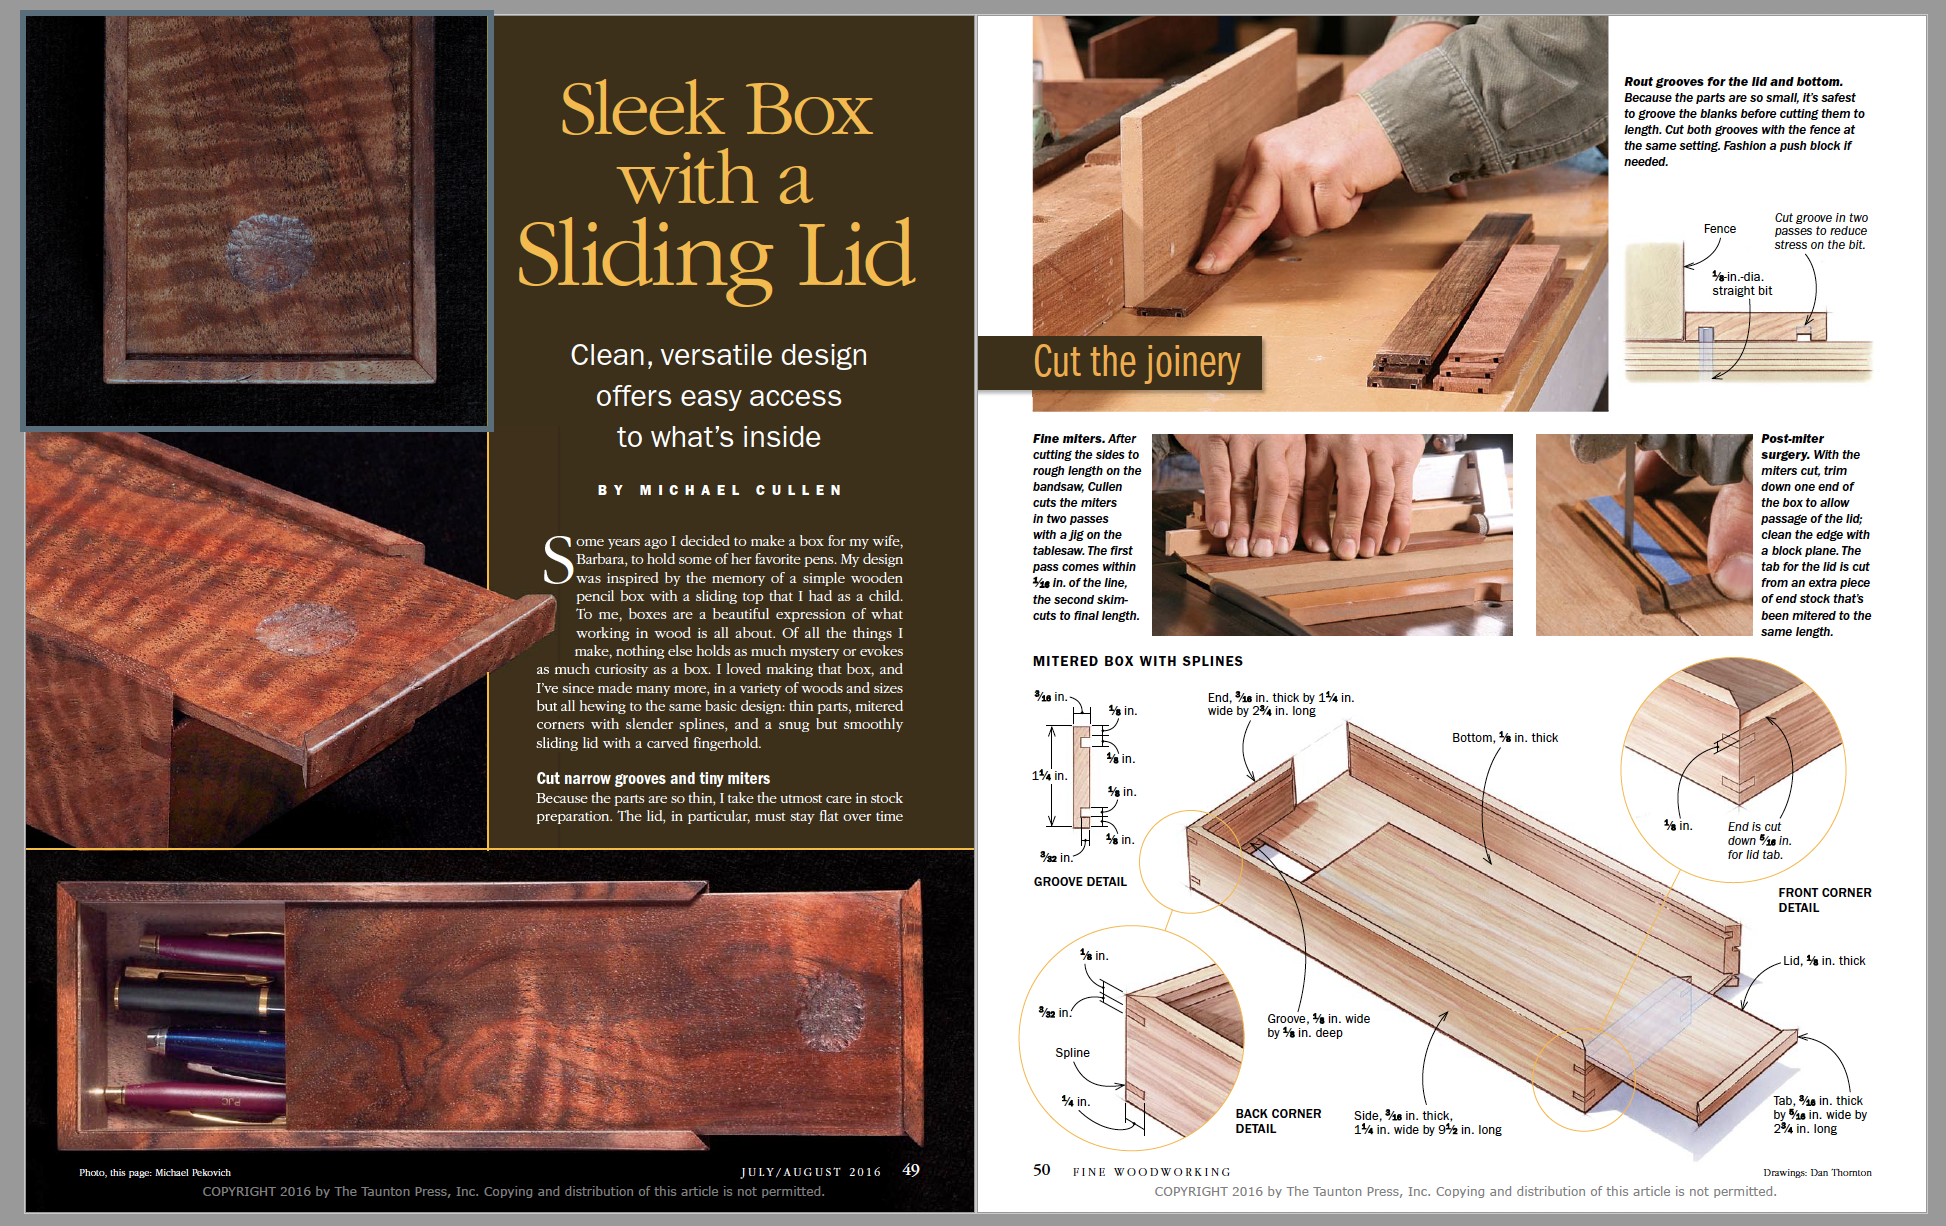
Cut narrow grooves and tiny miters: Because the parts are so thin, I take the utmost care in stock preparation. The lid, in particular, must stay flat over time so it will always slide without binding. Double and even triple-milling is critical to prevent any twisting or cupping. It’s best to use either riftsawn or quartersawn material, especially for the lid. Because the parts are fairly short, I mill them to final thickness in long strips and cut them to length later.
With the stock thicknessed and ripped to width, make the grooves in the sides to accept the lid and the bottom. I use a router table with a 1⁄8-in.-dia. straight bit, making each cut in two passes to reduce stress on the bit.
After completing the grooves I miter the corners of the box, using a crosscut jig on the tablesaw. This is the most critical step. Only a precise setup will yield joints that go together flawlessly. Use a sharp blade— it’s essential for clean and accurate work on small pieces. I attach sacrificial boards to both the base and the fence of the crosscut jig so the parts are supported right to the blade. I test the setup by mitering a pair of long, straight scrap pieces and checking their interior angle for square with an accurate framing square.
Once the setup is dialed in, miter all the box sides. Depending on the species of wood you’re cutting, it’s sometimes cleanest to make an initial miter cut 1⁄16 in. shy of the line, and finish with a skim cut. Don’t forget to cut three end pieces for the box—you’ll need the extra one to create the tab that will attach to the lid.
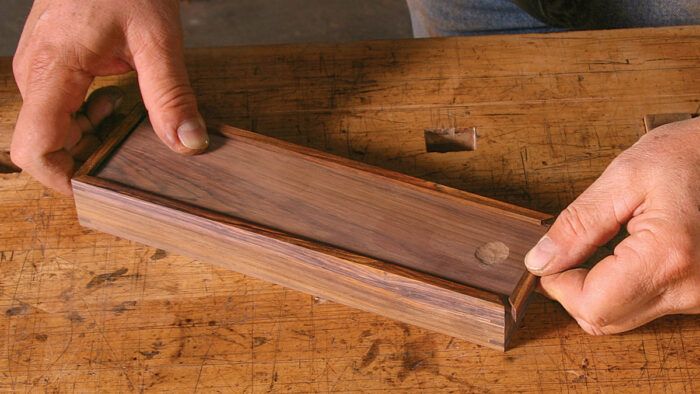
Fit and glue the box: The bottom of the box is fully housed in the grooves, and getting a good fit can be tricky. As I’m putting the bottom through the thickness planer, I go slowly and check the fit often.
 From Fine Woodworking #255
For the full article, download the PDF below:
Fine Woodworking Recommended Products

Suizan Japanese Pull Saw


Log in or create an account to post a comment.
Sign up Log in