Turn a Bowl
Make a functional and beautiful bowl from a chunk of green wood
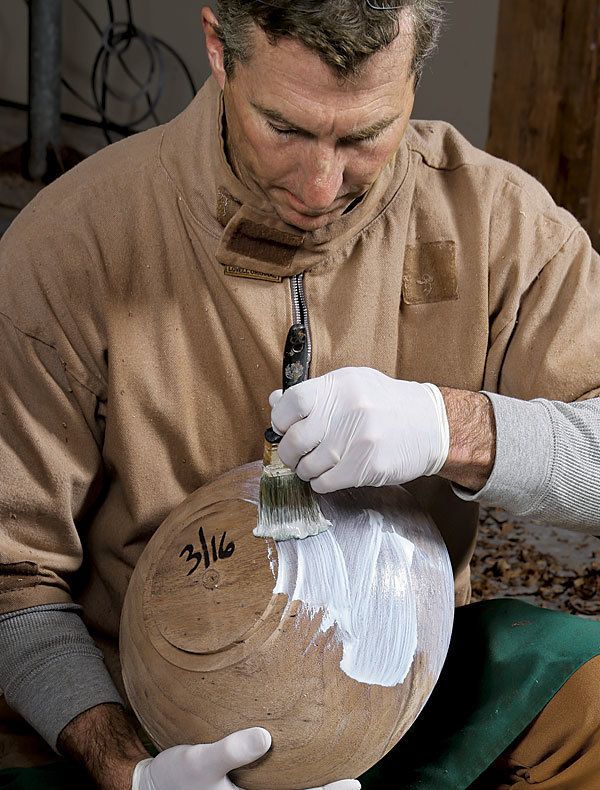
Synopsis: A green-wood bowl is fun to turn and—except for the lathe—doesn’t require a big investment in tools. Mike Mahoney has turned a lot of bowls in his career and he delivers the step-by-step instructions needed for roughing out the bowl, letting the green wood dry, turning the dry bowl to its final shape, and adding a finish.
Wooden bowls no doubt have a utilitarian appeal. Truly organic, they’re a natural for holding fruit and mixing dough but work just as well for a cereal-and-milk breakfast or a popcorn snack. Wooden bowls also can be beautiful, the highlight of any kitchen. Perhaps it’s this potential for attractive, organic utility that makes them so popular.
Bowls are also fun to turn and don’t require a lot of tools. All you really need—in addition to the lathe—are a bowl gouge, a spindle gouge, and a round-nose scraper. As for the wood, kilndried is fine, but it’s hard to find a chunk big enough for a bowl that’s not cracked. Green wood is a better choice. You rough out the green-wood bowl, let it dry, and then turn it to its final shape a few months later.
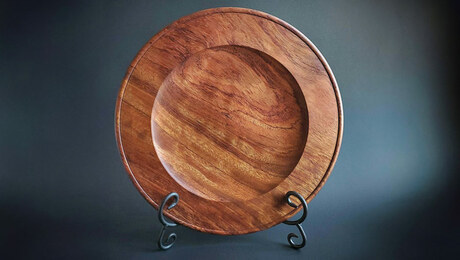
The species of wood is important, especially if you want to use the bowl in the kitchen. Many North American hardwoods make great functional bowls, with the exception of very hard woods like locust, hickory, and osage orange. The density of these woods makes them brittle, and they can’t take the shock when dropped on the floor or banged on a hard surface. Avoid red oak, too. Its pores are too open, so liquid in the bowl soon becomes liquid on your counter. I like claro walnut. Not only is it beautiful, but it also works exceptionally well and is easy to dry. It’s what I’ll use here as I demonstrate how to turn a bowl.
Rough turning speeds drying: I cut all of my bowl blanks straight from the log with a chainsaw. It would take forever for the blank to dry if left as a big chunk of solid wood, so I rough out the bowl first and then set it aside to dry, which cuts down the wait time from many years to just a few months. After it’s dry you can turn the bowl to its final shape.
Begin the roughing process by cutting the blank round on the bandsaw. Then it goes directly onto the lathe. The best way to mount a bowl blank is with a screw center. Drill a pilot hole (as close to center as you can get it) and thread the blank onto the screw center. Bring the tailstock into place and tighten it against the blank. Set the tool rest just below center and parallel to the bed, then rotate the blank by hand to ensure that it spins without hitting the rest.
For the full article, download the PDF below:
Fine Woodworking Recommended Products

CrushGrind Pepper Mill Mechanism


Log in or create an account to post a comment.
Sign up Log in