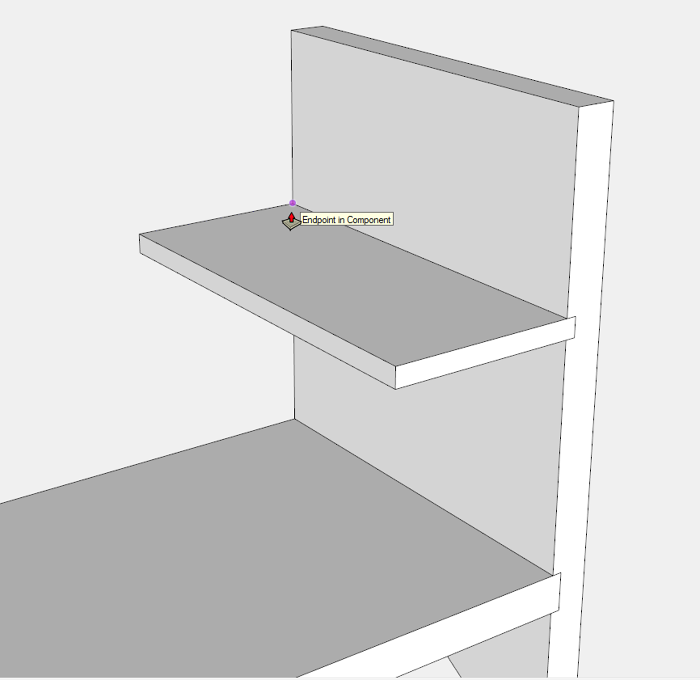
This is Step 4 of a continuing series – Creating Till Components
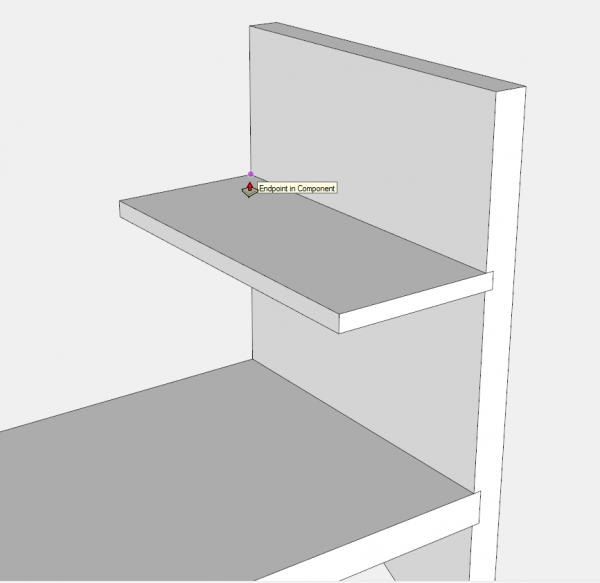
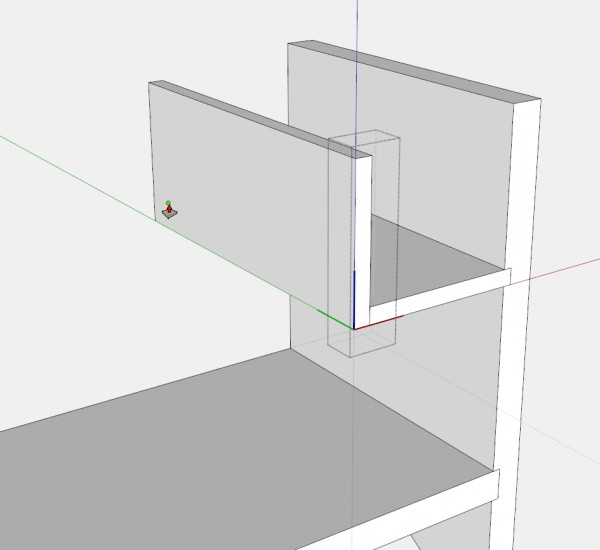
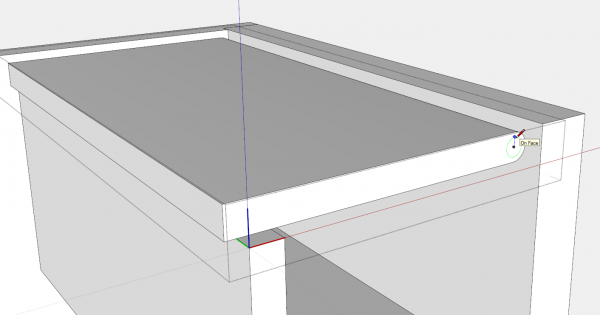
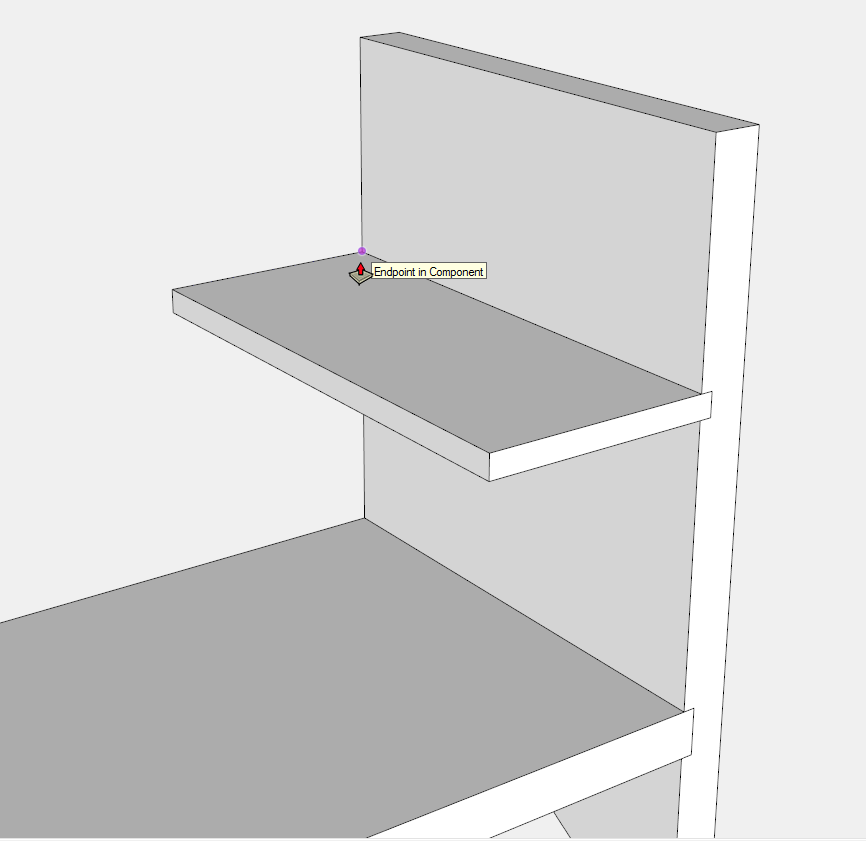
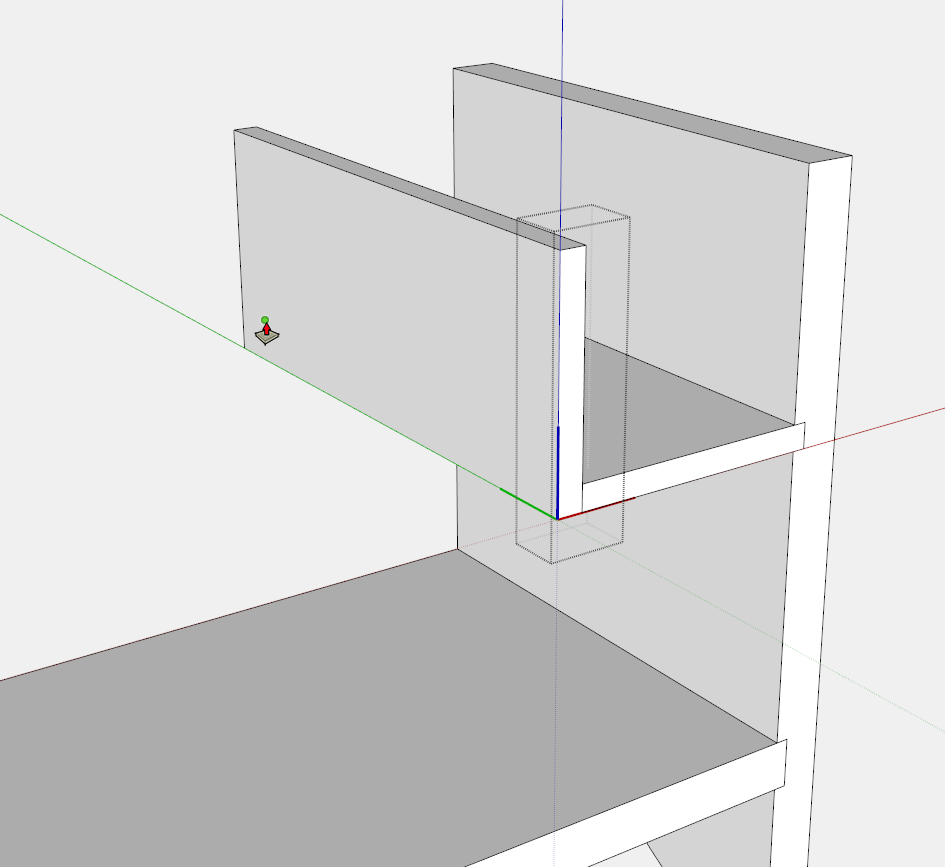
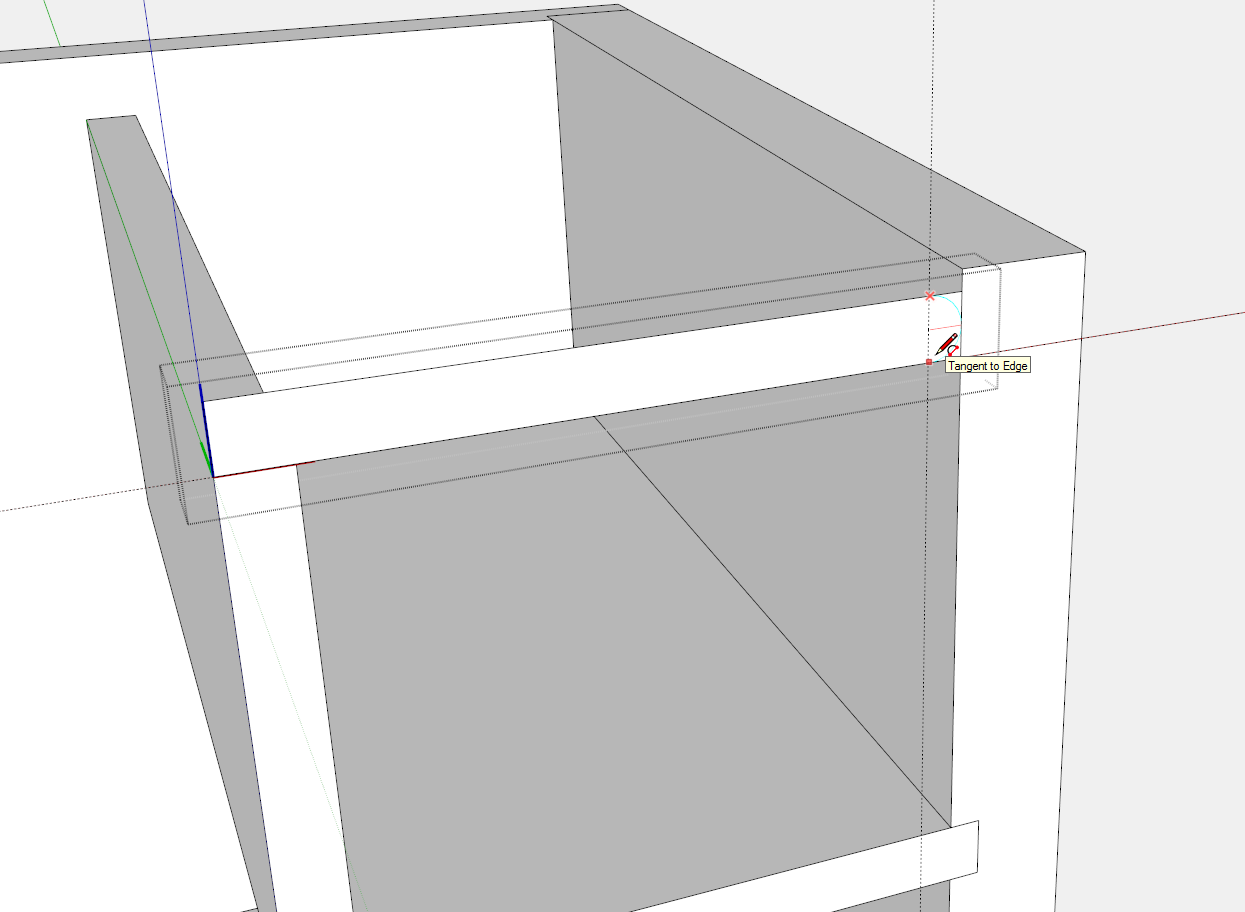
To open access for making the Till components, right click on the Front and Back and choose Hide from the menu. To create the Till Bottom, draw a rectangle for the front edge as it protrudes into the End groove. Then use the Push/Pull Tool to give it length equal to the width of the End. See Figure below.The Till Front is made in the same way also shown below.
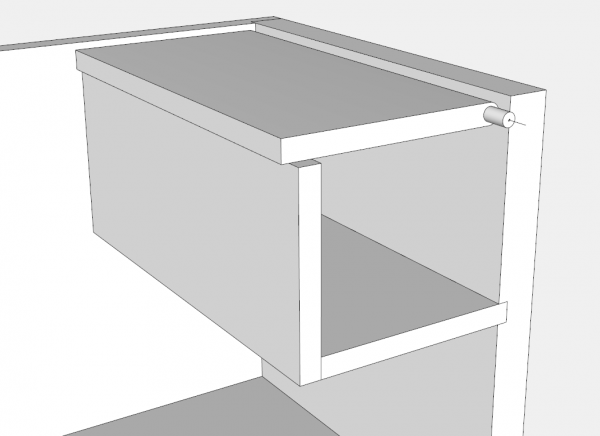
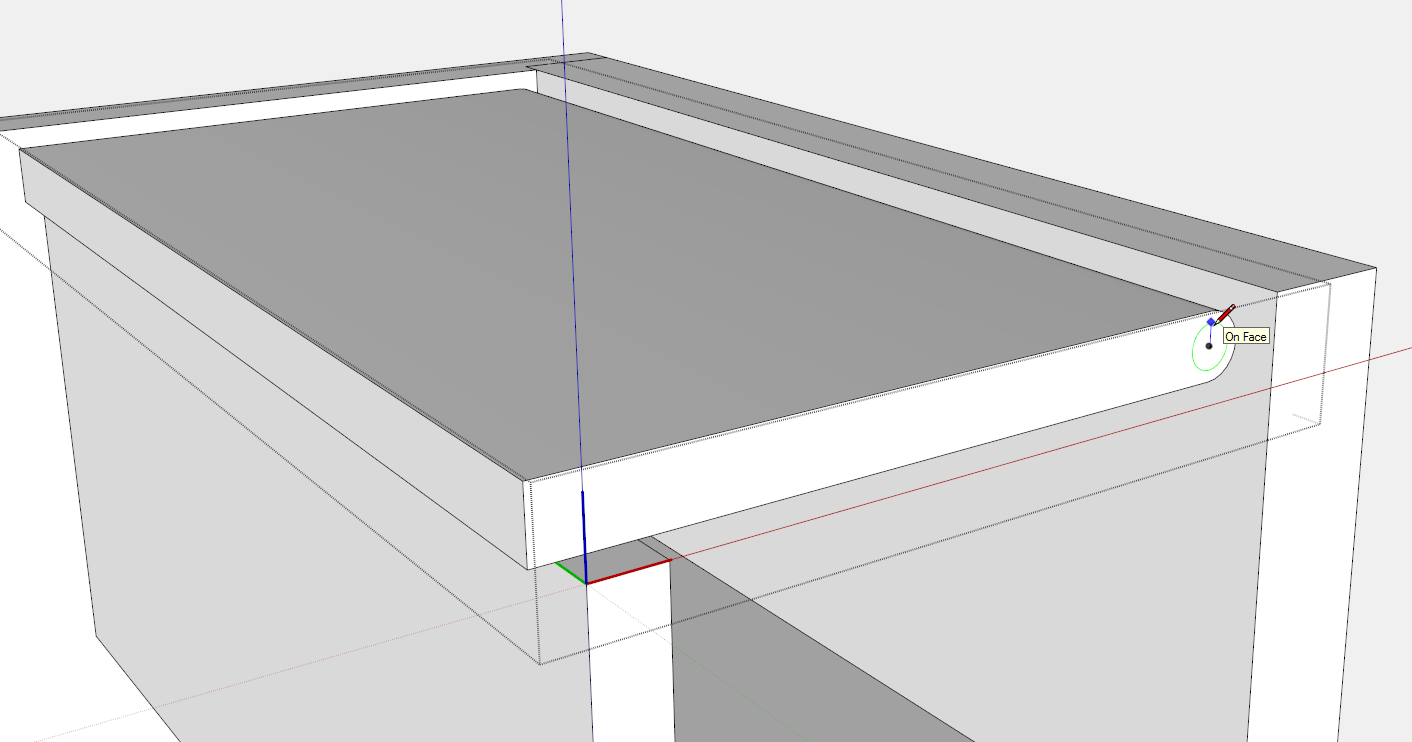
Use the Rectangle or Line Tool to make the edge face of the Till Top. Using the Arc Tool create the rounded half circle shape on the hinged end of the Till Top. Then use Push/Pull to give it its length toward the back. I prefer having the Till Top slightly shortened to provide a 1/16-in. gap between the inside faces of the Chest Front and Back. Also, I prefer a 1/8-in. lip extension of the top over the front face of the Till Front. That lip is helpful in lifting the Till lid. These extra tweaks in length and width are easily made with the Push/Pull Tool.
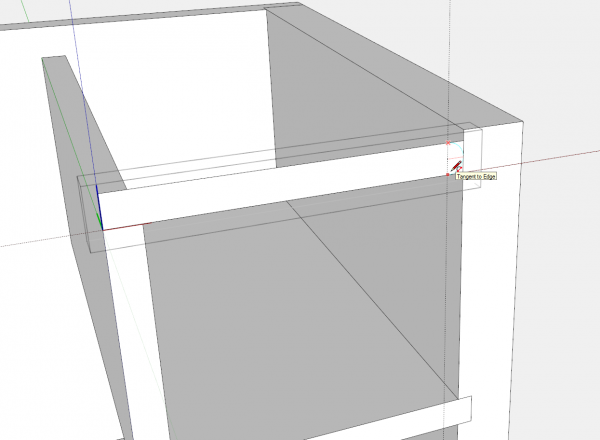
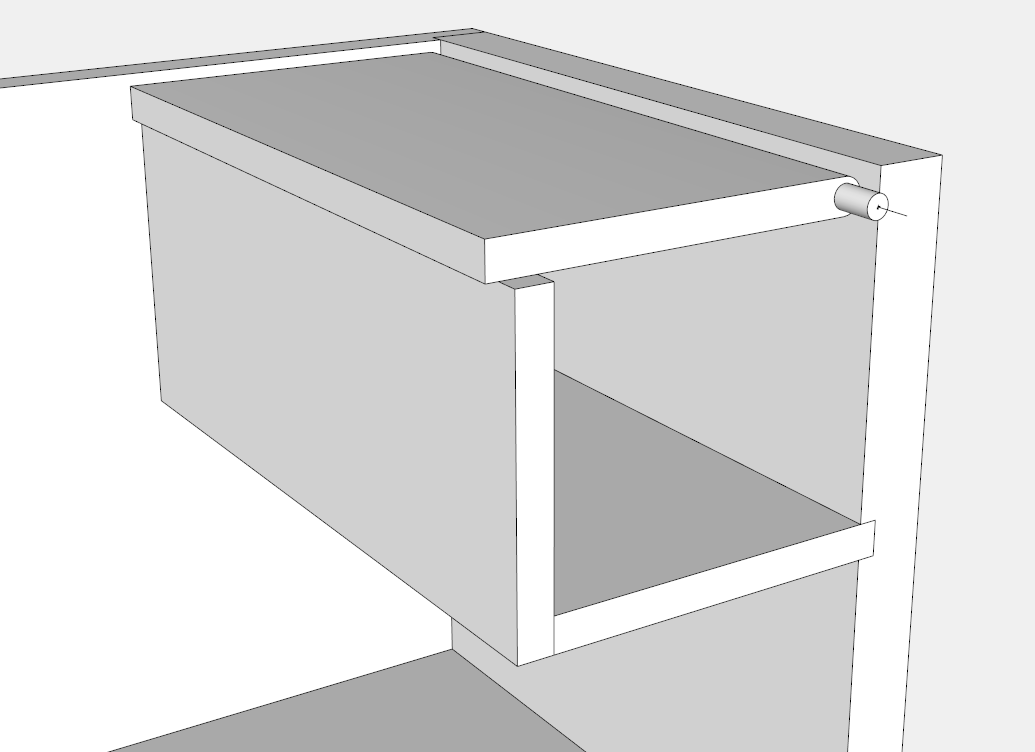
The Till Top pivots on 1/4-in. dia. dowels at each end. Use the Circle Tool to create a 1/4-in. dia. circle. See Figure below. Using the Push/Pull Tool, drive the circle back to create a 7/16-in. deep socket. Then click the Push/Pull Tool on the bottom of the socket, tap the Ctrl key and pull out a 7/8-in. long dowel.
I like a centerline on the dowel as shown in Figure 22. This will help locate the socket in the Front and Back components
Here is the video of making the Till components:
Tim
@KillenWOOD




Log in or create an account to post a comment.
Sign up Log in