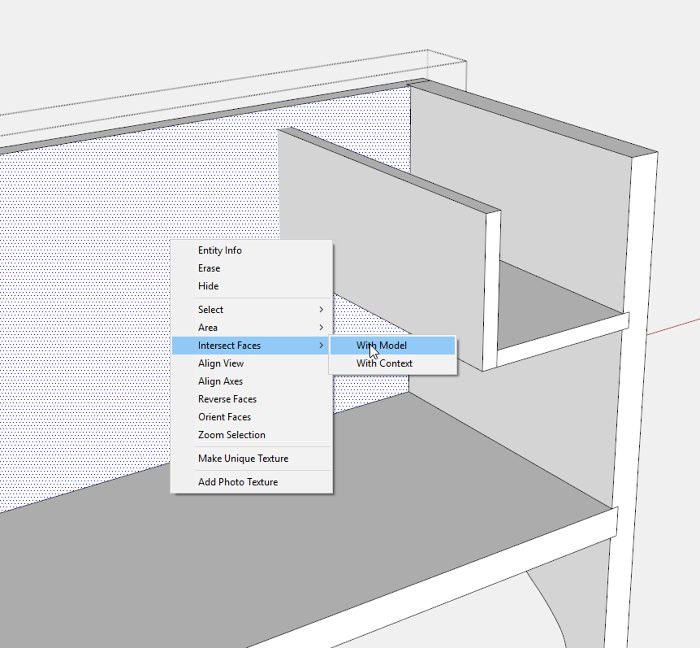
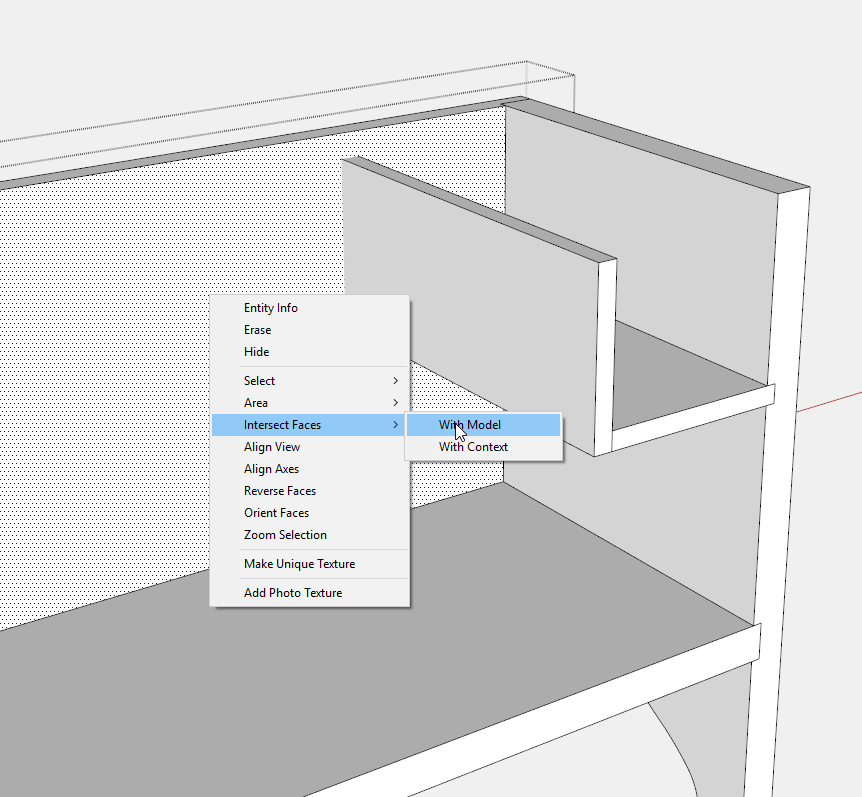
The Front and Back captures the Till Front and Bottom with a 3/16-in. shallow dado and groove. With the Front still hidden, select the Back for editing and then click to select the inside face of the Back. This is shown in the following picture.
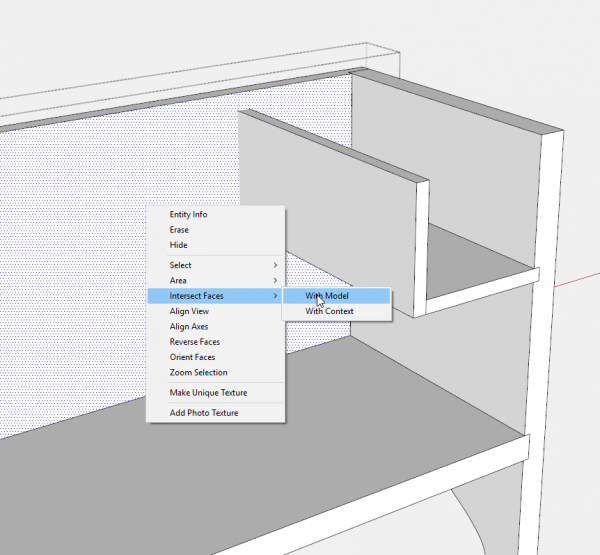
Right click on the face and choose Intersect Faces with Model from the pop-up menu. This function will create lines where the Till Front and Bottom protrude through the face of the Back.
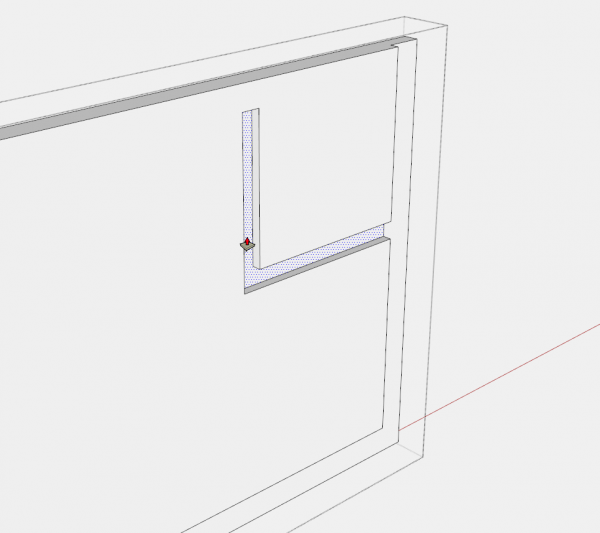
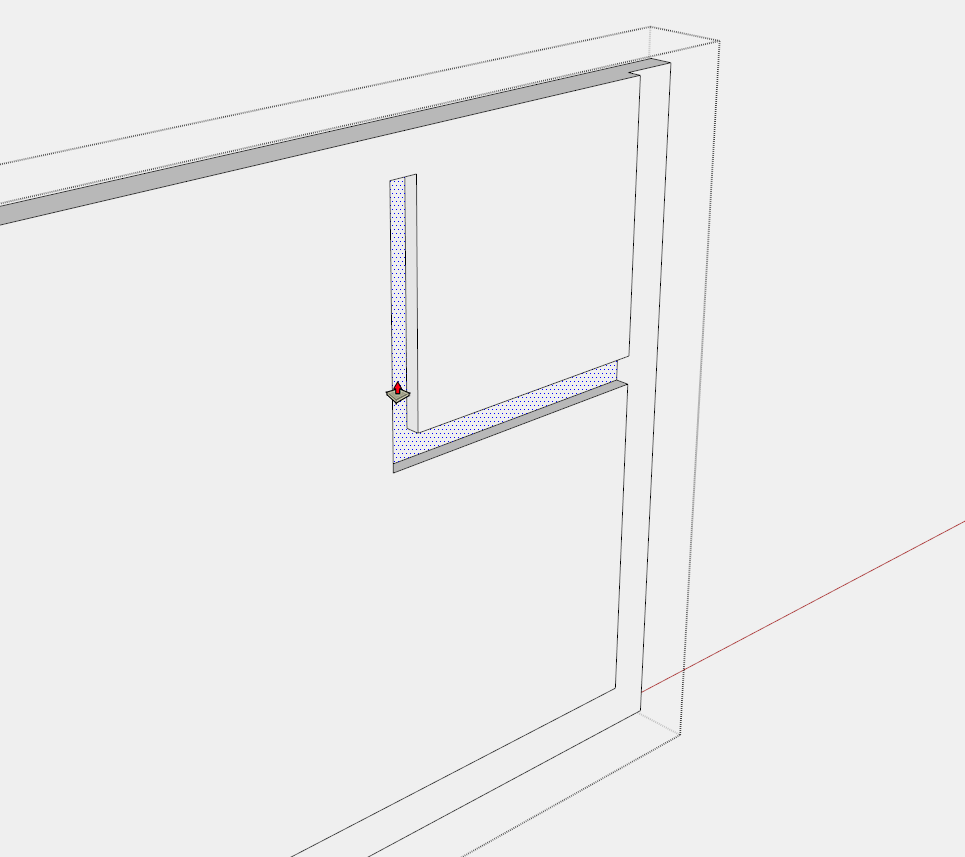
Make a copy of the Back component and move it away from the assembly. You’ll see the boundary lines of the groove and dado etched into the face of the Back by using Intersect with Model. Using the Push/Pull Tool, route the depth of the groove and dado to 3/16-in.
By now you may have noticed that the sequence of steps in building the SketchUp model is quite aligned with the process in the shop. I often find this parallel while designing and building new pieces. For this Chest, I would start construction by making the Ends followed by the Bottom, the Front and Back, and so on.
I find this reassuring, as SketchUp becomes much more than a way to produce a design. SketchUp provides a tool for rehearsing the process of shop construction.
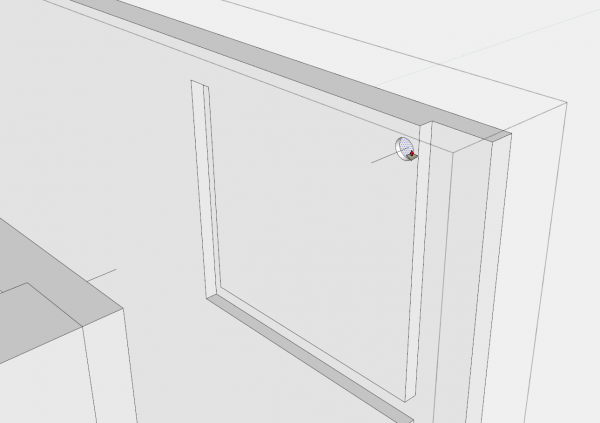
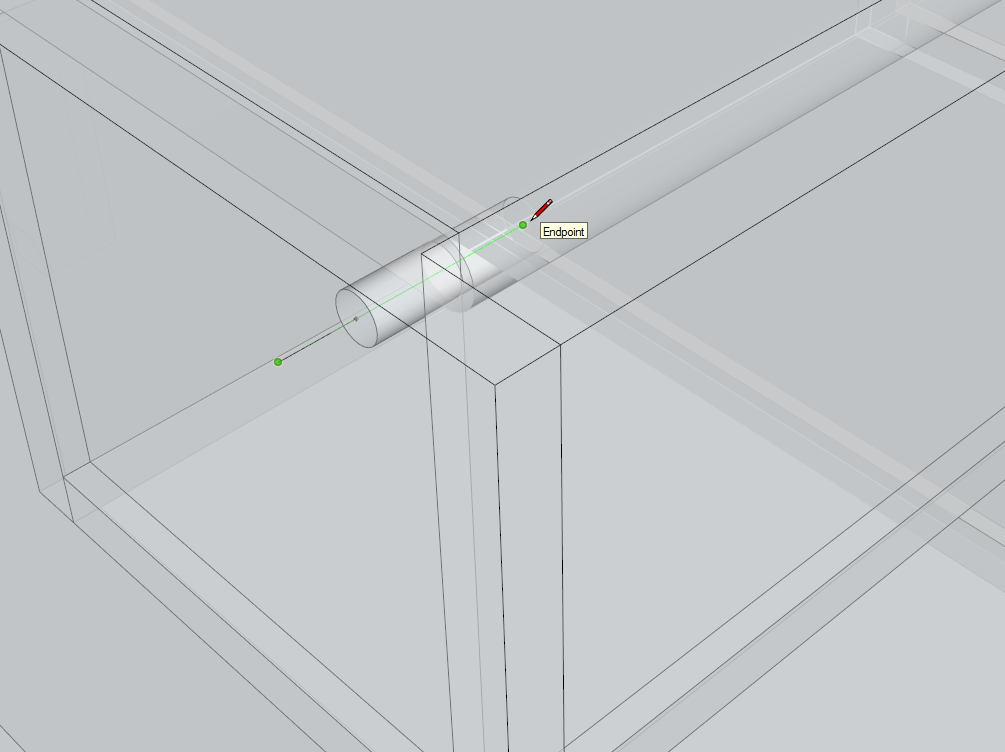
To create the socket for the dowel in the Front and Back, turn on X-ray Style, and zoom into the top corner of the Chest where the dowel hinge is located. See following figure below. Open the Front component for editing and with the Line Tool trace over the dowel centerline. This will precisely locate the center of the socket in the Front and Back components. It helps to tap the Left Arrow key to force the line on the Green axis.
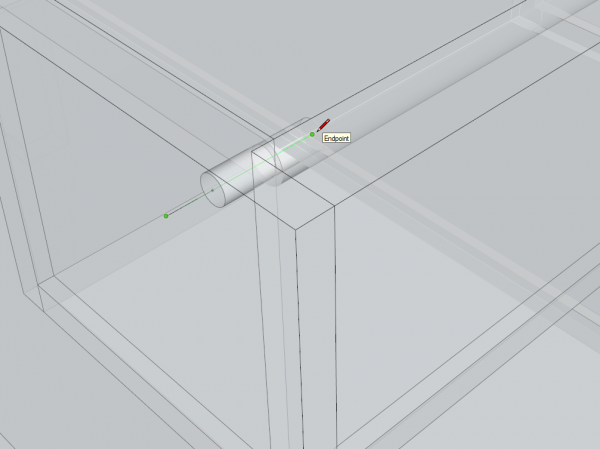
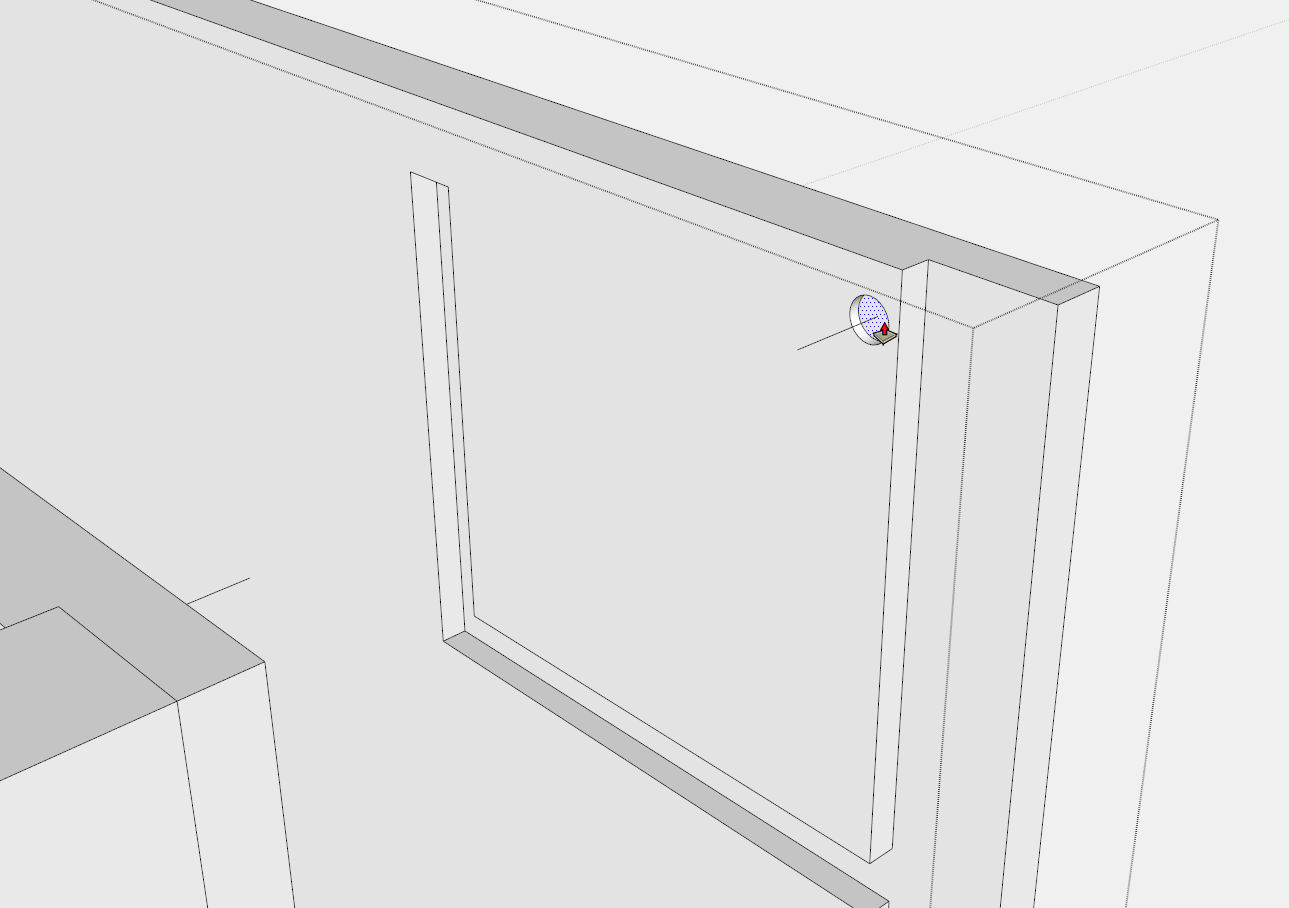
Make a copy of the Back component and move away from the assembly. See following figure. Using the centerline as reference, connect the Circle Tool at center and draw a 1/4-in. dia. circle. Then use the Push/Pull Tool to create a 7/16-in. deep socket.
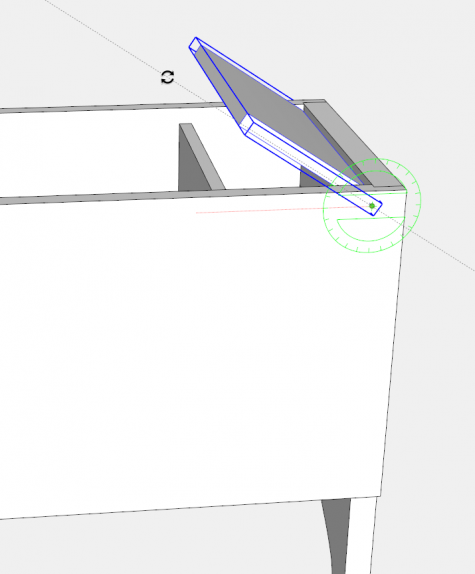
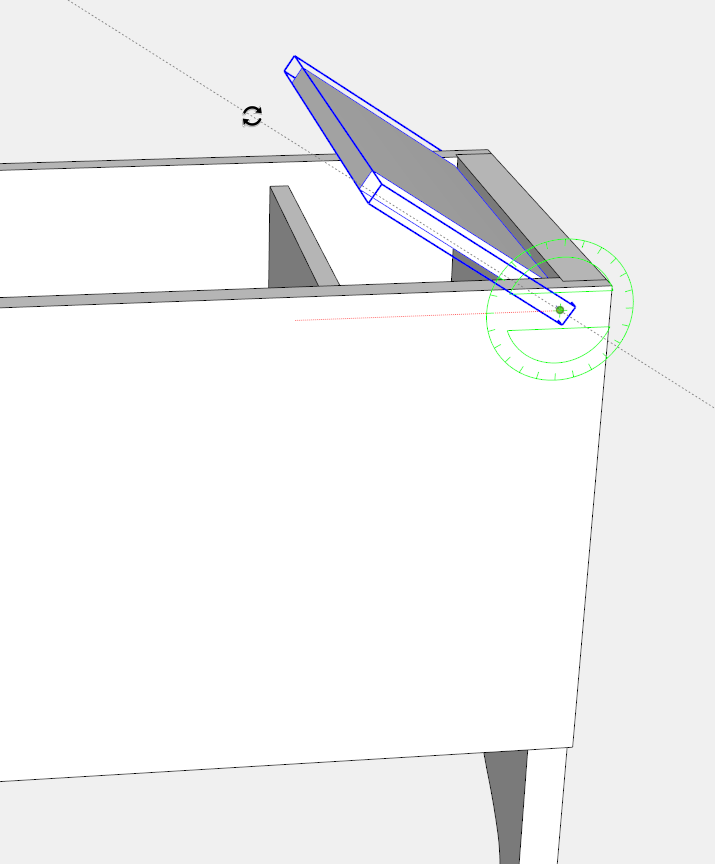
Now that the Till Top is installed with its dowel pivot joints, test the rotation by choosing the Rotate Tool. With the Till Top selected, click the Rotate Tool on the pivot point (where the centerline intersects with the face of the Front). Click to start the rotation, then move the mouse to rotate the Top. See following figure.
Here is the video:
Tim
@KillenWOOD




Log in or create an account to post a comment.
Sign up Log in