Make Your Own Bandings
Once you master the basics, the only limit is your imagination
Synopsis: Stringing and banding is a hallmark of Federal-style furniture, and it’s pretty straightforward to make your own. Freddy Roman demonstrates how he does it using shopmade jigs and basic woodworking tools. Once you’ve mastered his technique for a simple banding of alternating black-and-white squares, you can apply the same techniques to creating a whole palette of designs.
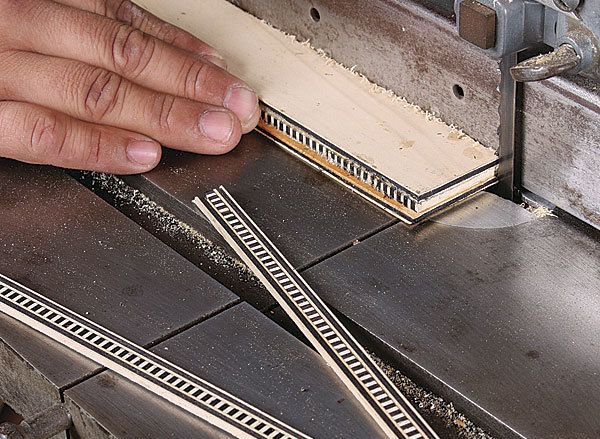
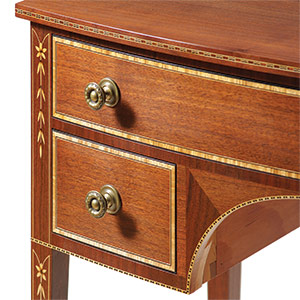
Appearing light on its feet, almost as if standing on its tiptoes, Federal-style furniture relies on symmetry, tapered and turned legs, simplified moldings and carvings, and above all stringing and banding, or to give the latter its correct name, tarsia a toppo. This technique, invented by Italian craftsmen during the Renaissance era, can be roughly translated as block marquetry. At its simplest it is nothing more than stacking, cutting, and gluing woods of contrasting colors, thicknesses, and widths to create geometric patterns.
Here I’ll demonstrate how to make such bandings using shopmade jigs and basic woodworking tools. It’s a pretty straightforward process. Once you perfect the fundamental skills, you’ll have the know-how to make your own custom bandings.
A simple but striking banding
I’ll start with a simple but eye-catching banding that has a center core of alternating black and white squares, and several layers of veneer glued on each side to hold the center chips together and give the banding the desired thickness.
The first step is to make an L-shaped banding press by gluing and screwing together two pieces of MDF, each 15 in. long and about 3 in. wide. Cover the two inside faces with clear packing tape to keep glue from sticking to it. Then cut some 2-in.-wide by 12-in.-long strips from 1⁄32-in.-thick holly veneer and 1⁄16-in.-thick black dyed tupelo veneer. You want the finished thickness of the blank to be between about an inch and close to the maximum depth of cut on your tablesaw.
I use Old Brown Glue, a liquid hide glue, for all my bandings. Glue one face of the veneers and put them in the press a few layers at a time, pushing the edges flush against the side of the press. Put some weight on top to keep the glued layers flat until you get all the pieces into the press. Make sure that the bottom and top layers are not the same color. To clamp the veneers, start working from the center out to the ends.
For the full article, download the PDF below:
Fine Woodworking Recommended Products

Blackwing Pencils

Stanley Powerlock 16-ft. tape measure


Log in or create an account to post a comment.
Sign up Log in