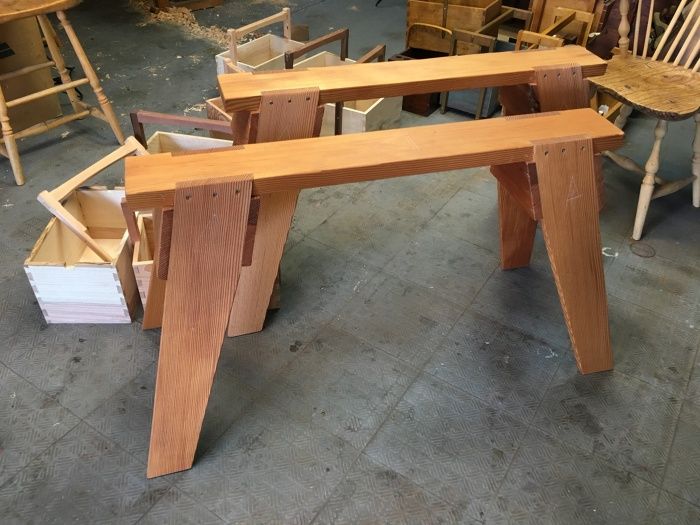
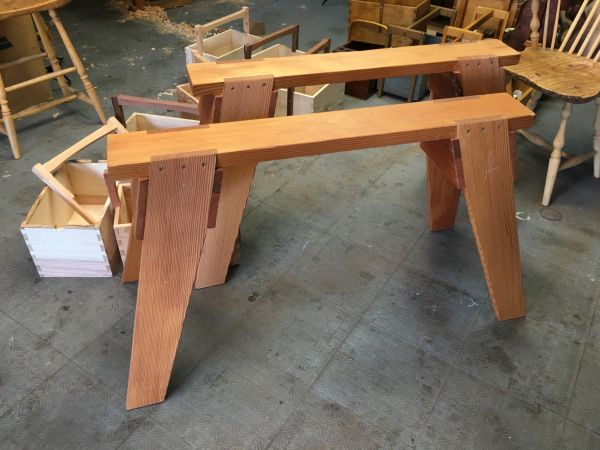
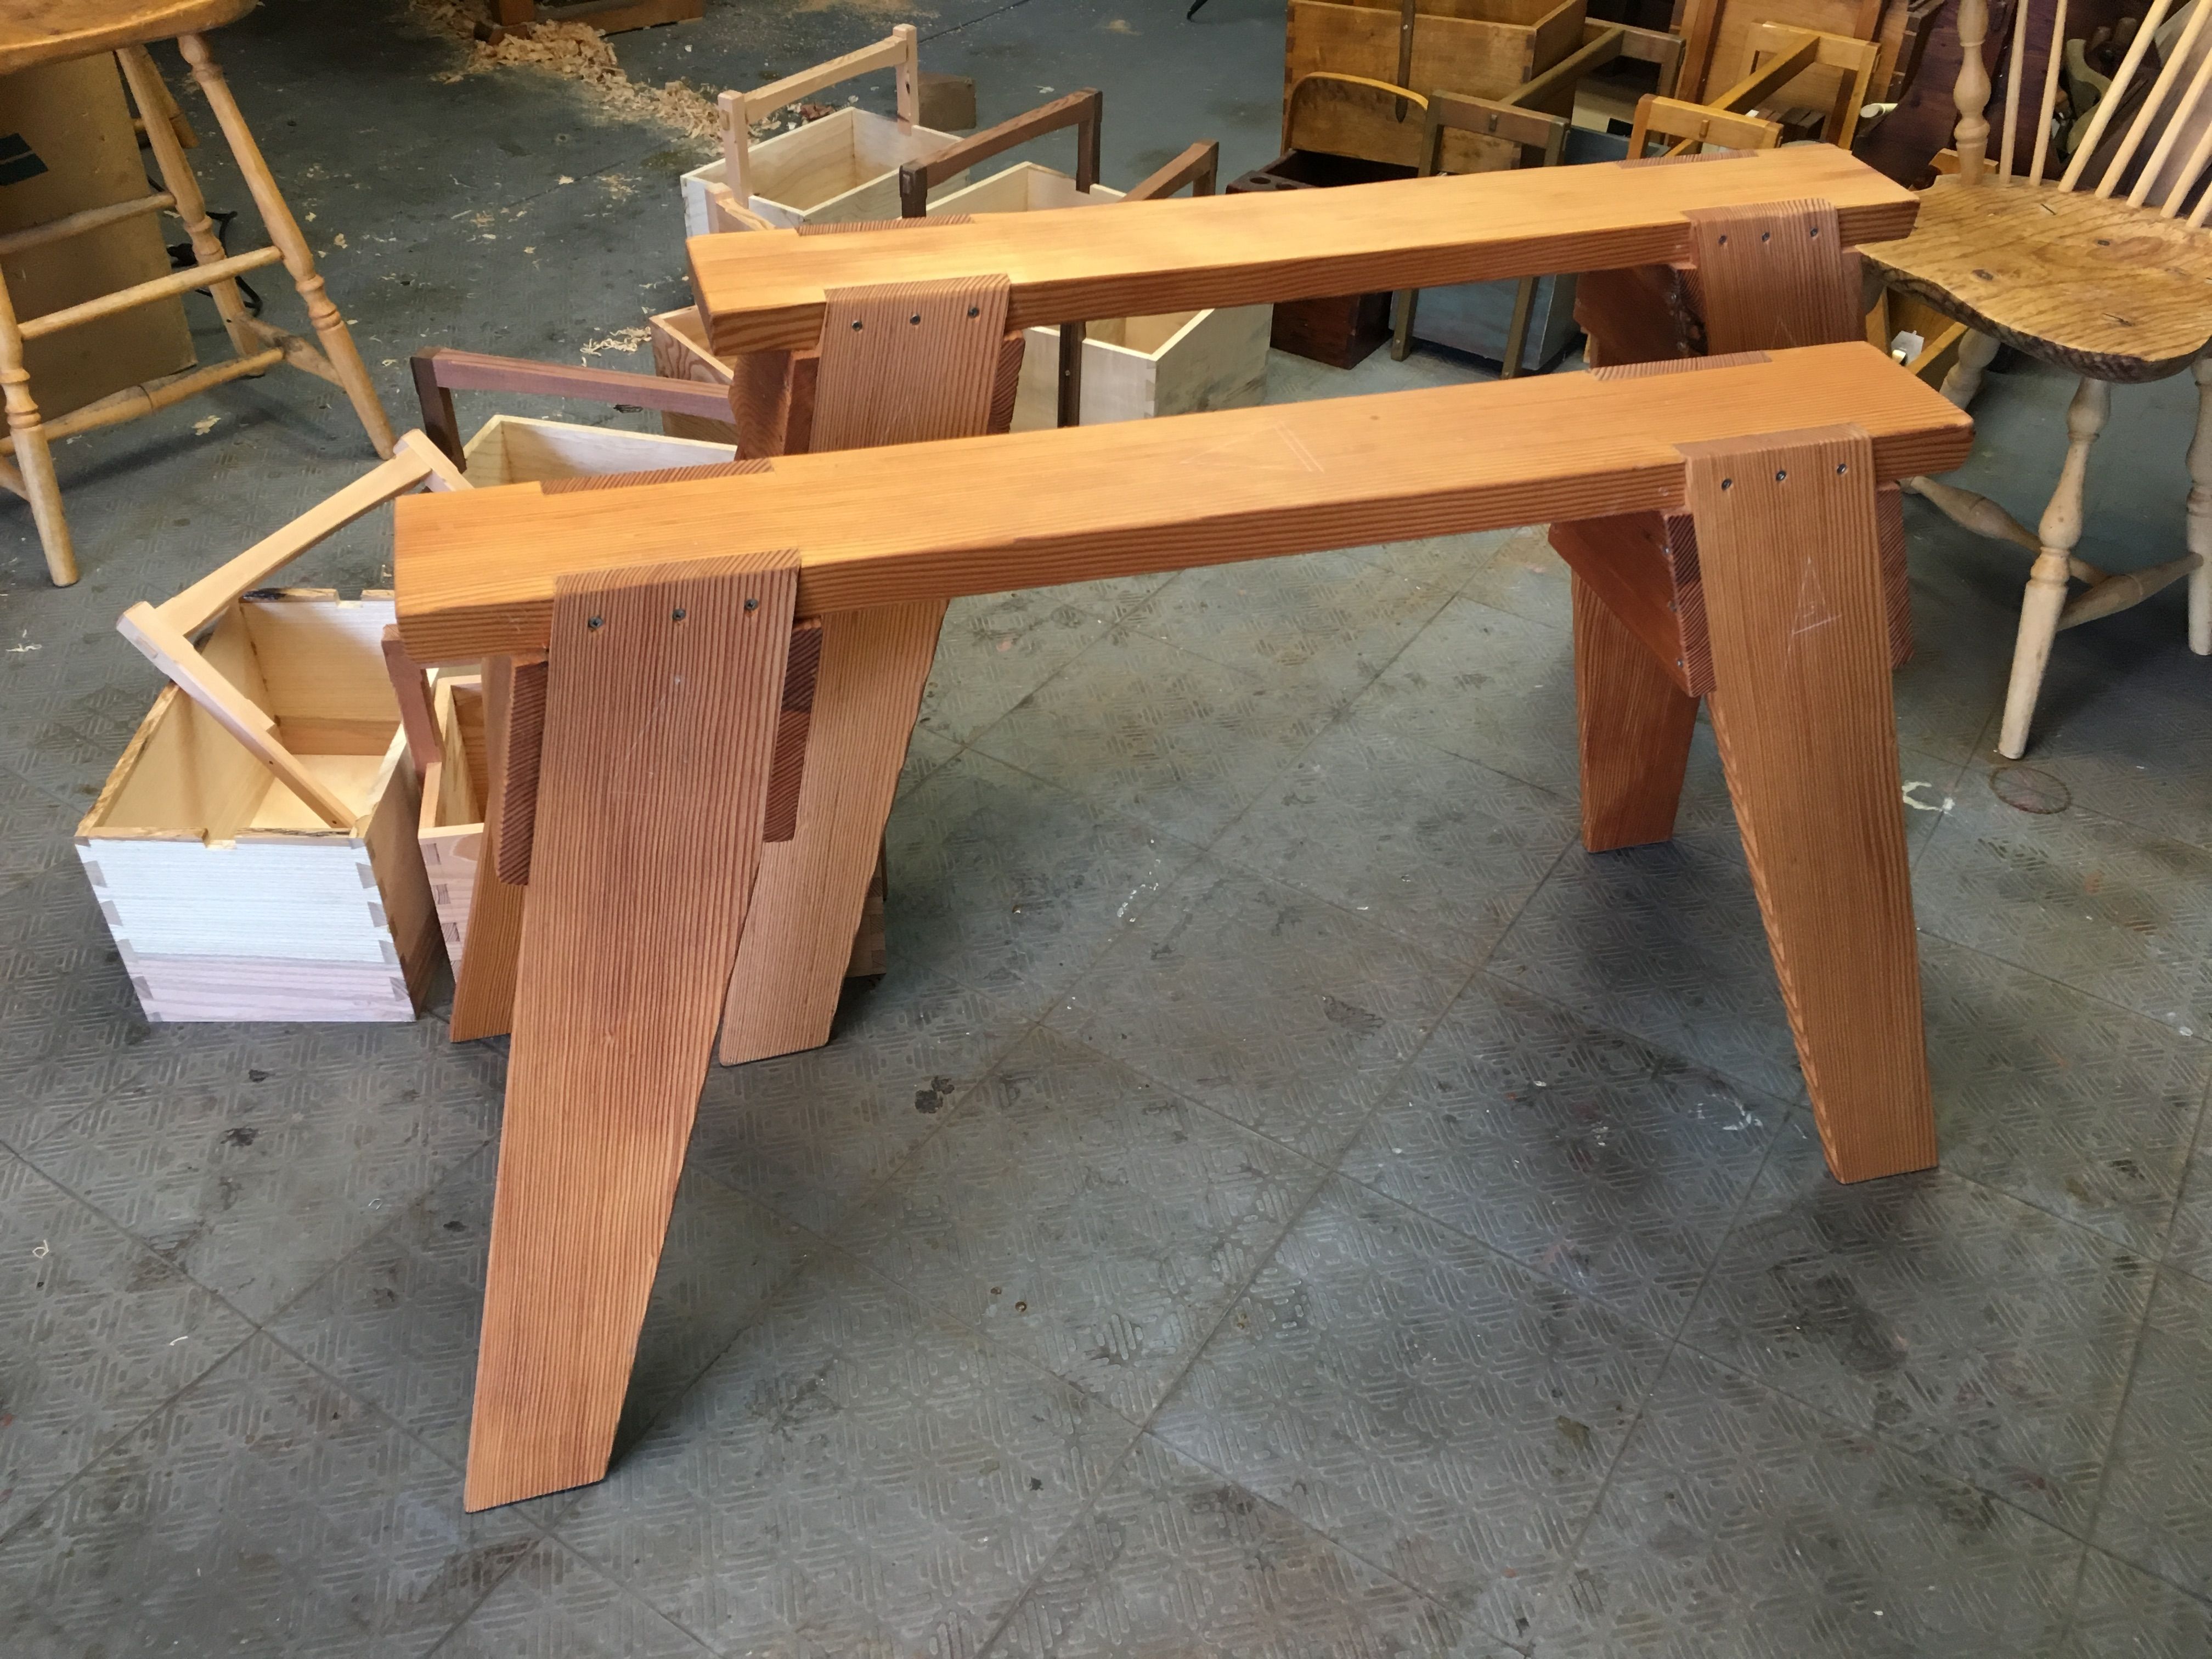
I’m in the process of replacing a pair of my 15-year old sawhorses that have been a key component of my workshop. I recommend the early Fine Woodworking article by Sam Allen Sep/Oct 1980, No. 24. Although his drawing is weak and without angles and dimensions, the text the article is quite informational. In the following steps and attached video, I will show how to “build” this classic sawhorse.
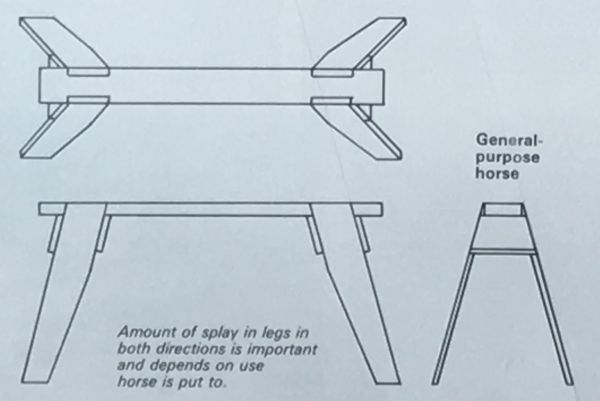
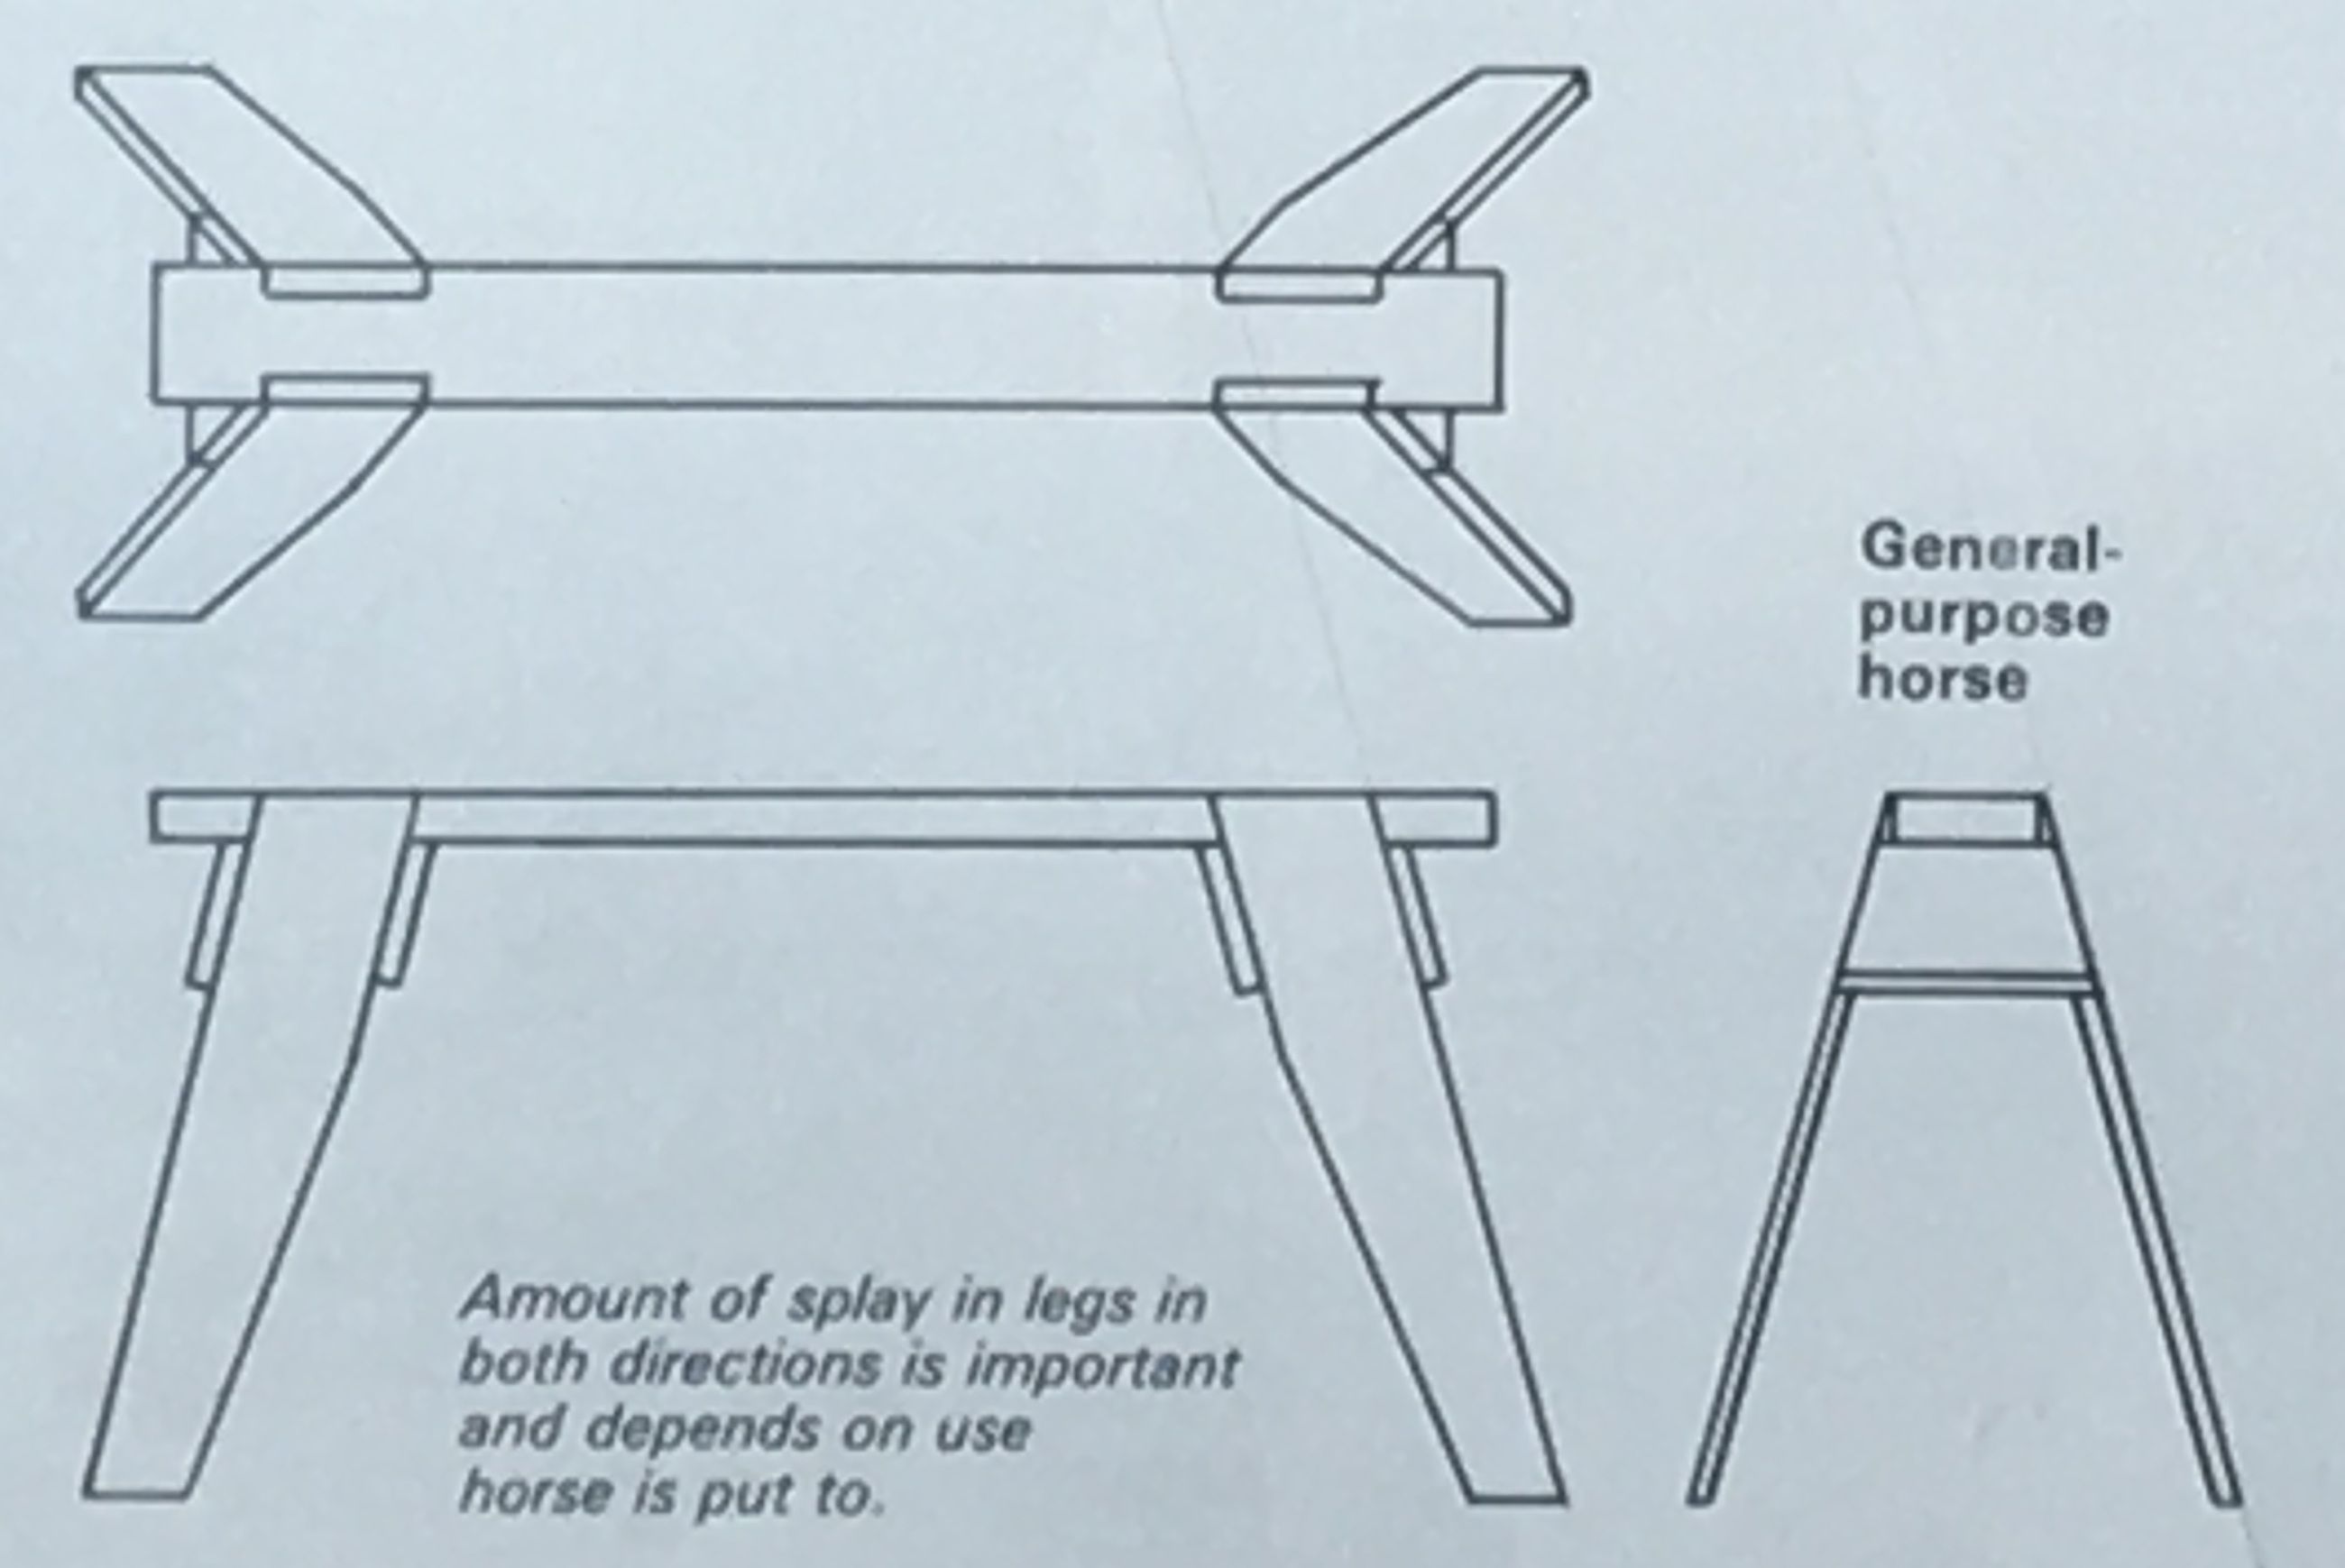
This is a photo of the author’s drawing shown in the article. I imported to SketchUp and made it full-size, but it is not of much use in doing the modeling.
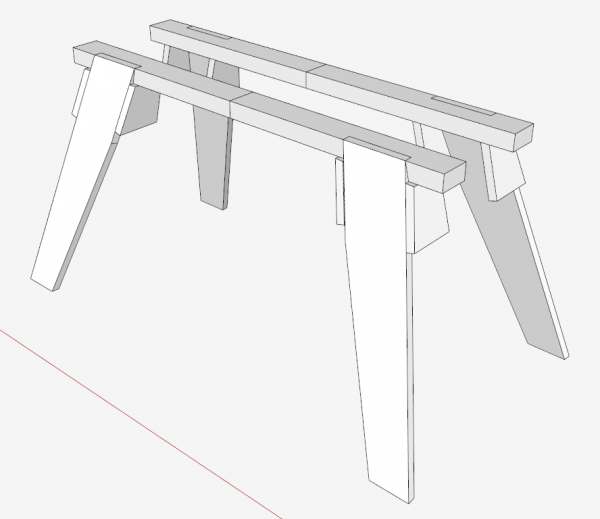
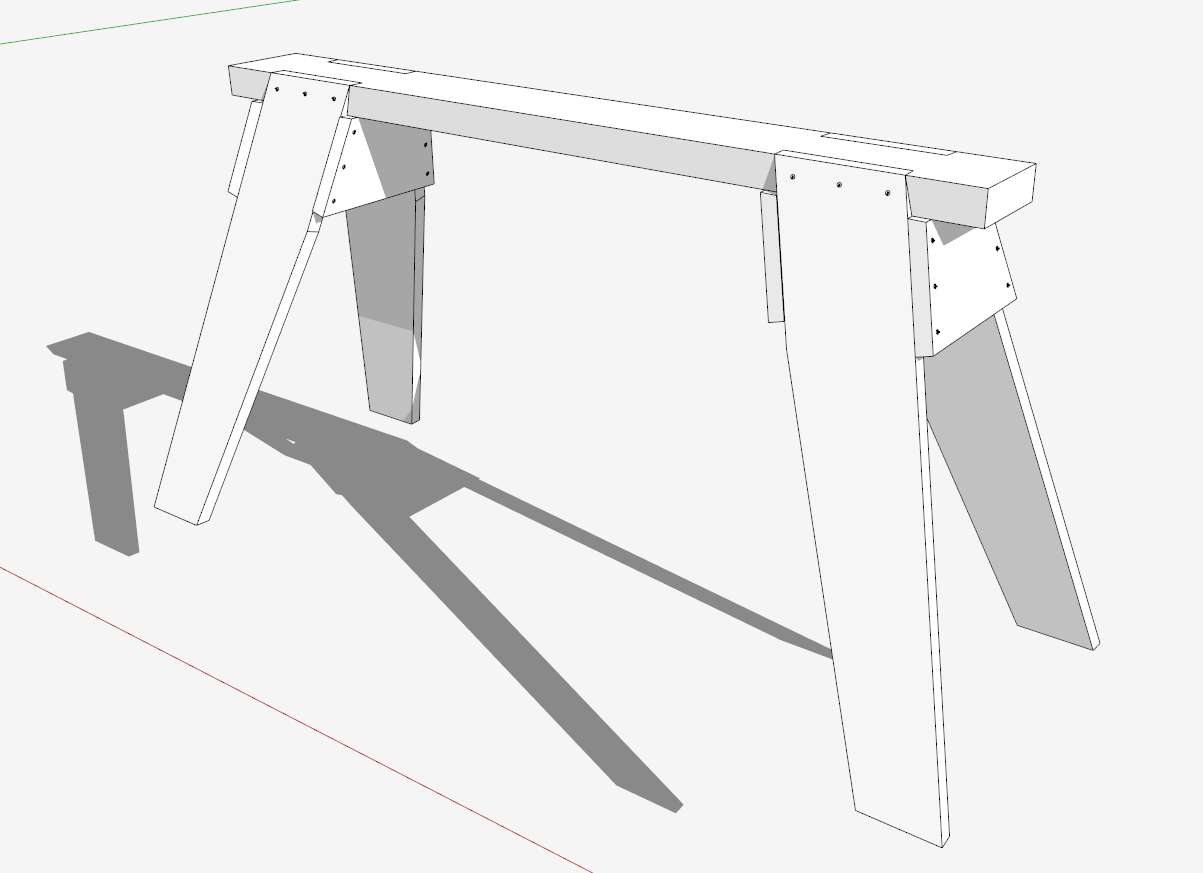
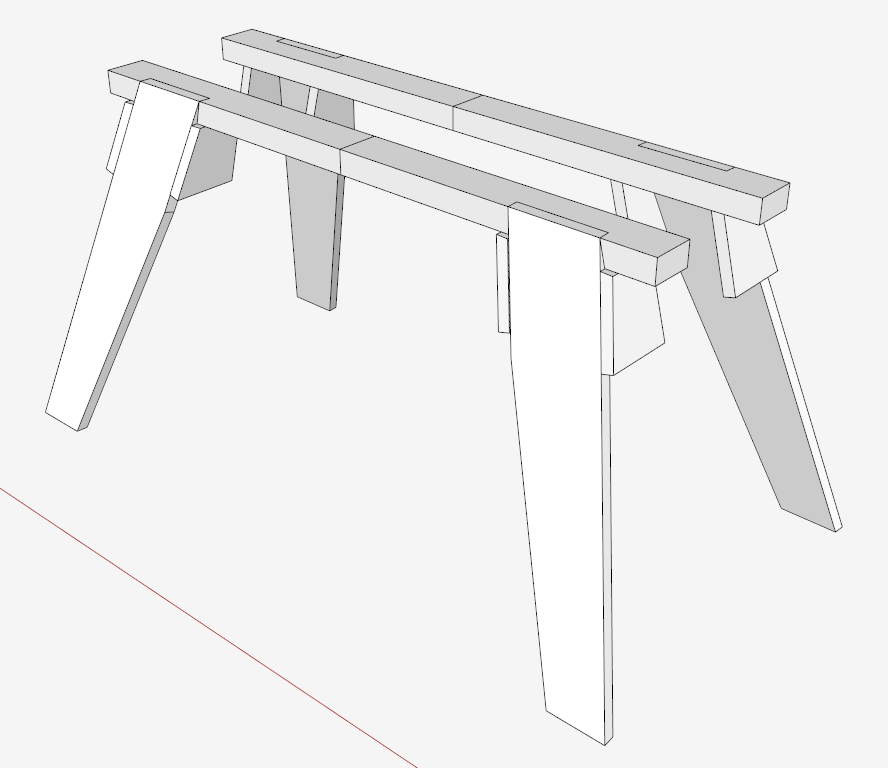
Here is a picture of the assembled model in SketchUp.
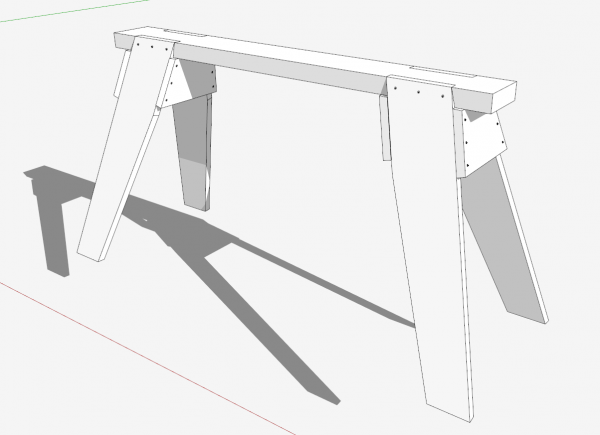
Wherever I can, I take advantage of symmetry in SketchUp modeling, as it eliminates redundant work (too bad this can’t be done in the shop). In this case I can model-up one quadrant of the sawhorse, and then copy to all other corners.
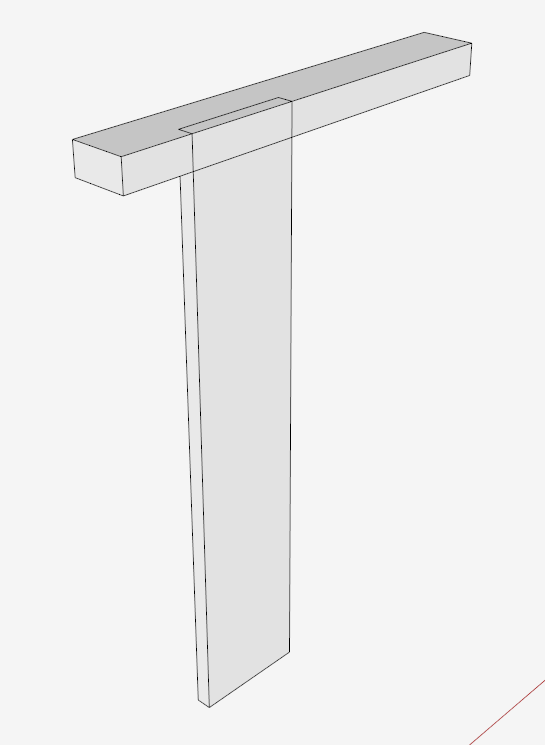
The starting point in SketchUp – and in the shop – is the Saddle, a 2 x 6, 42-in. long. One quarter of this Saddle is a rectangular piece 2 3/4-in. W, 21-in. L, and 1 1/2-in. thick. To that I add a 1×6 Leg that is 28-in. long.
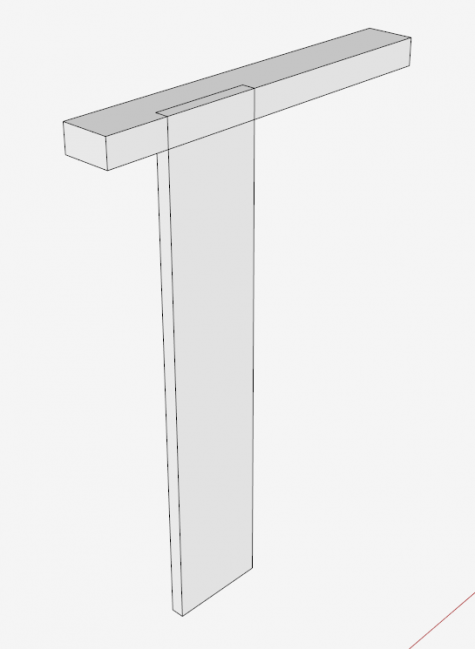
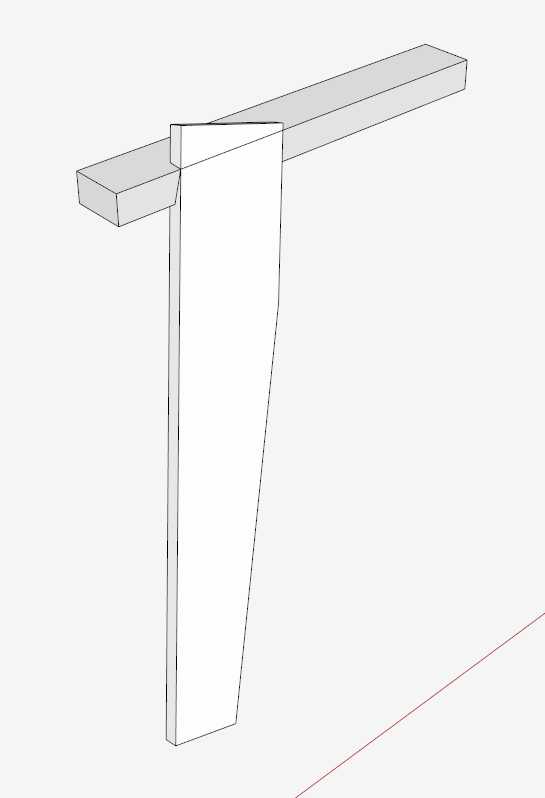
Note that the Leg is perpendicular at this point and the next steps rotate it into its compound angles. The angles are 75 degrees in both directions. See the video for the sequence of rotation.
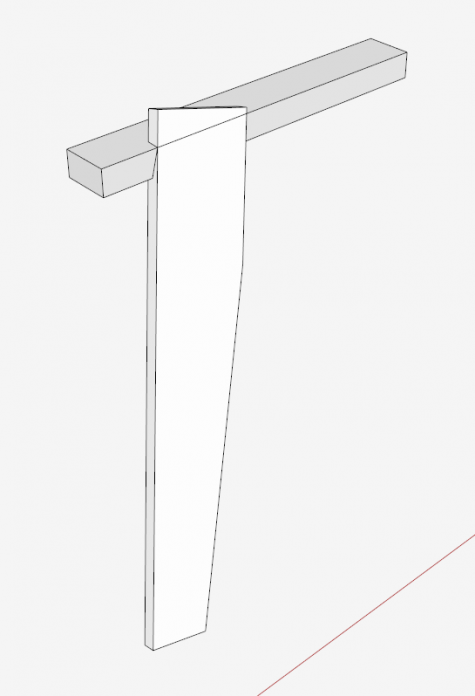
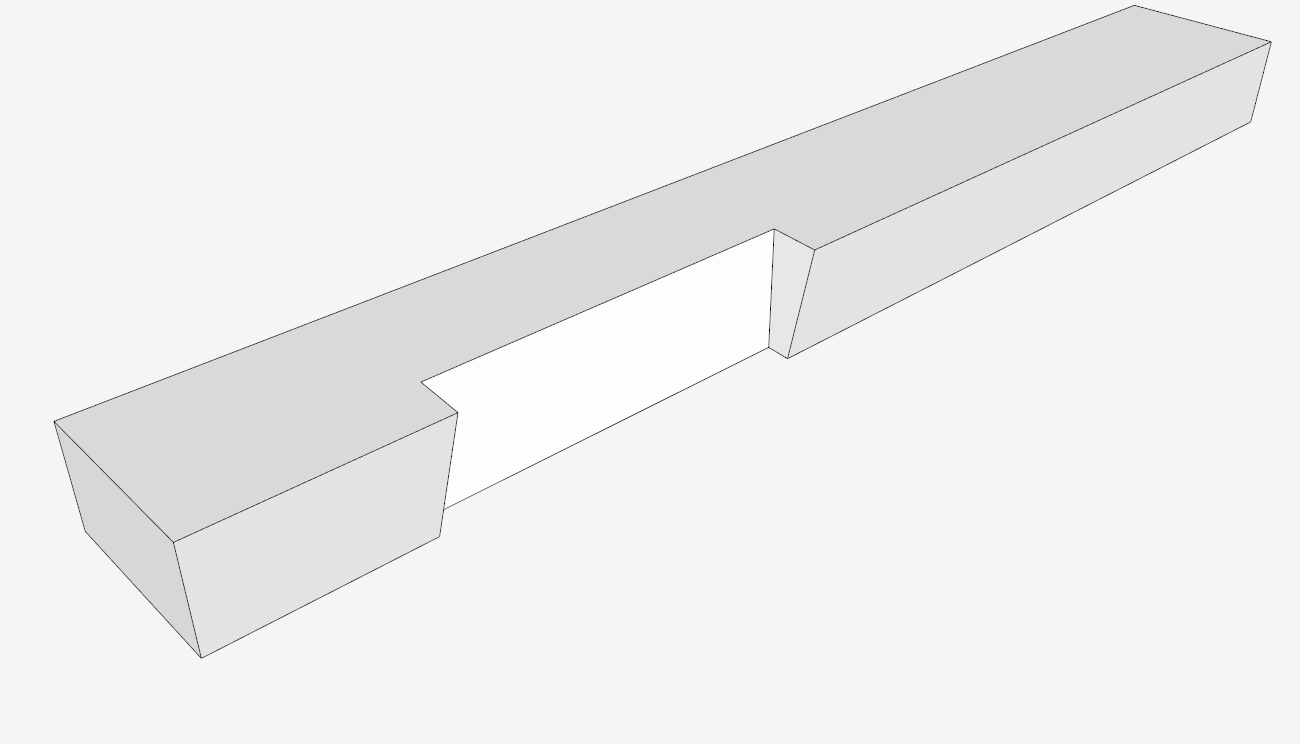
With the above assembly, the most complicated feature is creating the gain in the saddle. With the Intersection feature mainly, a very accurate joint cutout is made. Here is the result with the Leg “hidden”.
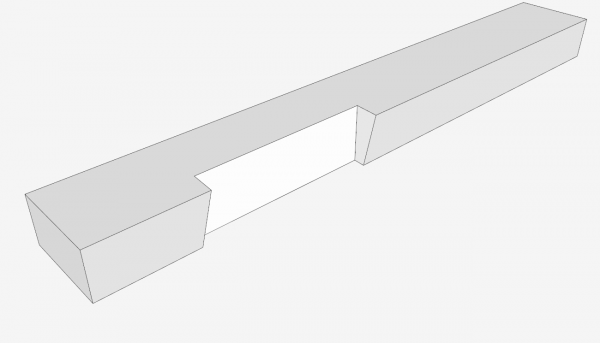
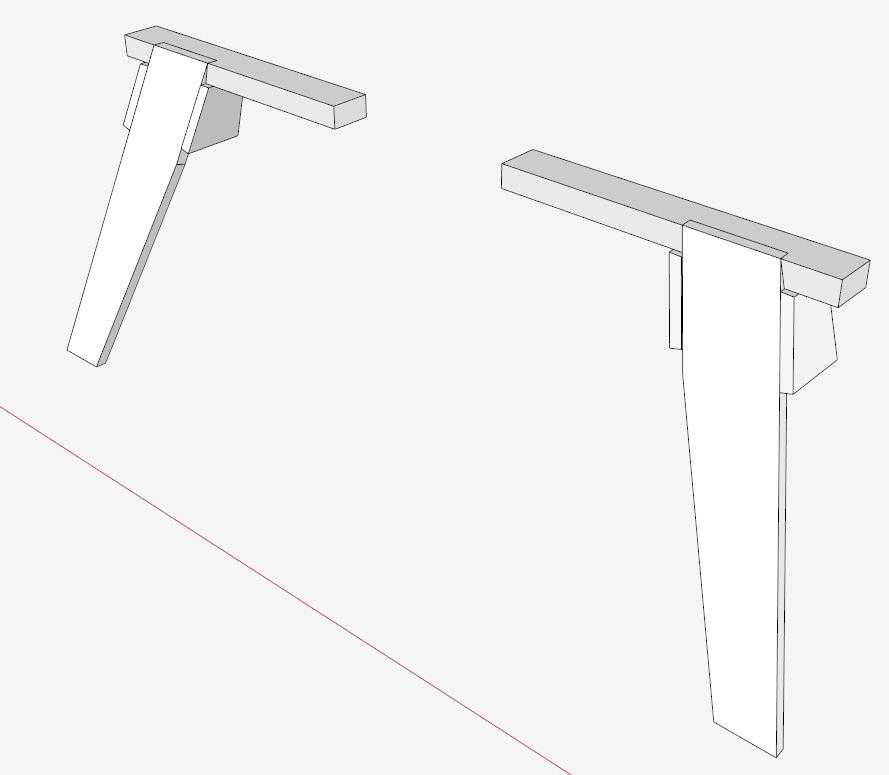
After several other steps as shown in the video, the quadrant is complete as shown below.
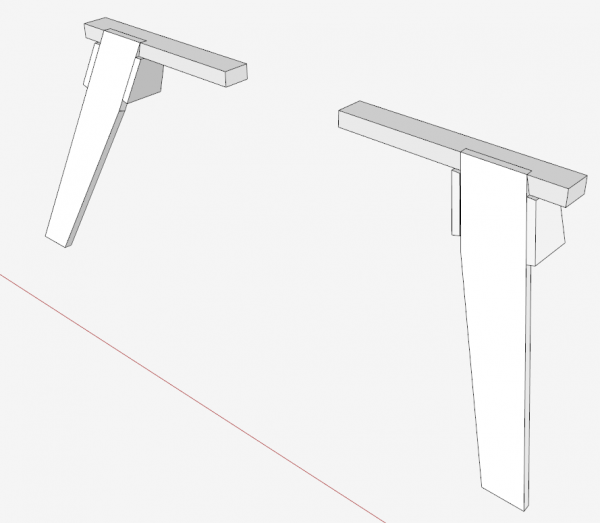
The combination of the two quadrants above, is then copied again and flipped to make two halves that are then combined for the complete sawhorse.
Here is the video:
Tim Killen
@KillenWOOD




Comments
Nice sawhorses!
But, as stated, With the above assembly, the most complicated feature is creating the gain in the saddle.
I was hoping the video was the actual build process, not the sketchup process.
I would have like to see how the gains were cut.
I am not a fan of sketchup. I think it's just the way my brain works. I always get so much more from plans and videos not utilizing sketchup.
@dynamwebz, this is the Design. Click. Build. blog which, as the description spells out, is specifically for showing how to use SketchUp for woodworking type projects. You might find Tim's article about making these horses help. You can see it here: https://www.finewoodworking.com/workshop/article/build-a-classic-sawhorse.aspx
To dynamwebz: On that gain, here is the process and it is just like that used by Sam Allen in his FWW article.
This requires hand tools, a hand saw and a sharp chisel. But the most important first step is marking the boundary of gain on the edge, top, and bottom faces of the Saddle. Sam Allen indicates some of the dimensions for this cut, but these are not that accurate. That is where SketchUp comes in. I get exact dimensions to the 1/32-in. for the boundary. Also helpful are the full-size templates that come from SketchUp.
After careful marking of the boundary (and you should use a knife cut for these), use a hand saw to cut the cross-grain ends of the gain. The saw will be at a compound angle to follow the markings. Then make several parallel saw cuts in the middle of the gain. Use a chisel from both the top and bottom surfaces to remove the waste. The knife cut boundaries help to position the chisel just where it needs to be.
Tim
Very helpful video. Thank you.
Log in or create an account to post a comment.
Sign up Log in