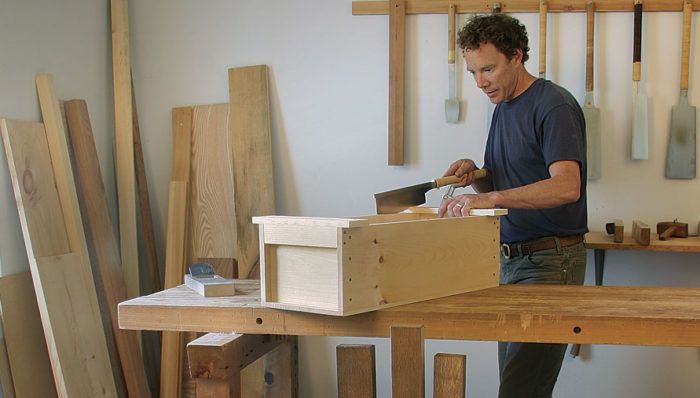
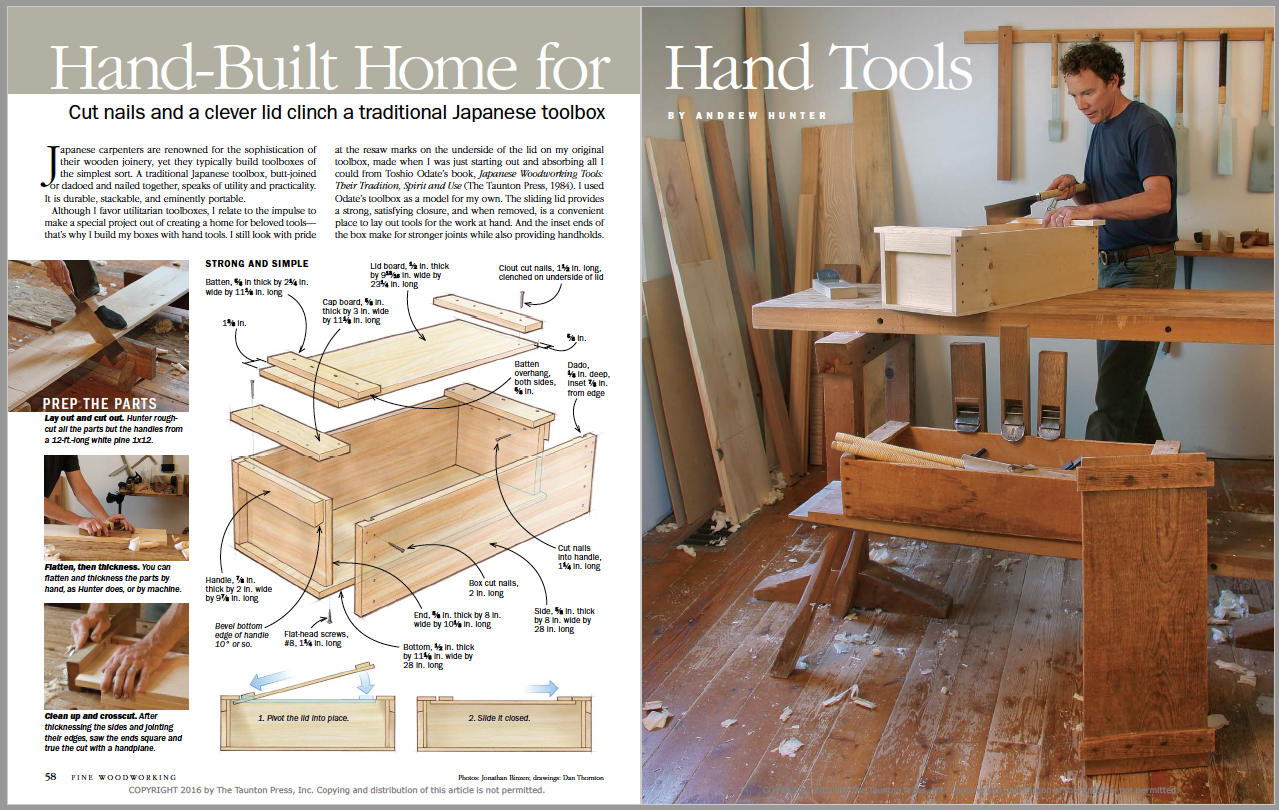
Hand-Built Home for Hand Tools
Cut nails and a clever lid clinch a traditional Japanese toolbox.

Synopsis: A traditional Japanese toolbox with a simple design provides a practical, durable, stackable home for hand tools. Andrew Hunter built his using nothing but hand tools, but it also can be made with power tools. This one has a sliding lid, inset ends that make for strong joints and also provide handholds, and dadoes and screws to hold it together. Once made and filled with tools, this box will last as long as you do.
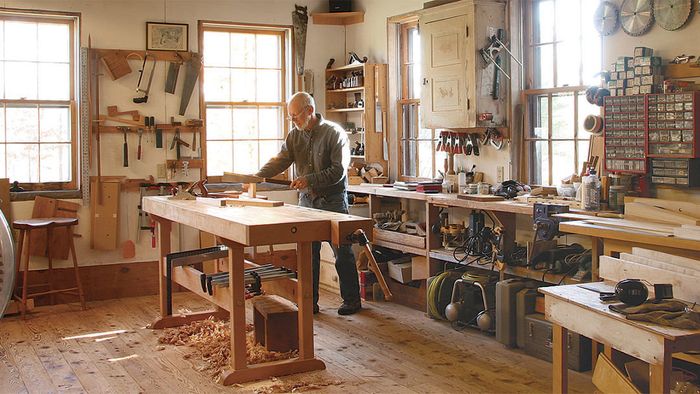
Japanese carpenters are renowned for the sophistication of their wooden joinery, yet they typically build toolboxes of the simplest sort. A traditional Japanese toolbox, butt-joined or dadoed and nailed together, speaks of utility and practicality. It is durable, stackable, and eminently portable. Although I favor utilitarian toolboxes, I relate to the impulse to make a special project out of creating a home for beloved tools— that’s why I build my boxes with hand tools. I still look with pride at the resaw marks on the underside of the lid on my original toolbox, made when I was just starting out and absorbing all I could from Toshio odate’s book, Japanese Woodworking Tools: Their Tradition, Spirit and Use (The Taunton Press, 1984). I used odate’s toolbox as a model for my own. The sliding lid provides a strong, satisfying closure, and when removed, is a convenient place to lay out tools for the work at hand. And the inset ends of the box make for stronger joints while also providing handholds. As I’ve built more boxes over the years—for toys as well as tools—I’ve stuck with the original design. I’ve been tempted to add some furniture-level joinery, but my original nailed toolboxes, going on 15 years old now, are holding up fine and I really like the way they look, so I’ve stayed with the traditional nailed joints.

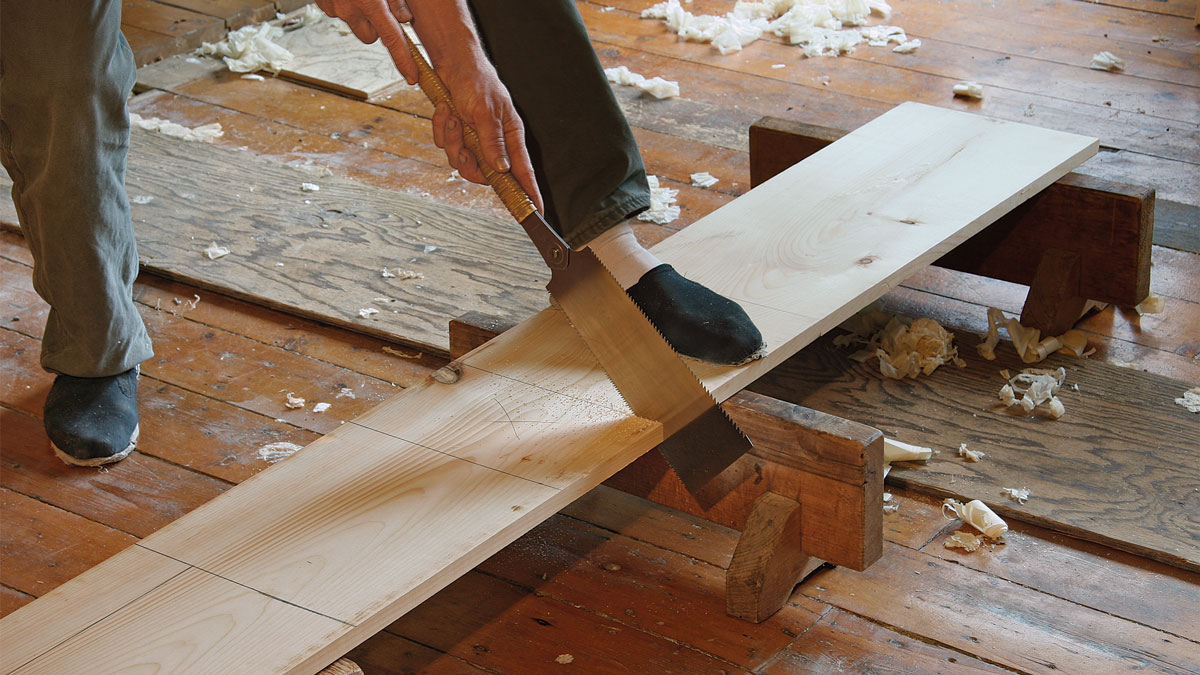
I built my latest box with a 12-ft.-long 1×12 of white pine—and a thicker scrap for the handles. Although the 1×12 came from my hardware store milled 3 ⁄4 in. thick, it was far from true, so it required jointing and thicknessing. That was fine, because even in my largest boxes I find that parts a full 3 ⁄4 in. thick look chunky. As with other projects in white pine, I gave this box a hand-planed surface and left the wood untreated, letting it acquire a patina over time.
 From Fine Woodworking #257
To view the entire article, please click the View PDF button below.
Fine Woodworking Recommended Products

Suizan Japanese Pull Saw

WoodRiver Router Bit Storage Case

Bahco 6-Inch Card Scraper


Comments
Hi Andrew,
I'm very interested in building this box, but I'm not familiar with the box cut nails. In the diagram it mentions Clout nails, Box Cut nails and just Cut nails, all with different sizes. Can you point to where you purchase these - at the big box stores they only have Steel Cut Nails, though not 1 1/4 size. Also I noticed on Lee Valley some cut nail choices. They show Clout nails and Fine Finish nails. http://www.leevalley.com/us/Wood/page.aspx?p=40387&cat=3,41306,41324
Can you talk about the differences and where to purchase them?
thanks,
-brian
Check out Tremont nails ( http://www.tremontnail.com/ ). I'm 90% sure that's where Andrew gets his nails.
To quote Lee Valley: "...these traditional square-cut steel nails are produced by Tremont, the oldest nail manufacturer in the United States." So - yes, you could buy from either site. TremontNail.com also has a store locator for where they sell their products locally.
On the Tremont site, you might also look up the Clinch Rose-Head Nail vs the Clout Nail, if you want a different finish or aesthetic.
I ended up doing a lot of research after the Woodcraft guys had to figure out what a "clout nail" is, and ended up pointing me to Lee Valley.
All of these nails are old style nails. Cut nails (aka common nails, common square cut nails, possibly "box cut" nails) and clout nails (aka cinch nails) are both 4-sided cut steel or iron of historical design.
The difference between clout nails and cut nails is that in a clout nail the steel is a lighter gauge, making it softer and allowing it to be cinched/clenched -- in other words, bent over and turned back into the board on the other side like a staple. If you've seen a fruit crate or a rough wooden shipping crate with a batten, you've probably seen this done with a thinner, modern wire nail.
Fine finish nails, not used in this blueprint, are more like replacements for where you'd use a brad.
And I've learned it's important to remember to orient any of these old style 4-cornered nails in the same direction as the wood grain, or you risk splitting the wood. Square cut nails is a misnomer - they all have a slim side and a long side.
The only thing I don't know is why there are 3 different lengths in this blueprint, except the author had 'em lying around. Buying a box of 200 clout nails for a project where I only need 8 for the 2 battens is a bit much (I don't have much storage space).
I'm putting this box together next week, and not seeing why I can't just use 1.25-in cut nails everywhere else I see nails in the pic. Nails into the handle has a through-depth of 1.5 inches. The sides are resting on the bottom and look well secured through the dado -- by engineering logic (2/3 of the length of the nail into the second piece) they should be 1.5, but I'm not going to sweat it.
Unless someone can give me a reason why it makes a real difference here?
Hopefully someone will still see this comment, but I'm wondering why these were jointed down to 8in wide?
I could just as easily still make this out of one 1x12 and keep the width of the boards 12in right?
To answer your question from long ago, if you haven't built the box already: the author says he used a 12-ft.-long 1×12 that needed jointing. If you lay out all the pieces needed on a plank of that size, you cannot get all the pieces from the wood unless the handle pieces are laid alongside the end pieces. That's your limitation.
Now, *technically,* you could up the height of the ends from 8 in to something less than 10 inches (accounting for jointing, the kerf of the long cuts, and lost dimension due to any sanding), but even I'm not going to bother doing the math there. However, the 8 inches is probably just down to aesthetic choice or is a function of the author's preferred wiggle room around those pieces when cutting them down.
I can't attach a pic, but basically the layout on the plank is:
||BOTTOM|SIDE|SIDE|TOP|END/HANDLE|END/HANDLE|BATTENx2/CAPx2||
Log in or create an account to post a comment.
Sign up Log in