Learn to Love the Skew Chisel
When you get the hang of it, your skew chisel will leave a surface so nice and slick that 600-grit sandpaper would mess it up.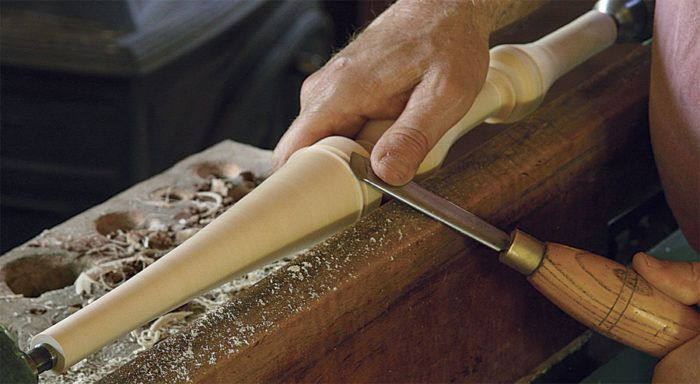
Synopsis: When you get the hang of it, your skew will leave a surface so nice and slick that 600-grit sandpaper would mess it up.
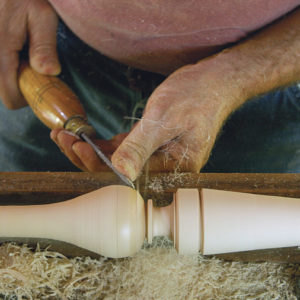
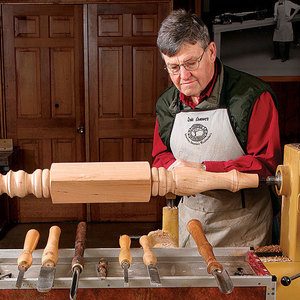
When I started making chairs I did the turning with a dull gouge, scraping and jerking wood fibers with the lathe running at mind-boggling speed. Then I broke out the sandpaper, working my way through the grits. The process was loud, nerve-wracking, dusty, and expensive. It was like making war. Then I had a chance to watch Vermont chairmaker Dave Sawyer at the lathe. His skew glided over the surface of the wood, leaving a glass finish—no sanding needed. His fillets were sharp enough to cut you, his beads were beautifully formed, and his V-cuts were crisp and clean right to the bottom. He did all this with the lathe running at a moderate speed. And it looked like fun. He explained that the skew takes time to master, but no other tool leaves such a flawless surface. In the months that followed, there were times I sulked into the house dejected; my good wife would patch me up and point me toward the shop. At other times I would hit the sweet spot, and that kept me inspired. In hindsight I see the time I put in learning the skew as a small sacrifice that pays off now every time I switch on the lathe.
Get it sharp
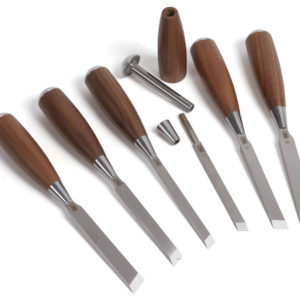
You can get away with just one skew, but I use two 1⁄2-in. skew chisels. One is ground in a straight line, and the other to a slight convex arc, which makes the center of the cutting edge more prominent and tucks the heel and toe back a bit. With the arced skew you have more control and less risk of catches while making planing cuts and rolling beads. For v-cuts, which are made with the toe, the straight-ground skew is better. In either case your skew needs to be, using Sawyer’s phrase, “fiendishly sharp.” I hollow-grind my skews at a 121⁄2° angle on each side (25° total); this makes it a little race car—it really zings across the wood. whatever angle you choose, use a light touch and grind both bevels equally.
Once it’s hollow ground, I hone the skew first on a 1,000-grit waterstone, and then on an 8,000-grit stone. during honing, both the very tip and the back edge of the hollow grind must be in contact with the stone. It can be difficult to balance on those two points, but it’s essential to avoid rounding over the honed area at the tip. I re-hone very frequently while turning; 10 seconds or so at the stone keeps the skew razor-sharp.
For the full article, download the PDF below:
Fine Woodworking Recommended Products

Honing Compound
CrushGrind Pepper Mill Mechanism
Norton Water Stones








Comments
Informative and practical advice to help overcome the intimidation in using the skew. His article was put to good use.
Where in the heck are the videos associated with this article? Should be a link on this page.
Log in or create an account to post a comment.
Sign up Log in