How to Build Your Own Handsaw
Follow these steps to make a professional-quality saw, custom-fitted to your hand.

Synopsis: Whether you make a dovetail saw or carcase saw, the process for making a handsaw is a great introduction to tool making. The parts are few and readily available, and it doesn’t cost a lot of time or money. Here, you’ll learn to make your own saw, from shaping the handle to cutting the slot for the blade and the mortise for the spine, to finishing.
Handsaws are a great introduction to tool making. The parts are few and readily available, and there’s no huge investment in time or money to create a top-notch saw that fits your hand perfectly. The only tasks that require care are shaping the handle and cutting the slot for the blade and the mortise for the spine, both of which are easy for a furniture maker to tackle.
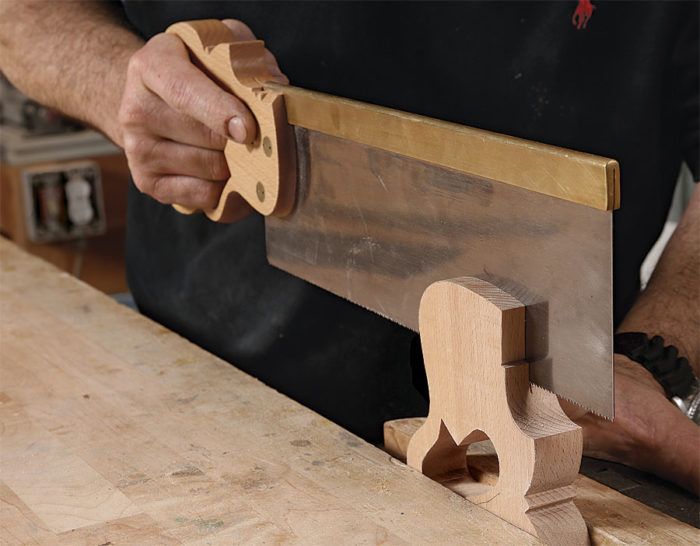
Whether you make a dovetail saw or carcase saw, the process is the same. here I’ll illustrate the project using a closed-handled carcase saw (far left), but I have included a design for a dovetail saw. The carcase saw is my adaptation of an old disston pattern. The 3-in.-wide by 12-in.-long blade is a great size for cutting joinery—tenons, notches, or miters—and cutting parts to final length. I tweaked the handle design and some dimensions to end up with a classic-style saw that fits the hand better than the original.
Rough out the handle
I chose European beech for the handle because it’s fairly hard, closed-grained, and not prone to splitting. Cherry and walnut are also great choices.
Start by tracing the pattern onto 7⁄8-in.- thick stock, aligning the grain so that it runs in line with the saw plate. Make the exterior cuts at the bandsaw and the interior on the scrollsaw. After the pattern has been cut out, remove the milling marks with a rasp, but don’t start shaping yet.
Cut the slot for the saw plate
Sawing an accurate slot is a critical step, and I always saw the slot for the plate and mortise for the spine before doing any shaping. This way, you can use the flat and parallel sides to mark for the joinery. Start by establishing the plate’s depth in the handle. Assemble the plate and spine and place the assembly on the handle with the spine parallel to the flat on the nose of the handle blank and roughly 1⁄8 in. above it. Mark the depth of the plate along the sides and the top and bottom edges of the handle. It is important to have enough room for the saw nuts to engage the plate without having them right on the edge of the handle.
For the full article, download the PDF below:
Fine Woodworking Recommended Products

Starrett 12-in. combination square

Marking knife: Hock Double-Bevel Violin Knife, 3/4 in.

Stanley Powerlock 16-ft. tape measure


Comments
Any recommendations on finding parts (spline, blade, nuts) to build one of these? I'd love to give this a try.
Whoops, right in the article. Sorry, disregard.
How do you print off the handle to correct size seeing it is 50% in the PDF? Not done this before. I like the open handle look and feel. Hand slips straight in to the 2 Veritas Saws I just bought. Making my own would be great. Thanks
Log in or create an account to post a comment.
Sign up Log in