Mike Pekovich’s Go-To Workholding Jigs
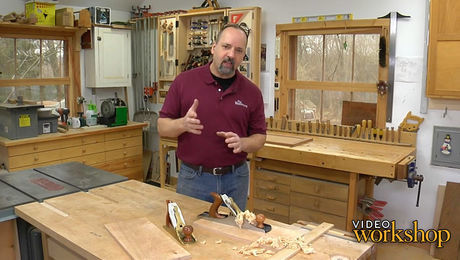
See Mike Pekovich's essential bench jigs in use, and discover why he considers them an integral part of his workflow.
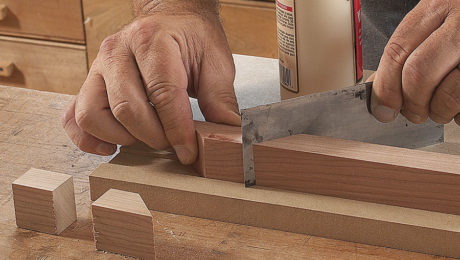
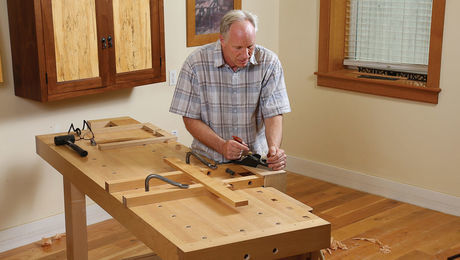
One of the secrets to hand-tool success is keeping the workpiece from moving as you work on it. While clamping a piece in a vise or to the benchtop can work, often it’s overkill. Not only that, but clamping and unclamping adds a lot of time to the process. A better method is to use a planing stop or saw hook, which take advantage of the cutting force of the tool to keep the workpiece in place.
 |
6 Essential Bench Jigsby Michael Pekovich Planing stops and saw hooks add speed and accuracy to your handwork. |
 |
Workbench Helpers: Tips on Holding Workby Chris Gochnour |
 |


Comments
great video. super ideas/jigs. thank you!
This guy is a great teacher. His explanation is simplified for us newbies and without the pompous attitude. I listened to him on a recent podcast and it was enjoyable to sit and listen to him. Thanks Mike.
I second tgello's comment above. Thanks Mike!
Thank you Mike for a fantastic demonstration of your jigs. You make it look so easy and with those jigs hopefully it will be.
Great teacher. Not one ounce of fat in this video.
Yes — superbly well-done: not a word wasted; always specific. Kudos — and thank you.
Thanks Mike, I also enjoy your way of teaching. I have enjoyed your video on handplanes it taught me a lot things I was not aware of. You do have a talent for keeping it simple, yet explaining it in a way that it does not seem technical when it is. I hope you will continue to create more video's. Thanks again
Thanks for the tips Mike!
Thank you for a great lesson. Especially like the jig for cutting little pieces of wood. Glad you couldn't see me doing it before I saw this jig.
Yes, terrific presentation. One aspect of my job is teaching people how to make presentations. You couldn't have done it better. And I can use everyone one of the jigs. I'm headed to the shop now.
Fantastic! Thank you for sharing your knowledge with the rest of us. There is no way to thank you for the fingers you just saved on the small parts jig, quick, easy, and fast. A lot of information in a well presented video. Thanks again.
Great presentation of jigs that are pretty much indispensable. I would like to make make some suggestions, however, that I think might make a couple of the jigs more versatile. On the shooting boards, the bed on which the work rests needs be only at or slightly higher than the lower edge of the blade, or about 1/4" above the bench or ramp of the shooting board, rather than the 1/2" that appears here. This maximizes the width of the blade. Tempered hardboard or fin-ply is good for this; 1/4" MDF is too soft and will wear quickly. In the same vein, the height of the stop should be the full width of the blade; while you may usually only do narrow pieces, this gives you the option of doing wider ones if you need to. If you find yourself doing a lot of thin pieces, it is often helpful to use a sloping ramp on the shooting board: this gives a slightly more shearing cut, but mainly extends the wear area on the blade from what ends up quickly being a notch to a slightly wider area, thus extending time between sharpenings. It's also nice to chamfer the back edge of the stop as it chips out too.
unfortunately my vice is on the other end because of workshop layout, so do I,
become a molly dooka,
make new bench
sell hand tools, rely on machinery,
stick to turning only, sell everything
cheers
konrad
I 3rd tgello's comments above! Thanks Mike for being such a great teacher!
Hi Mike. Great video. Quick question- if you want to flatten a rough wide board (which typically means starting across the grain), how do you handle that? Do you have a work holding jig? Or do you just take it to the shop's massive jointer? 😜
Thanks, Mike. Great ideas which I will use.
BTW, guys, you see Mike's wall mounted tool cabinet in the left background. I built it using his plans and video. He made a series of simple steps, albeit a lot of them. The result was outstanding. Its at: http://lumberjocks.com/projects/260962
Great link, Mitch. Thanks.
build these jigs in a afternoon.....yeah right...more like a couple of days....be real guys and just say the truth.
Very informative! Thanks for all the tips.
More a question than a comment. That shooting board that you show with a knurled plastic knob in it to, as said in video, make a fine adjustment on making the fence square". The question arose in my mind, once you have it "square", why not just attach it with brads, glue or screws? In short, what is the adjustment knob for and why is it there? To shoot other angles than a 90 degree one? How far will it "adjust" from 90 degrees and why was that function not demonstrated? Clay Hall,PE Memphis, TN
Thanks for your effort!
Hi Mike. I have about 2/3 of those jigs. My question is, how do you store them so you can find the right one when you need it? Mine are all over the place, and . . . then I can't find the right one when I want it. Please advise!
Really disappointed that four years later (Jan 2020), and there's still no captions/subtitles on videos so deaf/hoh can learn too.
I agree, it would be great if we could do that. This comes up about once a year, and every time I look there isn't a great option out there. There are auto-created subtitles on YouTube, but due to the somewhat esoteric content, they're usually very off. I have captioning software that gets closer, but even then, it requires a LOT of editing and unfortunately, we just don't have the time or resources for it right now. Hopefully the technology catches up soon.
A link to the pdf article would also improve usability, @BenStrano.
Updated
As always, a great video from Mike. At the end it says the article is in "Tools and Shops Winter 2016. #258". It's in issue #258 but it's the "Tools and Shops Winter 2017" rather than 2016.
Log in or create an account to post a comment.
Sign up Log in