Making an Octagon
This old-world layout and cutting exercise hones hand-tool skills.
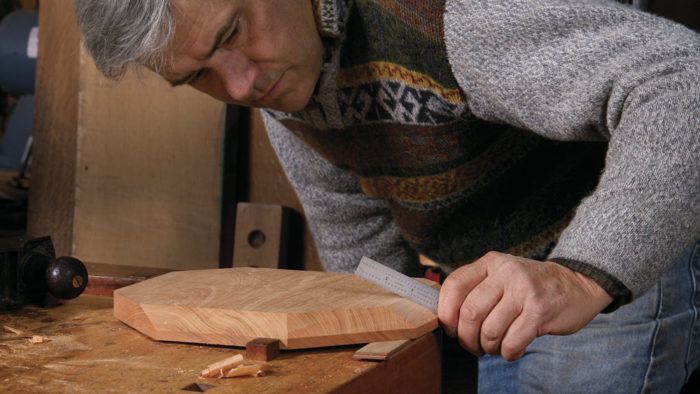
Synopsis: This hand-tool exercise harkens back to the Edward Barnsley workshop in England and was also fundamental to Michael Cullen’s education when he trained at Leeds Design Workshops in Massachusetts. Now he uses it to teach his own students. Making the octagon tests everything from material selection and careful layout to tool preparation, blade sharpening, and sawing and hand-planing skills.
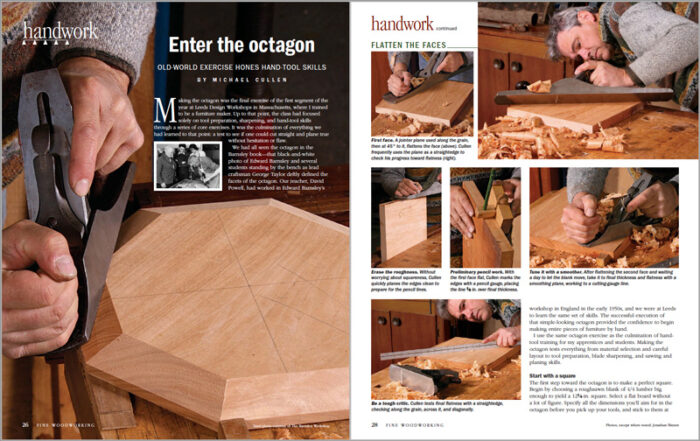
Making the octagon was the final exercise of the first segment of the year at Leeds Design Workshops in Massachusetts, where I trained to be a furniture maker. Up to that point, the class had focused solely on tool preparation, sharpening, and hand-tool skills through a series of core exercises. It was the culmination of everything we had learned to that point: a test to see if one could cut straight and plane true without hesitation or flaw.
We had all seen the octagon in the Barnsley book—that black-and-white photo of Edward Barnsley and several students standing by the bench as lead craftsman George Taylor deftly defined the facets of the octagon. Our teacher, David Powell, had worked in Edward Barnsley’s workshop in England in the early 1950s, and we were at Leeds to learn the same set of skills. The successful execution of that simple-looking octagon provided the confidence to begin making entire pieces of furniture by hand.
I use the same octagon exercise as the culmination of hand-tool training for my apprentices and students. Making the octagon tests everything from material selection and careful layout to tool preparation, blade sharpening, and sawing and planing skills.
Start with a square
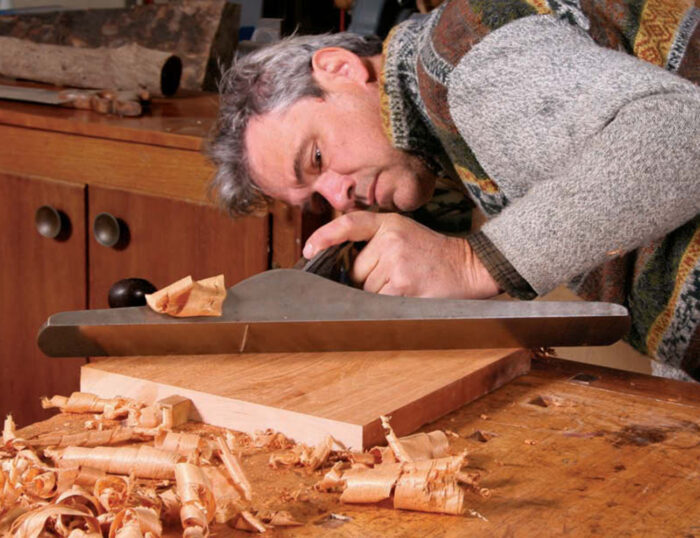
The first step toward the octagon is to make a perfect square. Begin by choosing a rough-sawn blank of 4/4 lumber big enough to yield a 121⁄4-in. square. Select a flat board without a lot of figure. Specify all the dimensions you’ll aim for in the octagon before you pick up your tools, and stick to them at each stage. Start by planing one face flat, using a combination of jointer and smoothing planes. Then plane the second face flat and parallel with the first.
It’s best to thickness the blank in two stages: First bring it to within 1⁄8 in. of the final thickness, and then sticker it and leave it overnight to reach equilibrium. The following day, reflatten the first face, scribe a line around the perimeter, and plane to the line, bringing the blank to final thickness.
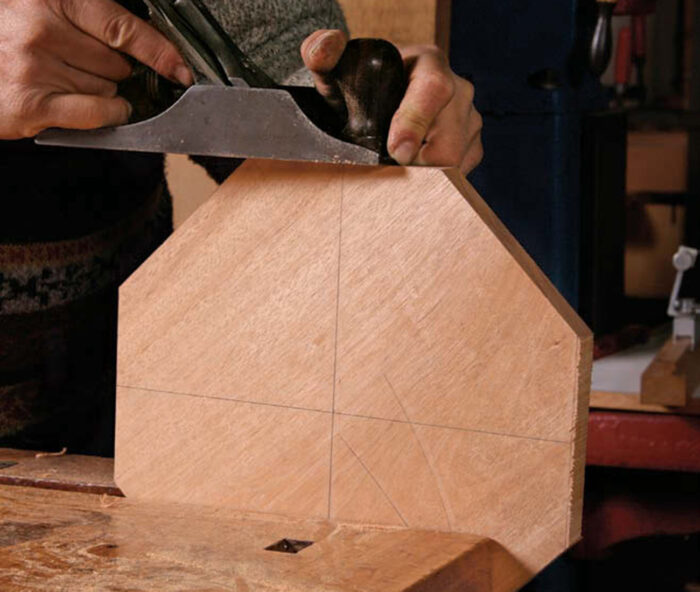
Choose a long-grain edge and use a jointer plane to make it flat along its length and square to the faces. Follow this by laying out a line parallel to this edge on the far side of the blank. Saw close to the line to minimize planing—and to practice sawing straight and square. Clean and square up the sawn surface with a plane, and then lay out, saw, and plane the last two edges. At this point you should have a perfectly square blank. Check it with a square and ruler thoroughly to be sure that you do.
For the full article, download the PDF below:
Fine Woodworking Recommended Products

AnchorSeal Log and Lumber End-Grain Sealer

Starrett 12-in. combination square
Hedgehog featherboards




Log in or create an account to post a comment.
Sign up Log in