Handy Crosscut Sled Stop Blocks
Increase the precision of crosscuts and tablesawn joinery.
Synopsis: Improve the accuracy of table sawn crosscuts with stop blocks. Simple but effective, stop blocks ensure that identical parts end up identical lengths, and that corresponding joinery ends up in the right spots. Bob Van Dyke uses three stops regularly: a flip stop for most cuts, an adjustable stop for pinpoint accuracy, and sliding stop that makes it safer to cut short parts.
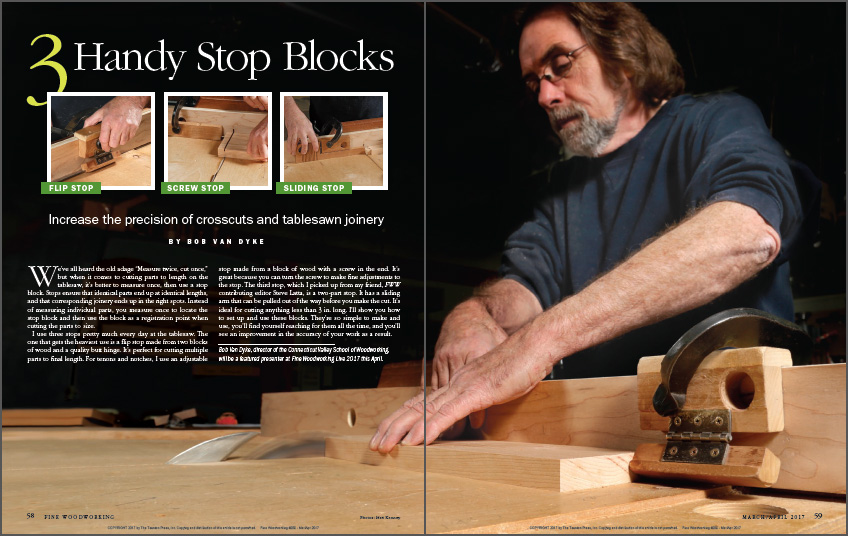
We’ve all heard the old adage “Measure twice, cut once,” but when it comes to cutting parts to length on the table saw, it’s better to measure once, then use a stop block. Stops ensure that identical parts end up at identical lengths, and that corresponding joinery ends up in the right spots. Instead of measuring individual parts, you measure once to locate the stop block and then use the block as a registration point when cutting the parts to size.

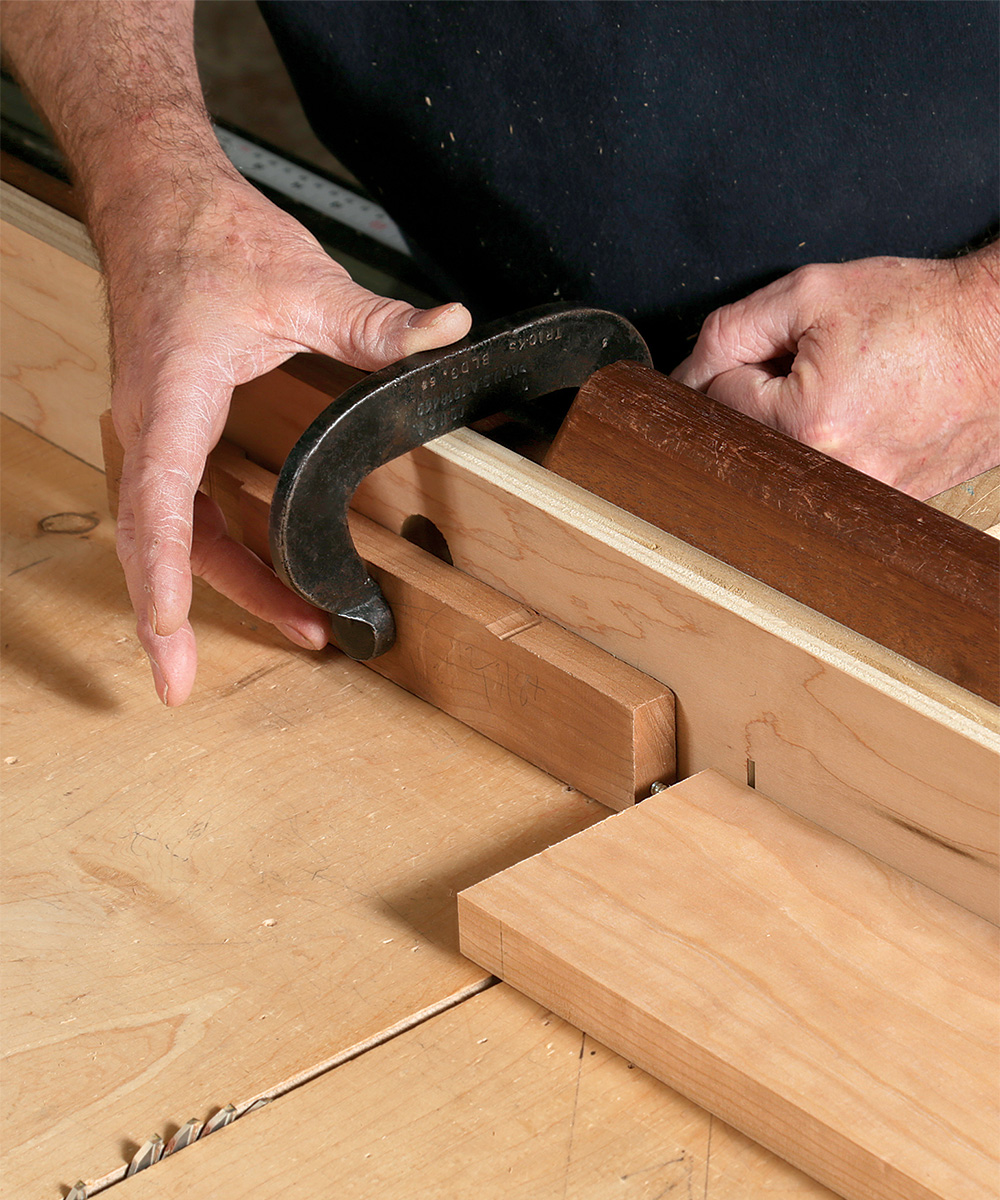
I use three stops pretty much every day at the table saw. The one that gets the heaviest use is a flip stop made from two blocks of wood and a quality butt hinge. It’s perfect for cutting multiple parts to final length. For tenons and notches, I use an adjustable stop made from a block of wood with a screw in the end. It’s great because you can turn the screw to make fine adjustments to the stop. The third stop, which I picked up from my friend, FWW contributing editor Steve Latta, is a two-part stop. It has a sliding arm that can be pulled out of the way before you make the cut. It’s ideal for cutting anything less than 3 in. long. I’ll show you how to set up and use these blocks. They’re so simple to make and use, you’ll find yourself reaching for them all the time, and you’ll see an improvement in the accuracy of your work as a result.
My favorite stop is the flip stop, which I first saw years ago in a FWW article by Tage Frid. It works so well because you can clamp it to a sled’s fence or to a miter gauge and both square the first end and cut the part to length without the stop getting in the way. First you set the stop to cut the part to length. Then simply slide the part under the stop and make the first squaring cut. Pull the part out, let the stop flip down, and then put the square end against the stop to cut it to length.
There are two advantages to the flip stop that make it way better than a simple block of wood clamped to the fence. First, because the stop swings above the surface, sawdust won’t build up between it and the workpiece. Also, because the first cut is made with the workpiece slid under the flip section, it is impossible to cut the part too short. With a block clamped to the fence, you are forced to square the first end holding the workpiece on the opposite side of the sled, and then slide the squared end down to the stop. Trust me, with that technique it’s easy to cut the part too short when squaring the first end.

From Fine Woodworking #260
To view the entire article, please click the View PDF button below.


Log in or create an account to post a comment.
Sign up Log in