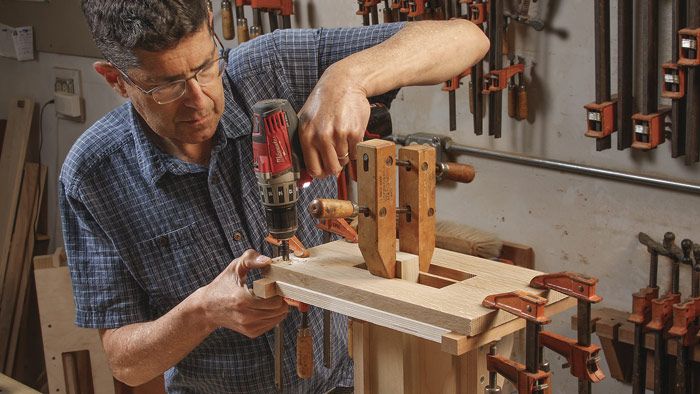
With narrow parts, angled legs, and lots of stress, the joints that hold a chair together have a big job to do. Jeff Miller suggests making angled tenons and straight mortises, which is easier to tackle than the other way around. Since the mortise is square to the workpiece, you can cut it as you normally do. For the angled tenon, a router jig makes the job easier. A sturdy support and a sliding template are the keys to the jig’s success.
Chair joinery is a challenge. Many of the joints are angled, and all of them are subjected to powerful stresses when the chair is in use. To contend with these issues, I almost always choose the mortise-and-tenon joint. If the joints are angled, I prefer to cut straight mortises and then angle the tenons.
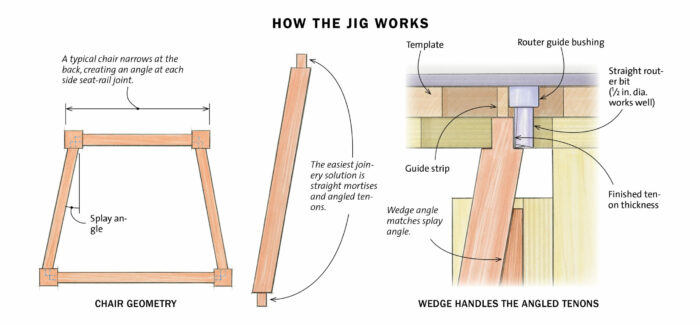
The tricky part is cutting the angled tenons. But the jig presented here, used with a plunge router fitted with a straight bit and guide bushing, greatly simplifies the task. With an upright that clamps in your vise, a platform that supports the router, and a template that guides the bushing, the jig enables you to cut the two main cheeks and shoulders of an angled tenon in a single, stable setup. Then, using the routed shoulders as a reference, you can finish the tenon with a bit of simple chisel work. The jig works equally well for straight tenons.
The template is removable, and you’ll want to make separate templates for tenons of different thicknesses. The wedge that holds the workpiece at the correct angle is also removable, so you can use different wedges depending on the tenon angle you want.

Take care with the template
The base of the jig is straightforward and quick to build, but slow down when you get to the template. I glue it up from three parts—two notched side pieces and a guide strip between them. The router’s bushing will ride on both sides of the guide strip to produce the tenon, so the strip must be sized accurately. To determine its thickness, start with the thickness of the tenon you want and subtract the difference between the guide bushing and router bit. For example, if you’re using a 5 ⁄8-in.-dia. bushing with a 1⁄2-in.-dia. bit (a difference of 1⁄8 in.) and want a 1 ⁄2-in.-thick tenon, make the guide strip 3 ⁄8 in. thick.
Start by notching the two side pieces, and then mill the strip. To dial in the thickness of the guide strip, dry-clamp the template and use it to cut a test tenon. If the tenon doesn’t fit the mortise perfectly, either plane the strip a bit thinner or make a new, slightly thicker one.
For the full article, download the PDF below:
Fine Woodworking Recommended Products

Starrett 4" Double Square

Veritas Precision Square

Leigh Super 18 Jig


Comments
It would be nice to have a video showing the jig being used.
this is such an interesting artcle, and it offers what looks like an incredibly useful jig. But, without a video is is hard to see exactly what the author is doing
Larry Beuchley teachers router joinery at Santa Fe Community College. He has designed a jig for tenons and mortises that is even more functional than Miller's jig.
I am trying to find a way to paste pictures of it, but no luck so far.
See my post in the members section showing Larry Beuchley's jig with photos and description of how to use it.
you don't even find much on chairmaking on youtube.
Log in or create an account to post a comment.
Sign up Log in