Get to Know Japanese Handplanes
A how-to guide for setting up and using these rewarding hand tools.

Synopsis: Ready to take the plunge and try using a Japanese handplane? With its massive, tapered blade, this tool can be sharpened to an unmatched edge and leaves a surface that is second to none. Japanese planes cut on the pull stroke, however, and it requires time and dedication to learn to use them correctly. Andrew Hunter offers an introduction, from setup to sharpening to proper use.
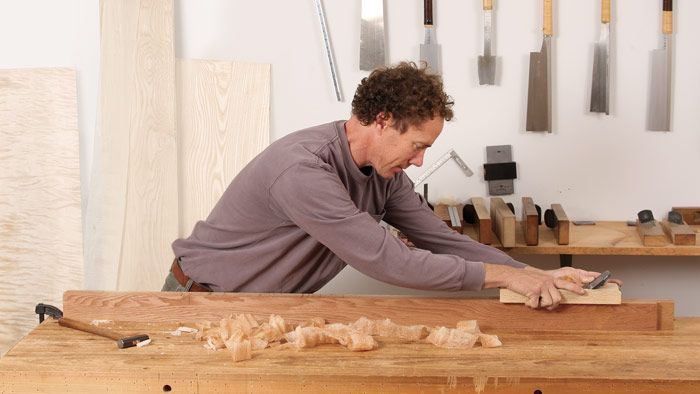
I first took the plunge into the unfamiliar waters of the kanna, or Japanese handplane, more than 15 years ago. Learning to use one took time and dedication, but the reward of the shimmering surface it leaves was well worth it. There is more to Japanese handplanes than can be expressed in a single article, but my aim here is to provide a kind of diving board for anyone else interested in taking the plunge. I promise the water is delightful.
What makes these planes different
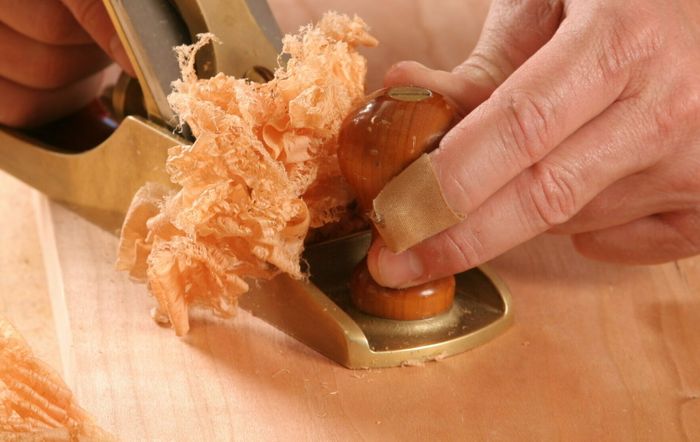
Japanese planes cut on the pull stroke, and it can take a while to adapt to this, though when you do you’ll discover it gives you both more power and more control. But the first challenge with a Japanese plane is that it isn’t ready to use out of the box. You get great ingredients, but it is up to you to make the tool perform well. This responsibility might seem daunting at first, but as you grow more comfortable with your plane you will be glad for the control.
The heart and soul of the Japanese plane is its massive tapered blade. A descendant of the samurai sword, the blade has a thin layer of superhard steel laminated to a thick layer of softer mild steel or iron. The hard steel provides a cutting edge of unparalleled sharpness, while the softer backing metal dampens the heat and vibration of the cut. The flat face of the blade—the hard steel side—comes hollowed at the center. So when you lay it on a stone for flattening, only a small amount of metal at the edges contacts the stone, greatly speeding the process.
The blade fits snugly into angled grooves on either side of the body, or block of the plane. on a typical Japanese plane, the blade, which is inserted bevel down, is bedded at around 39°. All of my blades are in this range except a 45° finish plane I use on difficult grain. You can order blocks with specific bedding angles or make your own.
The blade is adjusted with light hammer blows. To advance the blade, strike its blunt back edge, favoring the left or right to effect skew adjustment. To withdraw the blade, strike the plane block on its chamfered back edge, alternating taps left and right. The chip-breaker is wedged in place beneath a removable pin. Like the blade, the chip-breaker is adjusted with a hammer. Its purpose is twofold. It exerts pressure on the blade, stabilizing it and helping reduce chatter. But also its steep secondary bevel contacts the shaving right after it is cut, bending it back and greatly reducing the chance of tearout.
For the full article, download the PDF below:
Fine Woodworking Recommended Products

Marking knife: Hock Double-Bevel Violin Knife, 3/4 in.

Suizan Japanese Pull Saw

Starrett 12-in. combination square


Comments
Anyone else not able to open the pdf?
Fixed
Very good advice on how to grind blades for use.
Log in or create an account to post a comment.
Sign up Log in