Dovetails in SketchUp — the Easy Way
You can lay out and draw dovetails manually in SketchUp; it’s more like cutting them by hand in the shop. To save time, Dave Richards uses some creative techniques and some ingenious plugins.
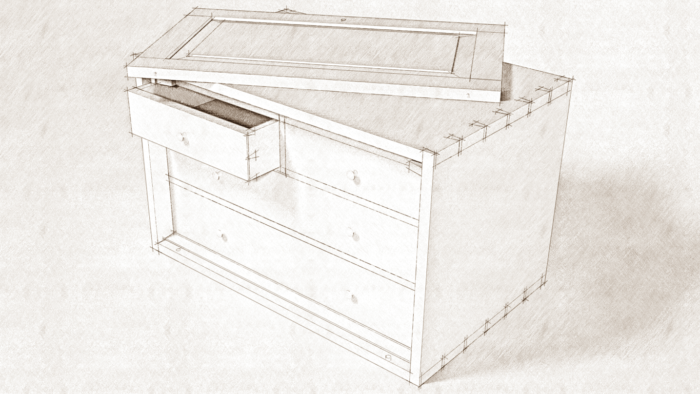
Recently I got the opportunity to create the SketchUp model and plans for the North Bennet Street School Toolbox featured in the video workshop series by Matt Wajda. There are a bunch of dovetails in this project, which makes it a challenge in the shop. In SketchUp, with the right tools, they’re a walk in the park. In this video I’ll show you how I cut the dovetails in the case and the dovetails for the back of the drawers.
Now of course you can lay out and draw dovetails manually. It’s more like cutting them by hand in the shop. To save myself time, I used the WWX Dovetails extension from Wudworx. I also used Trim and Keep from Jim Foltz, which has to be one of my most favorite plugins. Admittedly it only works in the Pro version of SketchUp, but it saves huge amounts of time. I use it for every mortise in every project and for many other tasks. In this video, I use it to cut the tails on the drawer sides because it’s fast and saves a little work on the half socket located just above the drawer bottom.
–Dave


Comments
Sadly not much Sketchup technique here except using the push-pull tool a few times. I'm curious as to why you didn't just set the value for the end pin a 1/4" wider rather than having to go to all that trouble of using the P-P tool on the case edges?
The half pins at the front are narrower than the half pins at the rear. As Matt explains in the video on laying out those dovetails, the rear half pins are wider so they aren't as delicate as they would be with the rabbets in the case parts for the back slats. Instead of reducing the width of the pieces temporarily, I could have made them 1/4 in. wider at the front. Then I could have made the half pins wider after which I'd use Push/Pull on the front edges to take off the excess I'd just added. Either way would work and we'd end up with the same thing that Matt did for real.
-Dave
Thanks. I figured it out. Thought I could bet ya back in here and answer my own question. Makes sense now.
It's strange that the Woodworx Dovetails extension creates the tails but not the pins. It should be called the Dovetail tails extension! I thought getting the Library 1 pack that includes BoardMaker Pro, Dovetails, and the Mortise and Tenon plugins would be better then getting the Bool Tools 2 extension but from this video demonstration it looks like I would still need the Bool Tools 2 extension to make the dovetail pins...
In reply to indigetal, The Wudworx dovetail extension does create both tails and pins. My video shows both tails and pins being created by the Wudworx Dovetail tool. Pins on the case sides starting at about 3:38, pins on the drawer back at about 5:10 I'n not sure how you got the idea that it will only do the tails and not the pins. I did show a different way to cut the tails on the back end of the drawer sides but only to show an alternative method that can be useful in some cases.
Log in or create an account to post a comment.
Sign up Log in