Shaker Sewing Stand
Blending two Shaker traditions—furniture and sewing—this small stand has a central post, three dovetailed spider legs, a rectangular top, and two underhung drawers that open from either side.
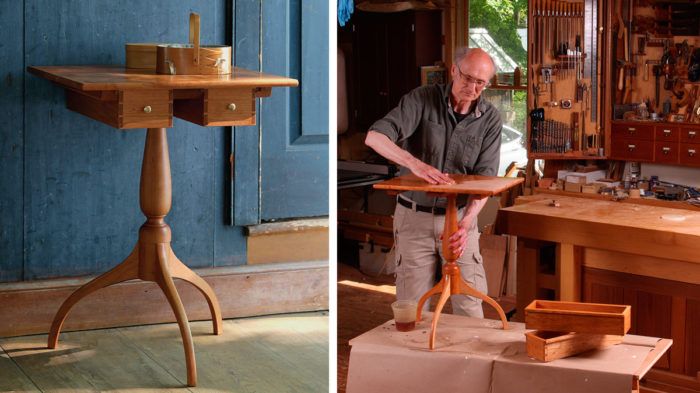
Synopsis: Blending two Shaker traditions—furniture and sewing—this small stand has a central post, three dovetailed spider legs, a rectangular top, and two underhung drawers that open from either side. The post is turned first, then the legs are dovetailed into it. A central cleat and two side cleats keep the top flat and serve as slides for the two-fronted drawers. A modern feature, in the form of rare-earth magnet drawer stops, ensures that the drawers close in the right place every time.
It’s no secret that the Shakers were known for a strong, efficient work ethic, minimalist aesthetic, and quality of craftsmanship in everything from furniture to spinning, weaving, sewing, and even farming. This small Shaker sewing stand combines two traditions, furniture and textiles. It consists of a central post, three dovetailed spider legs, a rectangular top, and two underhung drawers, accessible from either side. This design enabled two Shaker sisters to work at the stand at the same time. The stands were made of maple or cherry with a pine top and drawer sides. The construction is rather straightforward. If you’ve built a Shaker candle stand (FWW #110) and know your way around drawers, this is a fun, beautiful, and useful project.
A classic design for the base
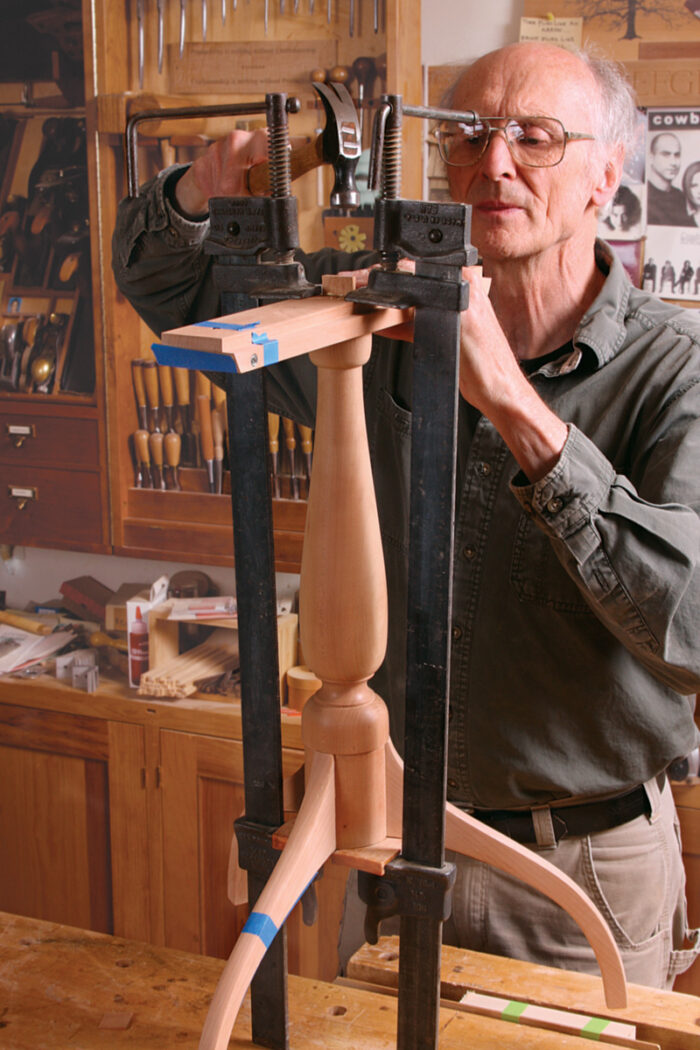
Start by turning the post from 3-in.- square by 20-in.-long stock. When the post is turned and sanded, cut the legs. I traced the pattern of the legs onto my stock, cut close to the line on the bandsaw, and then taped and stacked the three legs together to sand them all to the line at the same time. To minimize areas of fragile short grain, the grain on the legs should run from the two farthest points. The dovetails can be cut with a handsaw, tablesaw, or router.
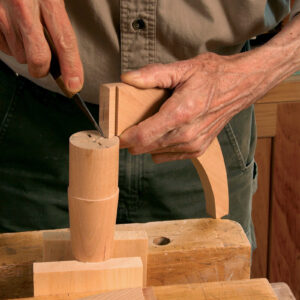
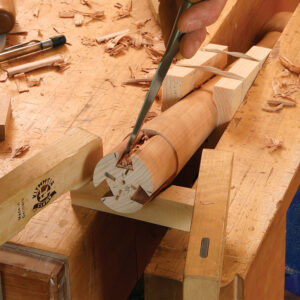
Clamp the post upside down in the vise, using pine pads to cushion the turning. Before marking the dovetail slots for the legs on the bottom, decide whether you want to undercut the dovetail shoulders to conform to the round post, or flatten 1⁄8 in. of the area on both sides of the dove-tail. Either method is acceptable. Divide the bottom of the post into thirds, using a compass or wrapping paper around the circumference. Place each leg, one at a time, on the same side of the marks, making sure that the dovetail shoulders touch the circumference of the post at the bot-tom. While holding the leg, carefully mark around the dovetail with a knife. With all three legs marked, use an adjustable square to bring the edge of the dovetail marks down the post to the shoulder.
Reposition the leg in the vise. Carefully saw between the pair of lines for each leg, down to the shoulder but not be-yond. Chisel out as much of the waste as possible. Pare the outline of the dovetail at the bottom to get the first part of the leg inserted into the slot. Mark the lead-ing edge of the leg dovetail with a pencil, and re-insert it into the slot, shoving it in as far as possible. Carefully pare the darkened areas in the slot, and repeat until the leg is fully and securely seated up to the shoulder of the post. Repeat with the other two legs. Glue in the legs, and when dry, rasp, file, and sand the dovetails flush with the bottom. I add a table spider (Horton-Brasses.com, no. TS-5) to the underside of the base. The spider reinforces the leg-to-post joint.
Top and cleats create the framework for drawers
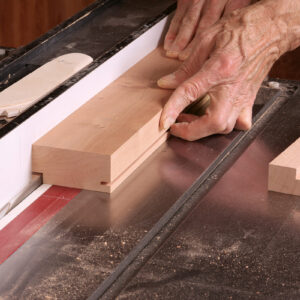
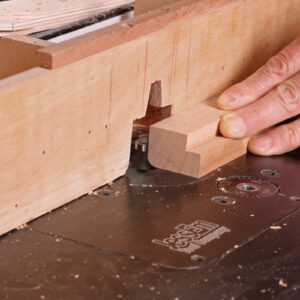
After you glue up the top, cut one center cleat and two side cleats out of hard-wood. The center cleat is wider than the side cleats and has a mortise drilled in the center for the tenon on the post. The two side cleats have a rabbet along one edge, and the center cleat has a rabbet on each side. Round the opposing corner of the side cleats, and cut an angle on the front and back of all three.
Drawers run in both directions
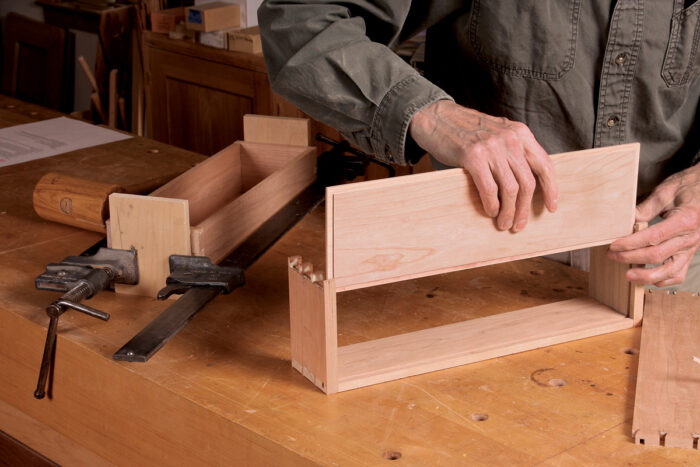
The drawers on the original Shaker stand have through-dovetails on all four corners, and that’s what I do. Half-blinds will also work. Use quartersawn pine for the bot-toms; in this case the grain runs front to back. Glue and sand the drawers and then make and attach four knobs. Glue a hard-wood strip along each top edge of both drawers. These rails on the drawer sides will guide the drawers in the corresponding notched cleats.
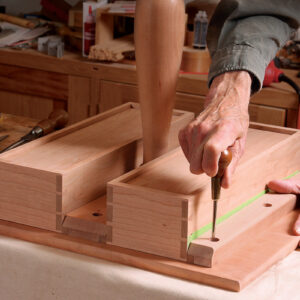
Glue the center cleat to the post tenon, aligning it with one of the legs. When the top is trimmed to size and sanded, screw the center cleat to the top from under–neath, positioning it in the center and perpendicular to the grain. With the stand upside down, position the drawers against the center cleat and place the side cleats against the outside of the drawers. Leave about 1⁄16 in. of clearance, then screw the side cleats to the top.
Magnet catches
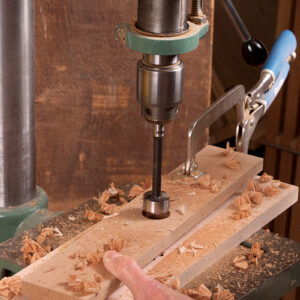
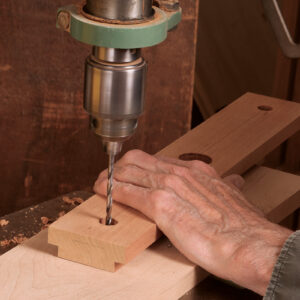
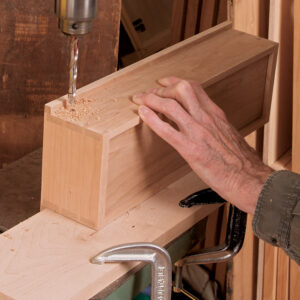
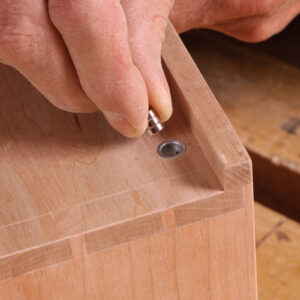
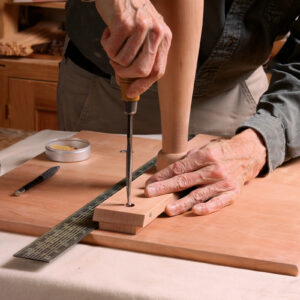
For the magnet catches, I use a rare-earth magnet, cup, and washer set from Lee Valley (no. 99K33.10). The magnets are set into the outside faces of the drawers. Once the drawer is made and fitted, the location of the magnets is carefully transcribed onto the corresponding locations on the outside of the drawer sides. Holes for the washers are drilled and the washers screwed into place on the sides of the center cleat.
For the finish, I use Tried & True varnish oil, mixed with equal parts spar varnish.
From Fine Woodworking #261
For the full article, download the PDF below:




Comments
Christian unveiled this great piece last July at the Lee-Neilsen open house event in Warren, Maine and I was quite intrigued but he didn't eleborated about it, glad to finally get the details. Checked out all of the Shaker heritage sites to see where his inspiration may have come from and finally ran across a similar one in Canterbury, New Hampshite last fall.
Log in or create an account to post a comment.
Sign up Log in