From Camera to Shop Stool
Tim Killen demystifies the process of going from a photo of a small stool to a SketchUp model.
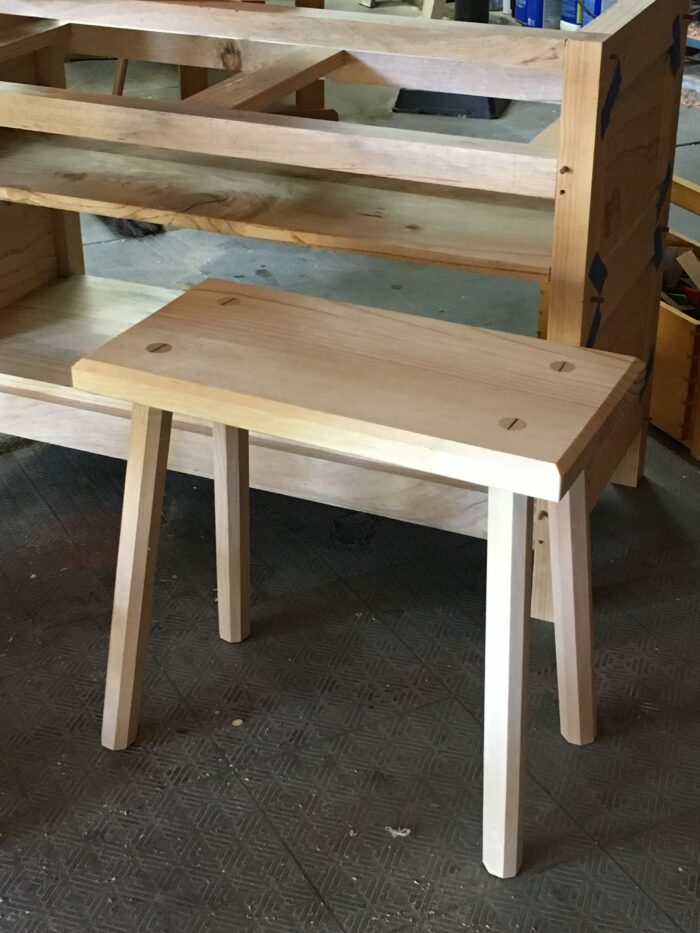
Each year we visit Colonial Williamsburg and come away with new ideas for furniture projects. While touring colonial homes, outbuildings, craft shops, and exhibits, we’re on the lookout for interesting possibilities that we capture in pictures with our iPhones. This year, a small shop stool in the kitchen behind the George Wythe house caught my attention, and I snapped the following picture.
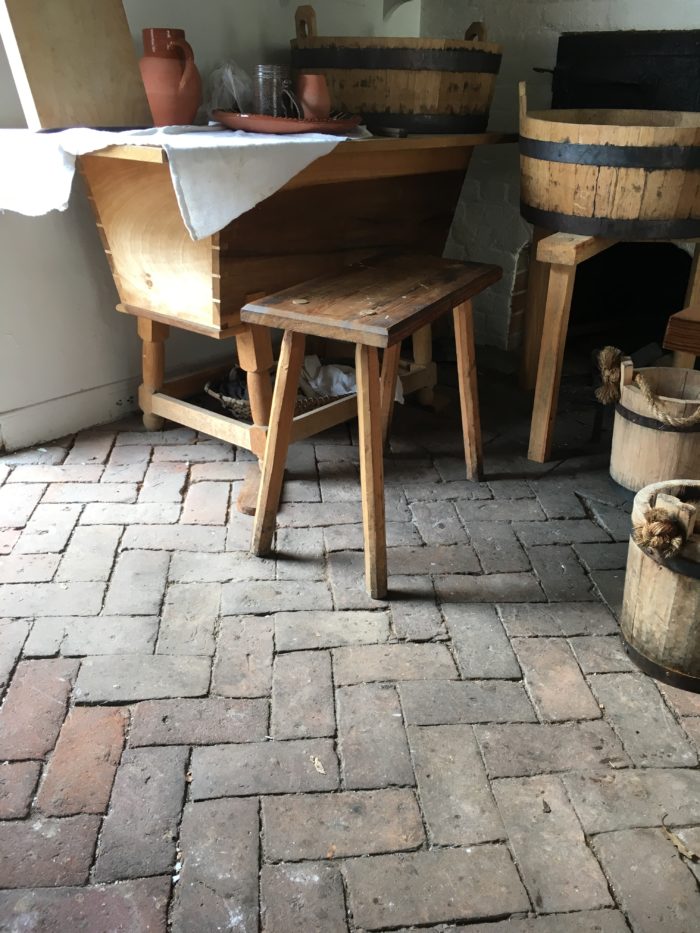
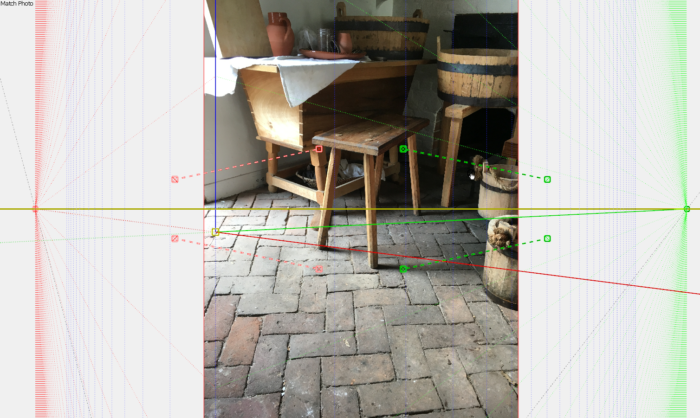
It’s a very simple design with only two unique components—the seat and leg. I did not capture any dimensions. Upon returning home, I loaded this picture into SketchUp as a “Photo Match” (one of the three options of importing pictures to SketchUp). Most often, I import pictures as an “Image” as the photos usually are more orthographic—that is, straight on front or side views. But in this case, the picture was taken at an oblique angle. Photo Match is a function that accommodates modeling on a picture at perspective angle.
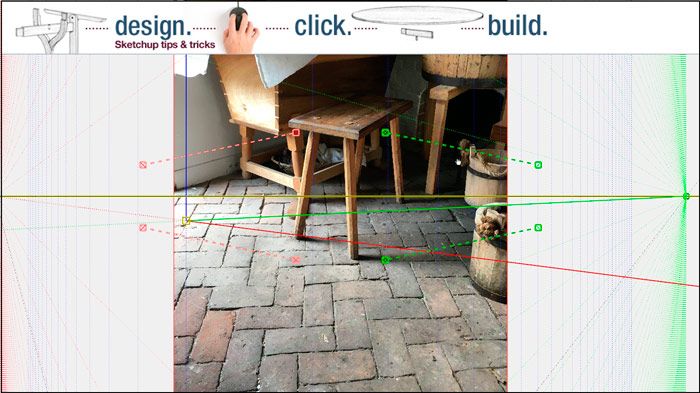
After importing the picture, SketchUp displays a confusing batch of colored bars that must be arranged in a specific way on the image of the furniture. In the following video, I show how these bars are arranged so that the modeling can proceed. Here is the opening view of SketchUp after importing the picture as a Photo Match.
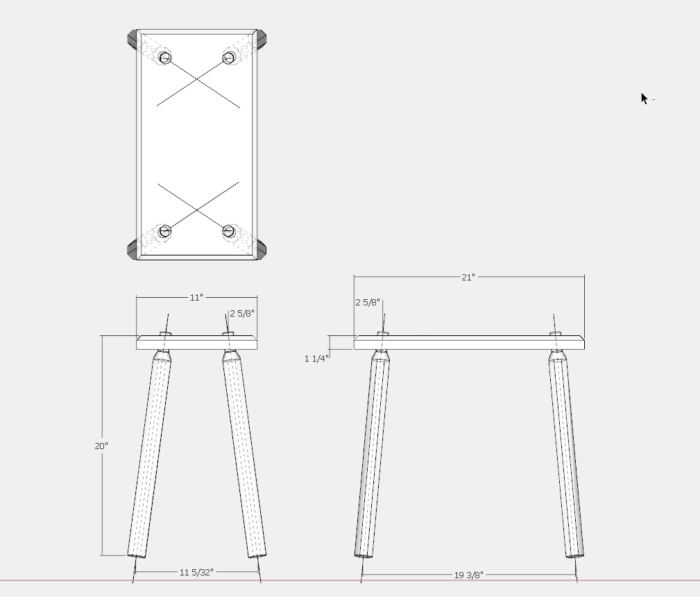
Here is the final model and a dimensioned orthographic view.
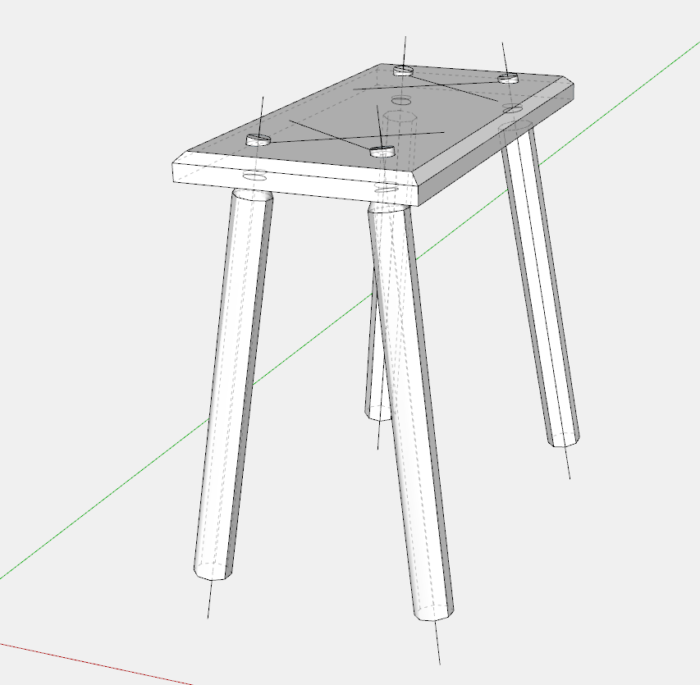
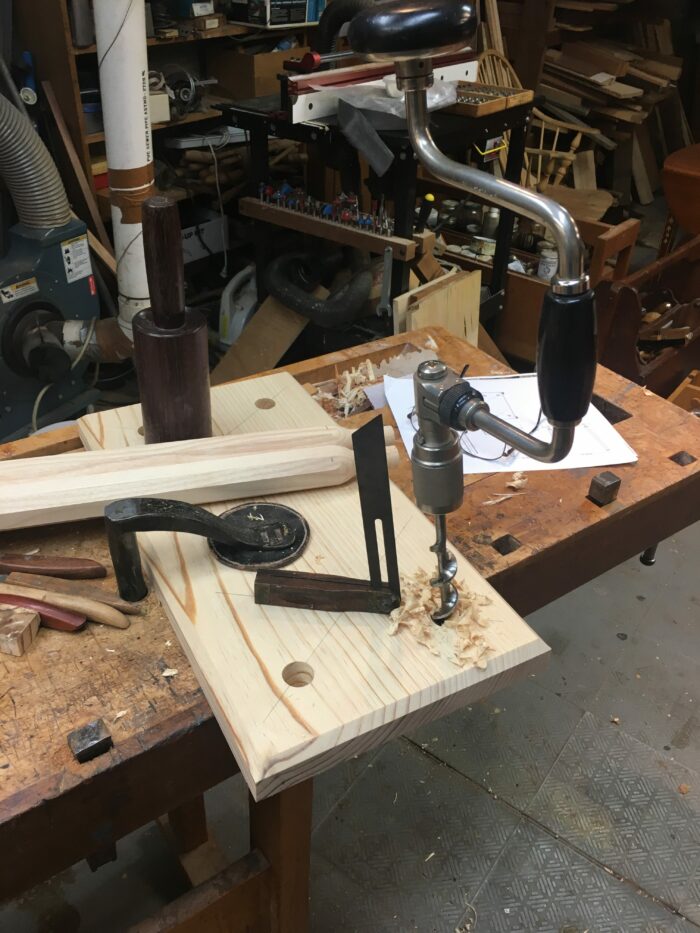
Drilling the sockets for the legs using the site lines and angles determined in SketchUp. I used Monterey pine for the seat and Modesto ash for the legs.
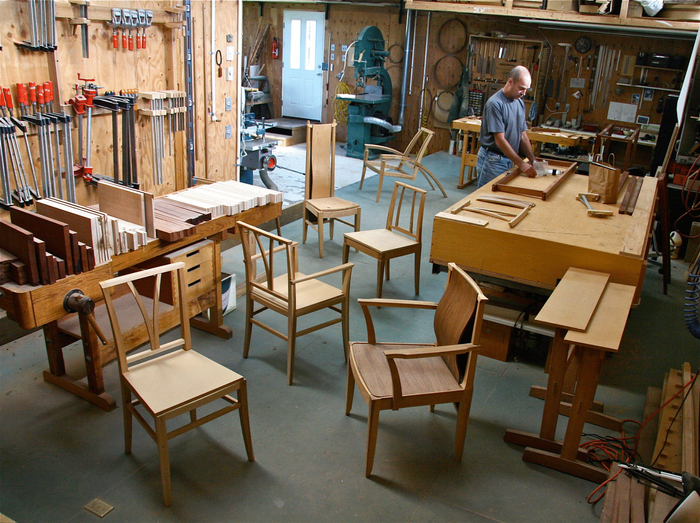
Here it is in the shop……


Comments
Thank you so much for this posting. About a year and a half ago I went from a passive wood worker to actual hands on making things. Though I have heard of SketchUp, I pretty much ignored it. Written drawings with measurements seemed to be just fine to make things. If you hadn't written this, I would have never considered that one could have a picture of something and convert it to something that would give you rather quickly dimensions to work from. This completely changes my view on the potential utility of the software.
Nicely done!
awesome!
In the following video, I show how these bars are arranged so that the modeling can proceed.
Did I miss something,where is the video?
The video is at the very bottom of the article.
Log in or create an account to post a comment.
Sign up Log in