Tuning a Scraper Plane
Rollie Johnson explains how to make these cantankerous smoothing tools work...most of the time.
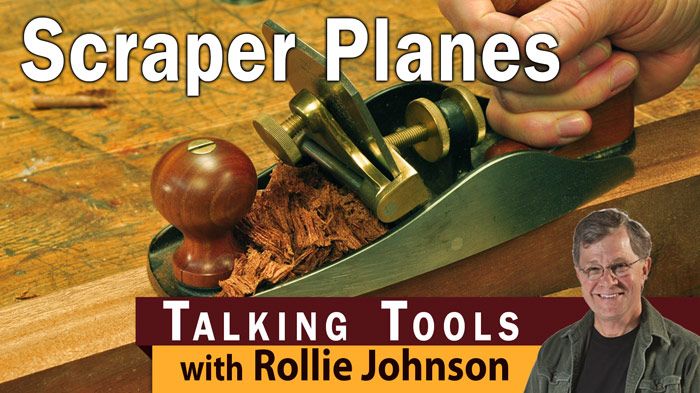
Over the winter months I spend a lot of time in airports on my way to The Woodworking Shows, where my weekends are spent giving seminars to both veteran and aspiring woodworkers. One of my most popular seminars is about card scrapers, where I show attendees my parlor trick of how to consistently and easily put a sharp, long-lasting burr on those finicky little pieces of steel. I also show how to set up cabinet scrapers. If you’ve been following Talking Tools, you’ll know I’m also a fan of the Stanley 82.
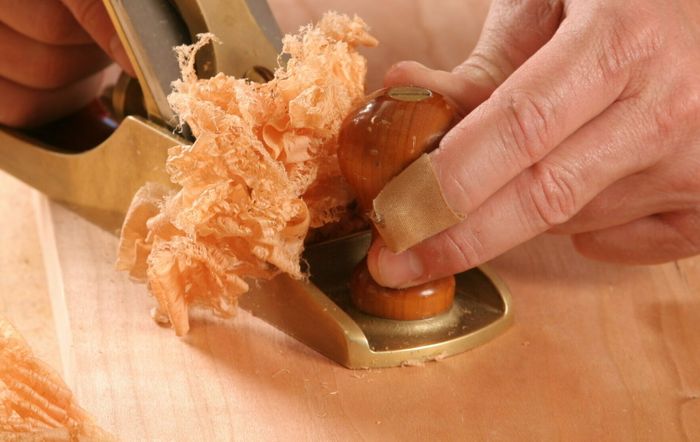
Invariably when I get into Q&A at the end of the seminar, someone will bring up the Stanley 112 scraper plane and ask what it takes to make one of those miserable contraptions work. That could be a seminar all by itself, but I have developed a fairly solid method for making those cantankerous scraper planes work most of the time. Your results might vary, as mine sometimes do. With that bet hedged, let’s take a look at a method that will make the 112 a valued (if not loved) member of your workshop staff.
 Typically, seminar attendees who are trying to solve the 112 riddle tell me that when they first got their new scraper plane they could get it to work OK. But as they used it more, the results deteriorated. Much like you’ll find with a card scraper, the problem is a work-hardened edge on the blade that makes it tough to get a nice burr. Simply resharpening the edge of the blade is not enough to to remove all the work-hardened steel and get to the softer stuff underneath, where you can get a nice burr. I start my process by putting the blade in my Veritas MKII honing guide and aggressively removing material with 180-grit abrasive paper on granite sharpening stones. The sharpening angle is 45°. I remove enough material to get past that work-hardened edge. When a large rough burr appears on the back side of the blade, I know I’m there. I continue through grit stages to 1500—that’s fine enough.
Now it’s time to raise the burr. These planes can be used without a burr but I’ve never been tremendously successful with that; I typically get more dust than shavings. So I always put a very fine, very slight burr on the edge. I slide the burnisher over the sharp edge with a sweeping motion just a few degrees off the 45° sharpened edge, maybe around 50°. A couple of LIGHT passes are enough to get a fairly aggressive burr.
Now, grab a sliding T-bevel and a scrap of the material you’re working with. Holding the blade by hand, shave a nice curl on the scrap. Hold the blade exactly where the hook cuts best, slide the T-bevel against the blade, and Bob’s your uncle: You’ve arrived at the angle for setting the “frog” on the plane body. Set the T-bevel alongside the plane body and sight the frog to the same angle as the bevel.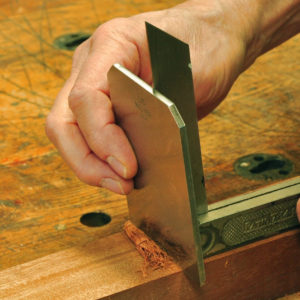

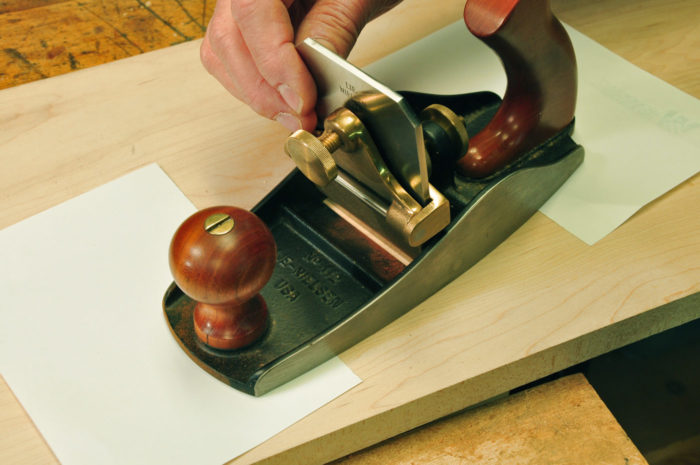
 Now you can put a sheet or two of printer paper under the toe of the plane, drop the blade into the holder pushing it firmly against the bench, and tighten the blade holder. Fine-tuning the cut is simple: If the cut is too aggressive or chattering, tilt the frog slightly forward. If the burr is too meek, tilt the frog slightly back toward the tote. If the cut is more pronounced on one side, lightly tap the side of the top corner of the blade with a wood block to help square it to the surface.
When the burr stops cutting, pull the blade out of the plane and slide the burnisher across the back side of the blade to mold the burr flat. Repeat the process for raising the burr, repeat the frog setup, drop the blade back into the body, and you’re off and scraping again. If the burr doesn’t cut well tilt the frog back slightly, if the burr cuts too aggressively (chatters as it cuts) tilt the frog forward slightly. You should be able to roll the burr back a few times before the metal becomes dull and starts to fragment, or simply becomes to hard to roll the burr. Experimenting will get you to that sweet-cutting spot and experience will let you know what adjustments are needed or when its time to sharpen. So practice, practice, and practice some more.
Have any of you found a more surefire method for dealing with these curmudgeons of the workbench? I’d like to know.
Fine Woodworking Recommended Products

Bahco 6-Inch Card Scraper

Stanley Powerlock 16-ft. tape measure
Veritas Micro-Adjust Wheel Marking Gauge


Comments
You pretty much exactly described my situations with both my 112 and 212. I had pretty much given up after many an hour and several attempts at getting these to work properly. Alas, a new hope! I will try this out and post an update on my results. Thank you.
Kevin never came back with results. I guess it didn't work too well :)
I don't have one of these but I do drool for one at some point. Meanwhile the card scrapers get a little warm in my hands at times, but they work wonders on figured wood in particular.
My increasingly arthritic hands are making use of a card scraper very uncomfortable/painful. Is this plane a solution?
Log in or create an account to post a comment.
Sign up Log in