Adding Context to Your Models With Match Photo
In this video, Dave Richards will show you how he uses Match Photo to import an image, and create a simple modelIn a recent blog post, Tim showed how he used Match Photo to work out the proportions of a stool he had photographed. Another use for Match Photo is to help you provide context for your project. Back in January I had an opportunity to do just that. The son of a friend of mine is an Eagle Scout candidate. His project was to build and install a group of planters along a wall at the local community clinic. The kids at a nearby day care center will plant and tend some vegetables and flowers there.
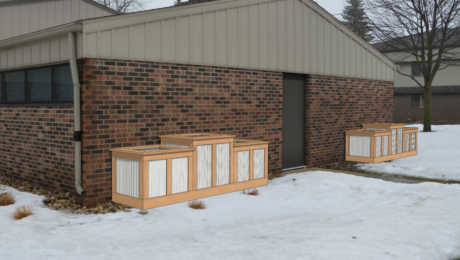
The scout asked me if I would help him develop his design ideas into something that could be built with the limited tools to which he had access. He also needed something to present to the committee that approved the project. We ended up with three or four different arrangements which I drew in SketchUp and placed in front of a model of the building. I use LayOut to create a document and PDF he could print and hand out to members of the committee. The final design choice is shown below.

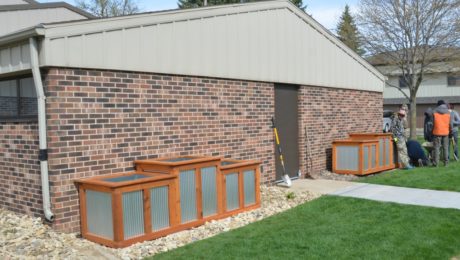
And here are the real planters right after they were installed.

In the video I’ll show you how I used Match Photo to import the image, create a simple model of the building and then apply textures to the faces.
There are a few important things to consider when using Match Photo.
The horizontal lines in the photo need to run off to vanishing points on the horizon. Shoot the subject from a 3/4 view to make that happen. A shot looking straight down a hallway won’t be suitable for Match Photo.
Hold the camera level.
The photo needs to be right out of the camera. No cropping or perspective correction.
Although I’m showing this with an exterior view, you can do exactly the same with interior views, too. You just need a good inside corner.
Maybe you’ll find some ways to put this to use with your own models.
–Dave


Log in or create an account to post a comment.
Sign up Log in