Master Class: Decorative chip carving
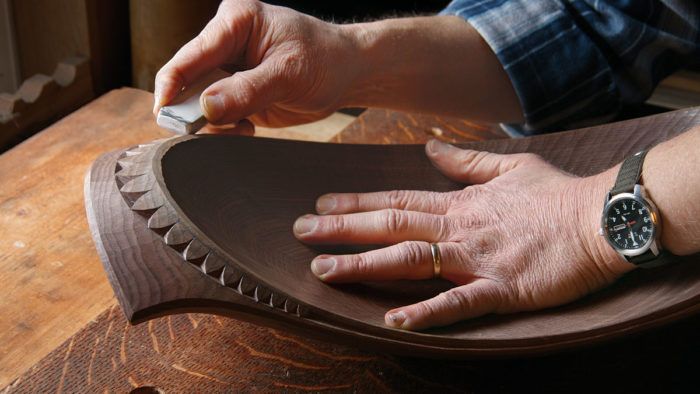
The piece-de-resistance on David Fisher’s hand-carved bowl is the decorative chip carving around the rim
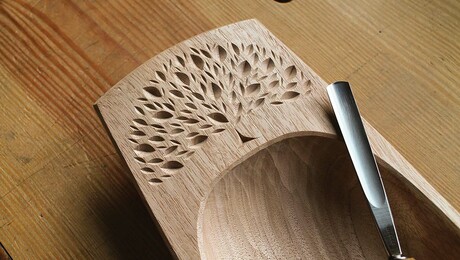
When I carve a bowl, I’m striving to give it graceful lines and pleasing curves. I often enhance the overall curves with decorative carving, fine detail picked out in patterns of light and shadow, which can be a delightful counterpoint to the smooth shape of the bowl. Many times I’ll do a carving on the rim, a kind of necklace for the bowl.
I’ll show you how I lay out and carve one of these. With this design, much of the challenge is in the layout. You’ll be working on a compound-curved surface, and the band of carving tapers as it curves, so the primary chip-carved elements—triangles with curved sides—are graduated in size. A careful, clean layout is fundamental to the success of the carving. The work begins with a pencil and a pair of dividers. Using a soft lead pencil and light pressure (since you’ll want to erase these lines later), sketch the two lines that define the tapered band. Position your hand on the inside of the arc, and trust your eye. The natural swing of your wrist will facilitate drawing fair curves. Look carefully and critically, making adjustments to the lines. Your eye can see very subtle differences.
Once you’re happy with the band, it’s time to lay out the elements within it—essentially a graduated series of gothic arches rising from the inner line of the band to the outer one. As the band’s width decreases, so does the height of the arches. Starting at the centerline of the handle, set a pair of dividers to the width of the band. Swing one leg over to the outer line, and press down to make a prick mark. With a pencil, make a tick mark at the same point. Holding that position, swing the other leg down to a point on the inner line straight across the band.
For more, view the full article in the PDF below:
Fine Woodworking Recommended Products

Suizan Japanese Pull Saw


Log in or create an account to post a comment.
Sign up Log in