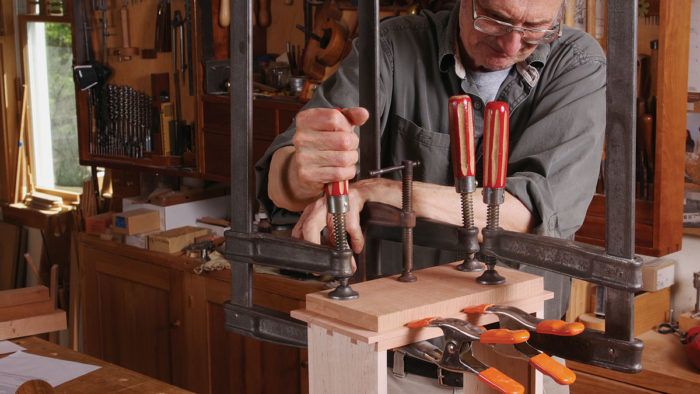
Synopsis: More decorative than flush drawers, lipped drawers are also more work. But this is an elegant method of drawer construction, with a molded profile on all four edges that covers the gap on the sides and top of the drawer. Christian Becksvoort shows two approaches to making lipped drawers. The first, more traditional method involves cutting the molding on the drawer front before the parts are dovetailed. The second method is to simply apply a thin, oversize false front to the completed drawer, then trim it and rout the molded profile.
Lipped, or half-overlay, drawers have a distinct appeal. They are more decorative than flush drawers, with a moulded profile on all four edges. And they cover the gaps on the sides and top of the drawer. Just as half-blind dovetails are more involved to make than through dovetails, so lipped drawers require more work than flush drawers. I’ll show you two approaches to this elegant method of drawer construction. In one approach, you make the lip integral to the drawer front. In the other, you create the lip by first building a drawer box, then gluing on a thin, oversize false front.
Traditionally, lipped drawers were built by first rabbeting and molding the drawer front and then dovetailing the parts. Assuming the drawer front is 3 ⁄4 in. thick, you would cut 1⁄2-in.-deep by 1⁄4-in.-wide rabbets on the two ends and the top. The bottom does not get rabbeted because a lip there would be vulnerable to breaking if the drawer were removed and set down. However, a decorative profile, whether quarter-round or thumbnail, is cut into all four edges. The rabbeted portion of the drawer front should fit tightly into the case opening, just like a flush drawer, with appropriate room at the top to allow for wood movement. As an aside, when making drawers taller than 9 in., the width of the top lip should be increased to cover the greater amount of seasonal wood movement.
After you have cut the rabbets and molded the profiles, the dovetailing can begin. To establish the baseline of the tails, transfer the depth of the rabbet to the drawer side. Then scribe a line representing the thickness of the drawer side onto the inside of the drawer front. Because of the lip, this is difficult to do with a marking gauge and is best done by laying the pieces on each other and using a knife to scribe the lines. once the tails are laid out, sawn, and chiseled, transfer them to the ends of the drawer fronts.
For the full article, download the PDF below:
Fine Woodworking Recommended Products

Jorgensen 6 inch Bar Clamp Set, 4 Pack

Bessey K-Body Parallel-Jaw Clamp


Log in or create an account to post a comment.
Sign up Log in