Floating-Top Table
This table could easily serve as a sewing table, a side table, a small writing desk, or even a TV tray.
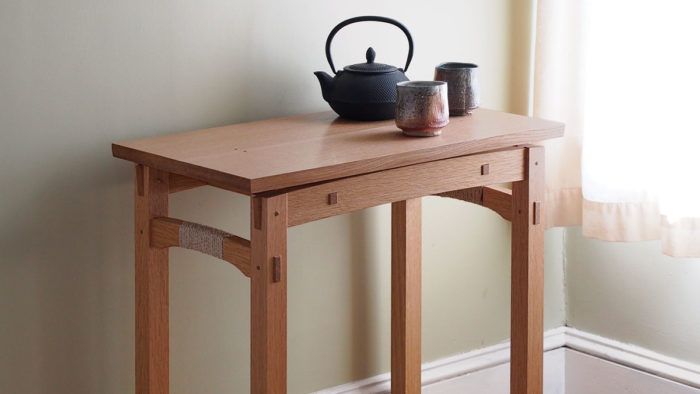
Synopsis: This table could easily serve as a sewing table, a side table, a small writing desk, or even a TV tray. It’s a fast and straightforward project with some interesting joinery. Bridle joints attach the legs to the front rails, with drawbore pins holding everything together. Arched side rails and a floating tabletop add lift to the design. The bevel-edged top is made in two pieces and joined to the supports with a dovetailed cleat.
This is one of those projects that almost wasn’t. Rachel, my wife, had asked for a small, portable table for her sewing machine. My first thought was to make something quick—just legs, aprons, and a top—so I could move on to something “more important.” Fortunately, I stopped and took a minute to think about how I could make this table a little more interesting to build and a little more enjoyable to use. The result is a unique little table with a quiet personality that brightens our home every day. While Rachel puts it to use most often as a sewing table, it serves very well as a side table, a small writing desk, or even a TV tray.
Building the table is straightforward, though the joinery is a little unusual. There are some bridle joints and through-tenons, all of which are left proud of the surface. Drawbore pins pull everything together for a clamp-free glue-up. If you’d like, you can leave out the glue altogether. Arched rails and a beveled tabletop add lift, but the table remains a stout little thing.
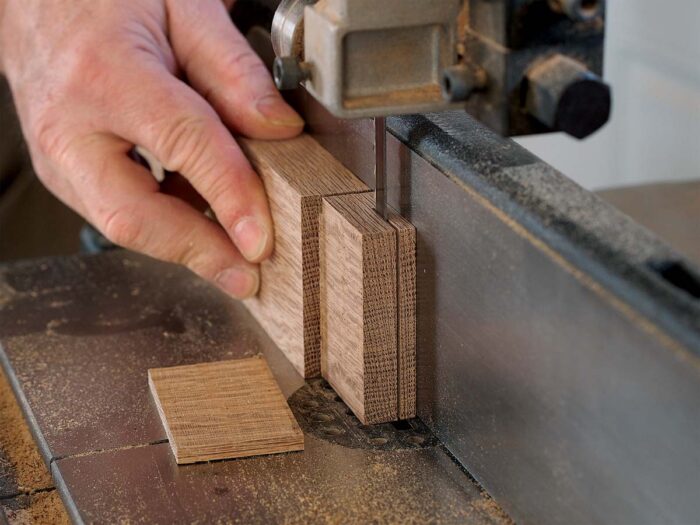
Begin With The Base
I used white oak for the table, but I stayed away from the dramatic ray fleck of quartersawn oak on the base, instead turning to the quieter straight grain of riftsawn stock. It helps to reinforce the simple lines of the base. Start by milling the stock and cutting the parts to final length. Leave the curved rails square for now to make cutting the joinery easier. The legs are connected to the front and back rails with a bridle joint and that’s a good place to start. I normally turn to the tablesaw and tenoning jig to slot the legs, but when making the original, I worked quickly and intuitively at the bandsaw.
Download the plans for this table from the Digital Plans Library. Plus, browse 100+ other plans available for members only.
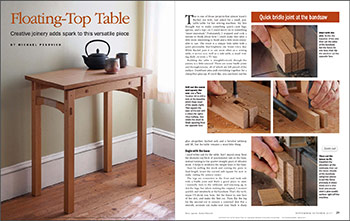 From Fine Woodworking #263
To view the entire article, please click the View PDF button below:
Fine Woodworking Recommended Products
Freud Super Dado Saw Blade Set 8" x 5/8" Bore

Olfa Knife
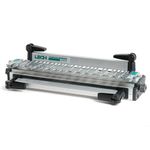
Leigh Super 18 Jig


Comments
What finish did you use?
Nice little table1 I think any woodworker at the level of FineWoodworking should be able to make this table from the article alone. I have made many things straight from the magazine as the pictures and drawings are excellent. Who needs expanded plans?
Having built two of these tables I must admit that a person not highly skilled on the bandsaw might have problems. I was able to use my router table and table saw for many of the cuts and it greatly simplified the project and added to the accuracy. Also, by doing most of the cuts before making any curves helped, such as the 5degree angles on the ends of the front and rear rails.
Log in or create an account to post a comment.
Sign up Log in