Measuring a period piece
Many museums, collectors, and antiques dealers are welcoming to furniture makers looking to learn from or even replicate a piece of furniture, but make sure you use your time, and tools wisely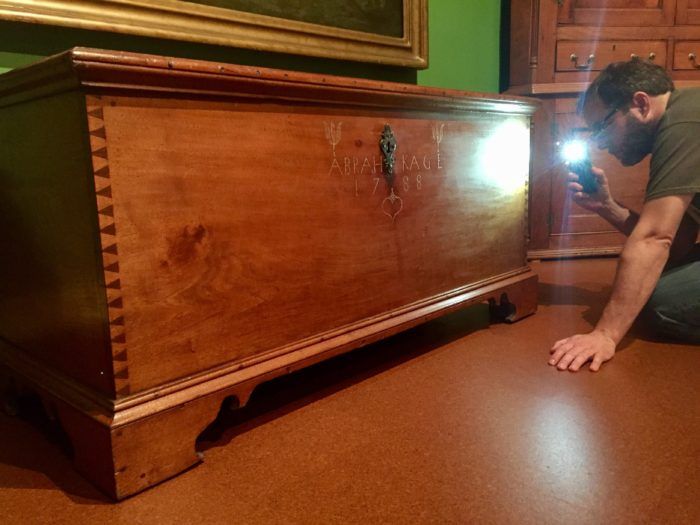
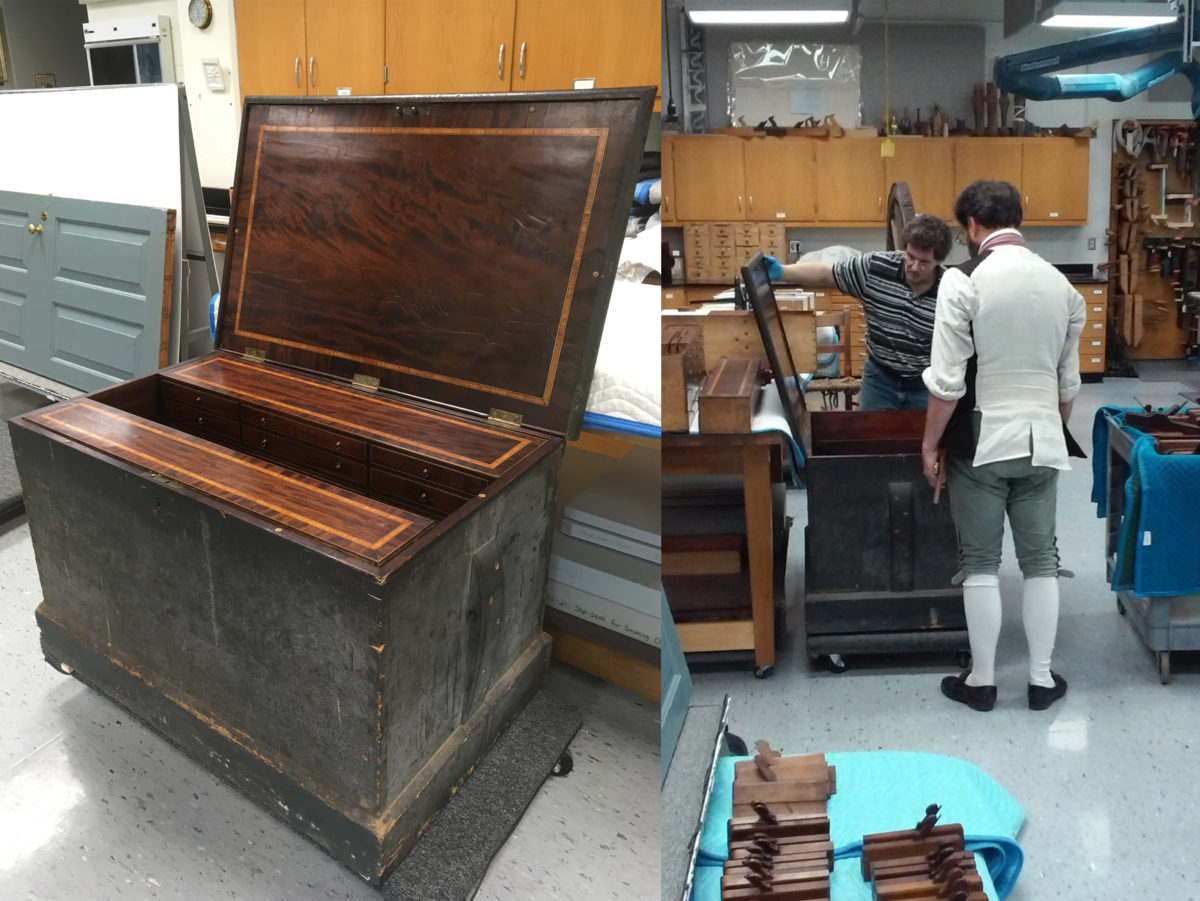
A couple of weeks ago, my colleagues and I spent the morning poring over the details of an early 19th century tool chest. This is typical behavior for Kaare Loftheim, Brian Weldy, and I as we make our living at Colonial Williamsburg studying original pieces—either copying them or using them to inform our understanding of period woodworking practices. While our position as cabinetmakers in a museum gives us access to an incredible collection and credentials that open doors to other museums, this privilege is not ours alone. Many museums, collectors, and antiques dealers welcome furniture makers looking to learn from or even replicate their stuff. This past winter at Colonial Williamsburg’s annual Working Wood in the Eighteenth Century conference, we collaborated on a presentation about how to study and measure museum pieces. This is a big topic and we had many techniques to share, but for now I’ll focus on three basic rules for museum study and share our list of essential tools to bring along.
Basic Courtesies and Common Sense
Make arrangements with museum staff well in advance of when you think you can visit and be accommodating to their schedules. In every way act as though they are doing you a great favor—they are! Be sure to understand and follow all of their guidelines as to what you can and cannot touch, move, photograph etc. (ask for these policies ahead of your visit). Some pieces will be easier to gain access to than others. Your desire to copy a blanket chest kept in museum storage is far easier to accommodate than your need to pull apart the desk and bookcase prominently displayed in a gallery—also, don’t literally pull anything apart. Cultivating a good relationship with curators will open doors to you at other institutions and will only benefit you in your studies.
Focus
Museum collections are intended to inspire and reward curiosity. However, make sure you focus your curiosity on the piece at hand and not all the other cool stuff in the room. Do you think it was easy for us to study a tool chest and ignore all the incredible tools within it? No, it was impossible, but we’ve learned to give ourselves a little time here and there to look at the other stuff without letting it distract us too much. You often don’t have a lot of time with the piece you’re studying, so use it wisely. Remember why you are looking at it in the first place. Is it to make a faithful reproduction, to learn period building techniques through tool marks and textures, or to gain a basic knowledge of a particular form or maker? Remind yourself of your answers to these questions often and let them guide you. There’s so much to see—even in the seemingly simplest object—that it’s easy to fall down one rabbet hole after another.
Be Prepared
Good preparation goes a long way toward keeping your focus and yourself in the good graces of curators. Learn everything you can about the piece before you go see it. Research it through museum catalogs (online or in print), study what you can on related pieces, and write down specific questions you might have for yourself to answer or for museum staff to help you with. Write down a checklist of information you’d like to gather and photographs you’d like to take, and make generic drawings of the piece and its details where you can clearly record measurements.
General Thoughts and Tool List
Start with overall dimensions and then zero in on details. It’s surprisingly easy to study every toenail on a claw foot and only discover when you’re back in the shop that you forgot to measure the height of the leg. Due to age or error, symmetrical pieces are rarely symmetrical, so measure both sides of whatever it is. Look carefully for signs of later repair or alterations. Curators can help you discern these features if you’re unsure. The act of studying a priceless museum piece under the watchful eye of its steward can be intimidating, but it’s also incredibly exciting. Make the most of your opportunity, have fun, and please be gentle.
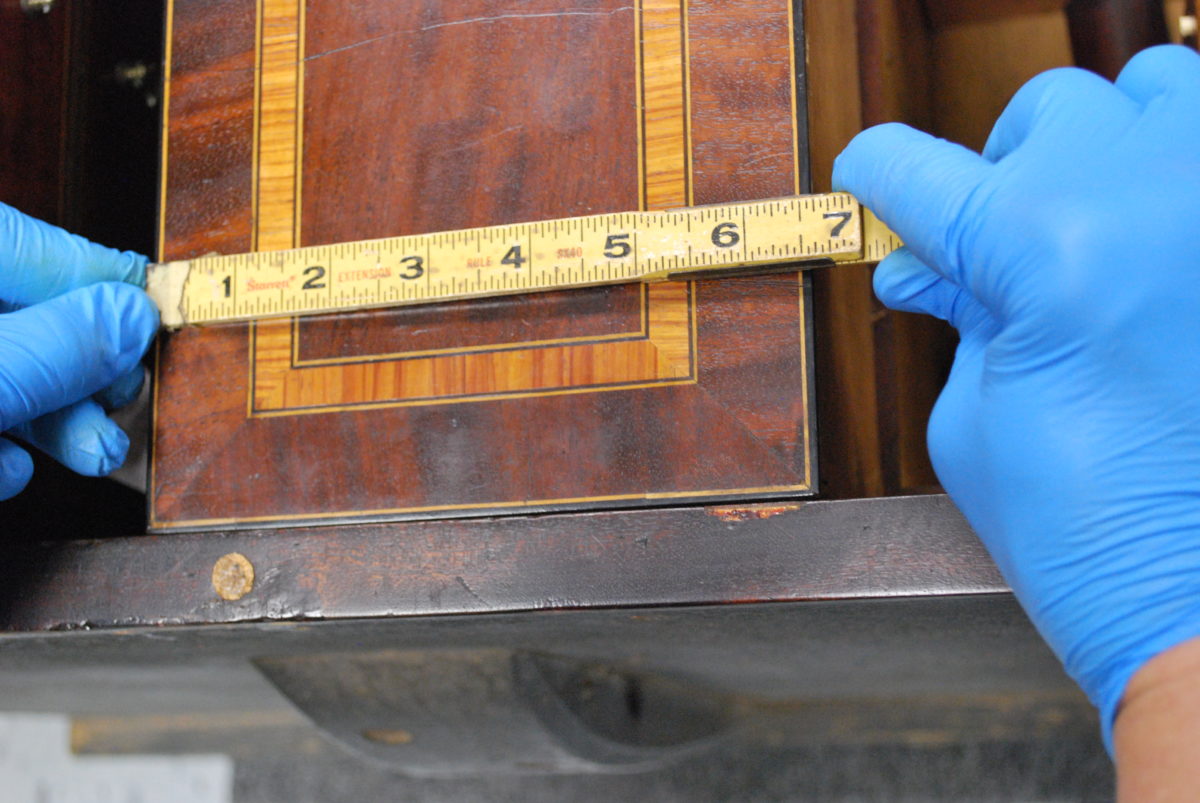
Here’s a list of tools for study that my Hay shop colleagues and I pulled together over the years in consultation with many makers and museum professionals. One guiding principle: Avoid tools with metal edges as they can easily scar the wood you’re measuring!
Measuring:
- Cloth or plastic tape measure or a wooden zigzag rule for large measurements
- 24-in. wooden rule graduated to at least 1/16ths for smaller measurements
- Flexible plastic ruler – opaque white with black markings
- Plastic calipers for widths, thicknesses, and carving depths
- Plastic bevel gauge for taking off angles
- Photocopies of piece photos or sketches for writing in dimensions
- Pencils (no pens!) with spare lead
- Notebook/sketchpads for sketching details
- Plastic or wooden straight edge (24-36 in.)
- Story sticks of suitable length for piece
- A plastic, flexible curve (Flexicurve)
- Spring clamps: plastic coated
For Profiling/Tracing:
- Plastic mechanical pencils for tracing profiles
- Poster board for tracing profiles (curved legs, splats, etc.)
- Poster board with 1-in. squares (great to photograph against)
- Some way to support the poster board
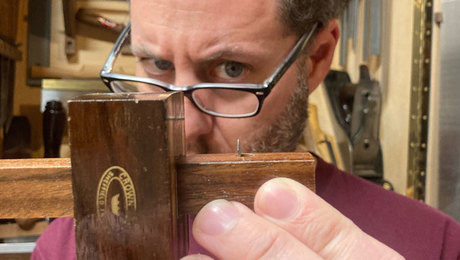
- Flush scriber (wood block with a diagonal pencil to trace profiles)
Photography gear:
- Camera
- Tripod
- Spare batteries
General:
- White cotton or nitrile gloves for touching the piece (often required for handling metals)
- Clean furniture pad—for setting the piece on its side
- Flashlight
- Scissors for cutting poster board
- A small mirror for seeing into inaccessible areas
- Masking tape or painter’s tape for piecing together poster board or covering the occasional metal edge
- A way to carry all of this stuff
Fine Woodworking Recommended Products
Circle Guide
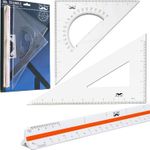
Drafting Tools

Blackwing Pencils





Log in or create an account to post a comment.
Sign up Log in