Turn a Reclaimed Cabinet into a Rolling Workstation
Learn how to refurbish a surplus cabinet to create a mobile workstation, with handy storage inside.
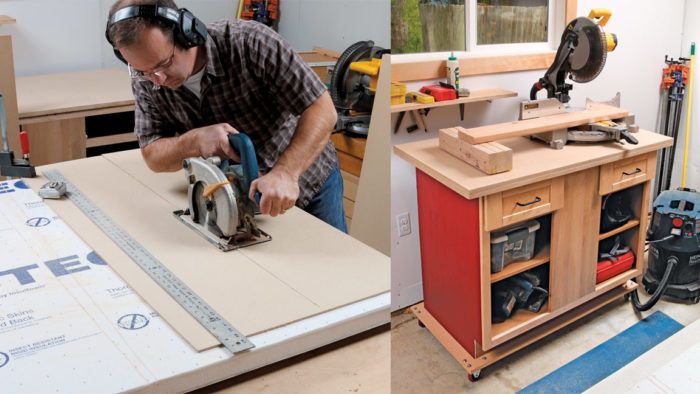
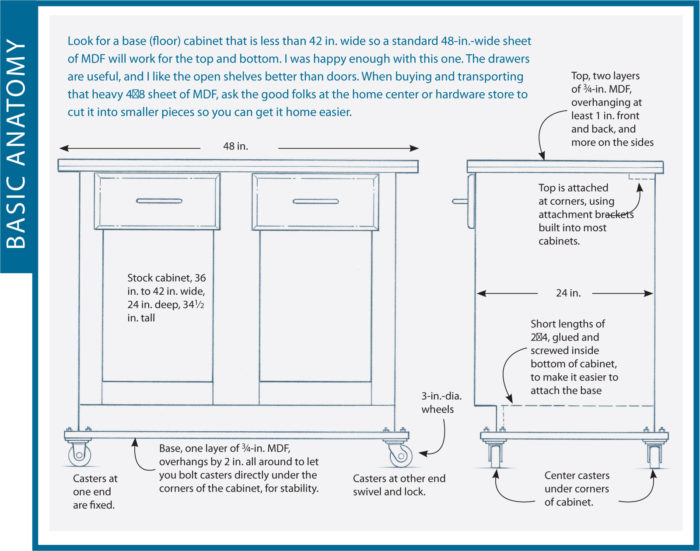
I found this surplus cabinet for $100, painted its sides, and added a thick top and casters to create a mobile workstation for my miter saw, with handy storage inside. This is the only workbench you need to start building projects. Make the top overhang the sides and you’ll be able to clamp things to it easily. Then you can pull out one of your tools from below and go to work.
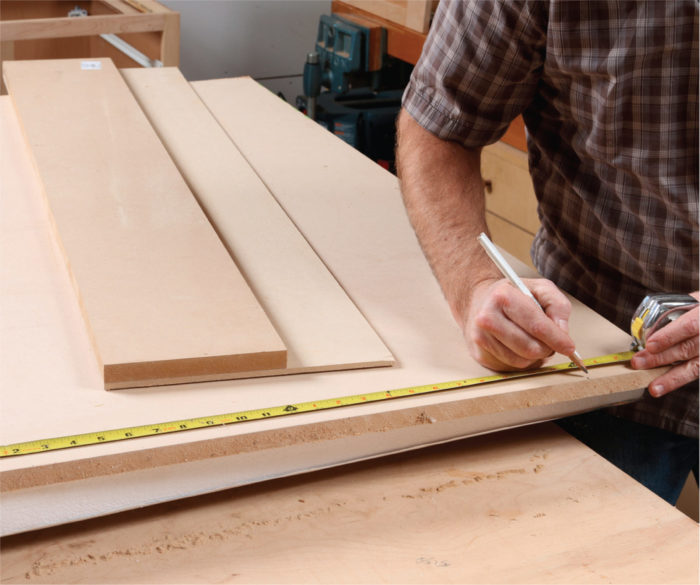
1) Cut the base and top pieces. Use your trusty saw guide here. You need only one mark at each end of the cut, then you can just line up the guide, clamp it down, and cut. Note the foamboard below again, supporting the workpiece and protecting your worktable.
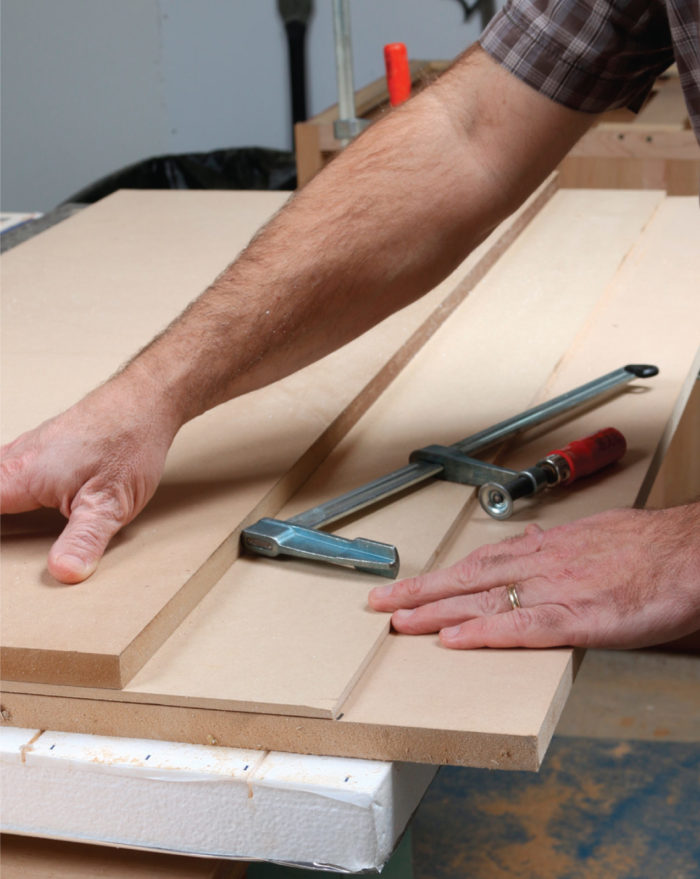
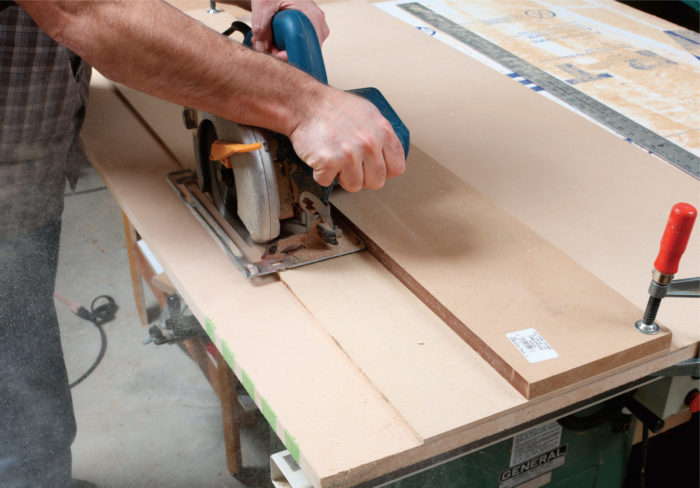
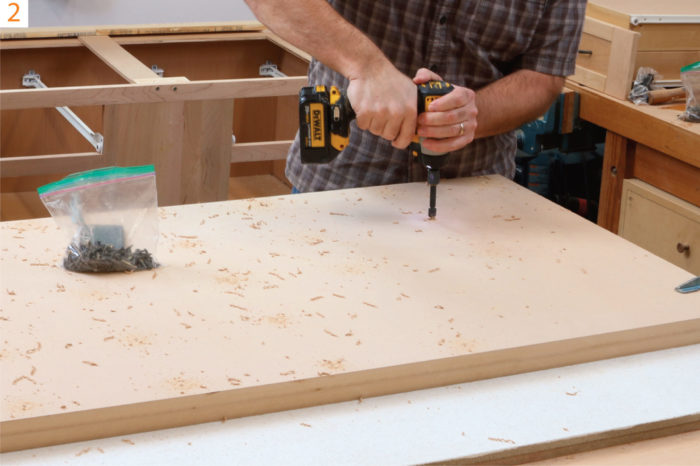
2) Make the top two layers thick. Do that by screwing up through the bottom layer into the top one (both are flipped over here). Drywall screws (11⁄4 in.) work just fine. Just drill clearance holes in the bottom layer for the screws to pass through, and countersink those holes. I used my combo drill/countersink bit here. You don’t need pilot holes in the top layer (bottom in this photo).
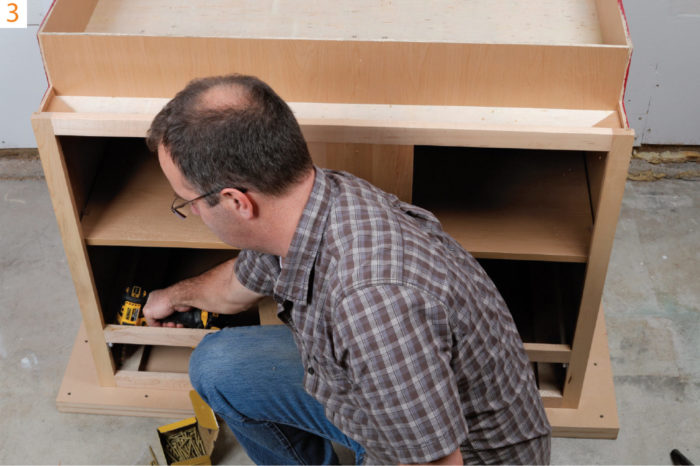
3) Flip the cabinet and mount the top. Lay the benchtop on the floor, top side down, place the cabinet on it upside down, and measure at the edges to even out the overhang. Almost all kitchen cabinets have a way to screw them to a countertop. If yours doesn’t, or you don’t think it is strong enough, you might need to glue and screw on some extra strips around the top of the cabinet (while the cabinet is right side up), as we are about to do for the base.
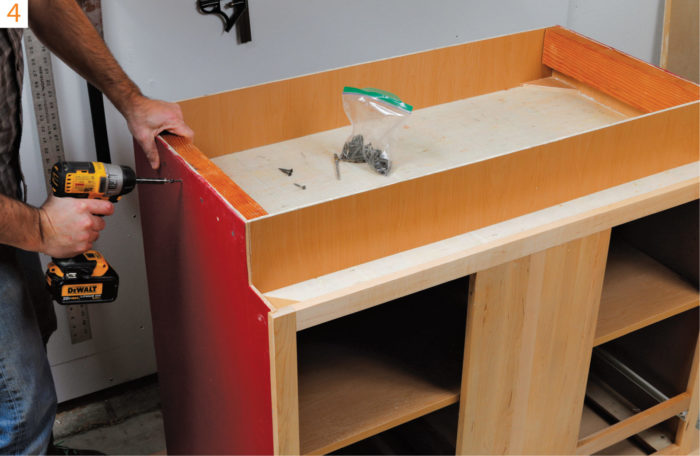
4) Improve the base of the cabinet. To screw a base and casters onto the bottom of a cabinet with thin sides, you need to reinforce it a bit. Do that by cutting some 2x4s to fit into the outside edges, brushing a thick layer of wood glue onto them, and screwing through the outsides of the cabinet to attach them. Again, use clearance holes and countersink them. Hold the wood pieces level with the bottom of the cabinet as you drive the screws.
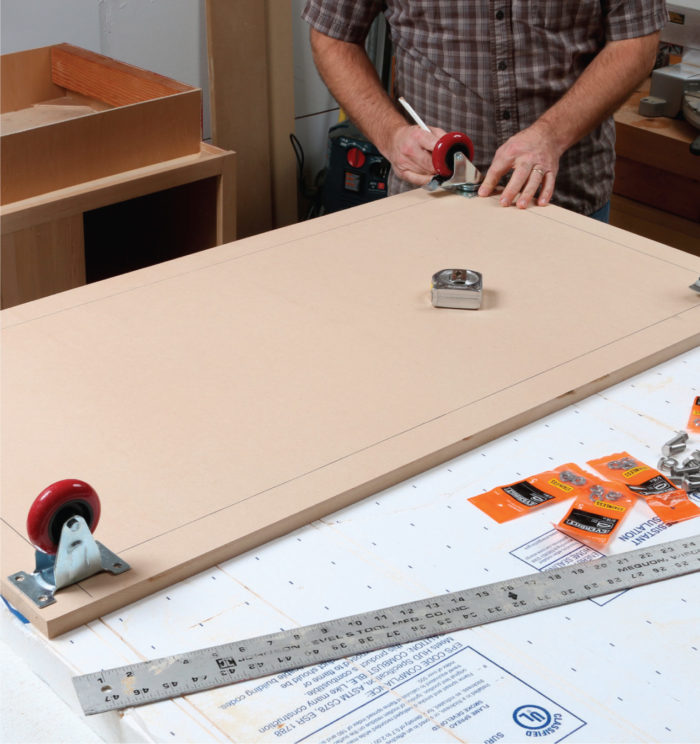
5) Locate the casters on the base plate. Cut another big piece of MDF, 2 in. bigger than the bottom of the cabinet all around, so you can bolt on the casters. Draw lines to indicate the outline of the cabinet, and center the casters on the corners of the cabinet as you mark the locations for the bolt holes. Then drill those.
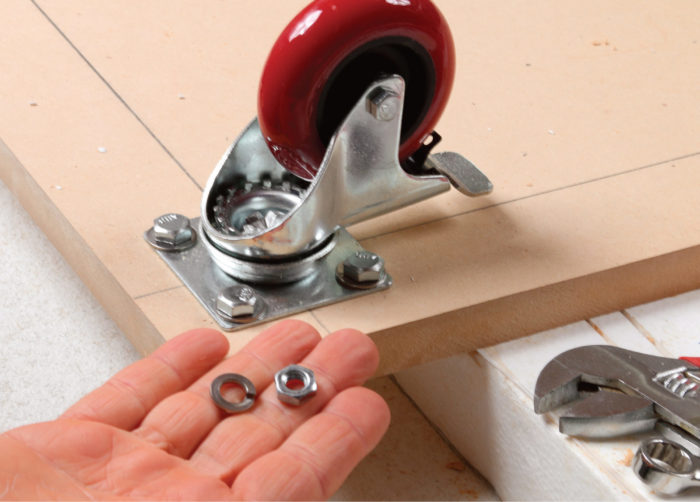
6) Use lock washers. The tops of the bolts get normal flat washers but the nut sides gets lock washers. Bolt through the three outside holes but not the inside one right now.
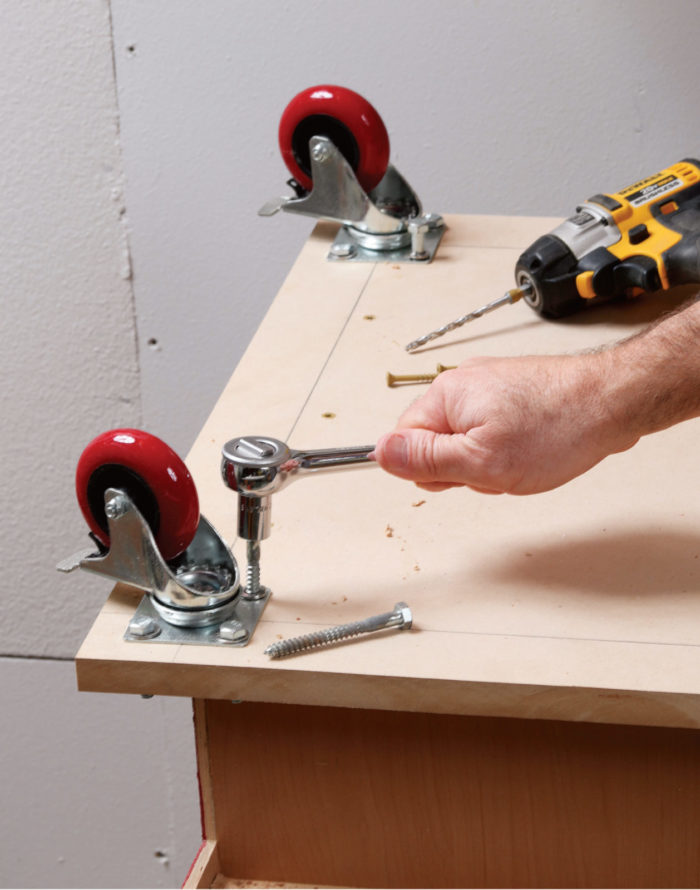
7) Last hole gets a lag bolt. Place the base-and-caster assembly onto the cabinet bottom. The inside hole on each caster now gets a lag bolt (a big, thick wood screw with a hex head on it), driven down into those 2x4s you just attached. You’ve already got bolt holes in the base, but you need to drill pilot holes into the 2x4s below for the lag bolts. And just to be sure the base is attached securely, also drive some drywall or decking screws into the 2x4s below.
Excerpt from Build Stuff with Wood by Asa Christiana, available now from Taunton.
Build Stuff with Wood is a guide for true beginners, packed with do-able projects that are actually worth doing, not the usual starter stuff. Working with just a few handheld power tools and widely available materials, Asa proves that absolutely anyone can make great projects with wood. If you know anyone who is curious about woodworking but not sure where to start, hand them a copy of “Build Stuff.” And if you think you might welcome 13 simple but stylish, weekend projects, grab a copy for yourself. If nothing else, you’ll pick up some handy tips and tricks.
You can find more from Asa at BuildStuffwithAsa.com and on Instagram
More on FineWoodworking.com
- Get More from Your Miter Saw – Use it to break down rough stock, but get furniture-quality cuts, too
- Build a Simple Miter Saw Stand – This simple miter saw stand solution is great for tight spaces and even tighter budgets
- Workshop Tip: Space-Saving Support for a Miter Saw
Fine Woodworking Recommended Products
JessEm Mite-R Excel II Miter Gauge
Rockler Dust Right 650 CFM


Comments
Note that the sizing of the overhang of the base plate is dependent on the size and shape of your caster mounting plates. The casters I'm going to use have a non-square plate, so the overhang will not be a symmetrical 2" on each side. So, size your base plate overhang according to your caster mounting plate, using the 'inside corner' of the plate, which is lag bolted into the reinforcing 2x4, as the fixed reference point, and leave yourself adequate base plate material to secure your caster's mounting plate.
Log in or create an account to post a comment.
Sign up Log in