Build a Shaker Step Stool with Your Kids
Use this free plan to get your kids in the shop and build a project that they'll be proud to stand on.
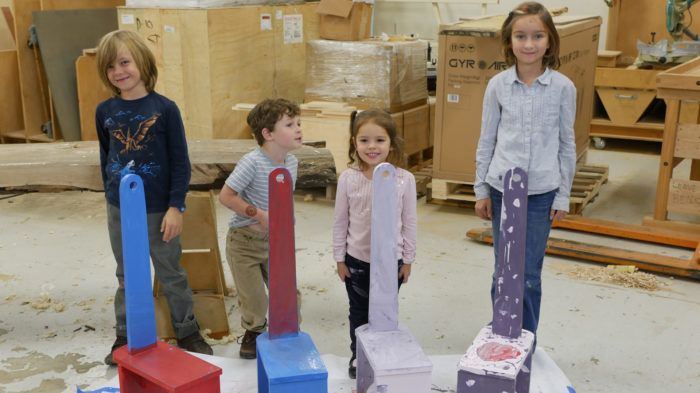
My 4-year-old has hit the stage where the kitchen stepladder was too high for him and this single step stool would get him to the perfect height. Then the thought hit me: Why not make the step stool with my son? The stool has a through-mortise on one leg and dovetailed construction on the other. If I was going to ask a 4-year-old to take on the task, I thought I’d better stack the odds in his favor and simplify it. We wound up building four with some of the kids of Fine Woodworking, ages 4-9. It was an absolute blast, and we made a video of the event that might help your kids get excited about what’s ahead.
So if you’re looking for an excuse to get out in the shop with your favorite little ones, print up the free plans below, prepare a safety talk, and get building!
Download printable plans here.
Preparing the stock
This project is designed to use a single 6-ft. piece of 1×8 stock. I was able to get really nice pine from a local lumberyard at a cost of $20 per stool.
1) Crosscut the parts
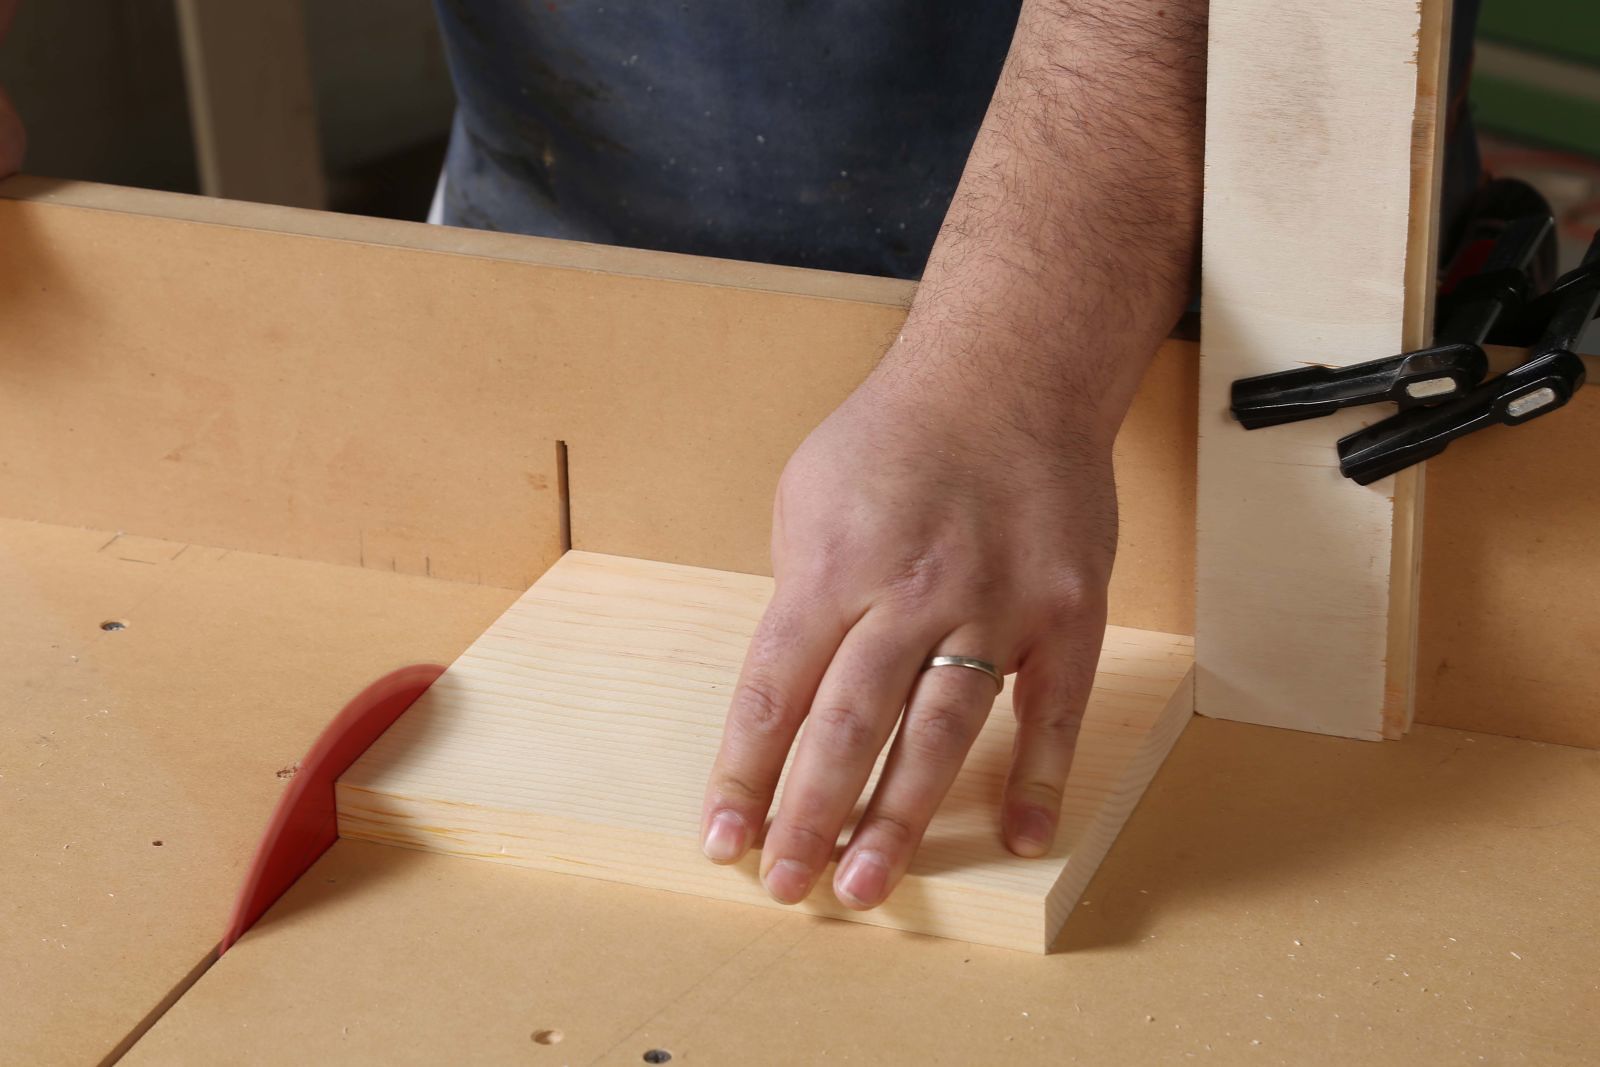
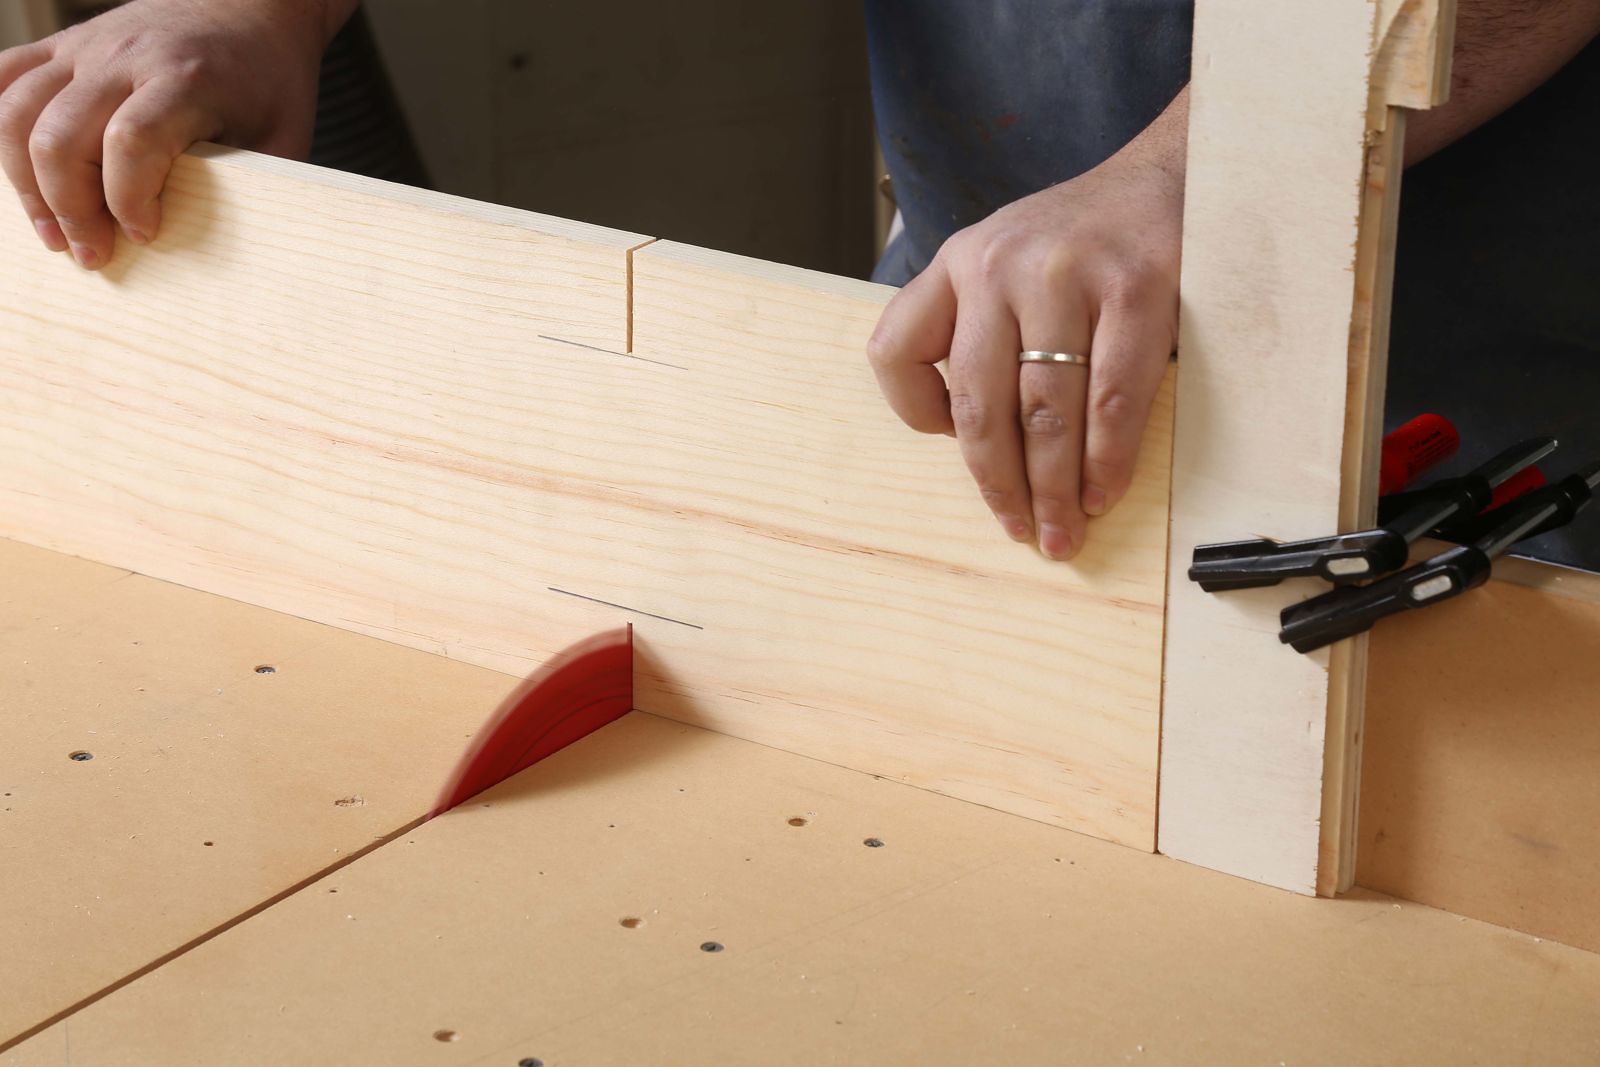
Since we were doing a batch of stools, I did this at the tablesaw using a sled and a stop. You could do it with a miter saw or by hand easily. The last piece I cut was the front leg. Make sure to leave the stop in place and use that to cut the shoulders of the back leg to assure that the step sits evenly on both pieces.
2) Cut the through-mortise in the step
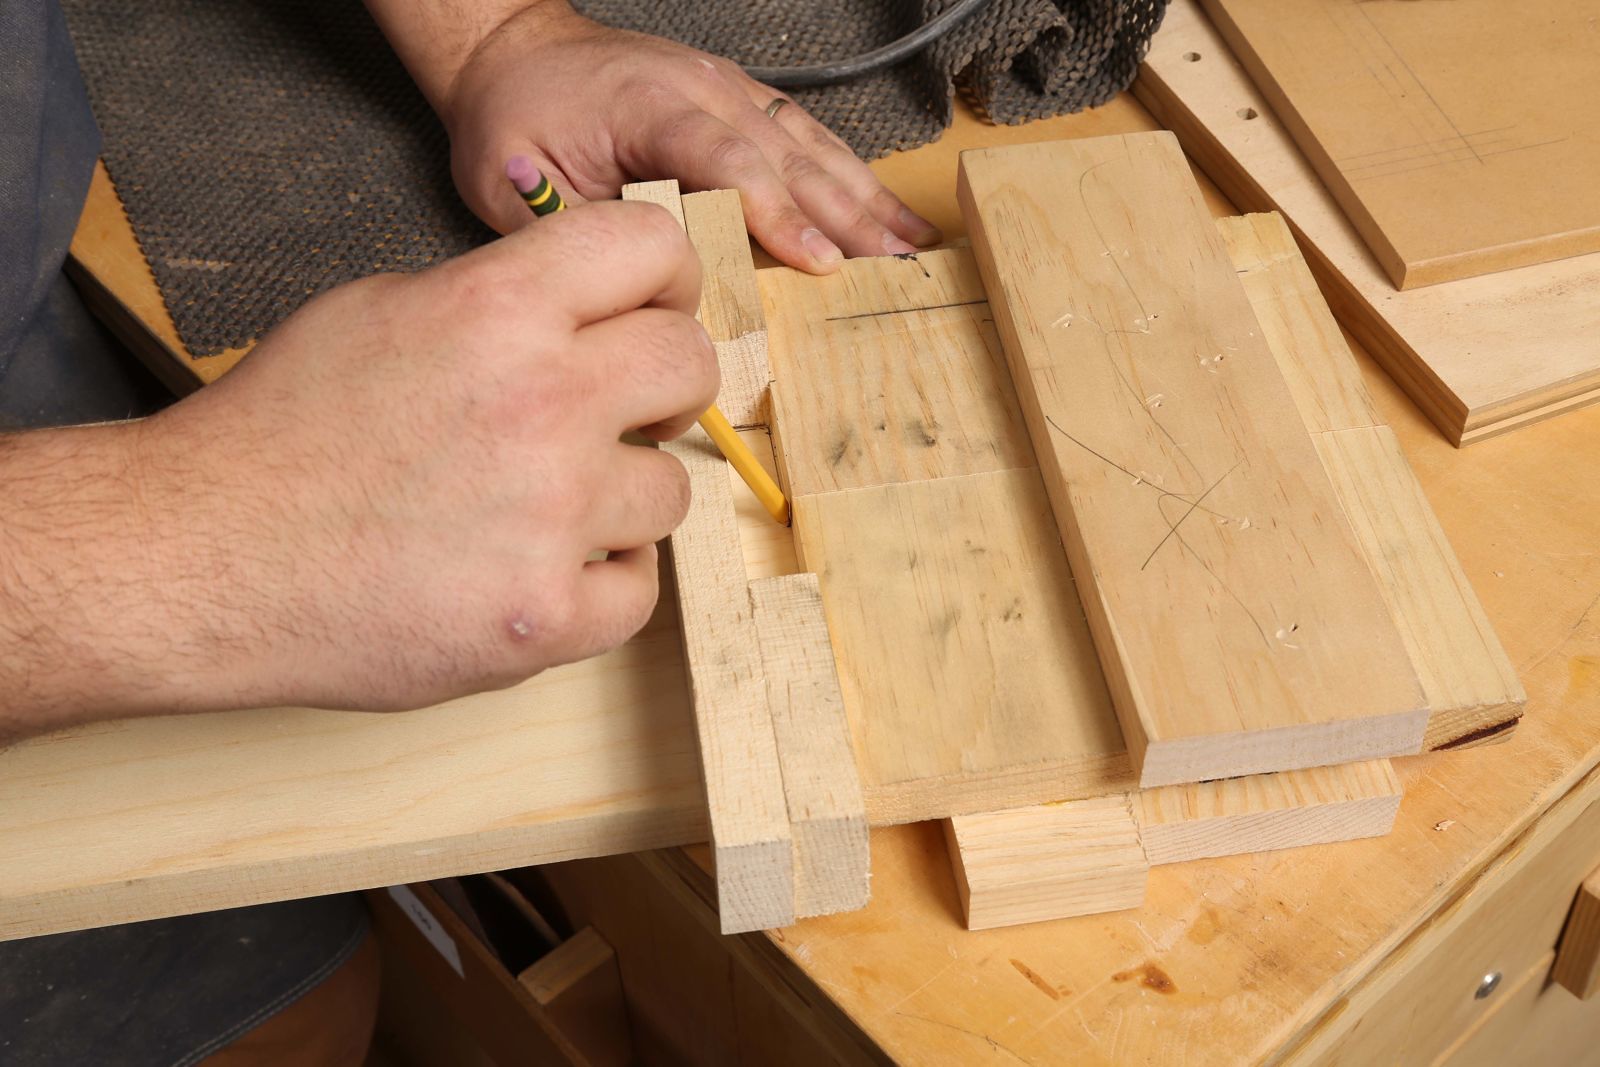
If you’re making one or two step stools you can use any method you like for this. I was doing six, so it was worth the time to create a jig. As you can tell, it’s a simple jig that uses offcuts of the stock to make sure the mortise is exactly the thickness of the handle. I placed each piece in the jig and marked where the mortise would go.
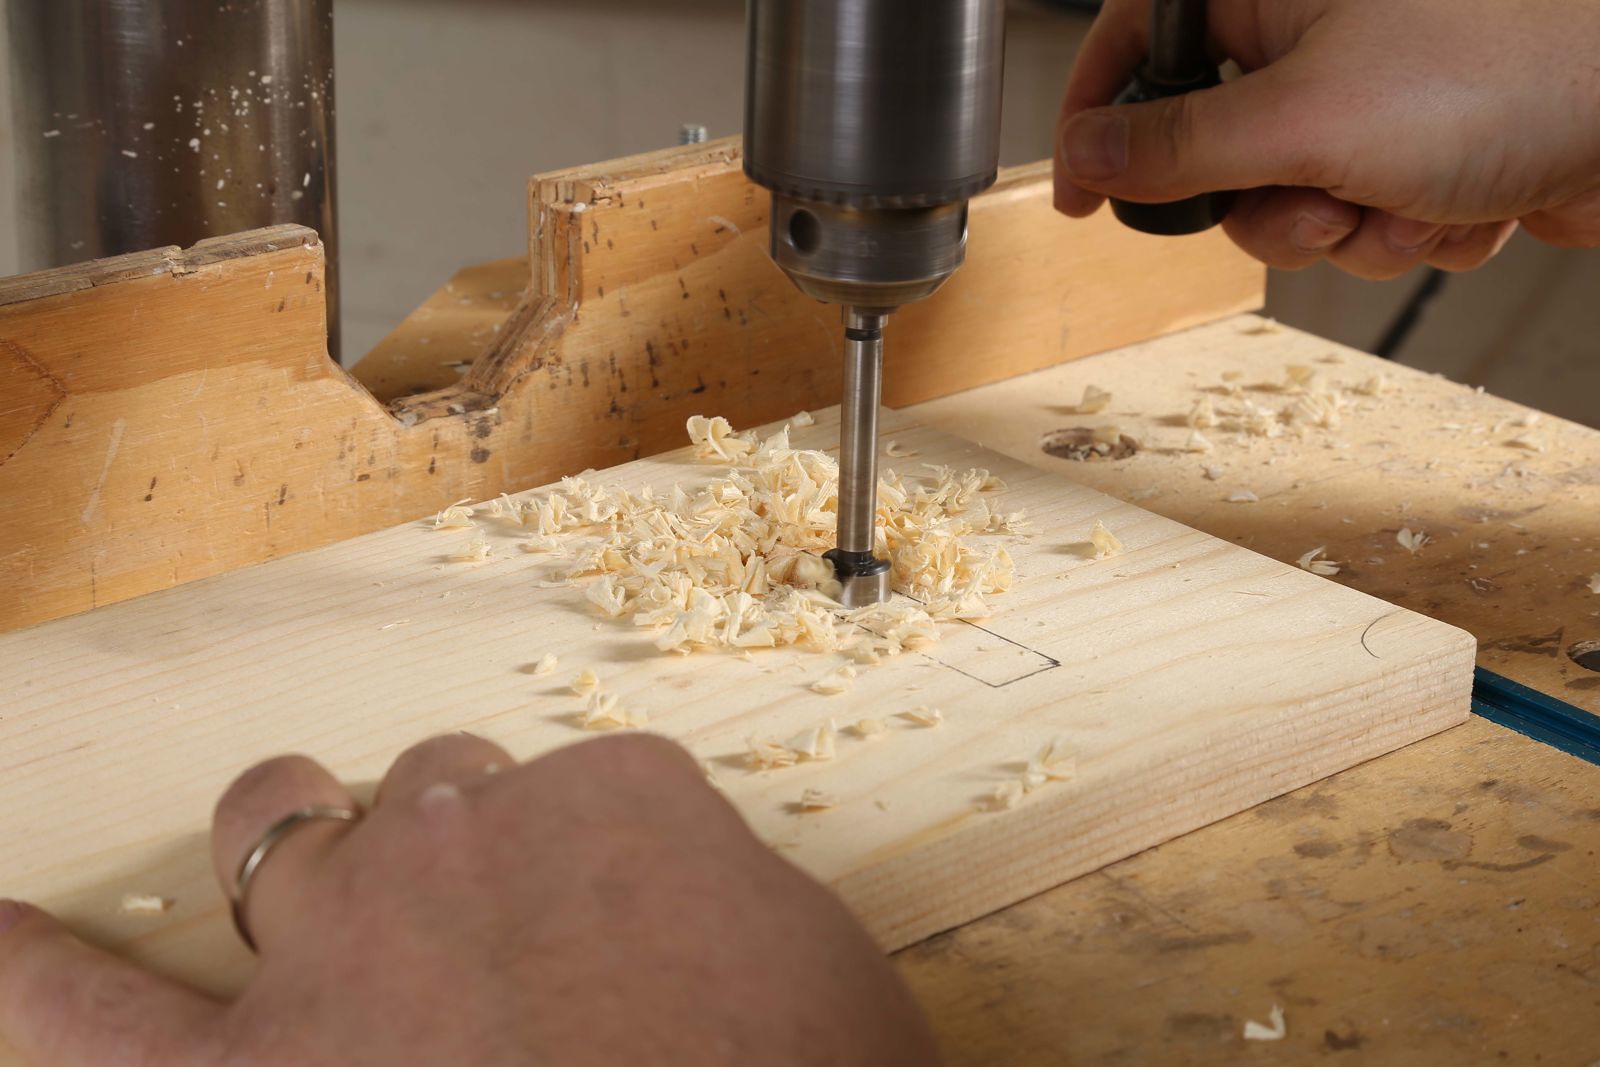
Next I headed over to the drill press to hog out most of the material. If you’re making one or two, grab a chisel and clean up the walls of the mortise.
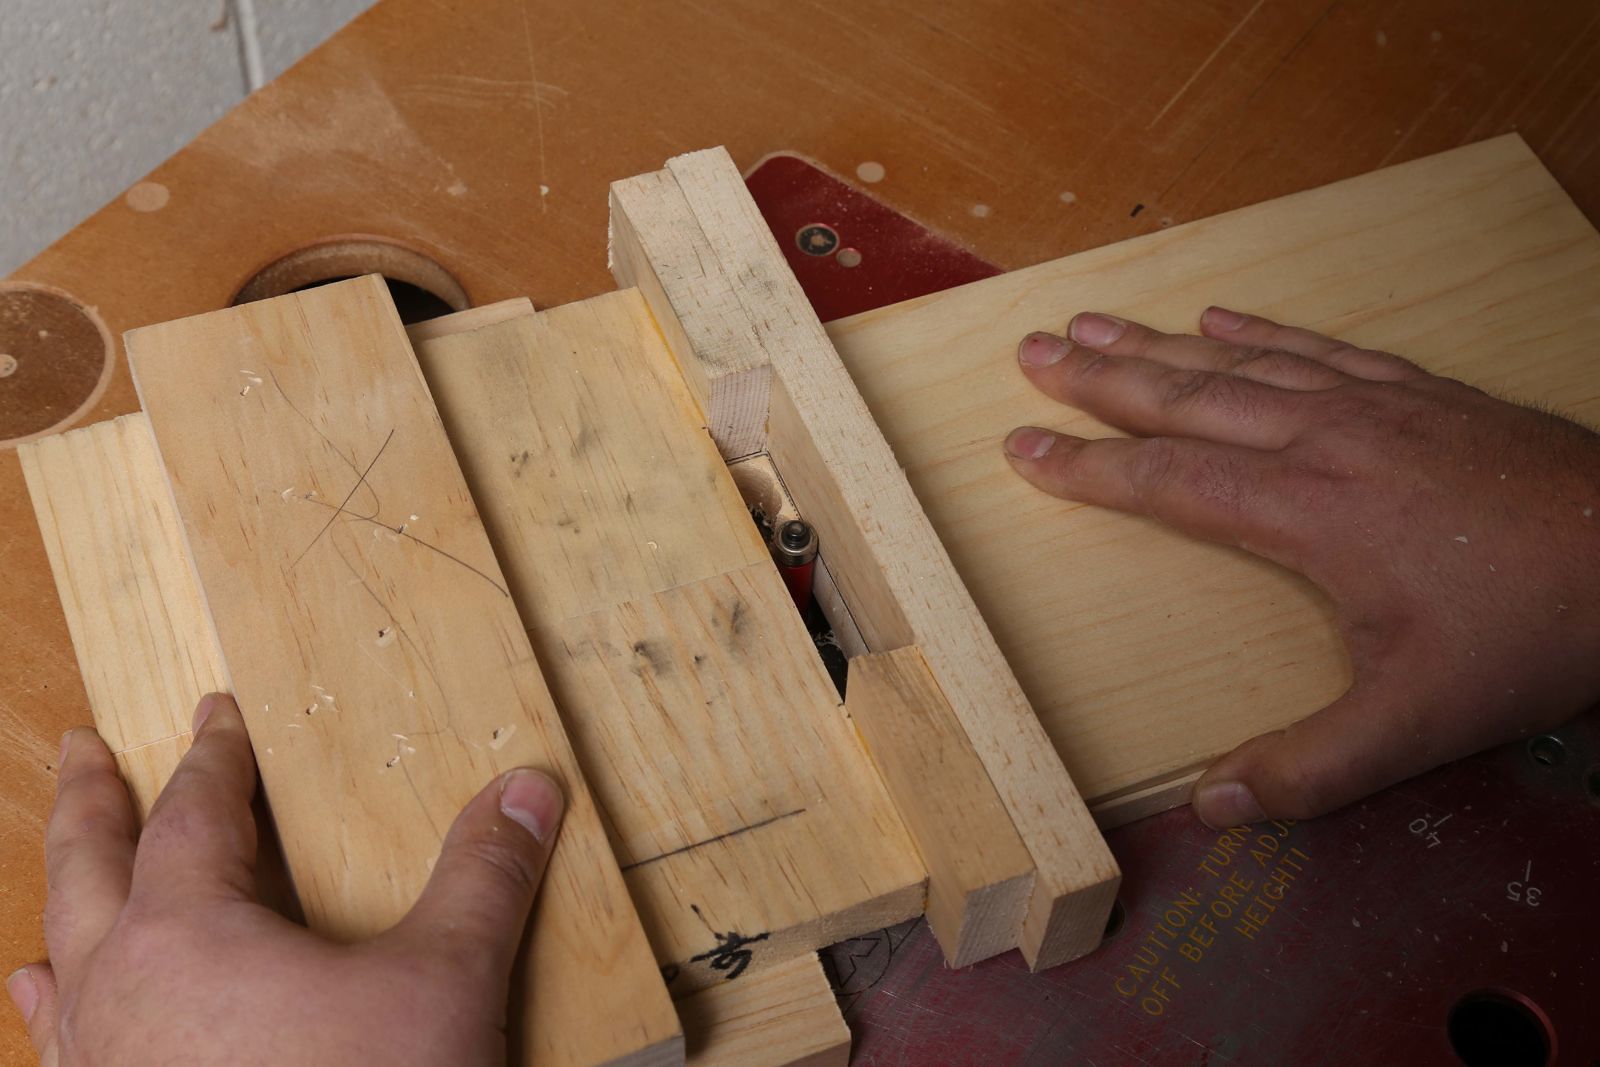
Then, the step goes back into the mortising jig and onto the router table to precisely cut the mortise with a top-bearing flush-trimming bit.
3) Draw some lines and curves
This is where we picked things up with the kids.
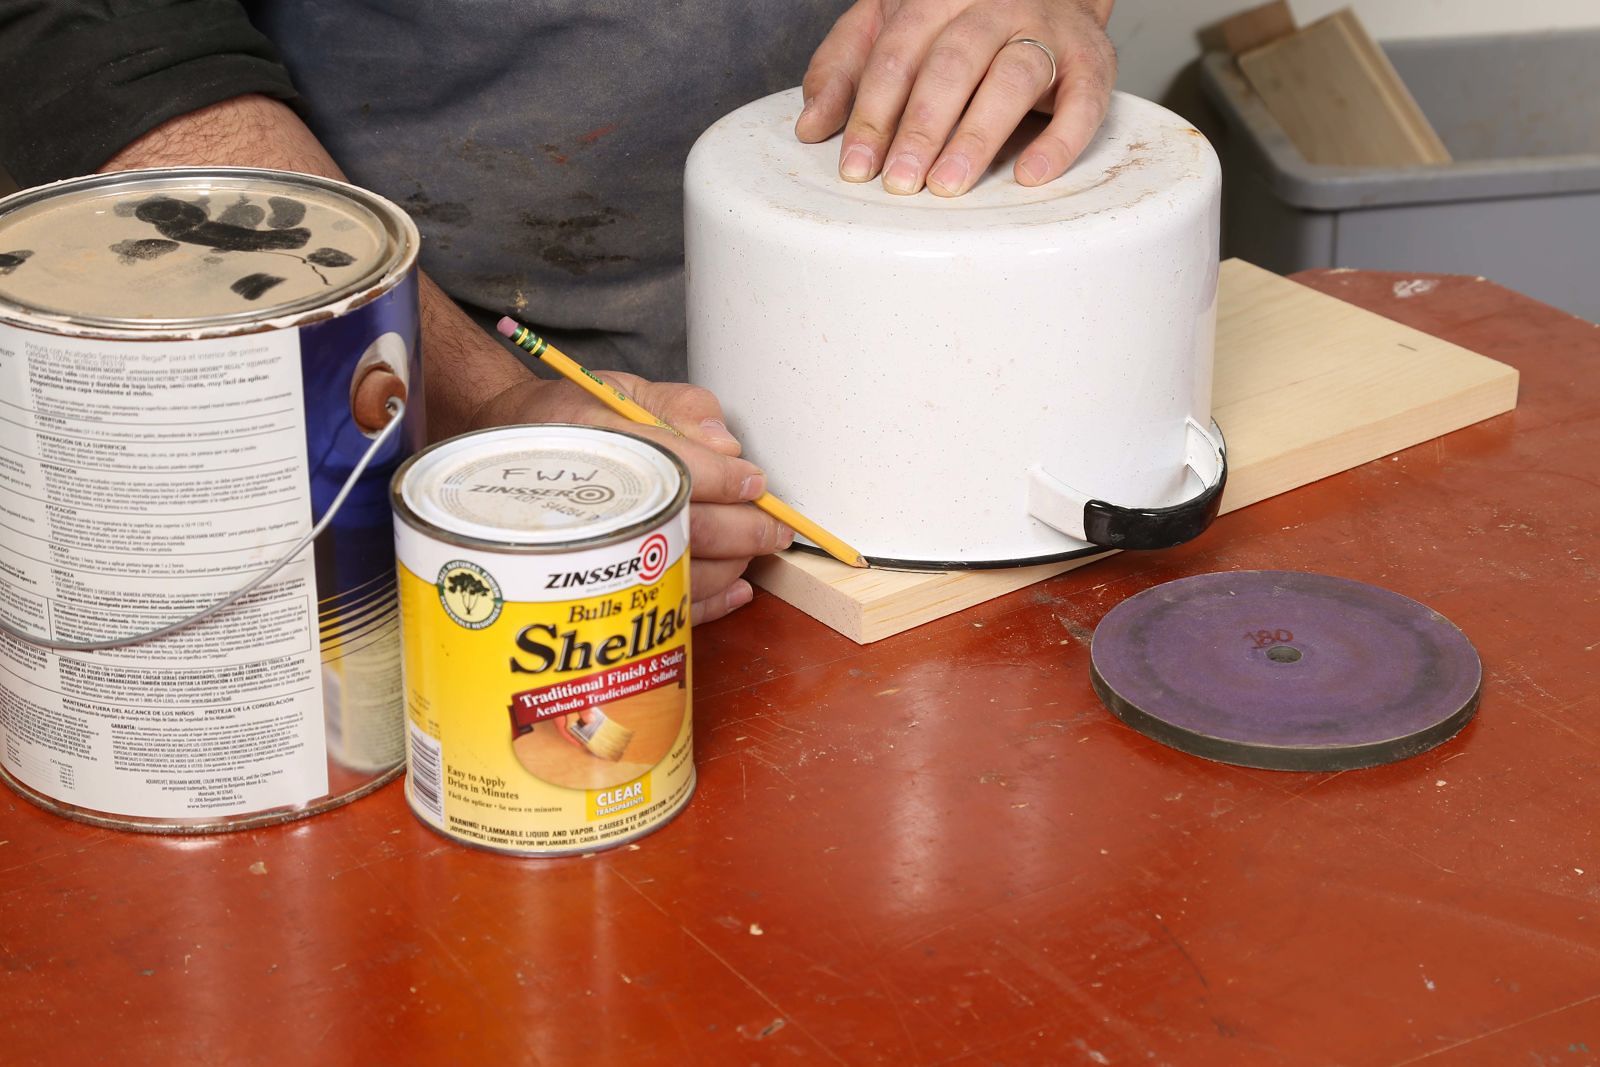
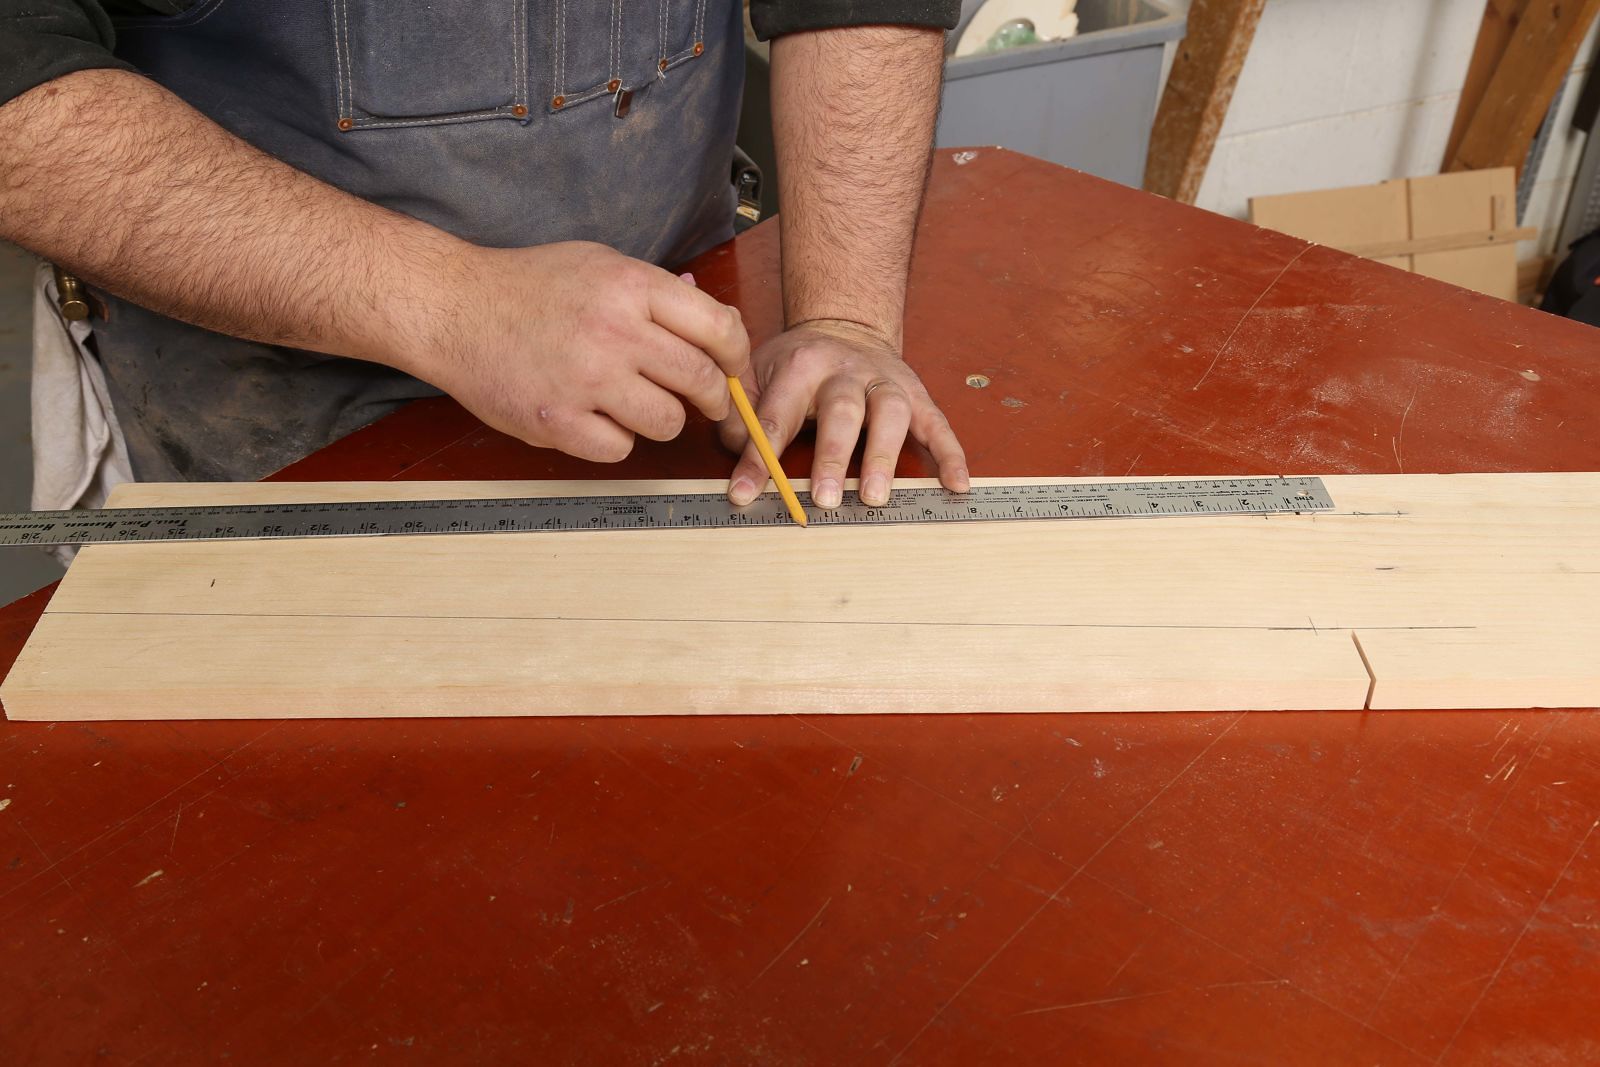
Mark the taper for the handle with a yardstick and let the kids wander around and find circular items to use as a template for the curves. Older kids might find a compass more fun to use.
4) Shape the parts
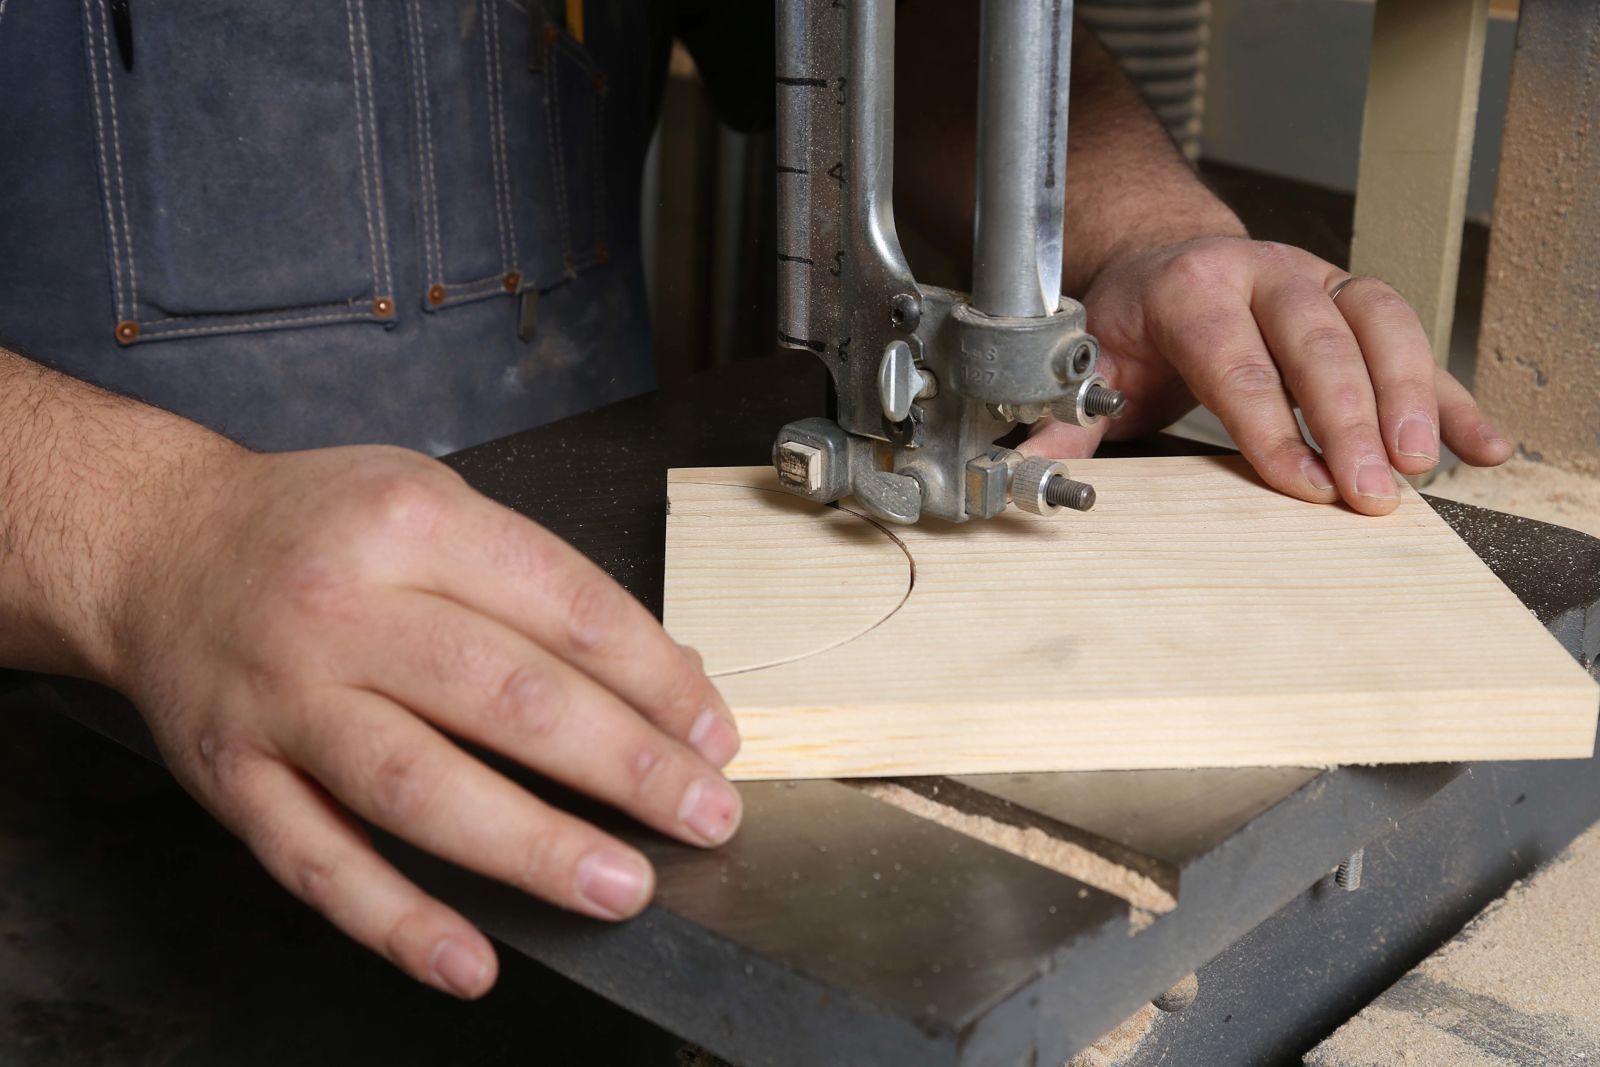
After drilling out the hole in the top of the handle, head over to the bandsaw and cut out the pieces. This could easily be done with a jigsaw. My son loves to “use” a coping saw (as you can tell in the video, he is little more than moral support, but it’s fun for him).
5) Clean up the parts
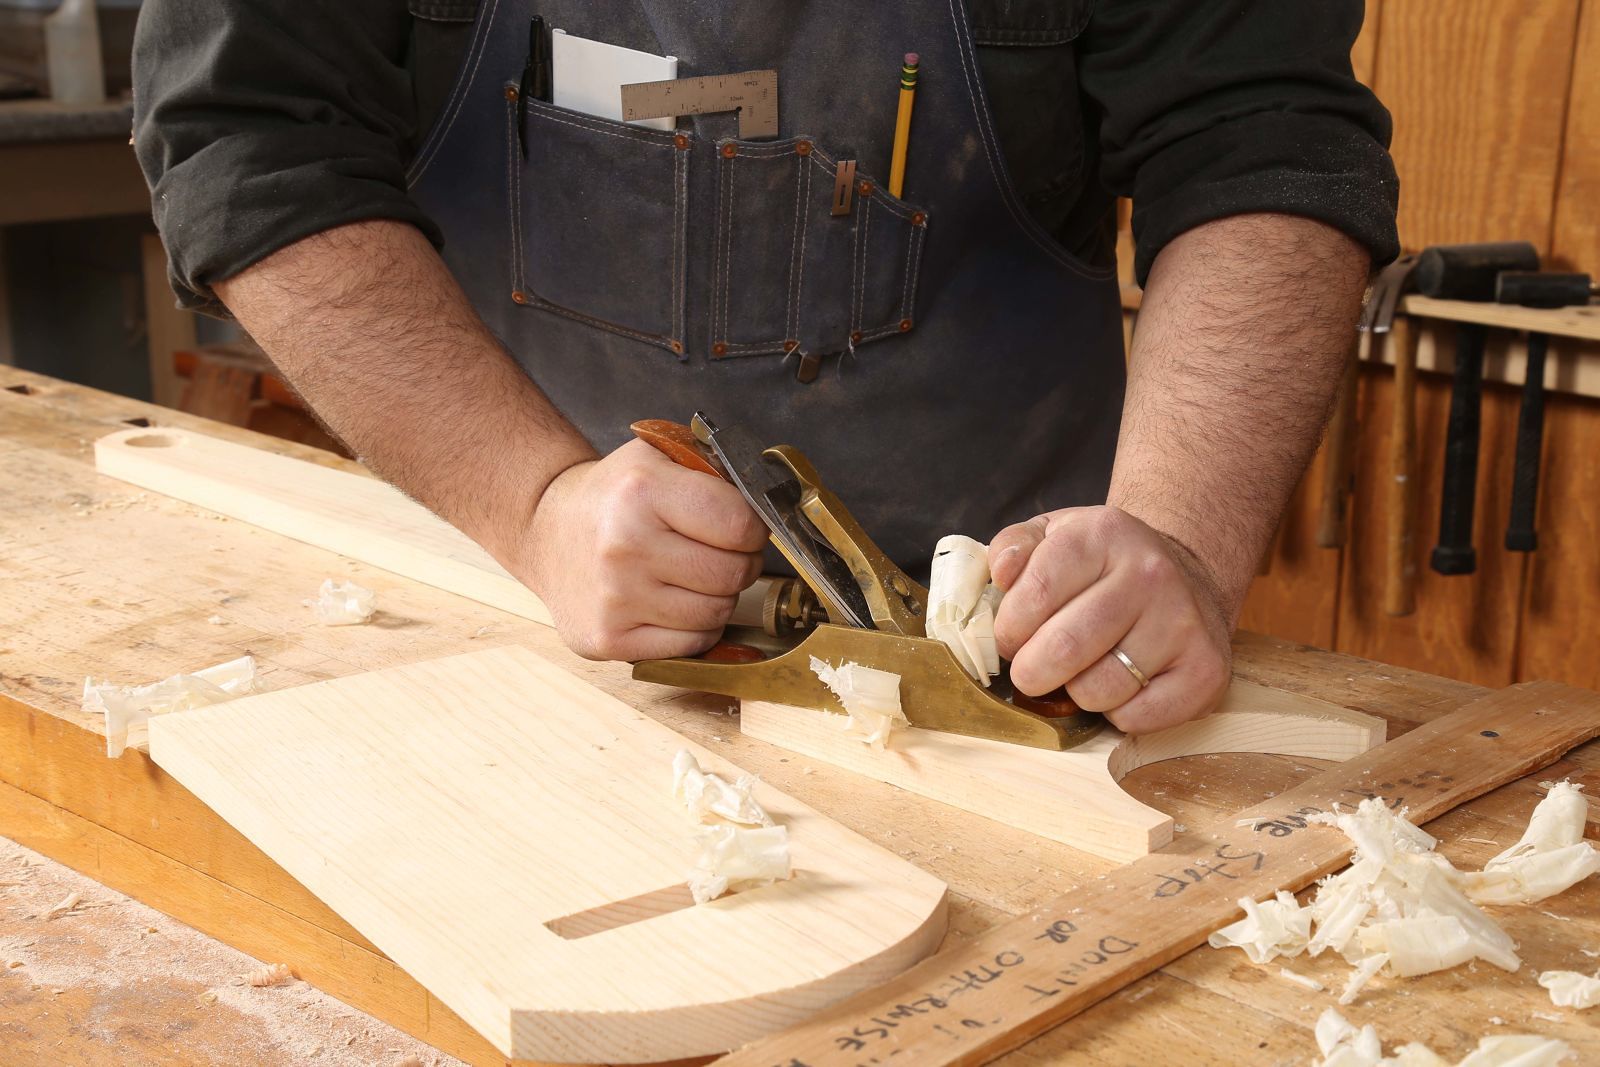
This is a step that I didn’t anticipate doing with the kids but it turned out to be the highlight of the day. Kids and a spokeshave are made for each other. Every time we turned around, one of the kids had a spokeshave and was going at any piece of unattended wood they could find. Also, using the mortising jig made for a near-perfect fit, which is great in the hands of an experienced woodworker, but we found that the kids—and their love of mallets during assembly—split a couple of the steps. So we all agreed that in the future it would be a good idea to take a few shavings off the sides of the handle in order to make assembly a little more friendly for the mallet-wielding children.
6) Assemble with screws
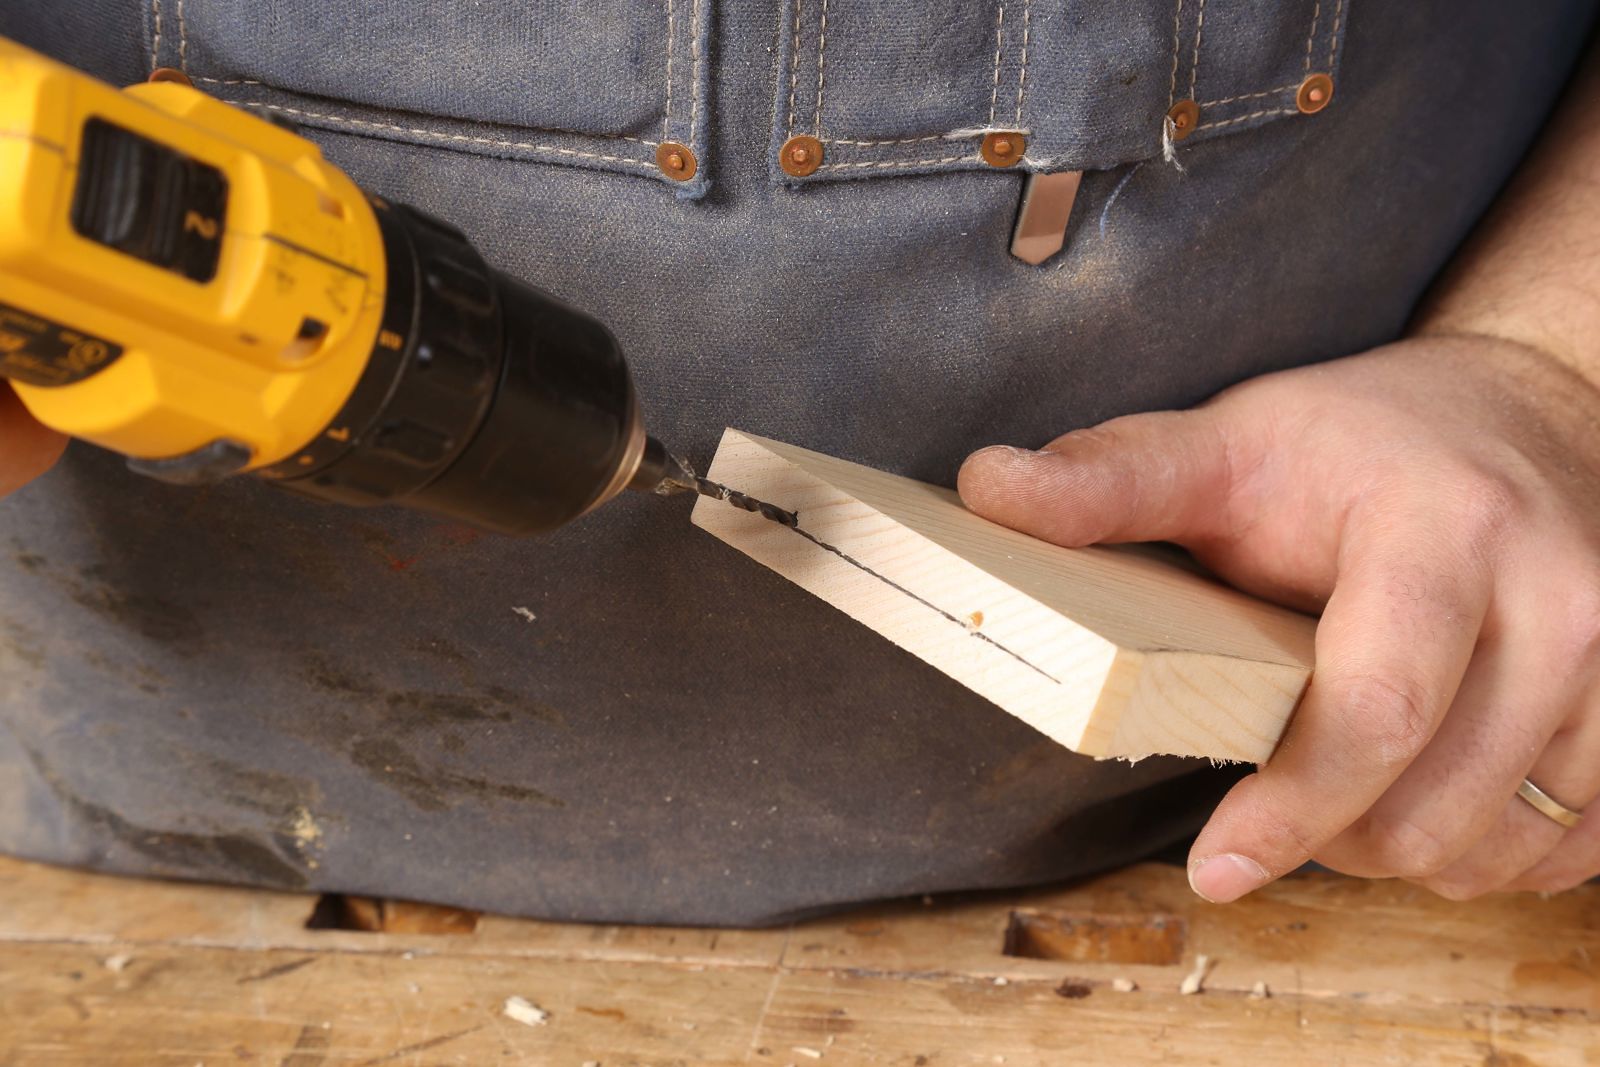
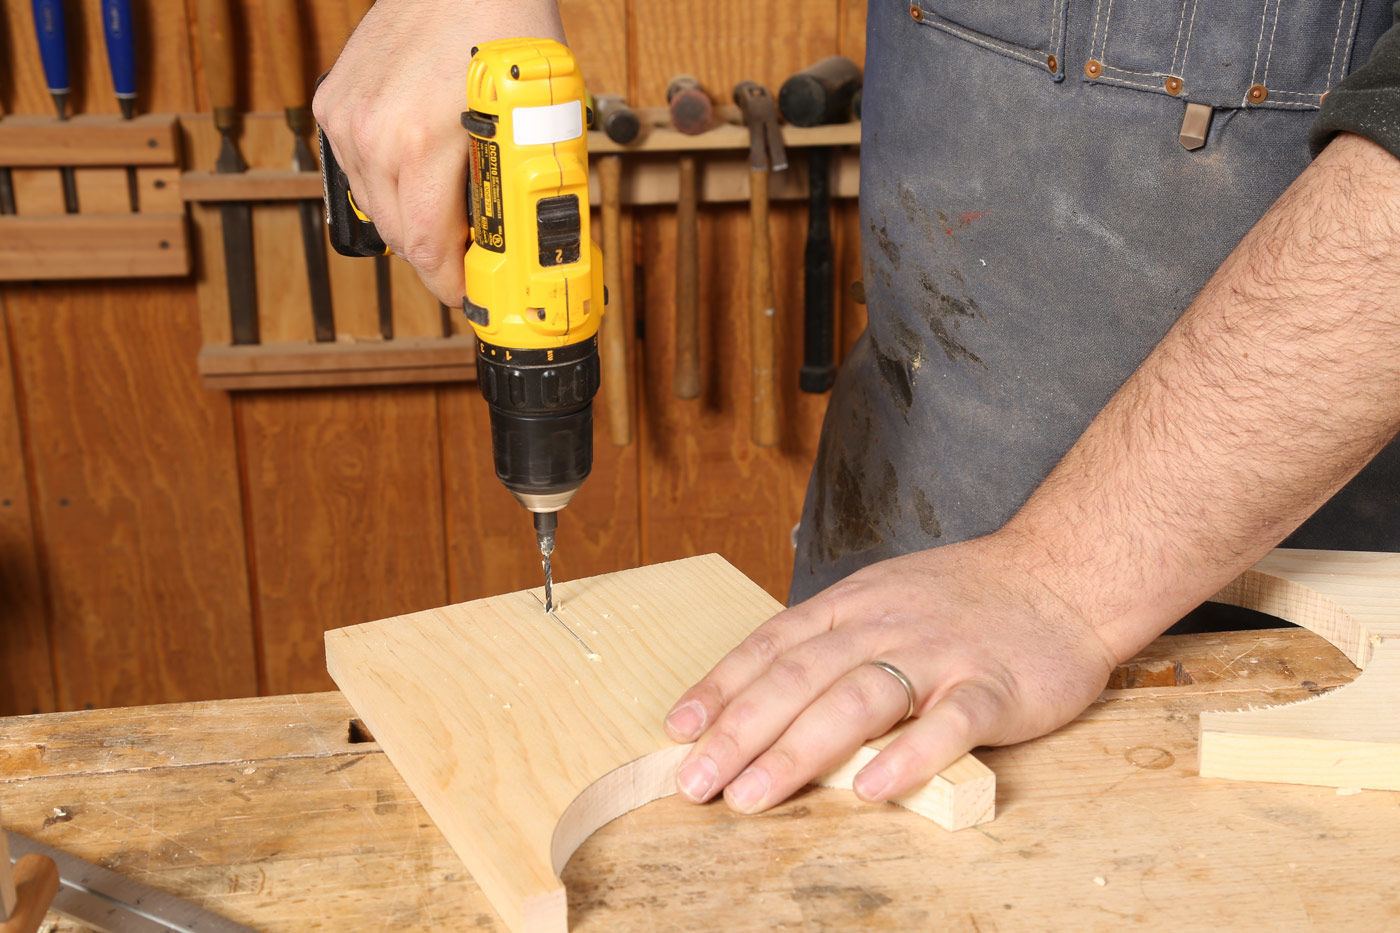
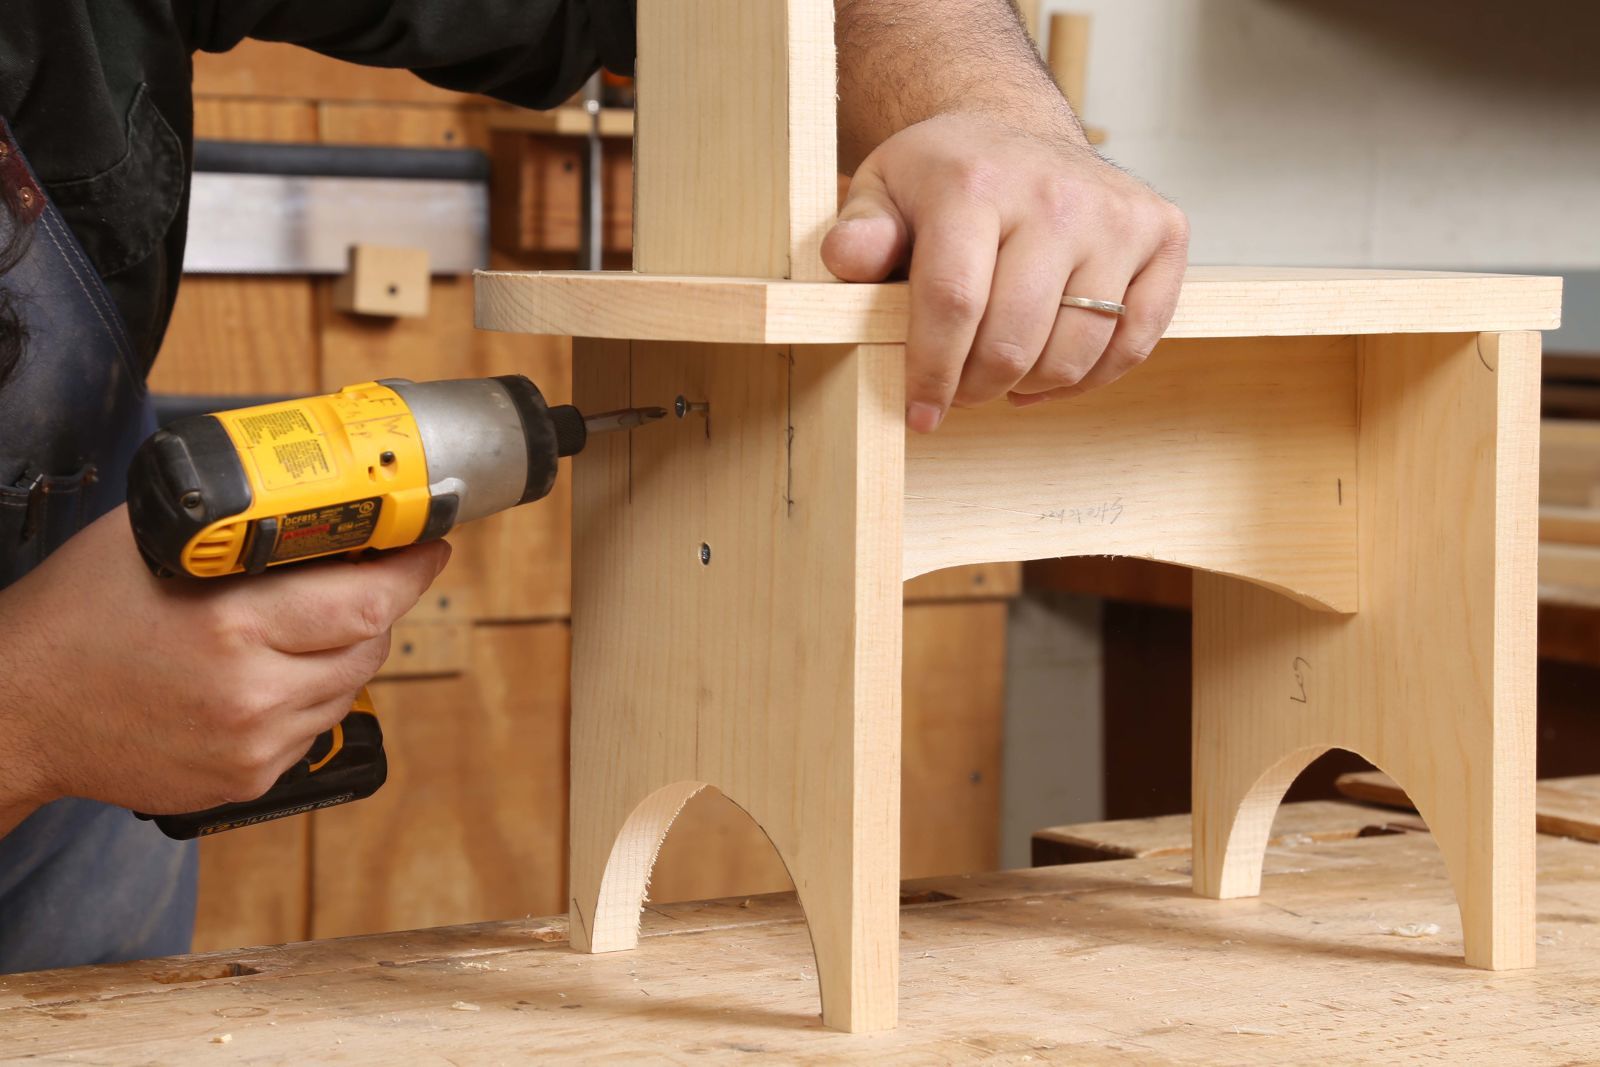
This is one spot where Anissa, John, and I were scratching our heads a little. In the end, I think we came up with a great order of operations. First we marked the center of the arched brace, and drilled pilot-holes at 1 in. and 3 in. from the top.
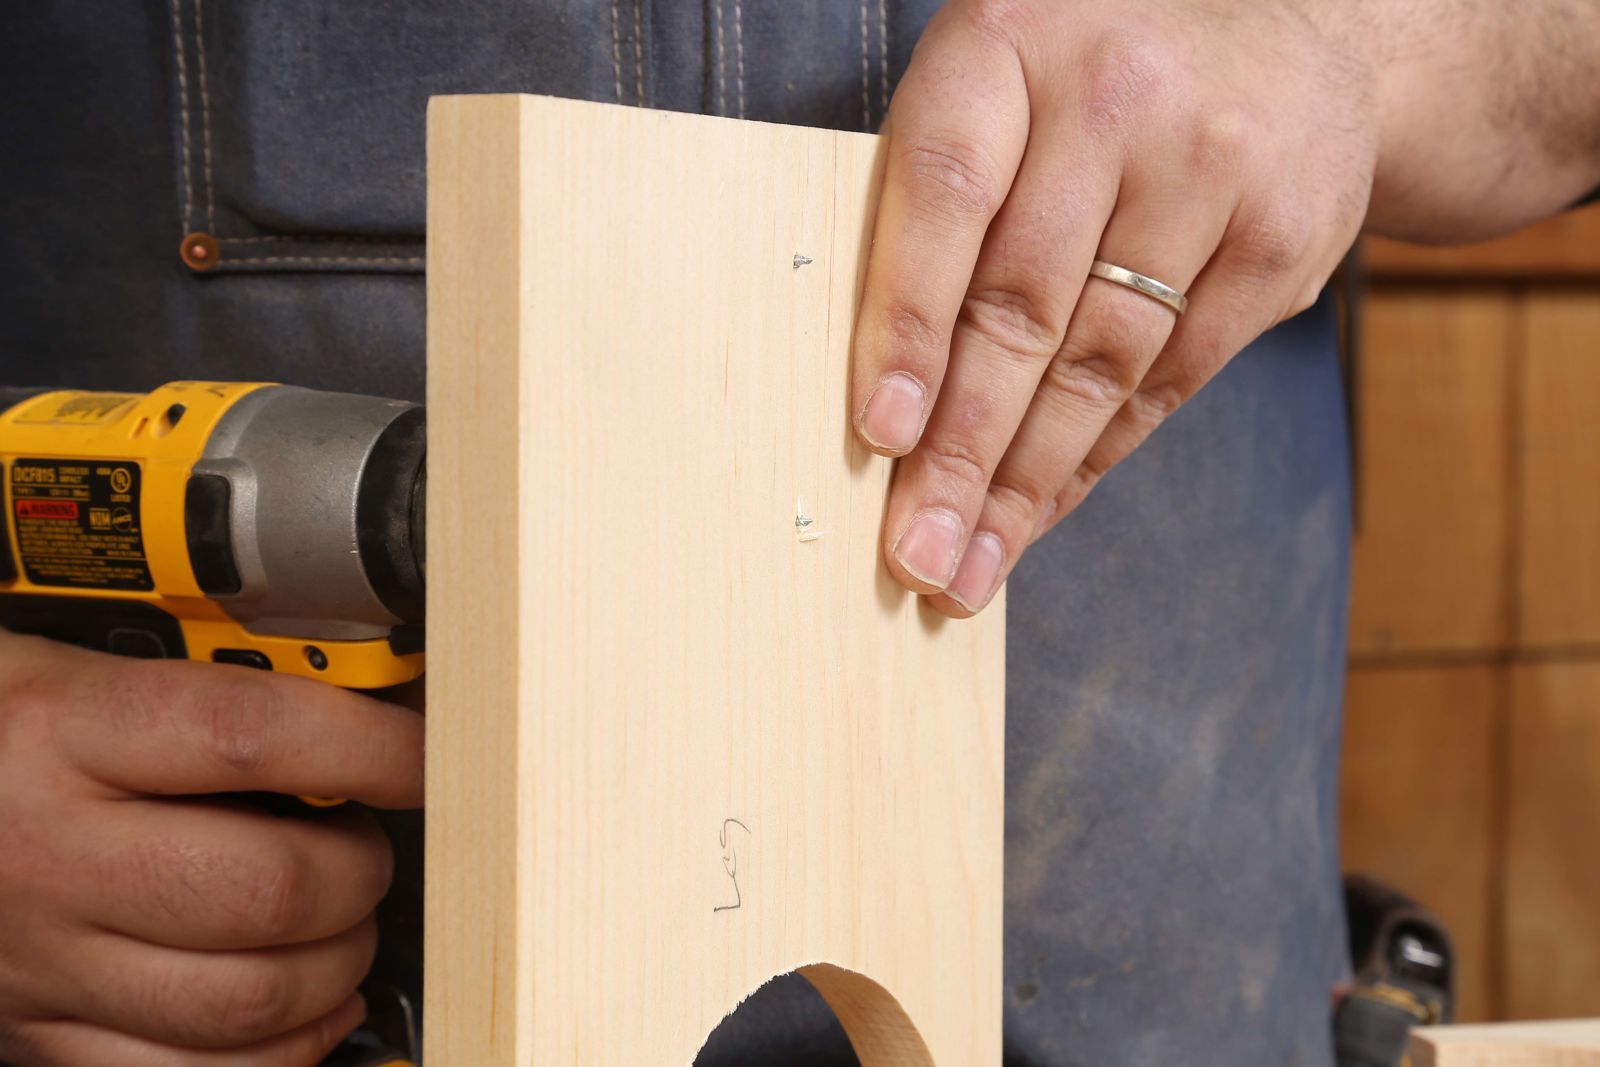
Then we repeated the same task on the legs and started to drive the screws, leaving the tips of the screws protruding about 1/8 in.
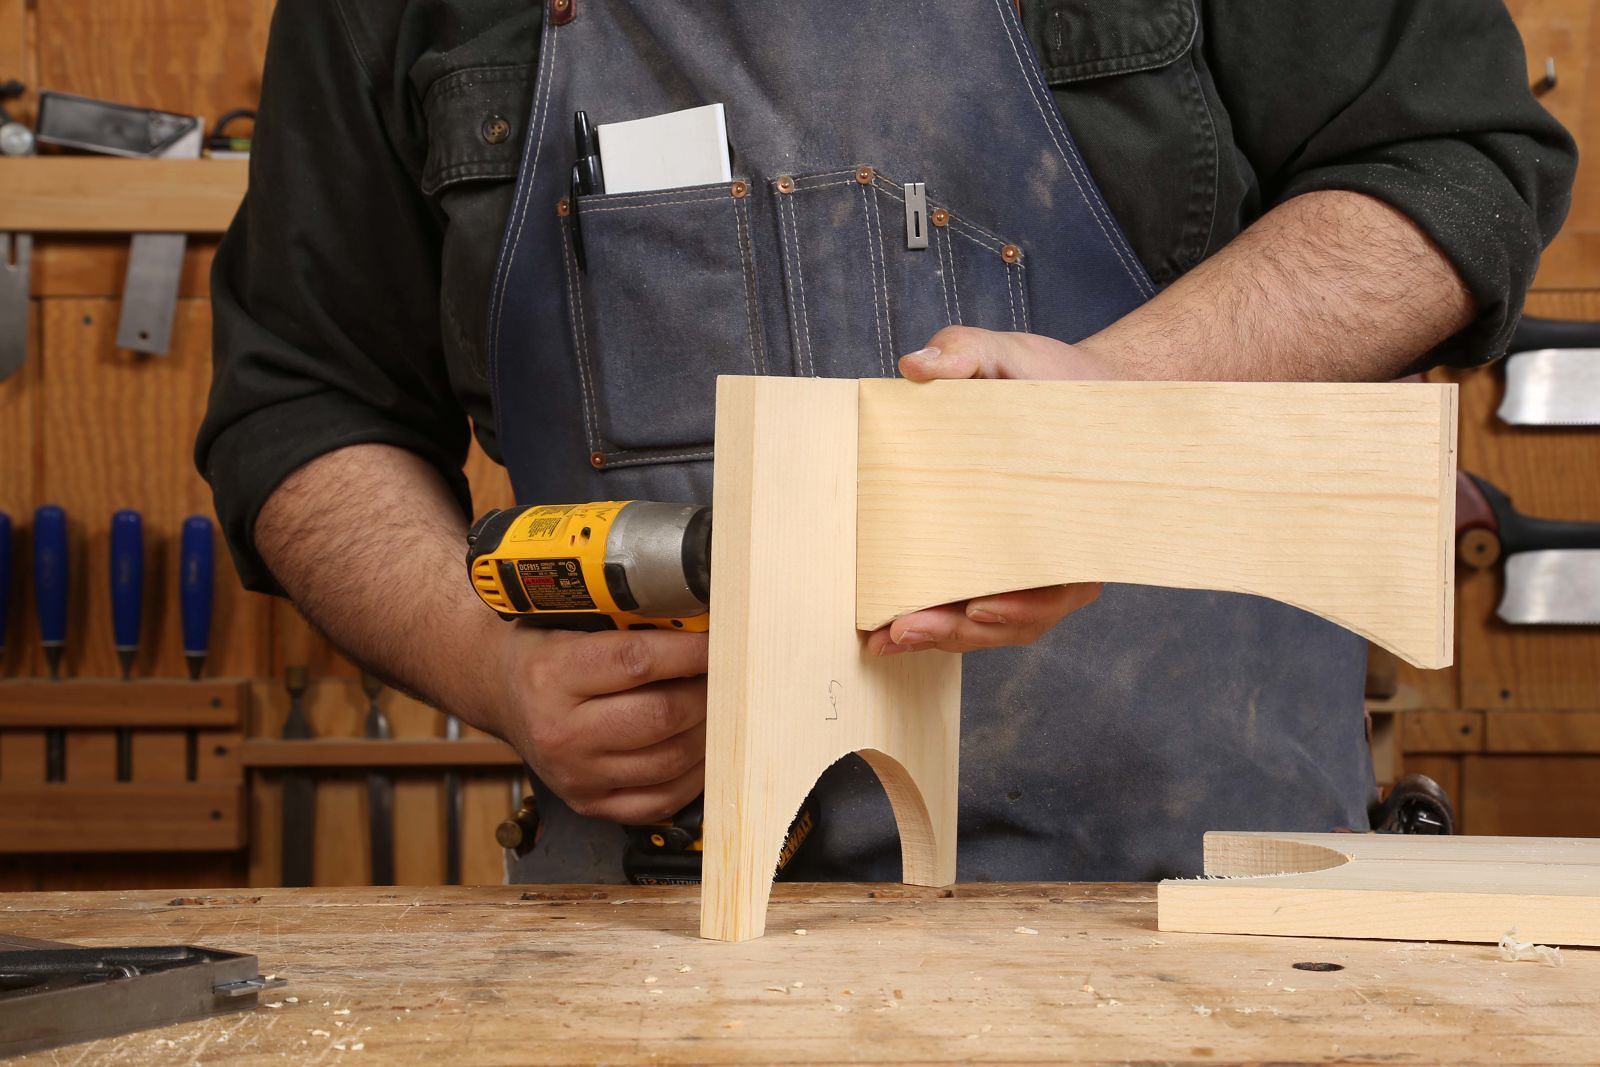
When you assemble the arched brace and leg, the screws will help you register the pieces in the correct place.
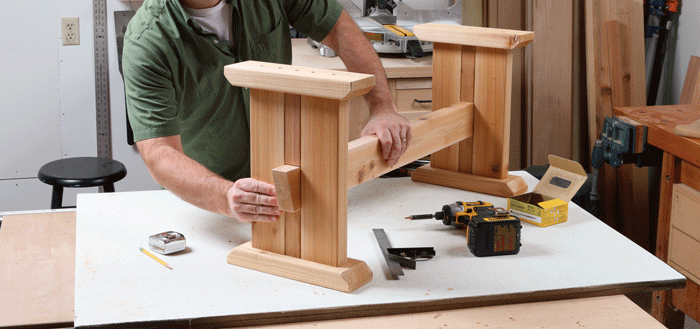
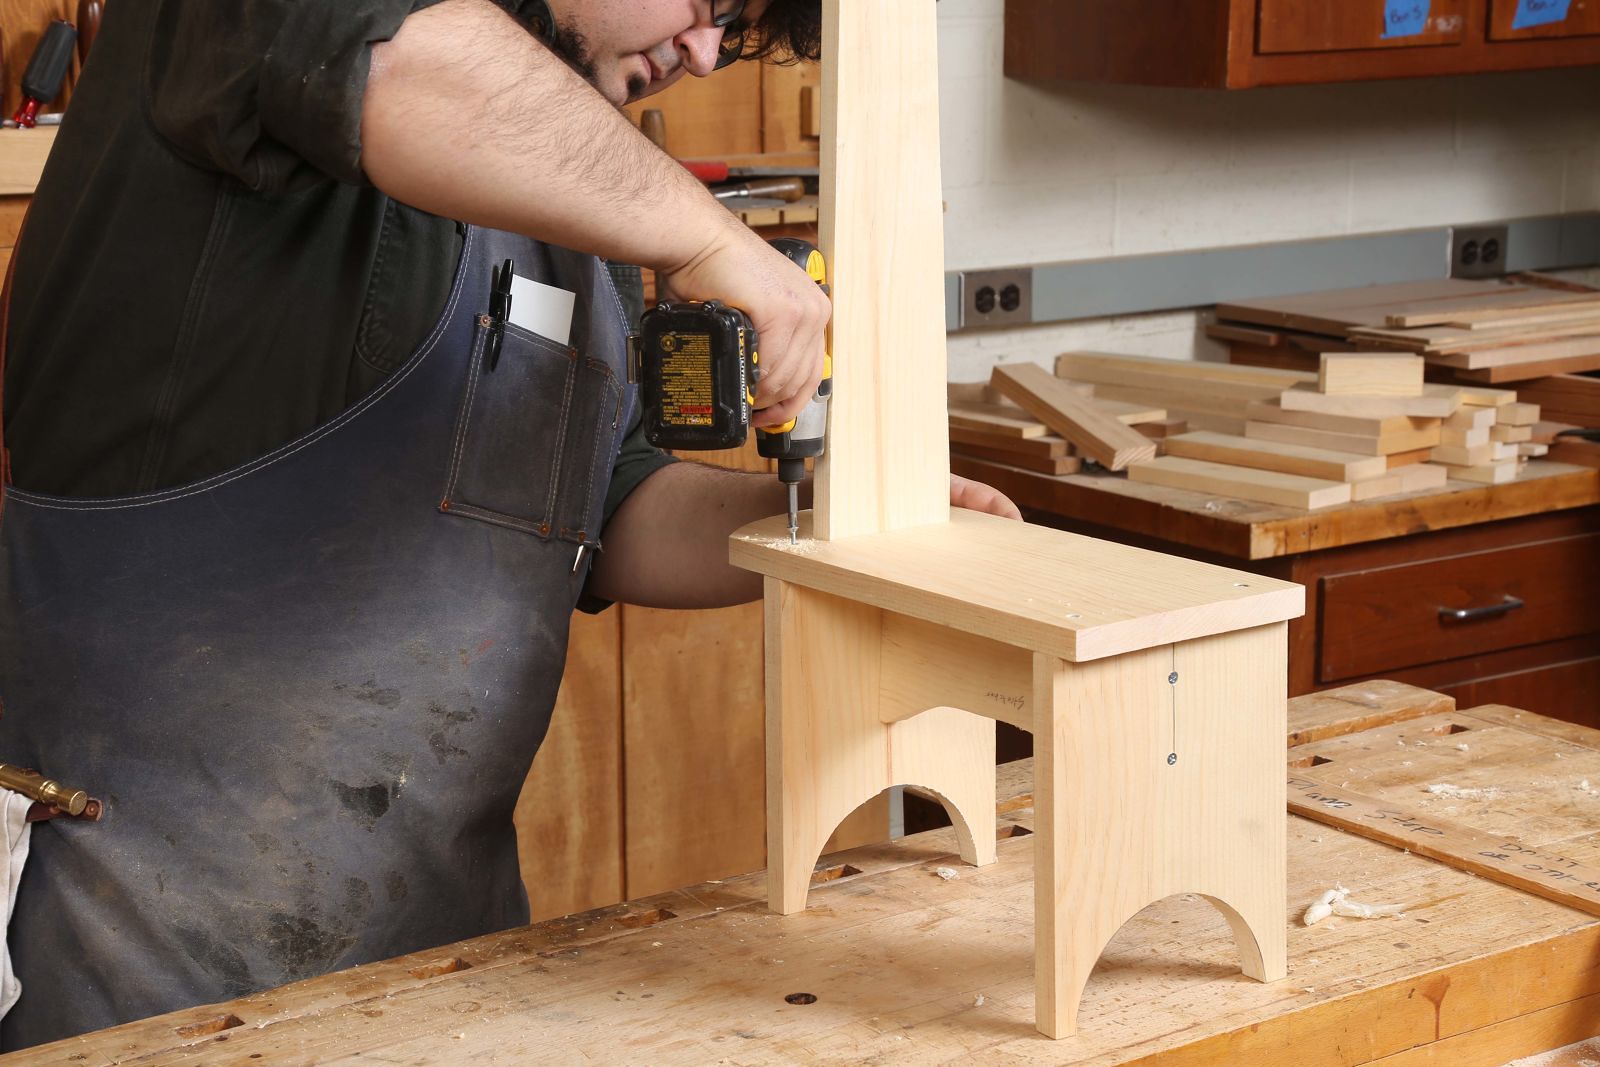
After that, we slid the step over the handle, and screwed the back leg to the arched brace using the same method.
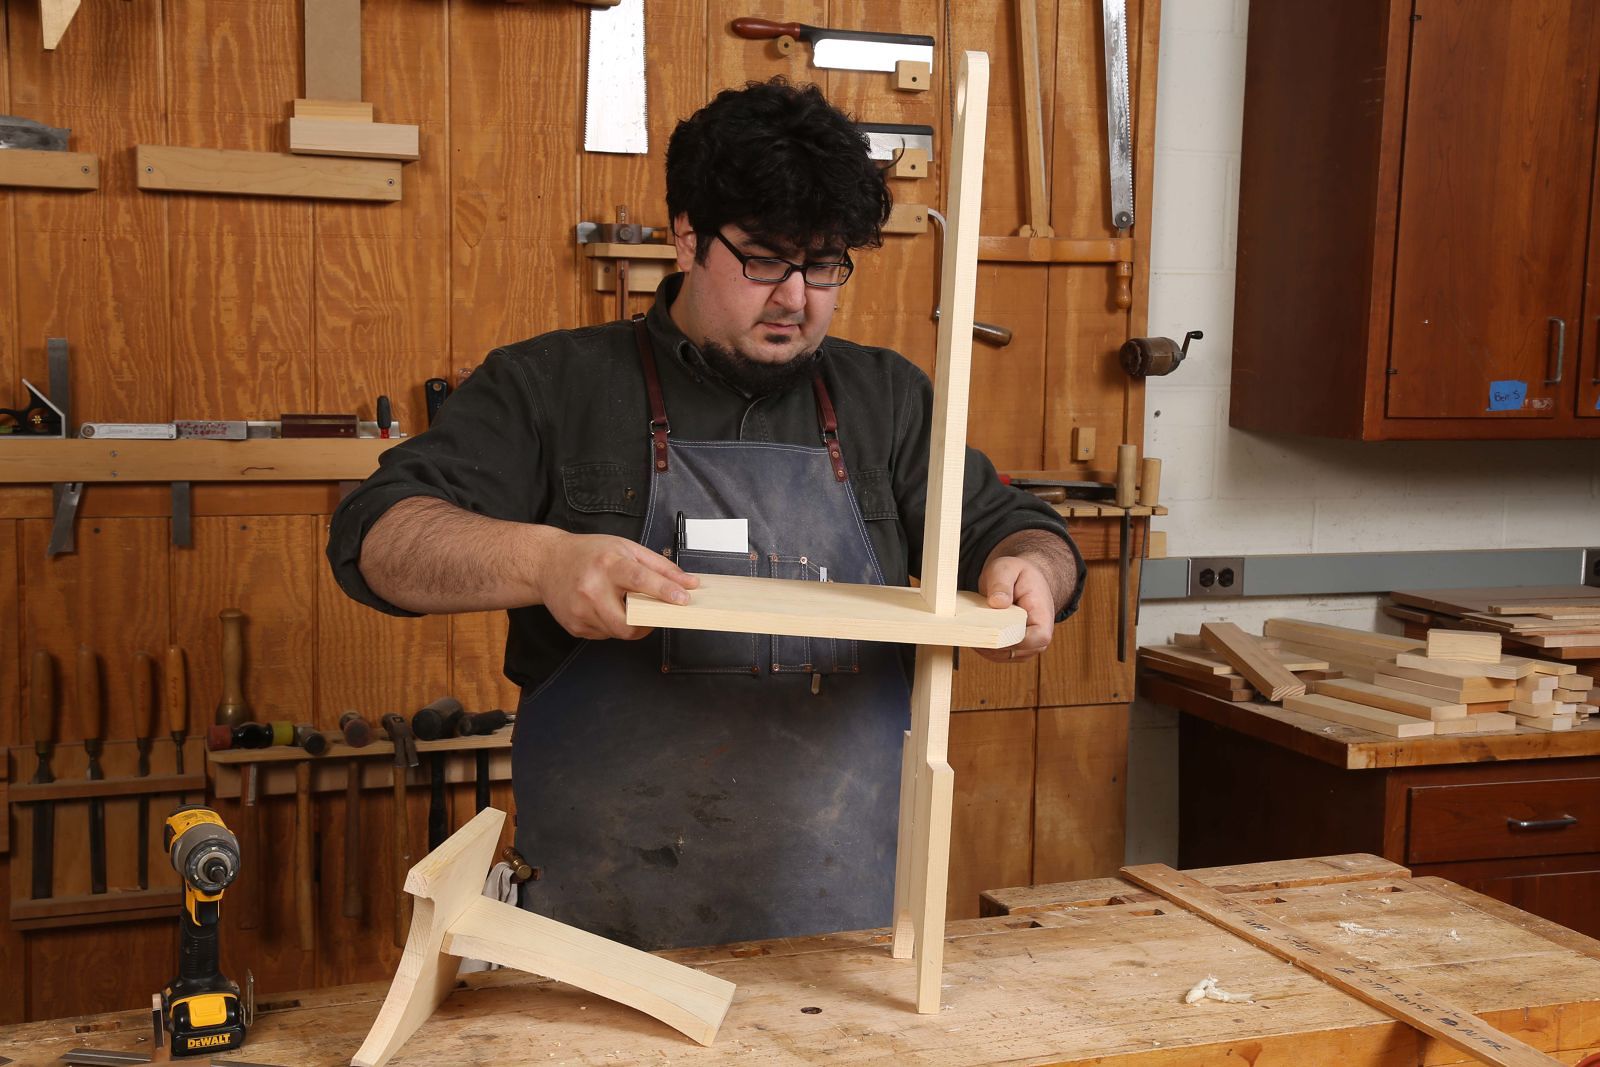
Follow that up by pre-drilling and screwing in the step.
All that is left is to let the kids go hog-wild with all of those random cans of paint you have been saving for no real reason. You could certainly plug the screw holes if they bother you, but chances are pretty good that the kids are going to put more paint than you thought plausible on the stools, covering any evidence of screws. Plus, for us, if we started to get too precious with any aspect of this project, it felt like we would have taken ownership away from the kids.
My son uses his stool every chance he gets and he is proud of it, as he should be. Poor John Tetreault has had to come to terms with the fact that his daughter now grabs the stool she made, and not the gorgeous dovetailed masterpiece he lovingly made for her. I don’t think he minds one bit.
More on FineWoodworking.com:
This is a simplified version of Christian Becksvoort’s Shaker single-step stool featured in issue #266.
- Video: Kids in the Shop – Shaker Step Stool
- Woodworking for Kids – A seasoned woodworker and teacher explains the importance of setting up woodworking programs in schools
- Furniture Kids Will Love – Follow your imagination but don’t lose sight of safety
- Kid’s Woodworking Project: A Small Box – A basic box with a sliding top, from the students of the Clear Spring School in Eureka Springs, Ark.
Fine Woodworking Recommended Products

Suizan Japanese Pull Saw



Comments
Absolutely wonderful, I laughed until I cried. Thank you!
This project became a family event. My youngest son, Ben, helped me build the step-stool in Iowa. I then shipped it to Florida to my oldest son and his 3-year-old son. My wife and I flew down to Florida and helped my son and grandson put it together and paint it. What a hoot! This link has lots of photos of the event. A three-year-old painting is something to behold!
Photo Album Link: https://photos.app.goo.gl/MLDJTz6YfElcytXF3
Dan Mays
Walcott, Iowa
That is awesome! Looks like everyone had a blast! Thanks for sharing.
If you are looking for more on woodworking with young people FWW published Richard Starr's book Woodworking with Kids in the 1980's. This classic (though long out of print) volume remains a treasure trove of great ideas for engaging kids in woodworking entirely on a design/build, all hand tool basis.
It inspired me to turn my sixth grade classroom into a shop for the first part of every school day from 1985-1990.
By late in 1989 I had convinced my school district to buy an out of service 1961 Crown Coach (retired school bus) which I then converted into the first of two mobile, hand tool woodworking shops with workstations based on the designs of Sheila Dawson. She is featured in another FWW publication (Scott Landis's 1991 "The Workshop Book". Pages 144-151 have views of both Dawson's and Starr's shops.)
While working in parallel with your kids--as on the shaker step stool projects--has wonderful merit and benefits for you and the young person, the sooner you are comfortable transitioning even the youngest to a "design then build" model the more striking are the outcomes.
If you are inexperienced, concerned about safety and/or simply not exactly sure how to proceed down this path begin simply. The more you are attentive to all the ways you can give the child more "degrees of freedom" in any project you do with them--woodworking or otherwise--the better in my experience. Letting them safely experiment with the spokeshave on scrap wood or having them do all the decorative work are two easy, safe examples described here that allow them to feel more control--more degrees of freedom with (and ownership of) the project, tools and techniques--while at the same time internalizing new skills. Your visuals capture this spirit: this project was great fun and full of valuable lessons for everyone without ever spiraling beyond the adults' reins.
As for my belief in a "design/build curriculum", my "WOODBUS" (the name my students instantly hung on it during its first hour of use) served 2-year olds through adults for sixteen years. Approximately 6000 students designed and built personal projects in it.
(And, incidentally, I recall writing only one official school district accident report in over 20 years of teaching woodworking to children and young adults. That for one of my most experienced veteran high schoolers who slipped with a craft knife while working on a theater set project and needed two stitches in his split thumb.)
For more up to date inspiration and ideas I highly recommend the current writings of Doug Stowe--another excellent FWW author & content creator--regarding this topic. (See also his writings on the "Sloyd Curriculum" that was pioneered in Scandanavian countries in the early 20th century and is still used in some school systems there to great advantage to this day.)
Here are some views of my last 2 (and all time favorite!) public school classrooms. (The 1971 Gillig had a different interior layout with all hardware and supply shelves located mid-bus. Kids could see, experiment with and choose their own supplies. This was far more accommodating of the design/build scheme I followed than the first bus's layout had been.)
Log in or create an account to post a comment.
Sign up Log in