Tool Test: Marking Gauges
What really matters in a marking gauge, and which ones make the cut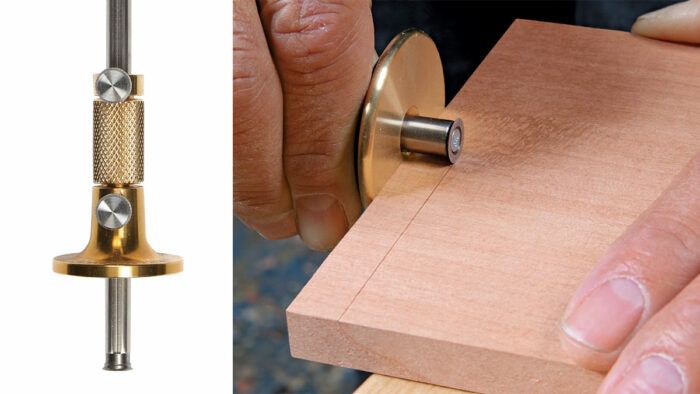
Synopsis: Jeff Miller examines marking gauges to see which models, among the many that are out there, deserve a place in your shop. To narrow the field, he tested only cutting gauges, not those with pin-type cutters. Those that made the cut were models that cut well out of the box, had an effective fence that was easy to set to the thickness of a board and held firm during use, and were easy to hold firmly against a board when scribing lines both near to and far from the edge.
A marking gauge is a simple tool, with a fence that rides the edge of a workpiece and a blade or pin designed to scribe a line parallel to that edge. I’ve even heard of woodworkers who have used a sharpened screw driven into a board as an improvised gauge. That might work in a pinch, but over time you’ll want to own a quality gauge, one that can be set easily and accurately and that marks cleanly and reliably. Essential for hand-tool woodworking, marking gauges are also very helpful when laying out machine work. In many cases, the incised marks made by the gauge are more than just layout lines; they become the finished edges of joints.
There are many marking gauges on the market, and I wanted to see which were best. To narrow a very wide field, I looked only at cutting gauges—marking gauges that employ cutting knives or sharpened disks—and skipped those with pin-type cutters. Pins work very well along the length of a board but tend to tear the wood when used cross-grain. If you are willing to use two gauges, one for along the grain and one for across it, a pin-type gauge may be just the ticket for along the grain. But if you want one tool that will do it all, go with a knife- or disk-type gauge. These cutters have an additional advantage: They create a clean, sharp line with a square edge on one side, which starts the square edge of a tenon shoulder or cheek, or the bottom of a perfect socket between pins and tails.
I also did not test gauges with double beams or double cutters, meant to scribe two walls of a mortise at once.
Dodgy fence is a deal-breaker
Even after eliminating all the pin-type and double gauges, the field was still very large. To test out the best, I considered a number of critical factors, eliminating a few more gauges along the way.
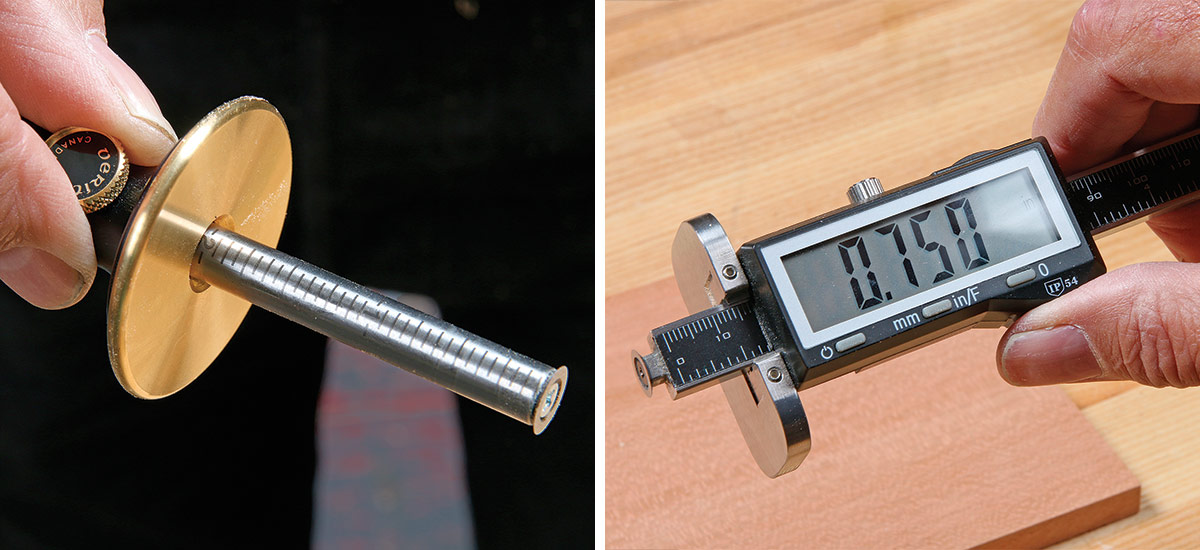
While a marking gauge is a simple tool, it must do a few things well. Quality of cut is important, and most gauges cut well out of the box. However, a few needed attention to be tested fairly. It’s not difficult to sharpen the little knives and disks, and you’ll need to do so throughout their life, but it was disappointing to have to do significant sharpening or reshaping right away.
As for the disk vs. knife question, I found that both can do an excellent job. Knives tend to cut a little deeper than disks, but that isn’t a critical advantage or disadvantage for me. On the other hand, disks are mounted on the end of the beam, giving good visibility for starting and stopping lines. Only one knife gauge had its knife at the end of the beam; on the rest the knife emerges from the bottom of the beam, making it harder to see. This last factor isn’t as critical as some others, but an end-mounted cutter can be very helpful when you need to start and stop a cut at a precise point.
Next up was testing the effectiveness of the fence. I checked whether each gauge was easy to set to the thickness of a board, such as when scribing dovetail baselines. Then I set each gauge to a specific dimension by holding it up to a ruler. A few of the gauges incorporate a micro-adjuster, so I tested how easily and intuitively these worked.
I also checked to see if the fences held firm during use. A few gauges just didn’t hold their settings reliably, with fences that would pivot or shift in use no matter how hard I twisted the thumbscrew to tighten them. A dull blade can be remedied, but a shifty fence can’t, so I eliminated a few gauges from the group at that point.
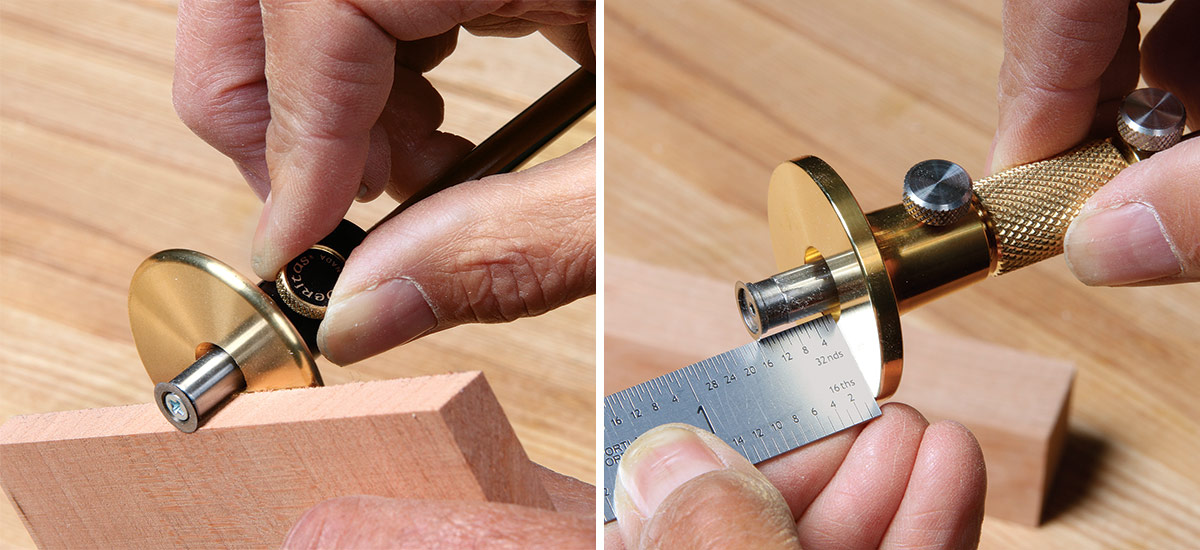
Last, I evaluated how easy it was to hold the fence firmly against a board when scribing lines both near and far from the edge.
To address these questions and more, I scored scores of lines—with the grain and across it, in a variety of woods, at fence settings long and short. I worked with each tool enough to get a feel for it in use, and kept rating sheets.
In the end, having jettisoned the real clunkers, I found quite a few tools that will serve the purpose, and a select few that really stood out.
Micro-adjusters matter, rulers don’t
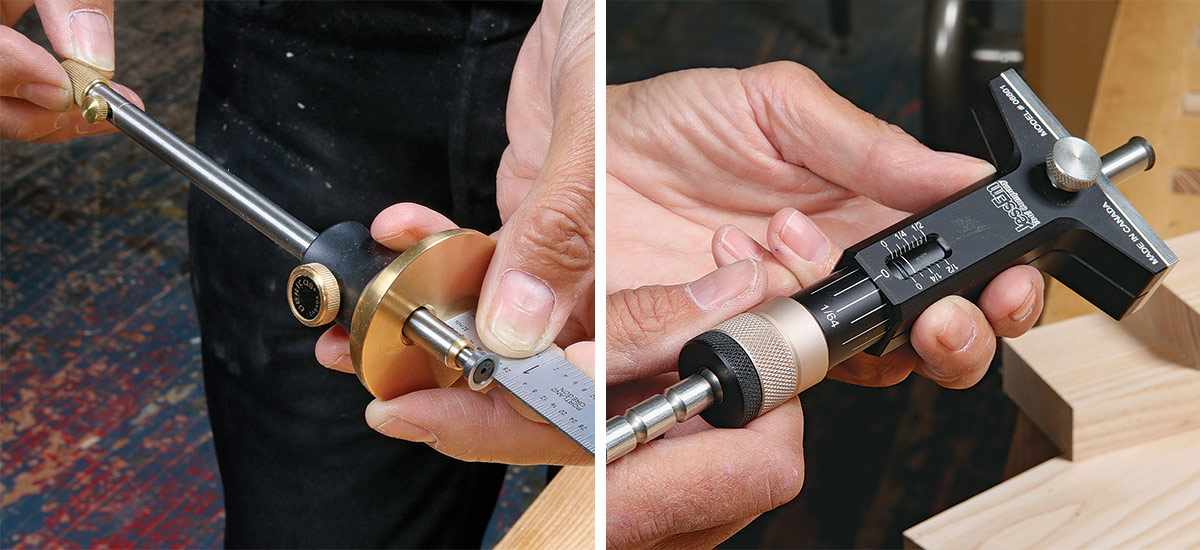
Once I unboxed the gauges and went to work, I learned pretty quickly that I prefer those with micro-adjusters on the fence, which make it easier to fine-tune the setting. But you certainly can do a lifetime of woodworking with a basic gauge that does the important things well and you’ll save some cash. So my winners came from both categories: with micro-adjusters, and without.
All of the gauges can be set to a ruler or an existing workpiece, which is generally how I work. But some are available with markings on the beam, intended to make things easier. Even the best markings, however, were not as accurate as lining up the knife and fence with the marking on a good ruler, so I wouldn’t bother paying more for the graduated beam.
Some gauges go to even greater lengths to build in accuracy—one even includes a digital readout—but none of these built-in measurement devices could tempt me away from my tried-and-true methods of setting the gauge. Check the individual write-ups to see why.
Mark my words
Once you get used to working with a good marking gauge, it’s hard to go back. Ultimately, you may decide that having more than one of these tools will be helpful. I tend to keep a couple on my bench as I lay out joinery, each one set for a particular task. This makes precise layout a snap.
Marking Gauges
Tite-Mark Marking Gauges
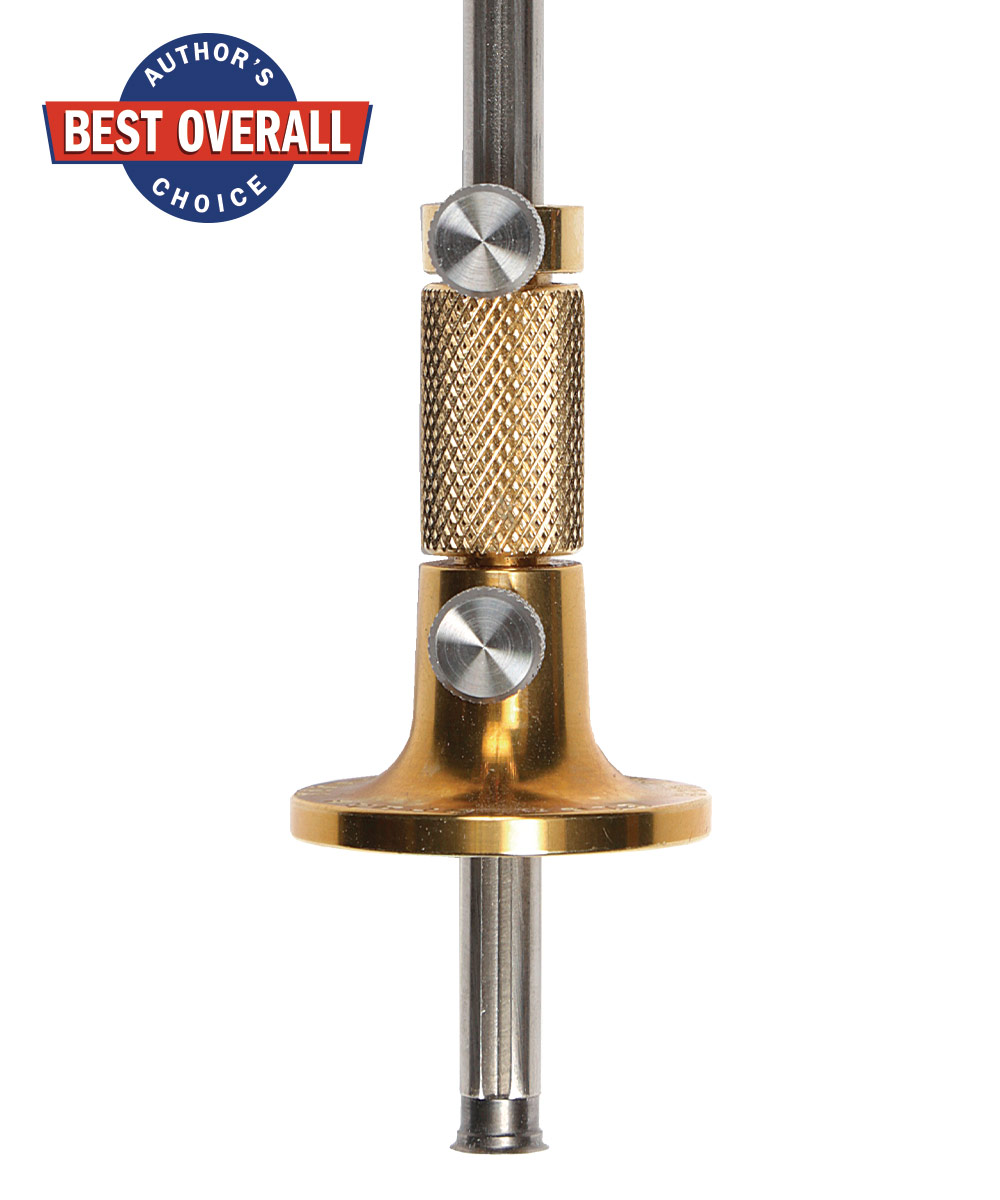
My favorite overall gauge in this test is the Tite-Mark, which has an excellent micro-adjuster. There are three Tite-Mark models, based on the length of the beam and the size of the fence, with optional cutters for scribing both sides of a mortise at once or making deeper cuts, such as for slicing strips of veneer. I’d go with the standard model, shown here. These gauges can be easily and precisely adjusted with one hand, which allows you to set the tool while holding a ruler or workpiece in the other. The quality is exceptional, and all have sharp cutters that offer great visibility. The only minor downside I could find was the longest model’s potential to roll off the bench.
Best Overall Marking Gauge
Tite-Mark Marking Gauge
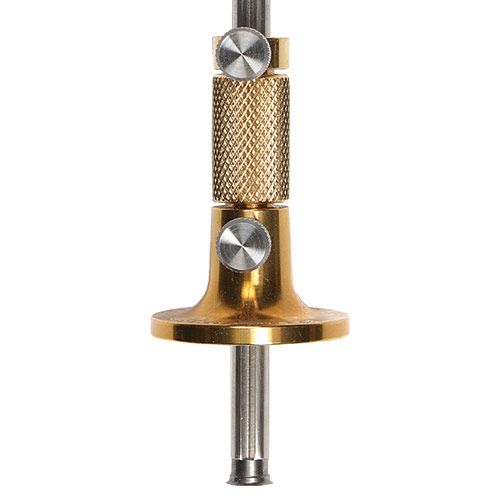
Veritas Wheel Marking Gauge
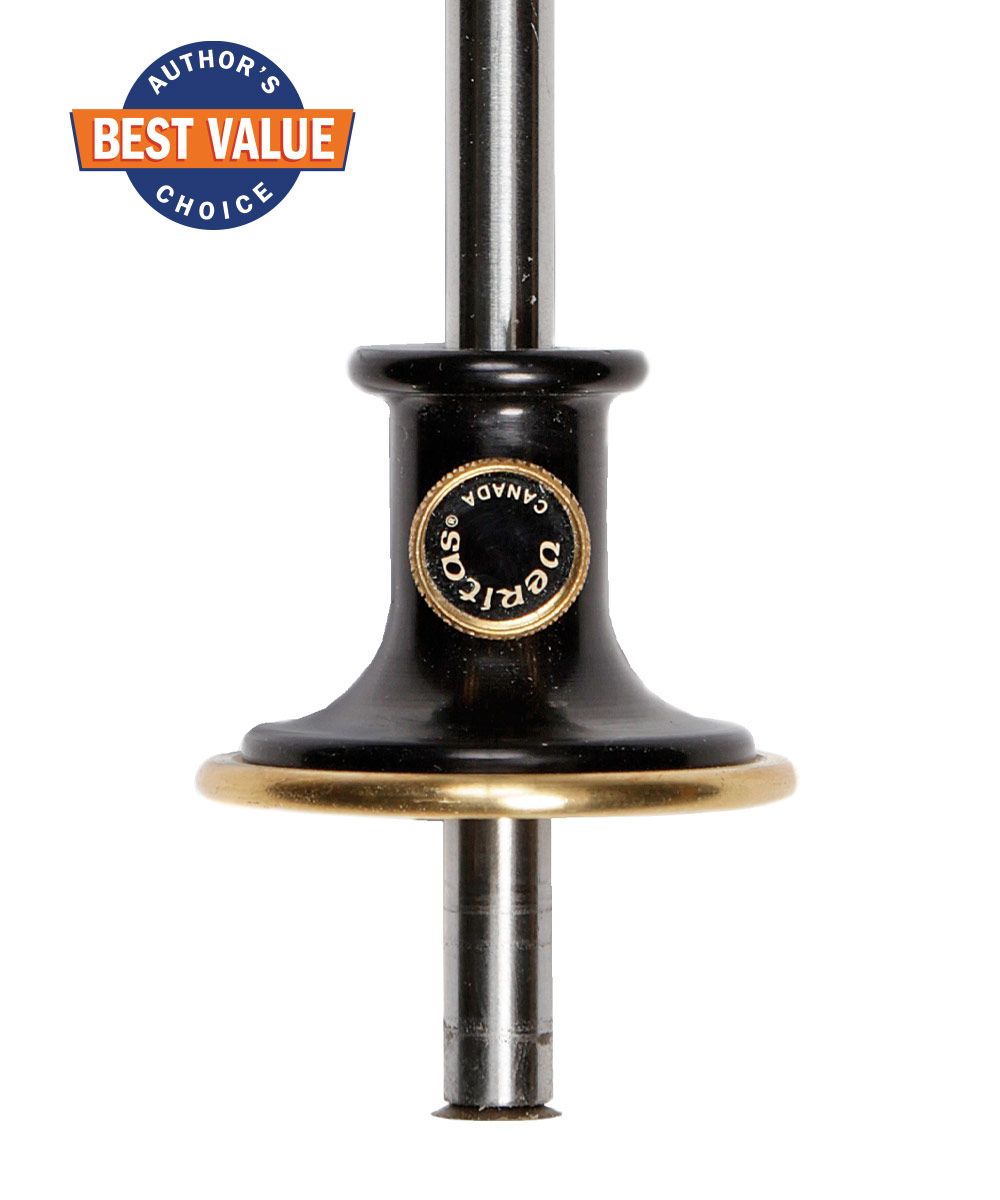
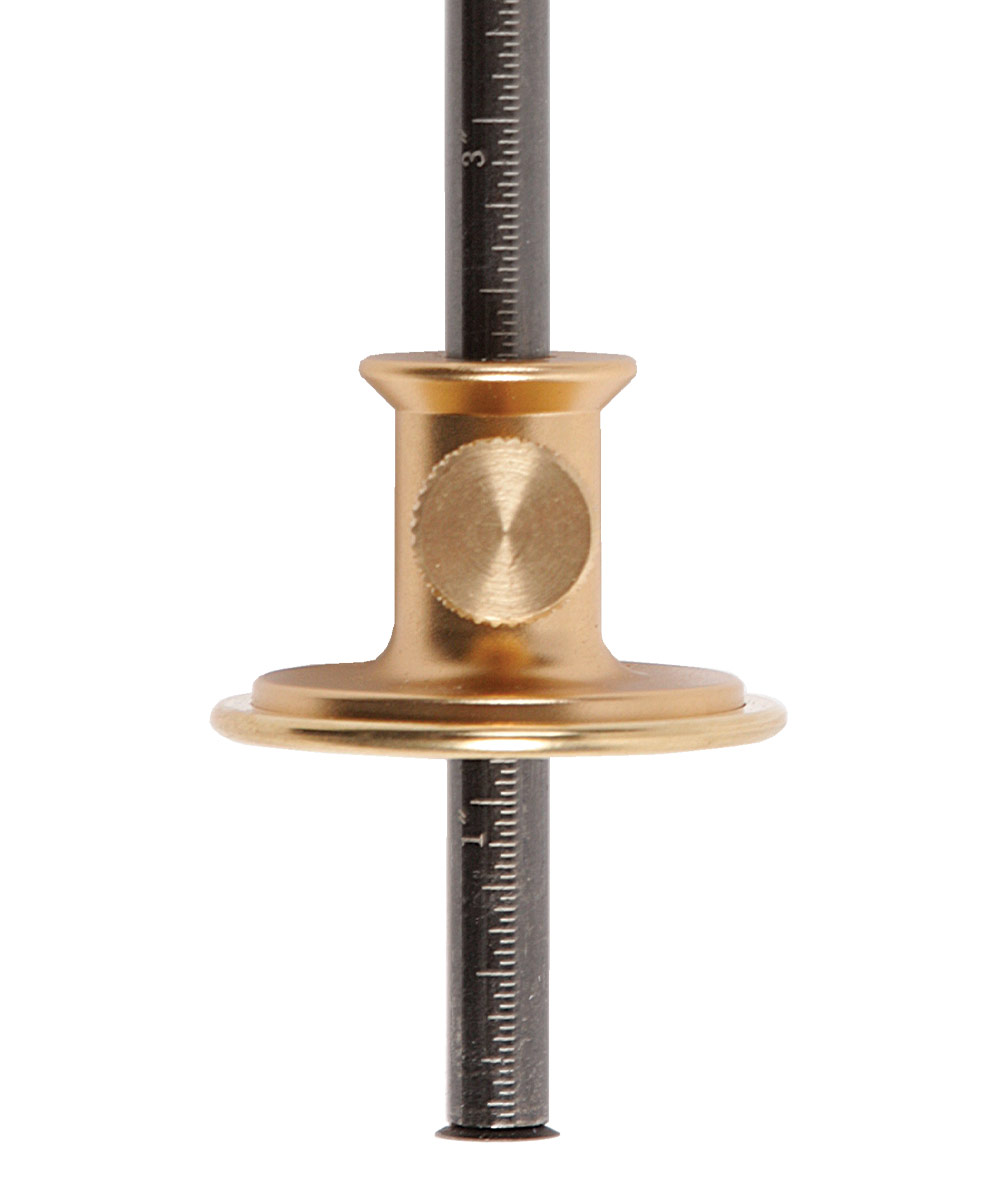
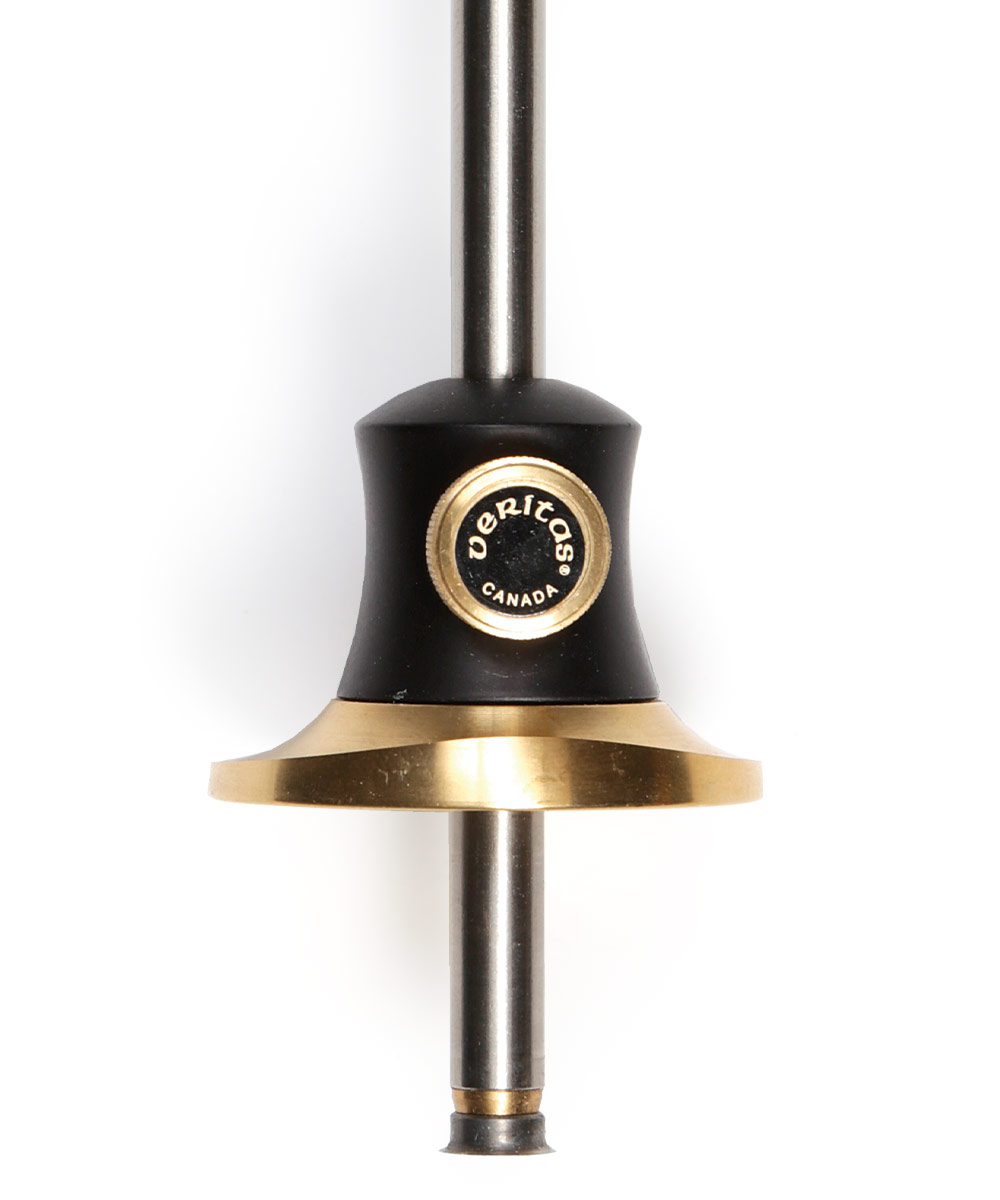
For roughly one-third the price of the Tite-Mark, you can own the Veritas Wheel Marking Gauge in the standard model. An O-ring inside the fence provides just the right amount of friction to hold it where you put it but still allow it to slide, making fine adjustments easier than they are on other gauges without micro-adjusters. The fence tightens effectively with a knurled brass thumbscrew, and the sharp disk cuts clean lines. You can buy a similar model equipped with a micro-adjuster, but that version is neither as intuitive nor as well-made as the newest micro-adjusting model from Veritas. This tool also has the potential to roll off the bench.
Best Value Marking Gauge
Veritas Wheel Marking Gauge
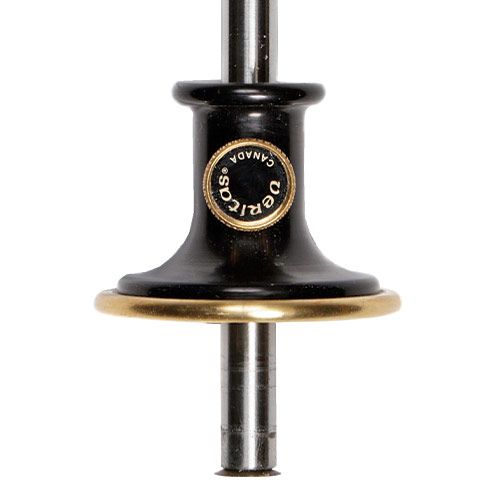
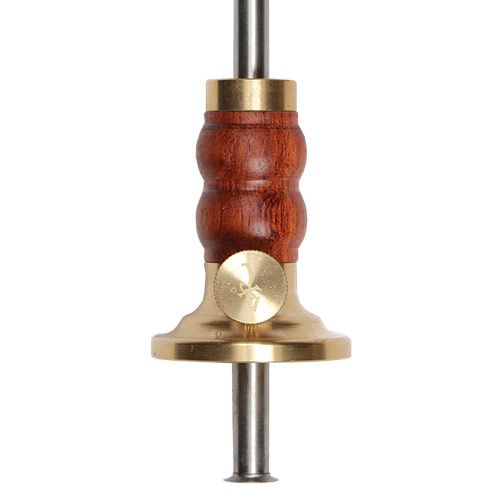
Crown Rosewood and Brass Cutting Gauge
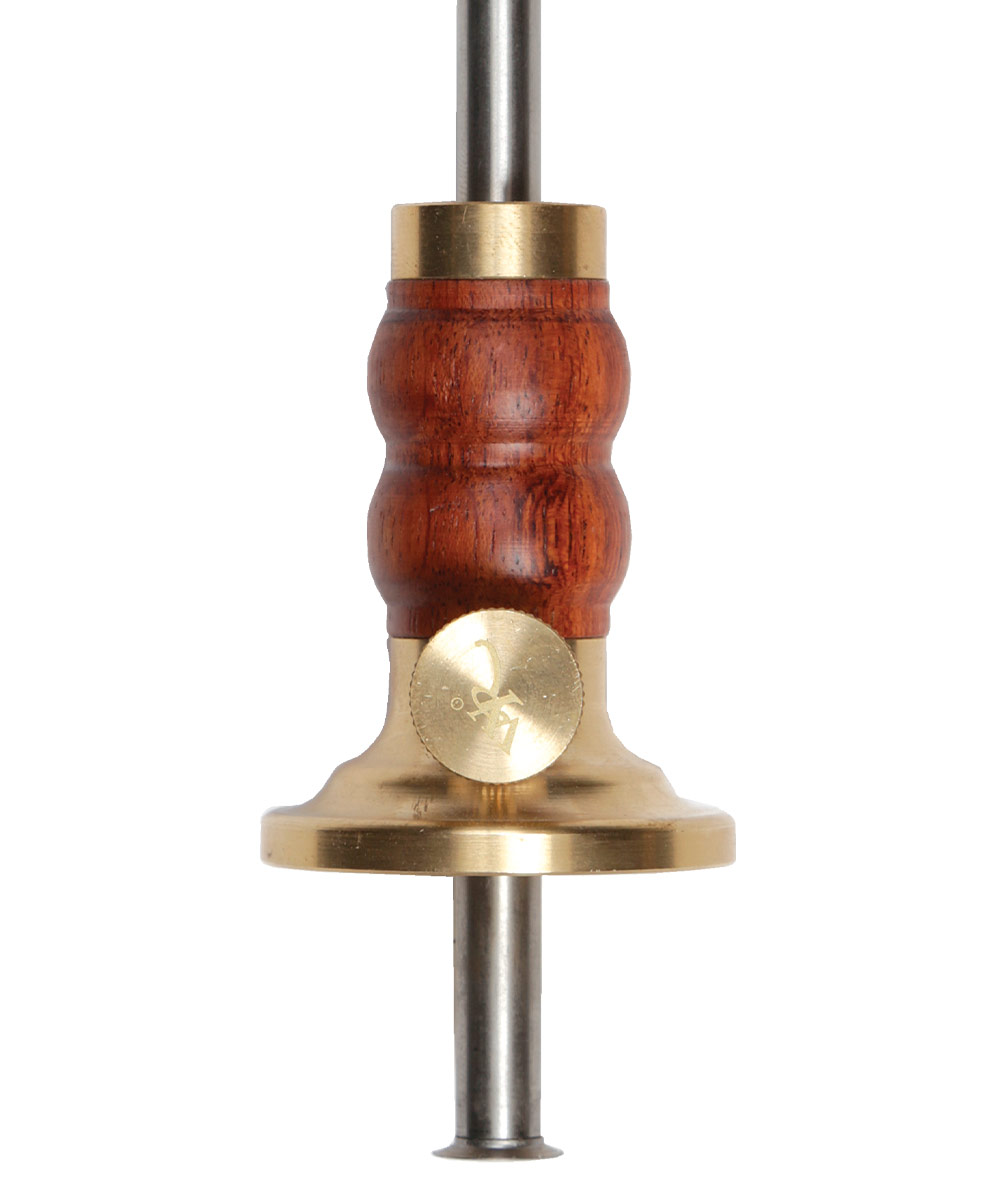
The Crown Tools cutting gauge tightens securely and cuts well, but fit and finish issues make fence adjustments fussy. The thumbscrew can’t apply moderate tension, which would make adjustment easier. As shipped, the knife was inserted with the bevel facing outward, though it was easy to switch around.
Crown Rosewood and Brass Cutting Gauge
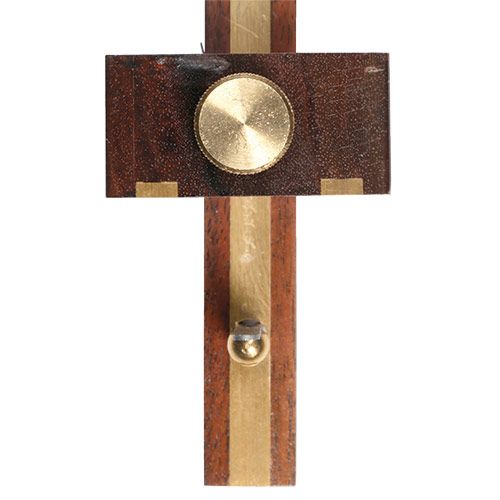
iGaging Wheel Marking Gauge
If price is your primary concern, this gauge offers good value. Unlike the other inexpensive disk gauges, this one has an O-ring inside the fence. It doesn’t work as smoothly as the Veritas fences, but if you put slight pressure on the thumbscrew, you can remove the slop between fence and beam, making fine adjustments easy. The disk would benefit from some honing, but works as is.
iGaging Wheel Marking Gauge
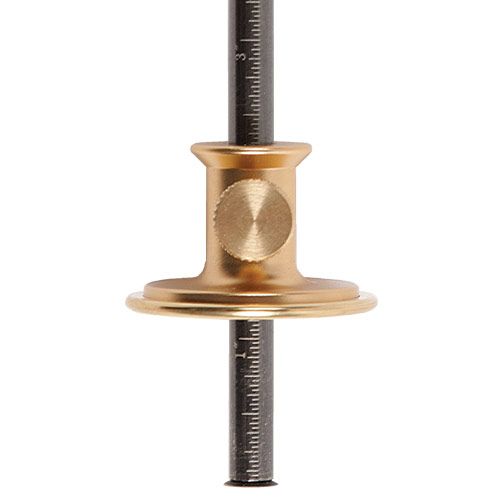
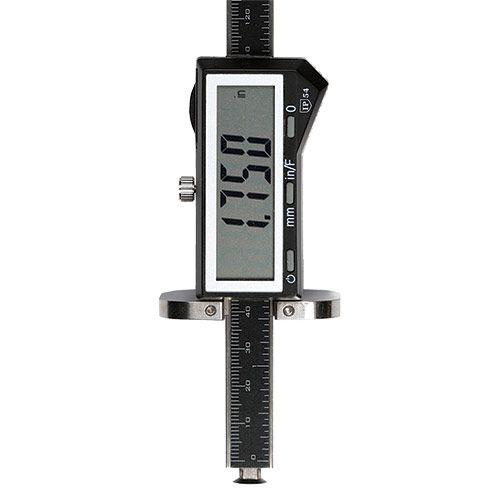
iGaging AccuMarking Digital Wheel Marking Gauge
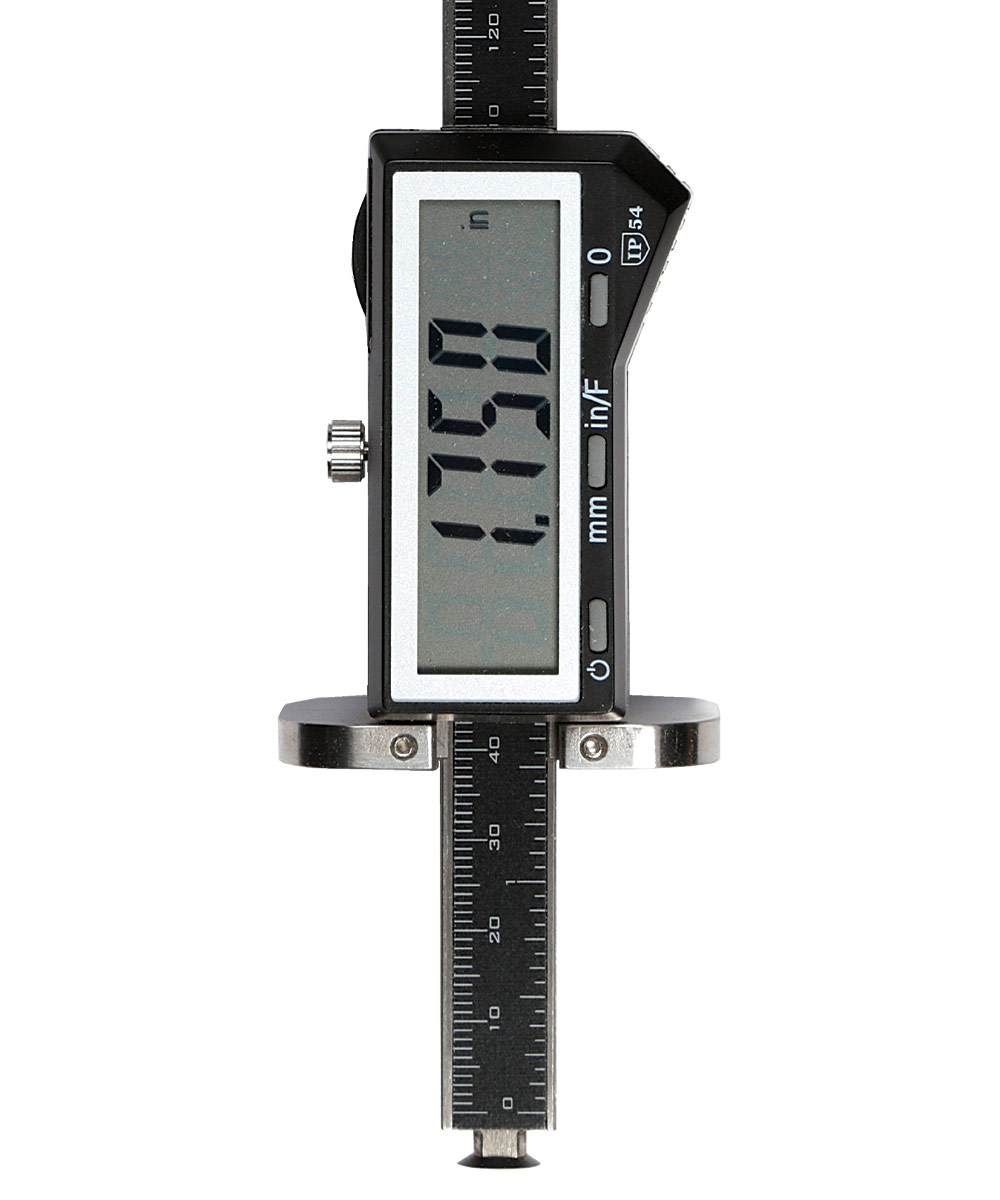
A digital readout on the AccuMarking gauge measures to the nearest 0.0005 in. It can also be set to fractions or millimeters. Lacking a micro-adjust, however, it took a steady hand to dial in exact dimensions on the sensitive readout. And in any case, I question the need for this level of precision in a woodworking hand tool. Setting this gauge to a workpiece or a ruler worked well enough, though the thumbscrew is rather small and out of the way. The cutting disk needed considerable work to correct a rounded-over edge, but once sharpened, it cut well. The tool also works well as a depth gauge.
iGaging AccuMarking Digital Wheel Marking Gauge
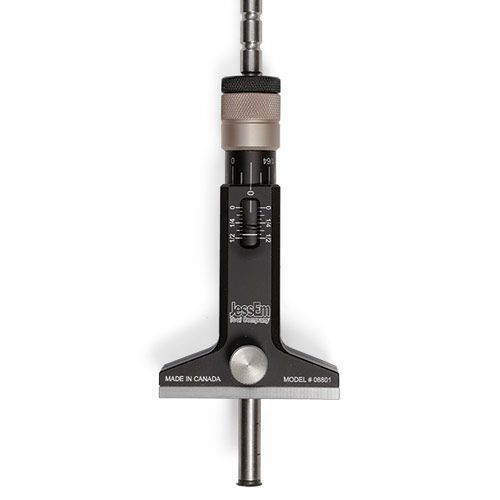
JessEm Wood Sabre
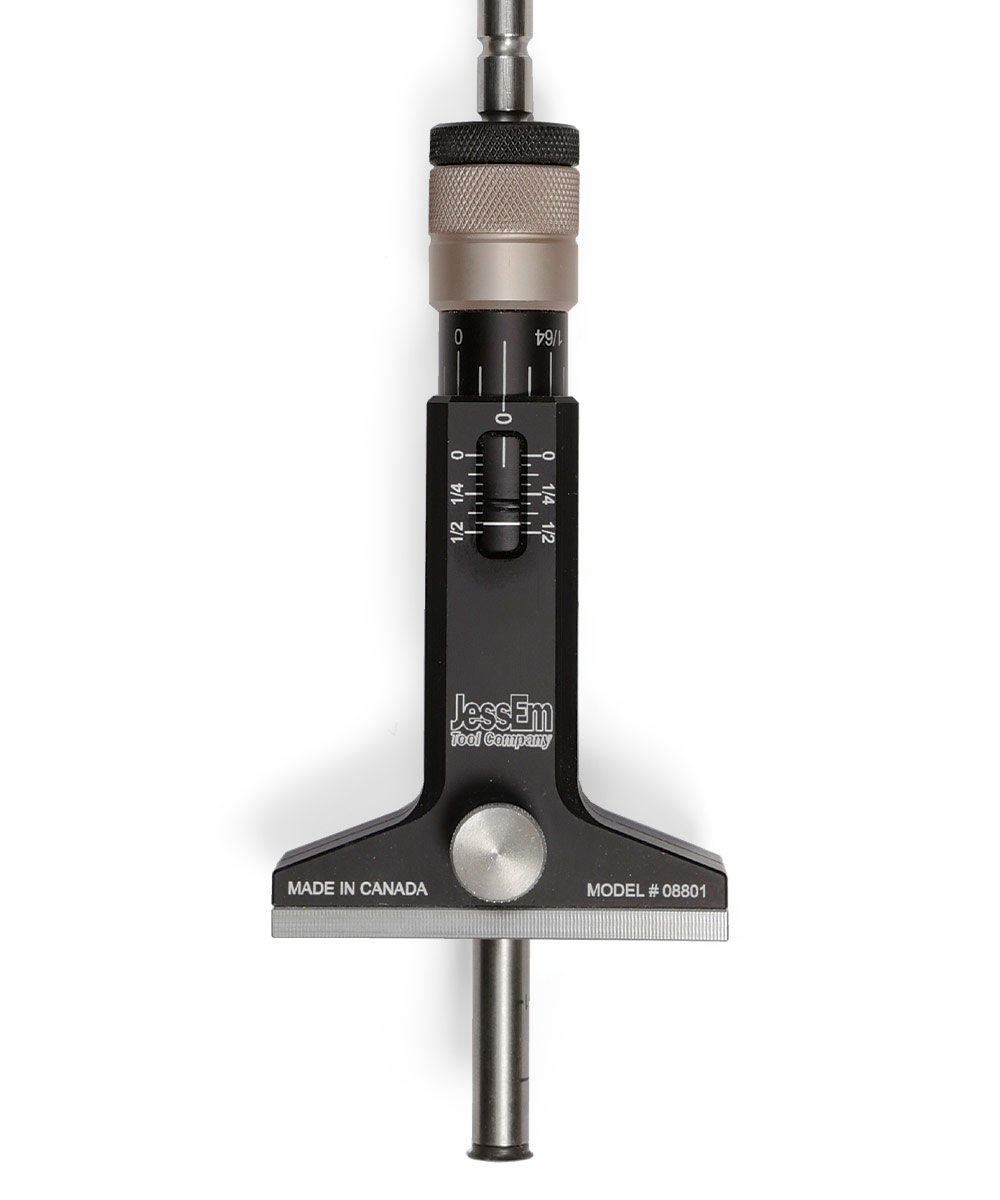
This substantial and very well-made tool takes a unique approach to accurate settings. The beam has deep detents that index the fence precisely at 1/2-in. increments, and there’s a well-machined and easy-to-read micrometer adjustment that will set the gauge to any distance between the indexed points. However, the detents are so positive that they sometimes interfere, drawing the fence toward them. To get to a specific measurement near a detent, you sometimes have to employ the micrometer dial and some math, which makes an otherwise simple task more complicated.
JessEm Wood Sabre
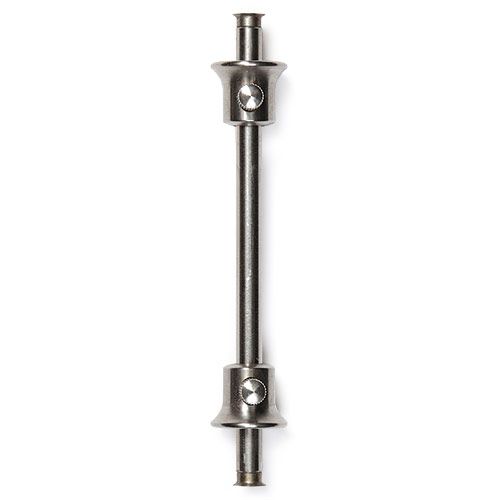
Lee Valley Pocket Marking Gauge
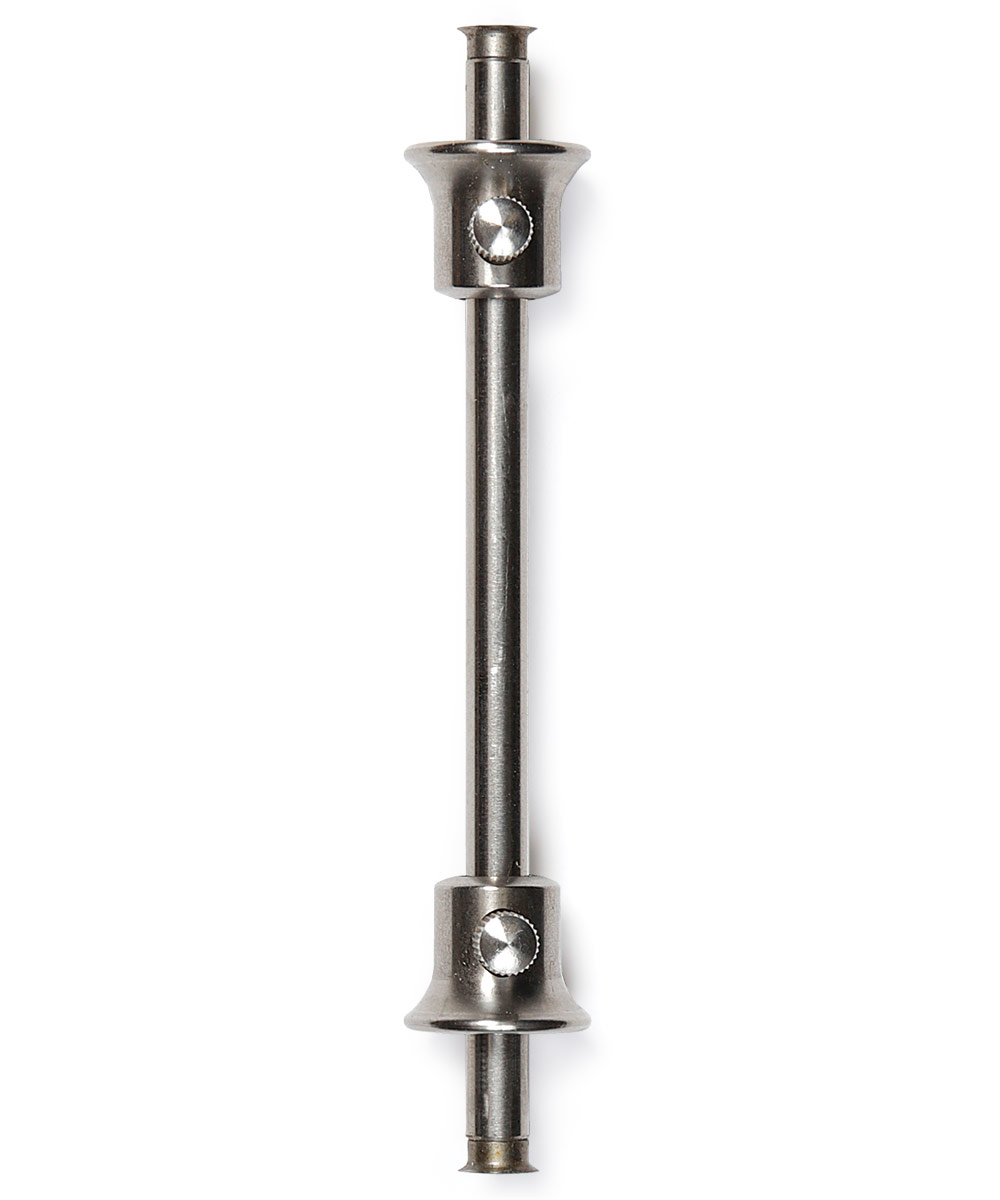
This is the smallest tool I reviewed, with a two-fence, double-ended design. I liked being able to set two distances on the same gauge, but the small fences made this tool the most difficult to hold comfortably and securely against the edge of the work while scribing lines, requiring more focus and effort than others did. Also, because the beam is so short, the cutter that was not in use tended to rest against my palm, which was uncomfortable.
Lee Valley Pocket Marking Gauge
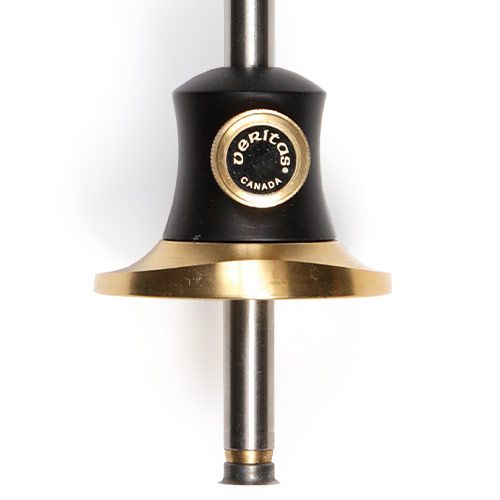
Veritas Micro-Adjust Wheel Marking Gauge
My second-favorite micro-adjusting gauge is a very recent debut from Veritas. Its adjuster runs through the beam from a small knob at the back end right to the cutting wheel, which moves in and out as you turn the knob. This arrangement works well but makes adjustments a two-handed operation, requiring a little more effort. On the plus side, the fence is larger than on past models, and the shaft comes through it off-center, making the tool feel very stable in use and preventing it from rolling off the bench.
Veritas Micro-Adjust Wheel Marking Gauge
WoodRiver Wheel Marking Gauge (No. 154340W)
WoodRiver’s deluxe marking gauge is a good-quality disk-cutting gauge, but lacking the O-ring of the Veritas models, it was a tad fussier to set precisely. Also, the etched markings on the shaft were 1/32 in. off the actual distance between cutter and fence. On the plus side, the tool cuts well and won’t roll off the bench.
WoodRiver Wheel Marking Gauge No. 154340W
Jeff Miller builds furniture in Chicago, and teaches classes both in his studio (furnituremaking.com) and around the country.
Photos, except where noted: Michael Pekovich
For the full article, download the PDF below:





Comments
Even with a Tite-Mark on the shelf, I'll still reach for my old Stanley No. 61 on a regular basis. Often a $5 tool that works great. Takes a little time to file the pin to a nice blade shape but once there it'll create a good knife line.
Check out the Florip Toolworks marking gauge. It's really, really good. You included the Hamilton cutting gauge, so you might as well entertain some of the other 1 man manufacturers. :)
Log in or create an account to post a comment.
Sign up Log in