Finish Recipe to Warm Up Walnut
Due to steaming, kiln-dried walnut can look gray. This finish recipe will bring back the warm color of old walnut.

If you can find 19th-century walnut furniture that still has its original finish, you’ll see a red/brown color with orange undertones that looks almost like mahogany. Today’s kiln-dried walnut is steamed, which makes the white sapwood darker and more usable but gives the brown heartwood a silvery-gray cast. If you want the warm color of an old walnut finish, I have a recipe that will get it for you. It puts no color in the wood—it’s all in the finish.
1. Tone with amber shellac
If you like the look after this step, you can stop here and just apply a topcoat.

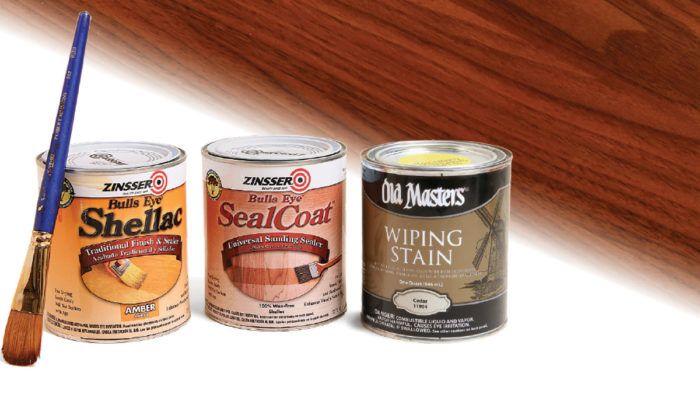
This finish starts with two coats of Zinsser Bulls Eye amber shellac. I thin it by about 30% with denatured alcohol to create a 2-lb. cut, which makes it much easier to brush. Before pouring the shellac out of the can, give it a good stir to mix up the wax that’s in this product.
Sand the wood up to 180 grit, then start brushing on the shellac. You should be able to brush on both coats within 30 minutes. Allow the two coats to cure for three to four hours and then lightly sand to level the surface, using 320- or 400-grit stearated paper such as Norton ProSand.

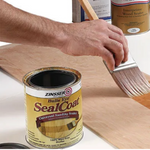
The amber-colored shellac will give the walnut a much warmer tone. Now apply two or three coats of Zinsser SealCoat shellac with a brush or spray gun, or spray lacquer from an aerosol can or a gun to build the film thickness a bit. If you like the look, you can stop here. By the way, lacquer (and, obviously, more shellac) will stick to a waxy shellac like Bulls Eye amber just fine, but polyurethanes and water-based finishes are a bad idea.
2. Glaze with cedar stain
Oil-based stains can act as great glazes and give you plenty of working time.

For an even warmer red-brown color, more like the tone of air-dried walnut, I add a glaze. Old Masters Wiping Wood Stain is a full-bodied stain with lots of pigment, which creates intense color when applied to raw wood but a much more subtle look when used as a glaze. In this case I chose the cedar color, which has a burnt-umber hue. This oil-based product dries slowly, giving you plenty of working time.
Wipe on a thin coat with a rag. I often use those thick paper-towel rags sold at home centers. Glaze can be arranged with the rag as you apply it, or with a dry brush right after. To keep it simple I used only the rag this time, working in the direction of the grain until I got the color shift I was looking for. If it looks like you have painted the surface, you’ve applied too much. If there isn’t much of a color shift, you haven’t applied enough. Properly dispose of the oily rag (spread it out in a safe, flat area to dry) and allow the glaze to dry at least 12 hours.
3. Topcoat

To seal in the glaze and add depth to the overall finish, apply two or three more coats of Zinsser SealCoat, waiting several hours between coats and leveling at least every other one with 320- or 400-grit sandpaper. Then rub out the final coat and add a dark wax.
More from FineWoodworking.com:
- The Virtues of Black Walnut
- Tips for Finishing Walnut
- How to Ebonize Wood
- Video: Intro to Spray Finishing
Fine Woodworking Recommended Products


Bumblechutes Bee’Nooba Wax

Foam Brushes


Comments
If a person wanted a more durable finish than shellac, could lacquer be used after the final Seal Coat? And then follow with dark wax after the lacquer cures?
Log in or create an account to post a comment.
Sign up Log in