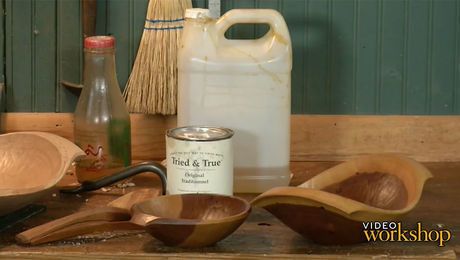
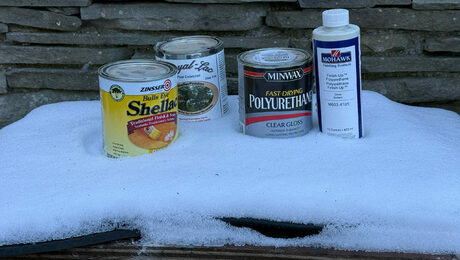
Ep 13: Food-Safe Finishes for Greenwood Pieces
In the final episode, Dave discusses food-safe finishing options for your bowlVideos in the Series
-
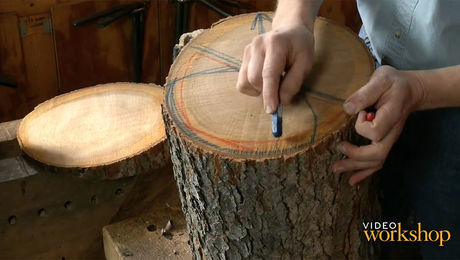
Ep 1: Finding the bowl within the logNovember 2, 2017
-
Ep 2: Initial shaping and flattening the bowl bottomNovember 2, 2017
-
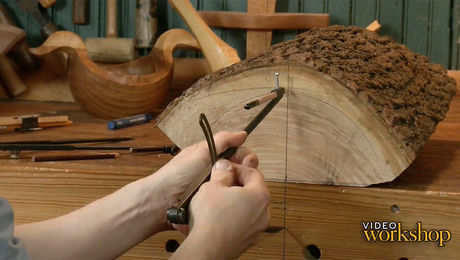
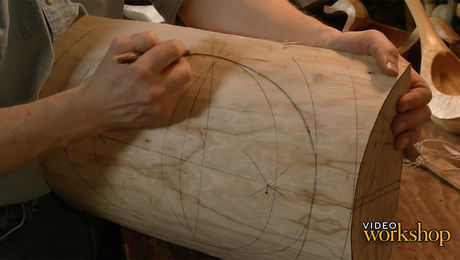
Ep 3: Laying out the curve of the bowlNovember 9, 2017
-
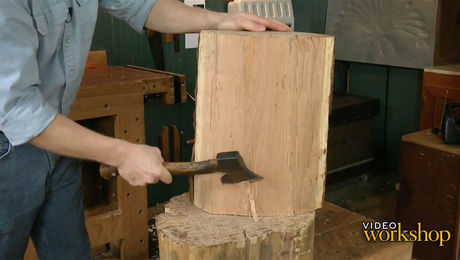
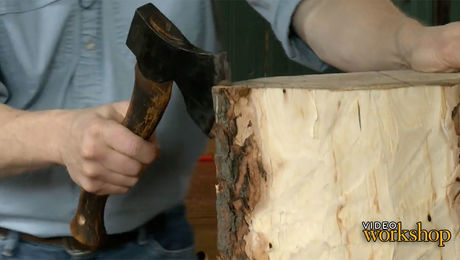
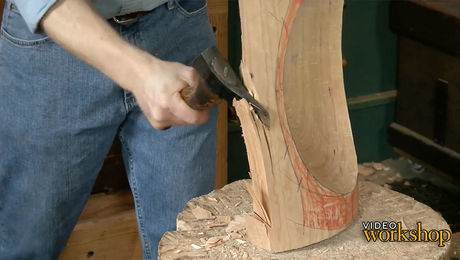
Ep 4: Refining the outer curve of the bowl with an ax and drawknifeNovember 9, 2017
-
Ep 5: Laying out the inner bowlNovember 15, 2017
-
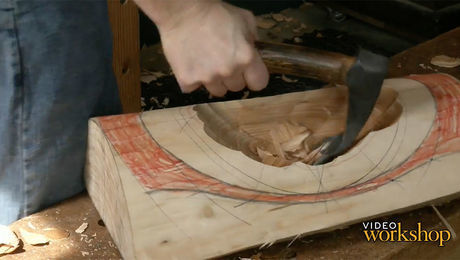
Ep 6: Hollowing out the bowl with an adzeNovember 16, 2017
-
Ep 7: Laying out the outside of the bowlNovember 23, 2017
-
Ep 8: Shaping the outside of the bowlNovember 30, 2017
-
Ep 9a: Refining the outside of the bowl – Part 1December 7, 2017
-
Ep 9b: Refining the outside of the bowl – Part 2December 7, 2017
-
Ep 10: Finishing cuts on the inside of the bowlDecember 14, 2017
-
Ep 11: Finishing cuts on the outside of the bowlDecember 21, 2017
-
Ep 12a: Carving the necklace – part 1January 4, 2018
-
Ep 12b: Carving the necklace – part 2January 4, 2018
-
Ep 13: Food-Safe Finishes for Greenwood PiecesJanuary 18, 2018





Comments
In my humble opinion, one of the best instruction video series ever produced, thank you Fine Woodworking and thank you David Fisher.
Hello David,
thanks for this wonderful videos. I had learned a lot about carving. Your special showing the process gave me a deep understanding. Very good explaining. This will be one of my next projects: a bowl.
Sicerly
Uwe Adler, Holzpassion, Germany
Agree. One of the best videos ever. Thanks a lot.
Geir, Norway
What a great series of videos. Thank you David and FWW.
One question. Once you start hollowing a bowl, how do you prevent cracks from developing if you need to put it aside for a day or two?
shaker49: Good question. Just keep it in a plastic garbage bag between carving sessions to prevent any drying.
A great video. A real master and an oustanding teacher. Thank you!
Thanks Dave for sharing your expertise! I learned a lot. You're a great teacher!
It's beautiful to watch an artist work. Thank you Dave.
What a great series! David Fisher is not only a great artist but also an outstanding teacher. Thank you for bringing this to us.
Dave, I’ve been a woodworker for many years and just started playing with green woods. Your series is excellent and very timely. I’m from western Canada where finding the hardwoods is a bit more challenging, but all part of the adventure.
Thank you.
This was one of the best videoes that I have had the pleasure of watching. Dave is an excellent artist and a great teacher. I am intreged enough to look into this approach. I will be looking at this video again. Thanks for the lessons.
A wonderful video series. Perfectly taught and incredibly well shot (the videographers deserve much credit!). It was great to see a bowl take shape in real time.
Obviously, tools are very important. Not only the sharpness, but the actual brand. Is there anyway, we can get a list of recommended tools (various brands) and sharping advice?
Thanks
I know this is a late reply, but I have links for those questions on my website here: https://davidffisher.com/resources/frequently-asked-questions/ You can also send me an email at dandkfish@gmail.com
Thank you.
I haven't tried a project like this yet, but spent each evening after work this week being inspired, educated, and calmed by this lovely series. Thanks!
I agree with all of the positive comments. Also, hats off to Taunton and Fine Woodworking. It took a lot of guts to go all in on digital production, and now we have the pleasure of watching David and all of the other masters at work. Thank you.
very informative videos....David Fisher you are a great carver as well as a great teacher, you went right down to the smallest of details..... you have gained great knowledge over the years.....thank you for sharing...
Bob Mason
Kenosha, Wi.
Really nice series. I like how each step is explained in detail and shot from different angles. Thank you.
David you are a great teacher. I've started making bowls myself, and would like to eventually sell them at craft fairs. I'm wondering how to price them. Do you have any advise? Thanks. Bill Posey Manson, WA.
That is a great idea. When I first started selling my bowls, it was at local craft shows where I could set up a 10 x 10 tent for less than $100 fee for the spot, sometimes $25, sometimes free since I was able to demonstrate and the craft fair folks saw that as a draw. Anyway, pricing was, is, always a tough call on things like this. There are many factors including time spent, local market, overall quality of the final piece. You really can't go by a simple time formula. You may spend twice as much time on a piece, but it happens to not turn out as the other one.
I would suggest starting out at your first event by charging the lowest amount you'd be happy to accept for what you've done. If things go well, then you can gradually raise your prices for later shows. First and foremost, make sure you enjoy making them and interacting with the folks who are interested at the shows. It will make a difference for many people.
Thank you for this phenomenal video series David; your mastery, artistry, and wise teaching on carving have inspired and awed me. Thank you.
Log in or create an account to post a comment.
Sign up Log in