Craftsman Rocking Chair
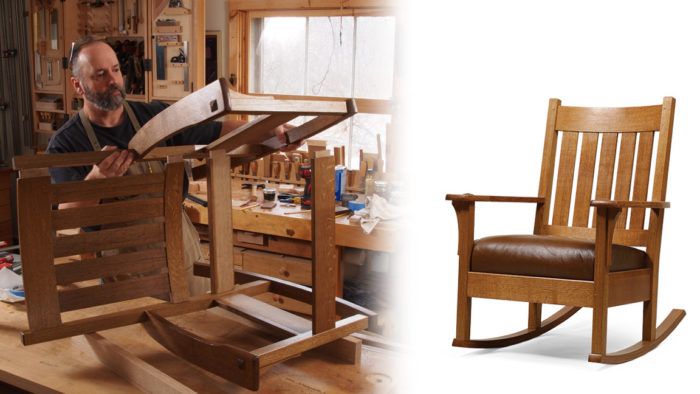
Classic style meets comfort in this sturdy oak rocking chair.

Synopsis: Mike Pekovich‘s rocker is designed for comfort as well as style. Its wide, low stance and deep cushion take care of the comfort part of the equation, and the curves and angled joinery plus classic Craftsman details add plenty of style. The curved rear legs are shaped using a template, and a wedge makes cutting the angled joinery easier. With double tenons at the back and a through-mortise and tenon at the front, the armrests add extra insurance against racking. The rockers are bent laminations, which are stronger than solid wood. From issue #267—Mar/Apr 2018
Designing a chair can be a tough thing to get right, especially a rocking chair. So I used an old Stickley-style flea-market find that’s been parked in front of my woodstove for a number of years as a starting point. Its wide, low stance and deep cushion make it the most comfortable rocker I’ve sat in. My goal was to clean up some of the lines and proportions of the original, but make sure to keep all of its comfort intact.
The construction of the chair is straightforward, but there are curves and angled joinery that add a little challenge. Fortunately I found a way to simplify both tasks.
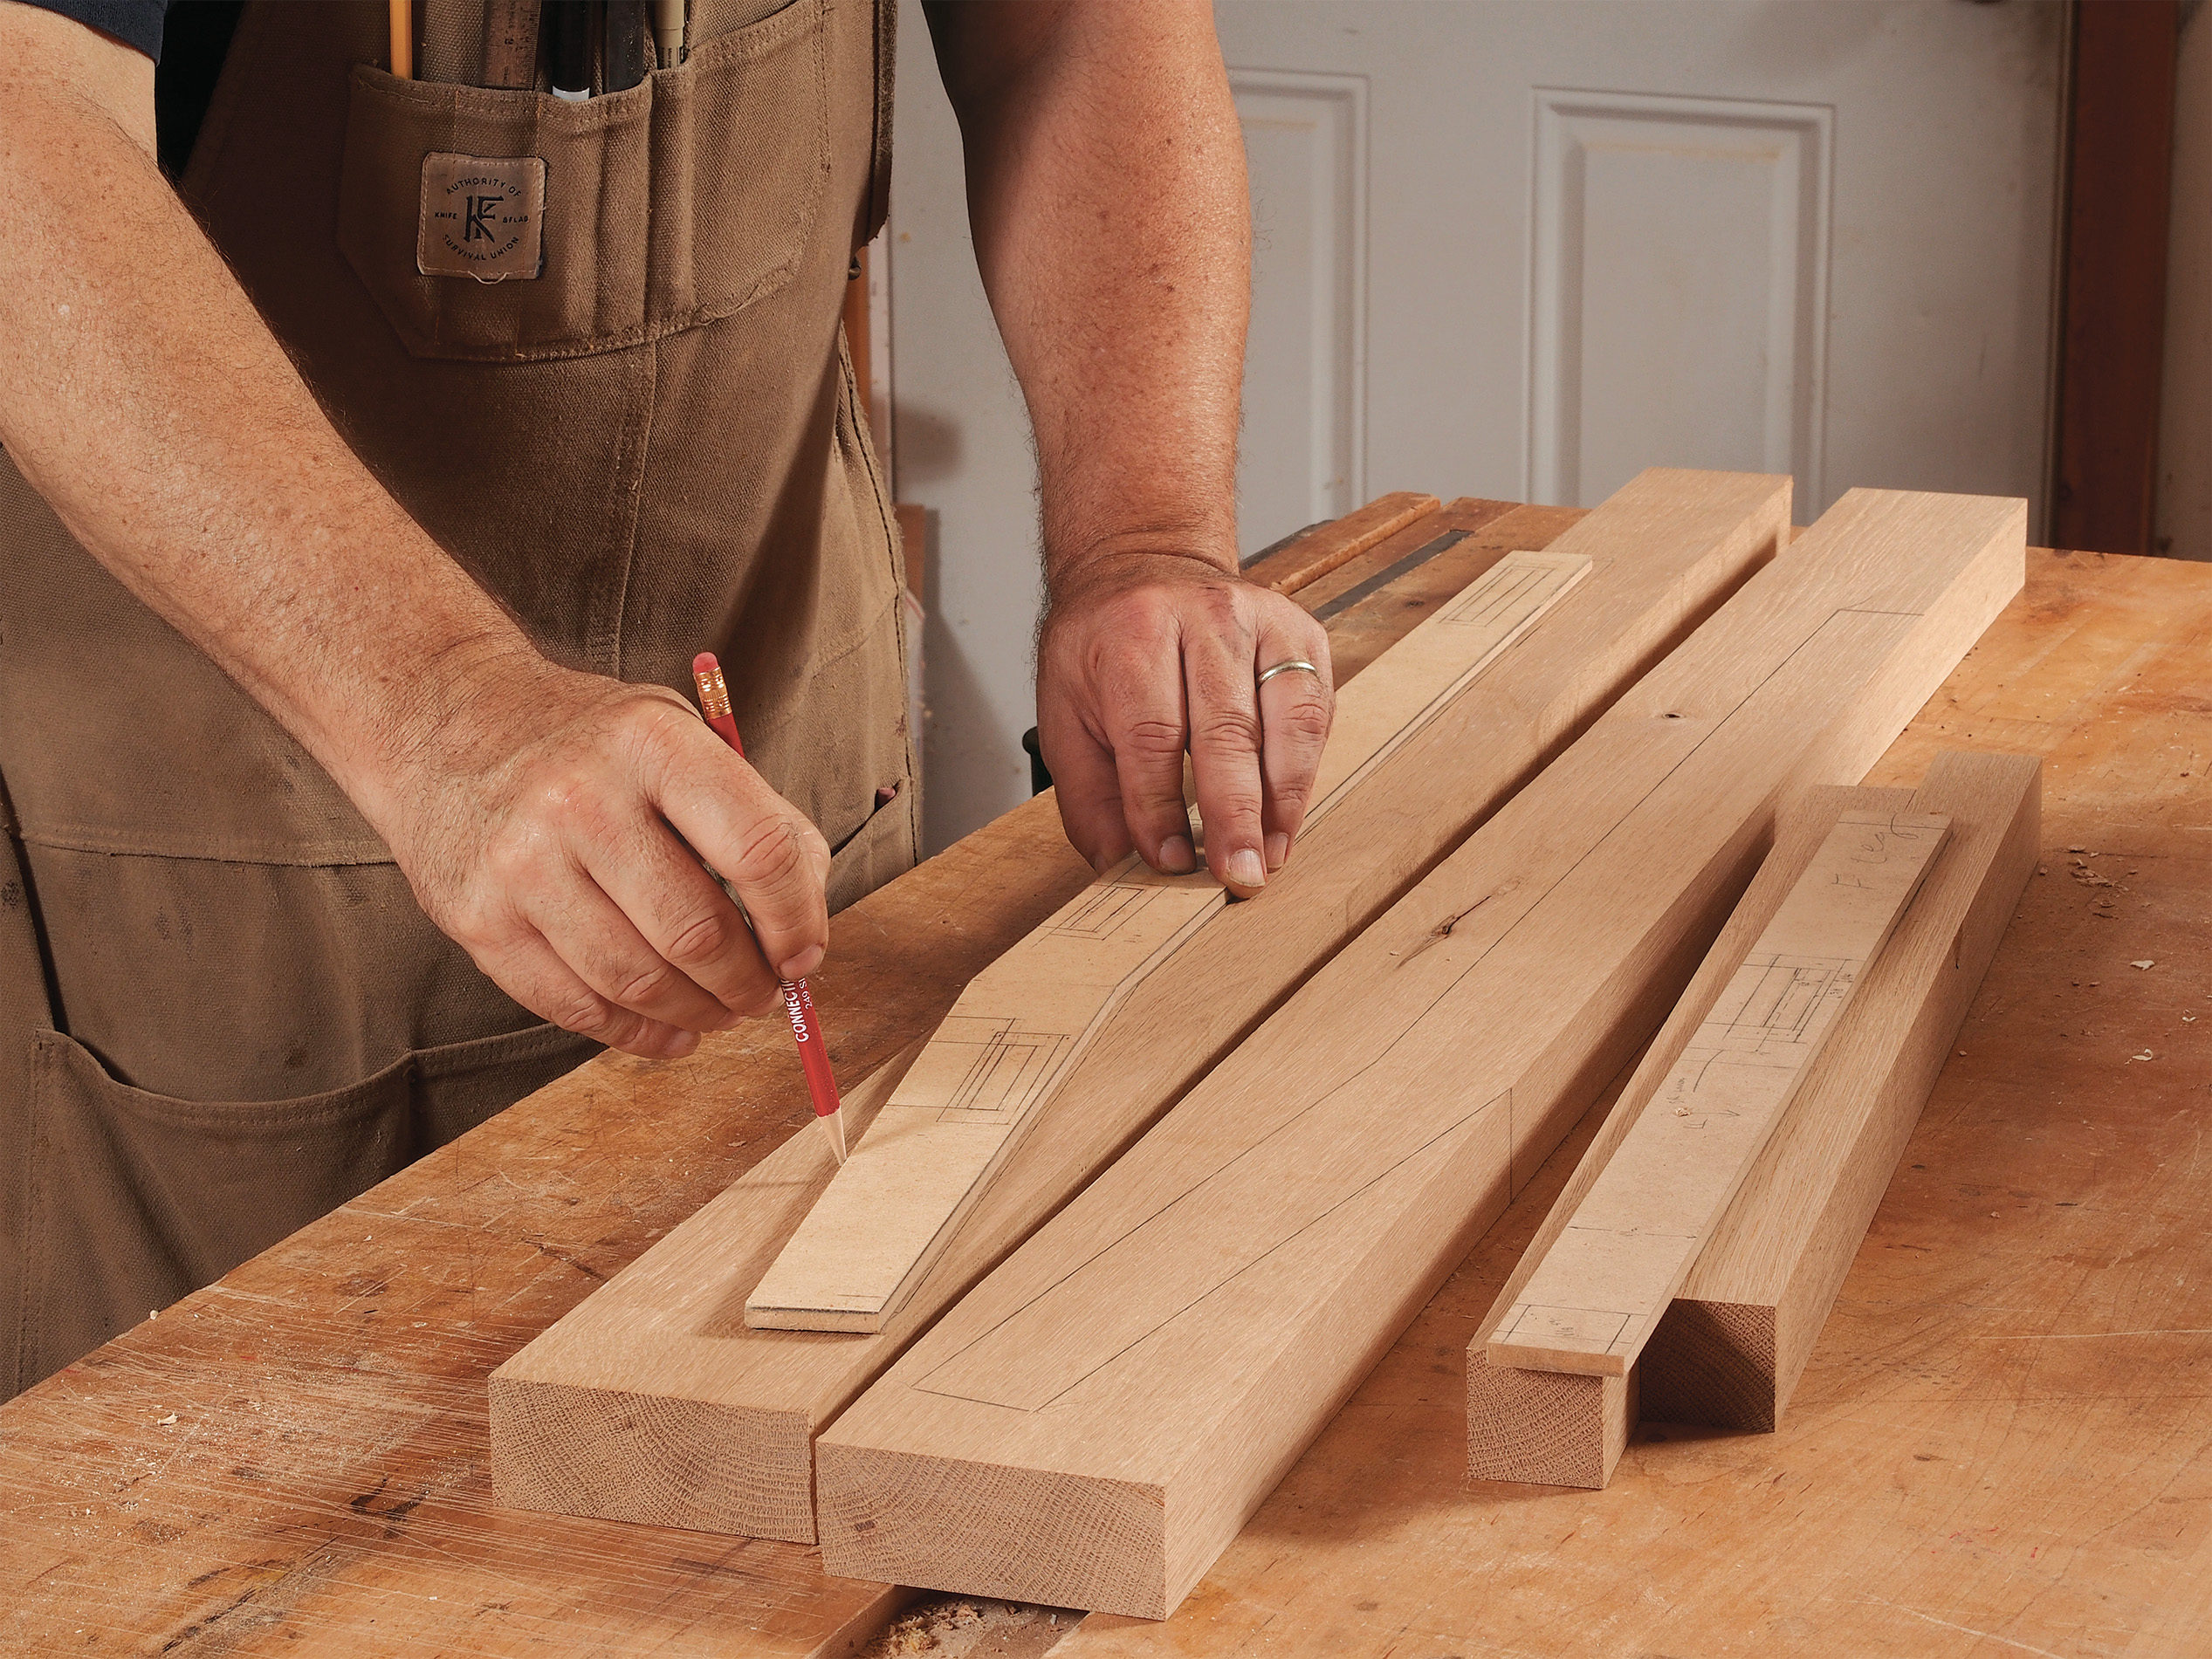
The front legs are straight, but the rear legs take a bit of a turn. It’s important to get their shape right for the rest of the project to go easily. Start by making templates for the legs. I used 1⁄4-in. MDF. Draw the joinery on the templates to allow them to also serve as story sticks.

Trace out the rear leg profile on the stock and rough-saw the shape on the bandsaw. To clean up the lower front face of the legs at the exact angle, I made a jig for the tablesaw. The back faces are not as critical, so I just cut close to the line on the bandsaw and cleaned up with a block plane, scraping the inside corner where the block plane couldn’t reach. With the legs shaped, cut the mortises. If you use a hollow-chisel mortiser, place a wedge under the rear leg to keep the front face horizontal when cutting the side rail mortises. For the mortises on the inside face, be sure to register the front of the leg against the fence.
In addition to mortises for the seat rails, the front legs get a tenon at the top for the armrest. The outside faces are grooved for the corbels that support the armrests.
For the full article, download the PDF below.
From issue #267—Mar/Apr 2018
More on FineWoodworking.com:
- Free Woodworking Plan: Build a Shaker Rocker
- Brian Boggs: Building a Bent-Back Rocker
- Sam Maloof: How I Make A Rocker – A master craftsman reveals the details


Comments
Looking forward to building this project.
Thanks Mike.
Where can that video workshop be found? Or does it still needs to come?
I'm wondering how high does the seat sit from the floor? I have a lot of trouble getting up from chairs that sit low to the floor. I would love to build this chair, but it would be useless if the seat was too low.
Great point Dave. Also, as Mike Mascelli points out in his video series on making the cushion, you could put the blocks the cushion sits on anywhere you want in order to make the chair more comfortable for you. In fact, if they're screwed in, you could change them after the fact if you see fit.
@jspill, the plans put the front of the cushion at about 16 inches. Adjusting the thickness and/or firmness of the cushion will affect the sitting height.
I am excited to take on this project. It is a gorgeous chair.
in process of building the chair after cutting tenons on side rails with wedge mike described (2 1/2 to zero in 16 in.taper) the splay for the front rail is 22 5/8 without tenons 2 in wider than plans cant figure out where I went wrong any help would be great thanks
@homeshop, in the plan, the front rail on the chair is 2-1/2 in. longer than the back rail the side rails are 16 in. shoulder to shoulder. Since the shoulders of the side rails don't quite fall in line with the ends of the front and back rails, a 16-in.-long wedge would need to be just over 1-1/4 in. thick. I measure it as 1.254 in.
-Dave
On page 36 of the article there is a website listed for the Plan Store that is supposed to have plans for the chair. I would hope these would have full size templates. The website shown in the box at the bottom left took me to "Page not found" Is there a plan available?
I just added a link to the plans.
Is there a difference between the digital and print plans? Are the printed plans full size drawings where templates can be taken directly? thanks.
The digital plans are not full size. They're just far more in-depth drawings than we can include in the magazine. Lot's of measurements.
Can the digital plant be expanded and printed out so that they can be traced to make patterns? Also I would like this chair to live outside on my deck from May through September and then brought indoors for the winter, does that sound possible with this chair.
I would use white oak that holds up well outdoors, and a cushion that might come in every night so the only real concern is the type of glue. What are your thoughts on this?
The cut list in the article shows pinned mortises but the article does not discuss this. The photo of the finished rocker also has pinned joinery. Are those primarily decorative and therefore optional? If the joinery is pinned, does this mean that the project cannot be pre-finished because the pins will all have to be flushed?
Log in or create an account to post a comment.
Sign up Log in