Pop the Figure in Maple
A pro’s tricks for enhancing maple’s figure without overdoing the contrast.
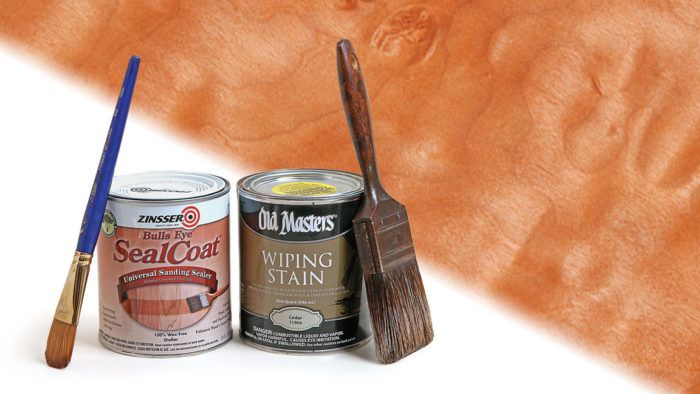
Most finishing articles and finishing books recommend dying figured maple to accentuate the figure. Dyes can do a fine job, but it’s easy to overdo the effect, with the dye soaking deeply into the end-grain stripes and creating too much contrast. By starting with SealCoat shellac and following with my trick of using stain as a glaze, you get a more subtle effect that is easy to control.
1. Seal and Build Depth
Three to five coats of SealCoat shellac create a smooth, sealed surface for glazing.
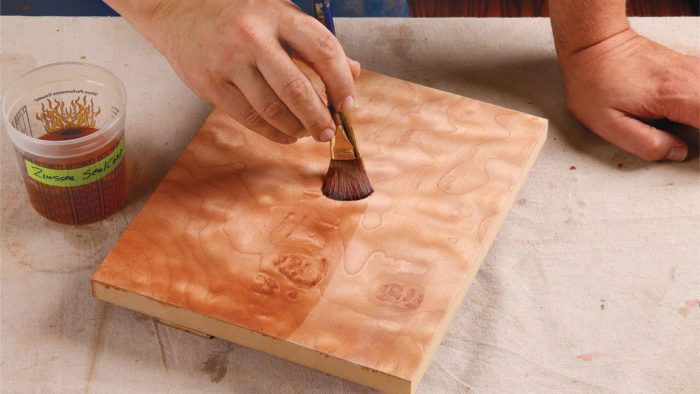
Seal—Sand to 220 grit, then apply at least three coats of SealCoat. After letting those coats dry for three or four hours, scuff the surface with 320- or 400-grit sandpaper and apply two or three more coats, letting each one dry at least two hours before sanding. If the shellac gums up your sandpaper, you haven’t waited long enough. Keep going until you see a gloss or sheen.
2. Use Stain as a Glaze
The oil-based stain makes a forgiving glaze, giving you plenty of time to work or even wipe it all off and start again.
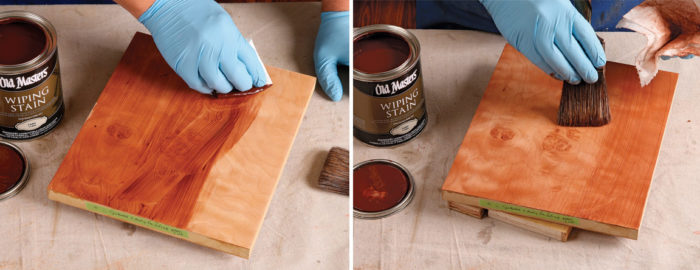
Glaze—Wipe on Old Masters Wiping Stain in cedar, removing the excess with a dry brush as before. Arrange the glaze on the surface and create a translucent layer of color. Allow the glaze to dry for at least 12 hours before adding the topcoat.
Topcoat—Don’t sand or rub the glaze; apply at least two more coats of SealCoat to lock in the color, magnify it, and add depth. Sand between coats and rub out the final one.
Fine Woodworking Recommended Products
Foam Brushes
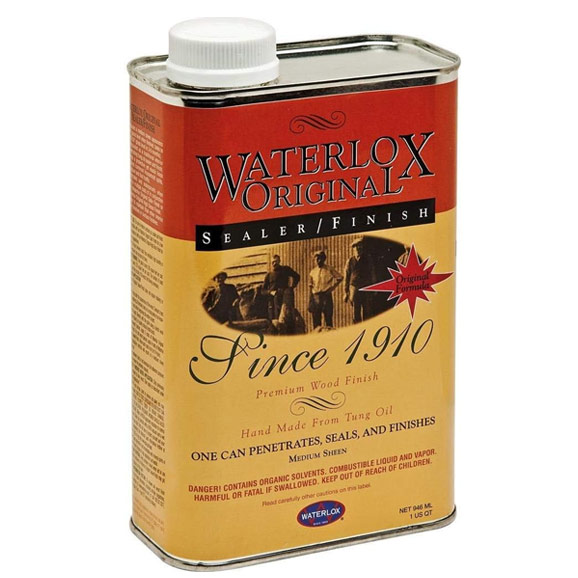
Waterlox Original
Odie's Oil


Comments
Wow I really need to try this. What are the considerations when selecting an alternative stain to the Old Masters, whether by color or texture?
"Seal—Sand to 220 grit, then apply at least three coats of SealCoat. After letting those coats dry for three or four hours."
Do you sand between the first 3 coats?
Before applying the stain, do you sand or rub out the previous last SealCoat coat? Or do you apply the stain without doing anything to the last coat of SealCoat?
You never have to sand between coats of shellac, since each dissolves into the one before it. (On the other hand, don't spend too much time brushing each coat, since that also means there's risk of removing some of what's already there.) You may want to sand before applying the glaze, so any texture in the surface doesn't affect how the glaze goes down.
Sand the final coat to remove dust nibs and bring it to the gloss desired; sometimes just buffing it with a sheet of brown paper from a grocery store bag is plenty.
I'm still a bit surprised that glaze -- which is a constant layer of color across the whole surface -- would "make the grain pop". Stain normally does that precisely because it is absorbed differently by grain going in different directions. It seems to me that bringing out the grain, in this procedure, would actually be a result of how the shellac is absorbed (it does add some color of its own, and may increase chatoyance), with the glaze just being to shift the overall hue. Am I misunderstanding, and if so how?
(I do like shellac, though I've usually put a final topcoat of poly over it -- making it more durable, though less repairable.)
Log in or create an account to post a comment.
Sign up Log in